
How to Install Crocoblock Dashboard with Crocoblock Wizard
This guide is about the complete installation of JetPlugins, themes, skins, etc., with the help of the Crocoblock Wizard.
Download Crocoblock Wizard
After purchasing the Crocoblock subscription, you get your account created on our website.
In the Downloads section of your account, you’ll discover everything you need for a successful start, including:
- the Installation Pack, which we are going to use in this tutorial;
- the catalog of Plugins, allowing you to download the plugins separately.
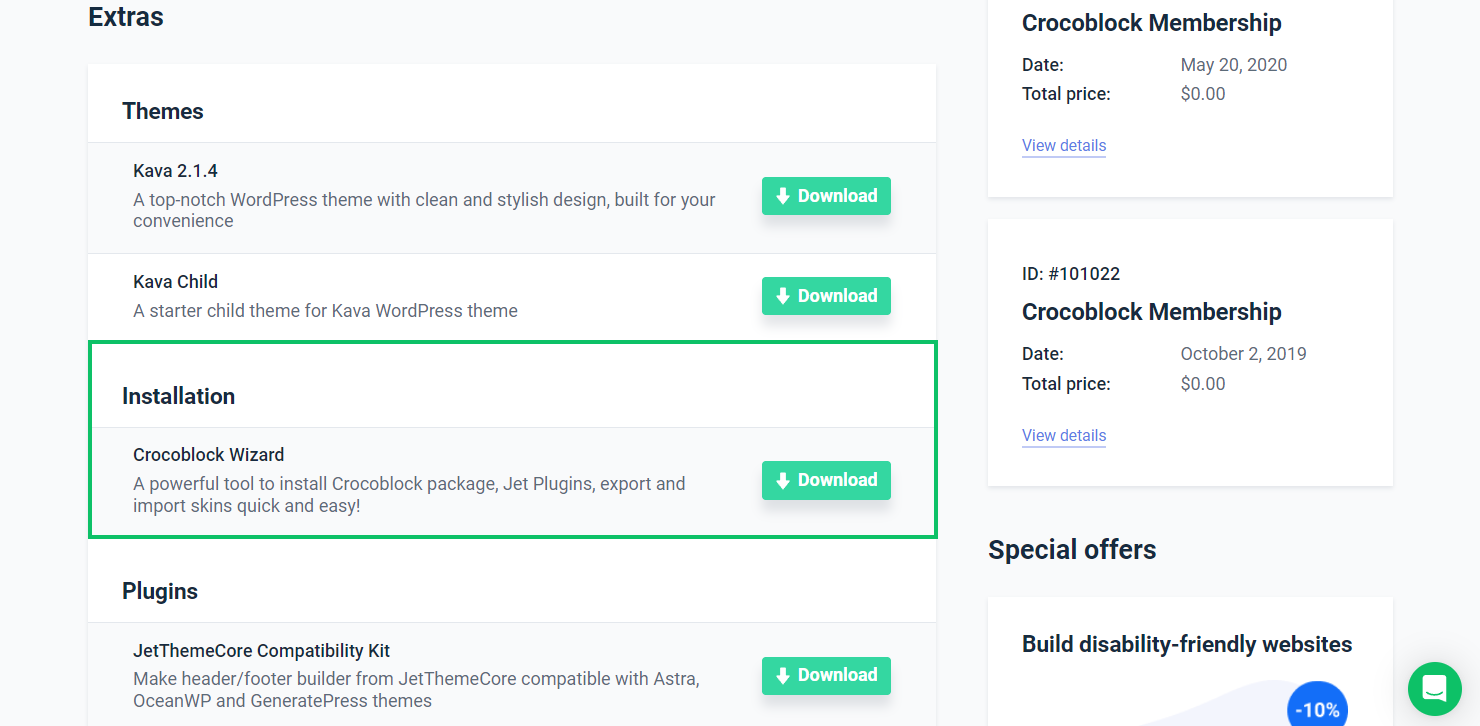
You can find Crocoblock Wizard in your account in the Installation section of the Extras block, which consists of a theme, plugins, and demo content.
Click the “Download” button on the right to download the Crocoblock Wizard archive.
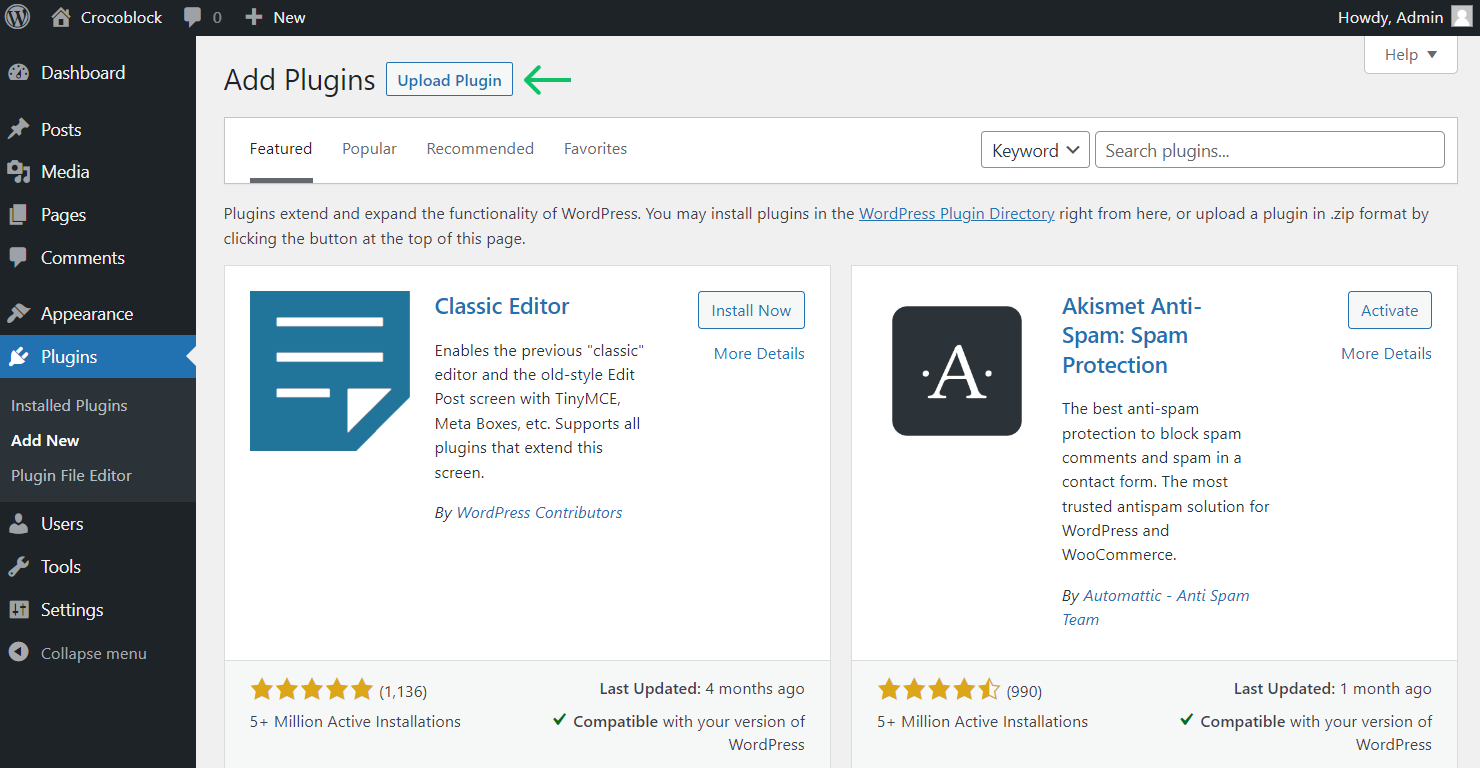
Proceed to the WordPress Dashboard > Plugins > Add New. Here, click the “Upload Plugin” button at the top.
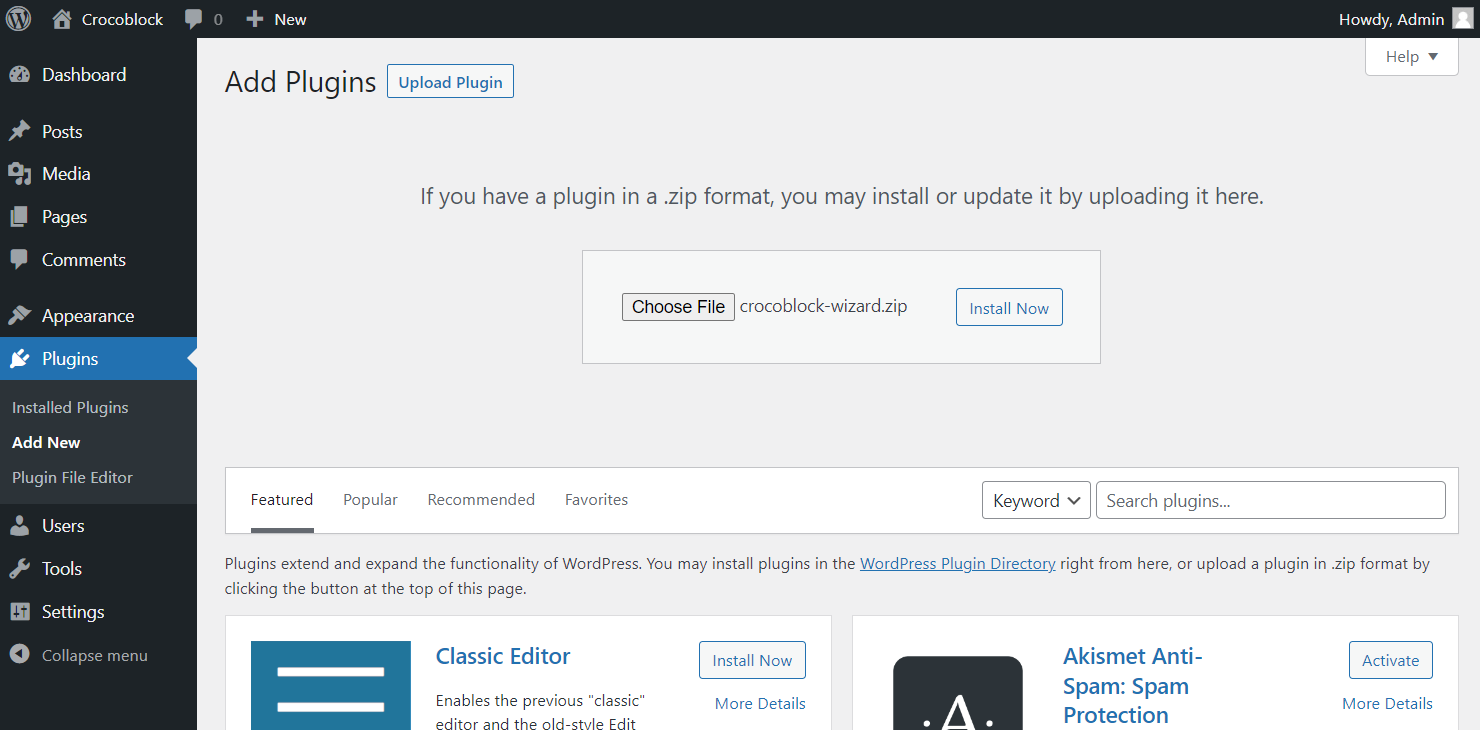
Afterward, choose the Crocoblock Wizard archive and click the “Install Now” button.
Activate the Wizard
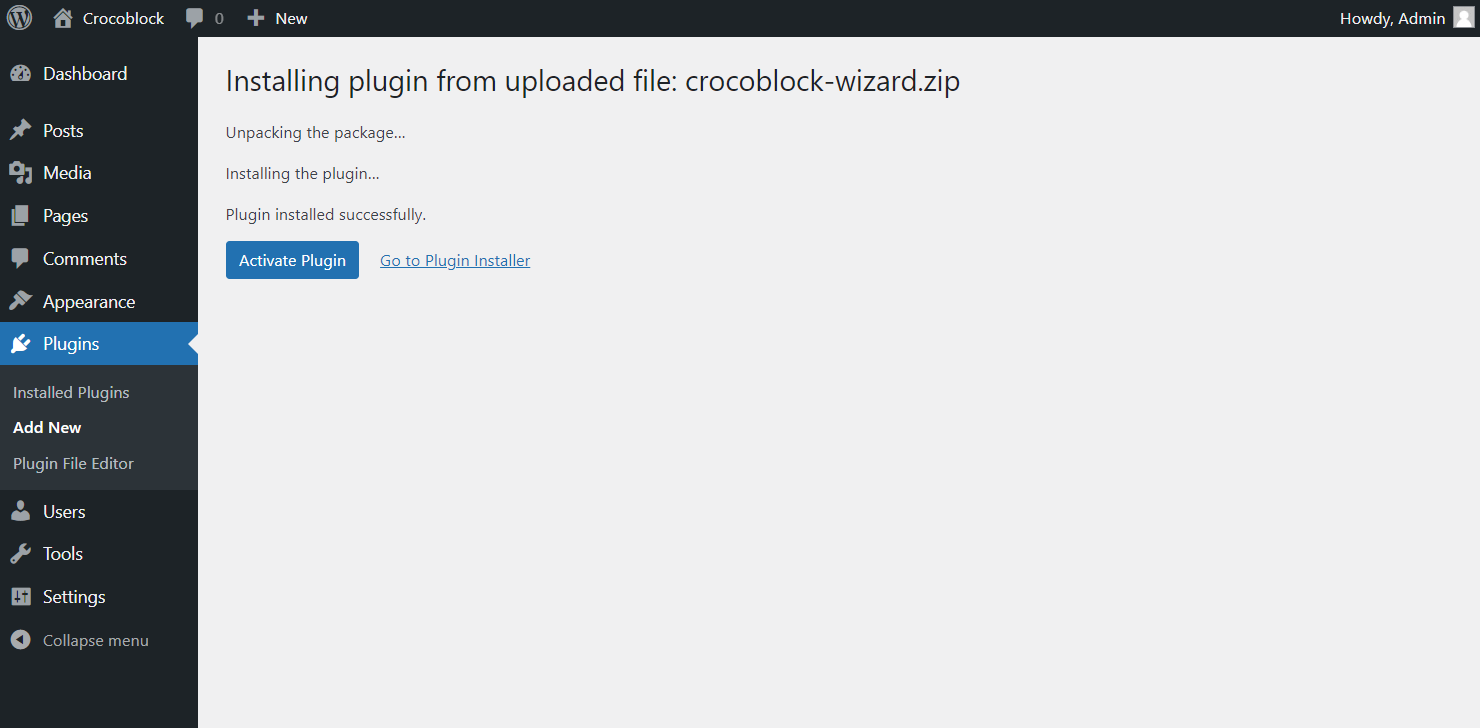
Once the installation is complete, you should activate the plugins by clicking the “Activate Plugin” button.
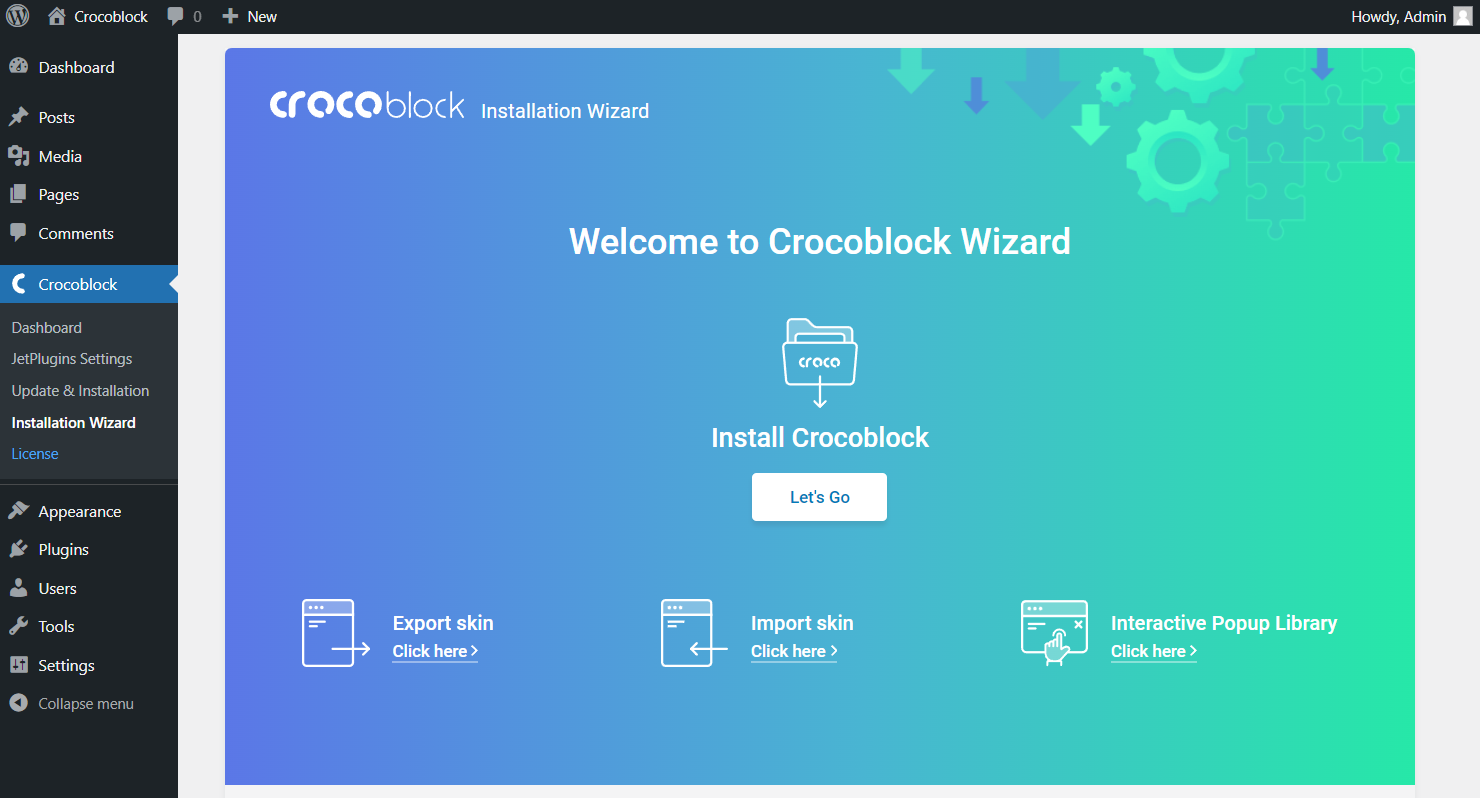
Then, you’ll see the options for the installation. You can choose the installation itself, Export skin, Import skin, or Interactive Popup Library.
Let’s go through the Installation option. For this, click on the central “Let’s Go” button. The other ones we’ll look through in further tutorials.
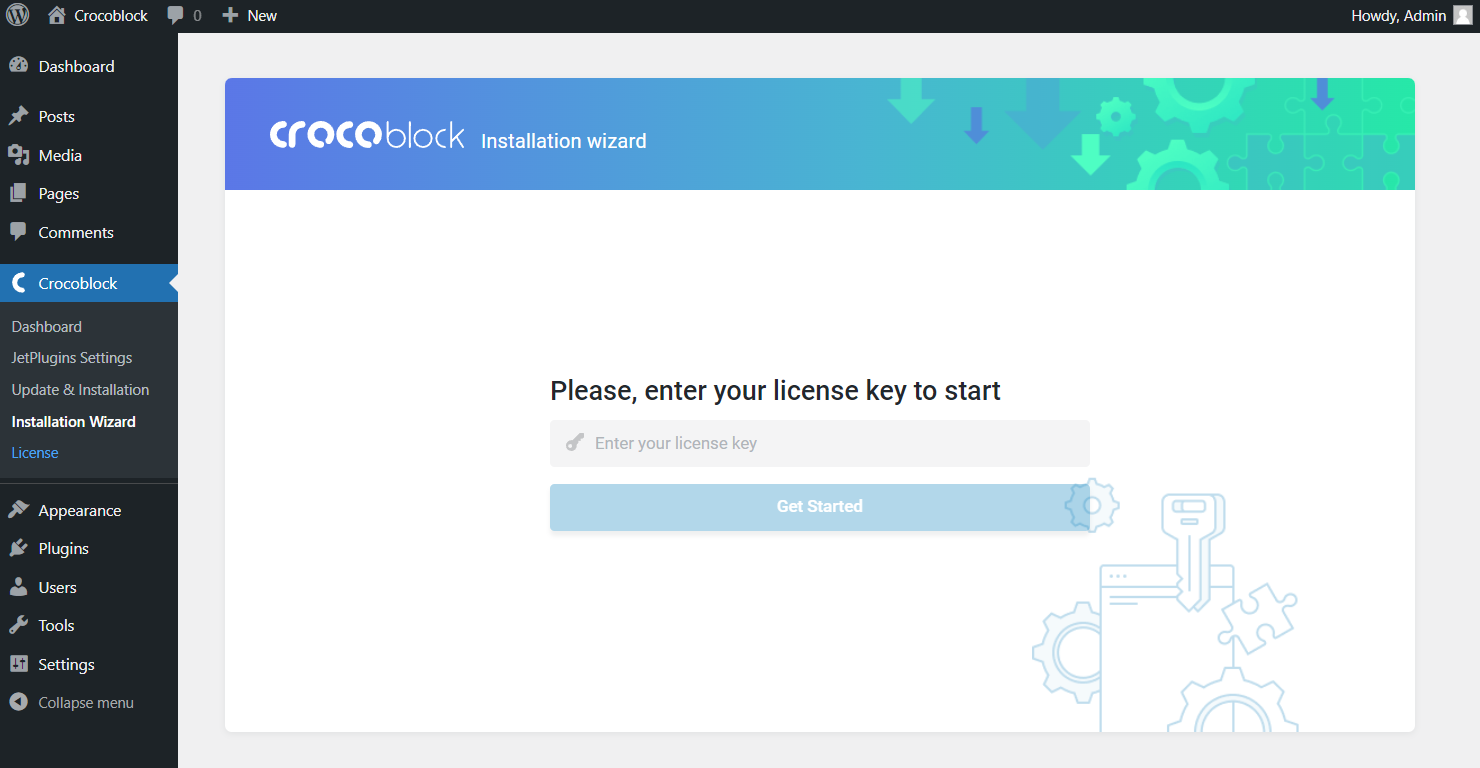
In the screen below, you will see the field for entering your license key. Fill it in and press the “Get Started” button.
If you purchased any All-Inclusive subscription plans, you will be asked to choose between the Full Crocoblock installation and Jet Plugins installation. If you have another subscription package, you will immediately proceed to the plugin choosing window (scroll this guide to Choose the necessary plugins paragraph).
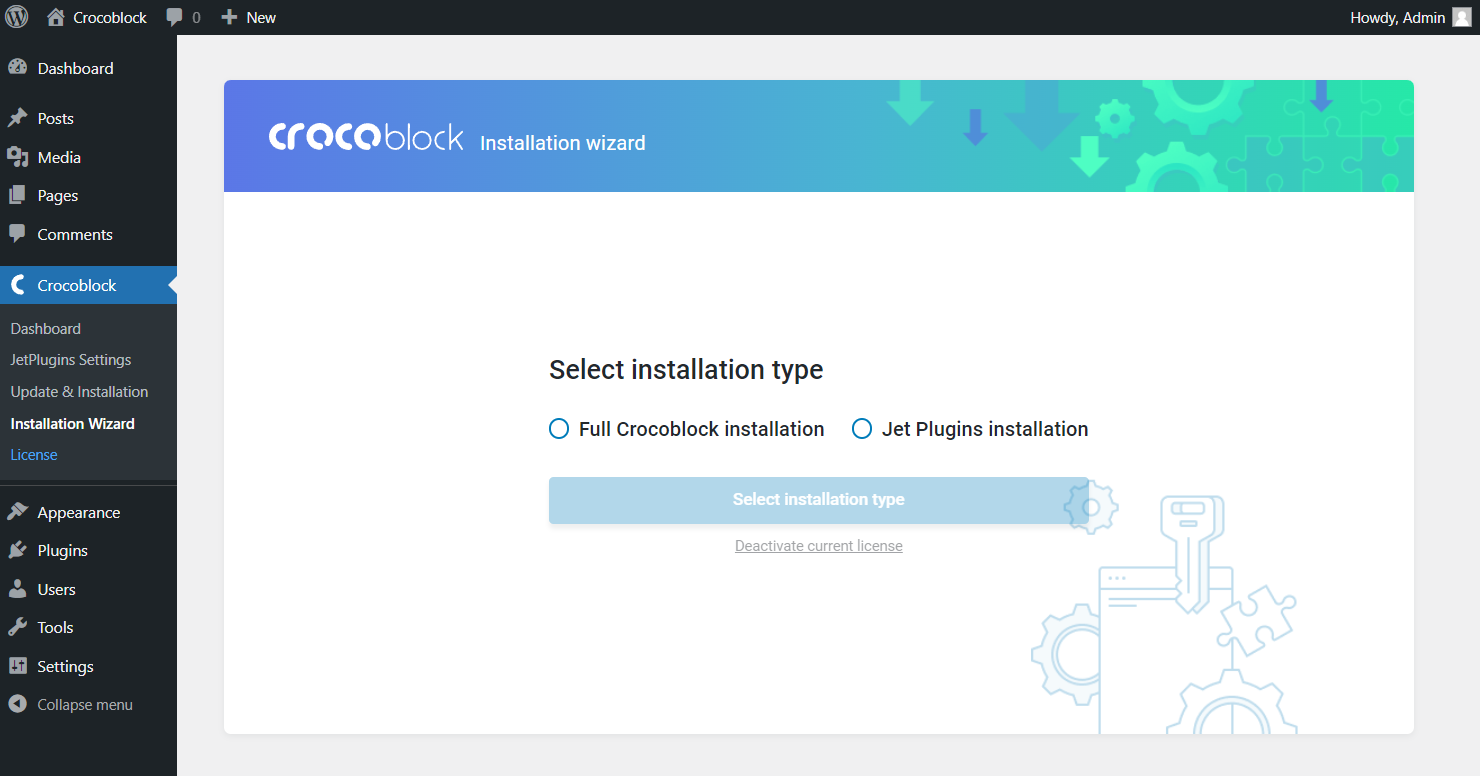
By now, we will choose the Full Crocoblock installation. Afterward, click the “Select installation type” button.
Full Crocoblock Installation
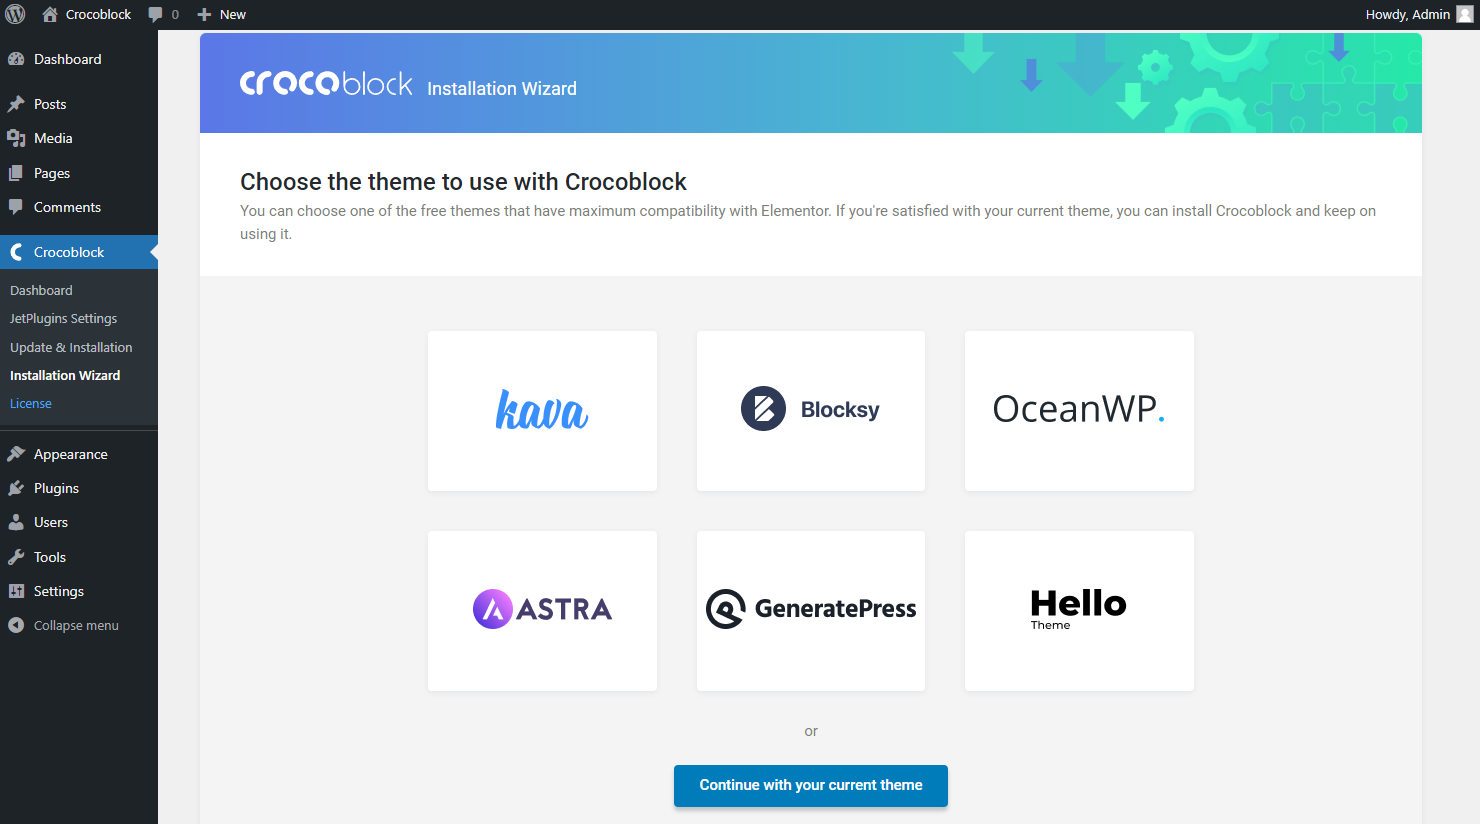
Сhoose the theme you would like to use with Crocoblock: Kava, Blocksy, OceanWP, Astra, GeneralPress, or Hello Theme. If you already have a great template, click the “Continue with your current theme” button.
We are going to select the Kava theme.
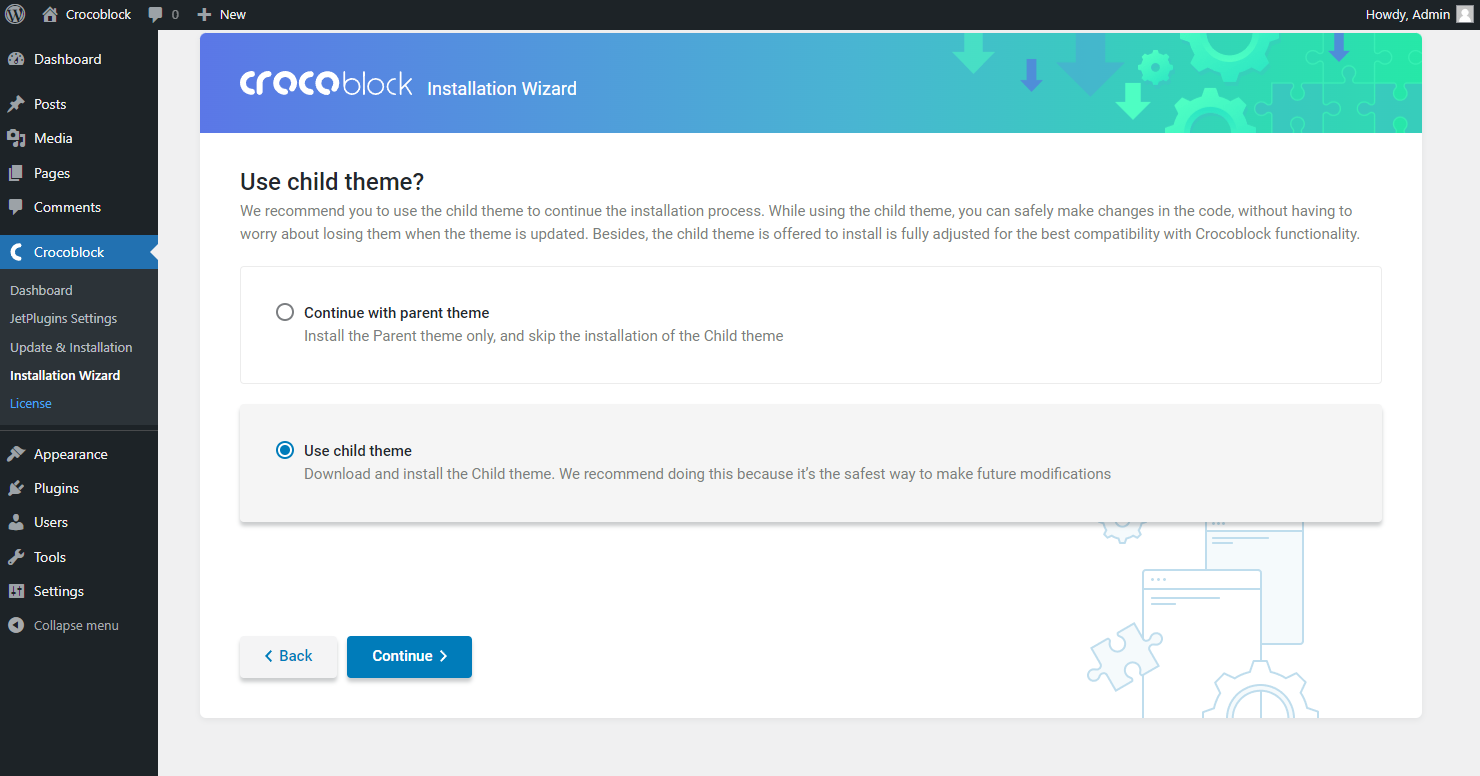
Choose to continue either with the parent or child theme. Both options are available in the Use child theme? page. Pay attention that the Child theme is recommended by the developers for your CSS changes to always be safe.
We will pick the Use the child theme option. Next, click the “Continue” button.
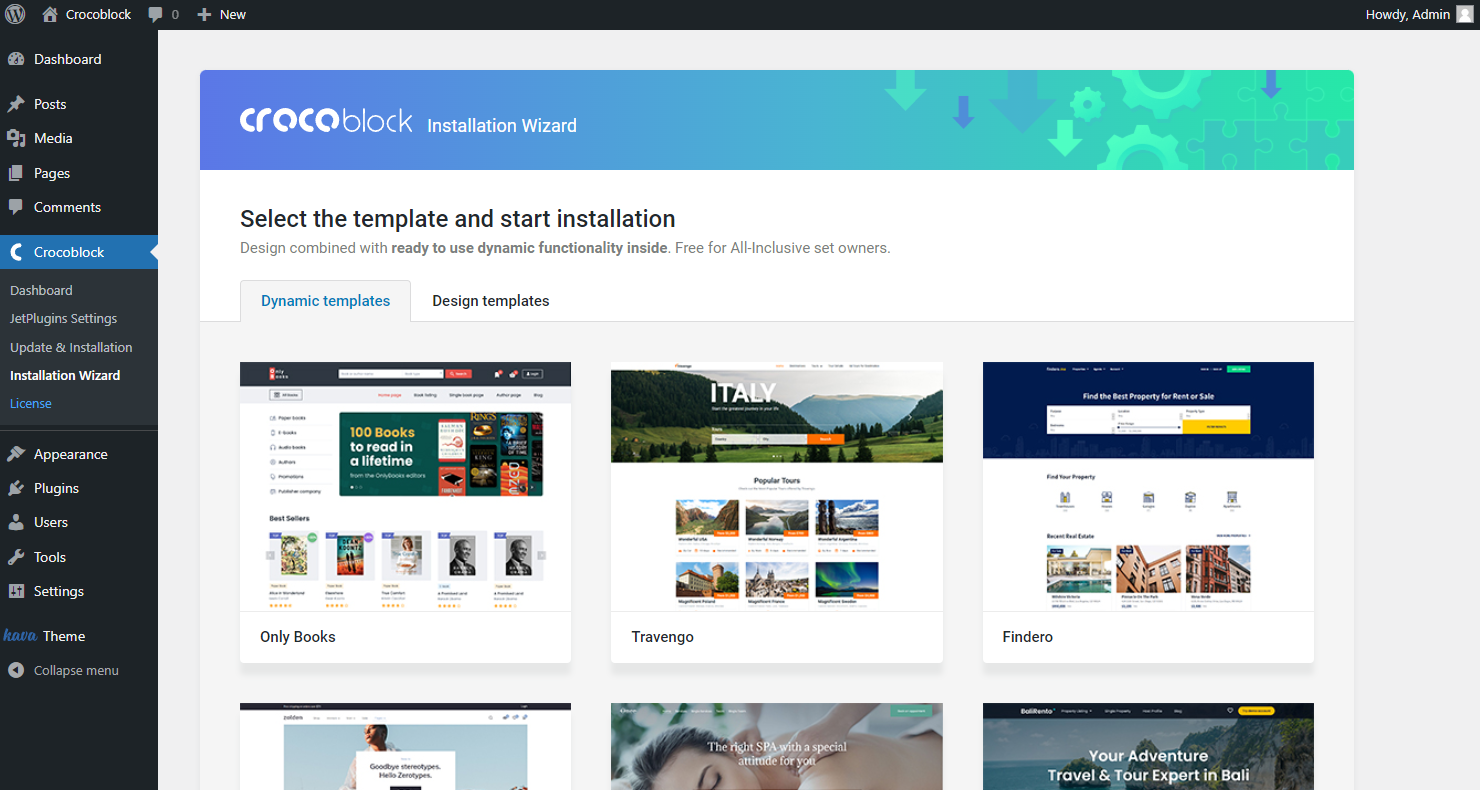
After the theme has been successfully installed, you can select the skin and start the installation. You will have two tabs here.
The first tab is Dynamic templates. These can be set once and filled automatically further.
The next tab is called Design templates. Here, you will find many designed skins for all the themes Crocoblock offers. Choose any you like and click the “Start Installation” button.
If you’d like a quick view of the available skins, hit the “View Demo” button under each and choose the suitable one.
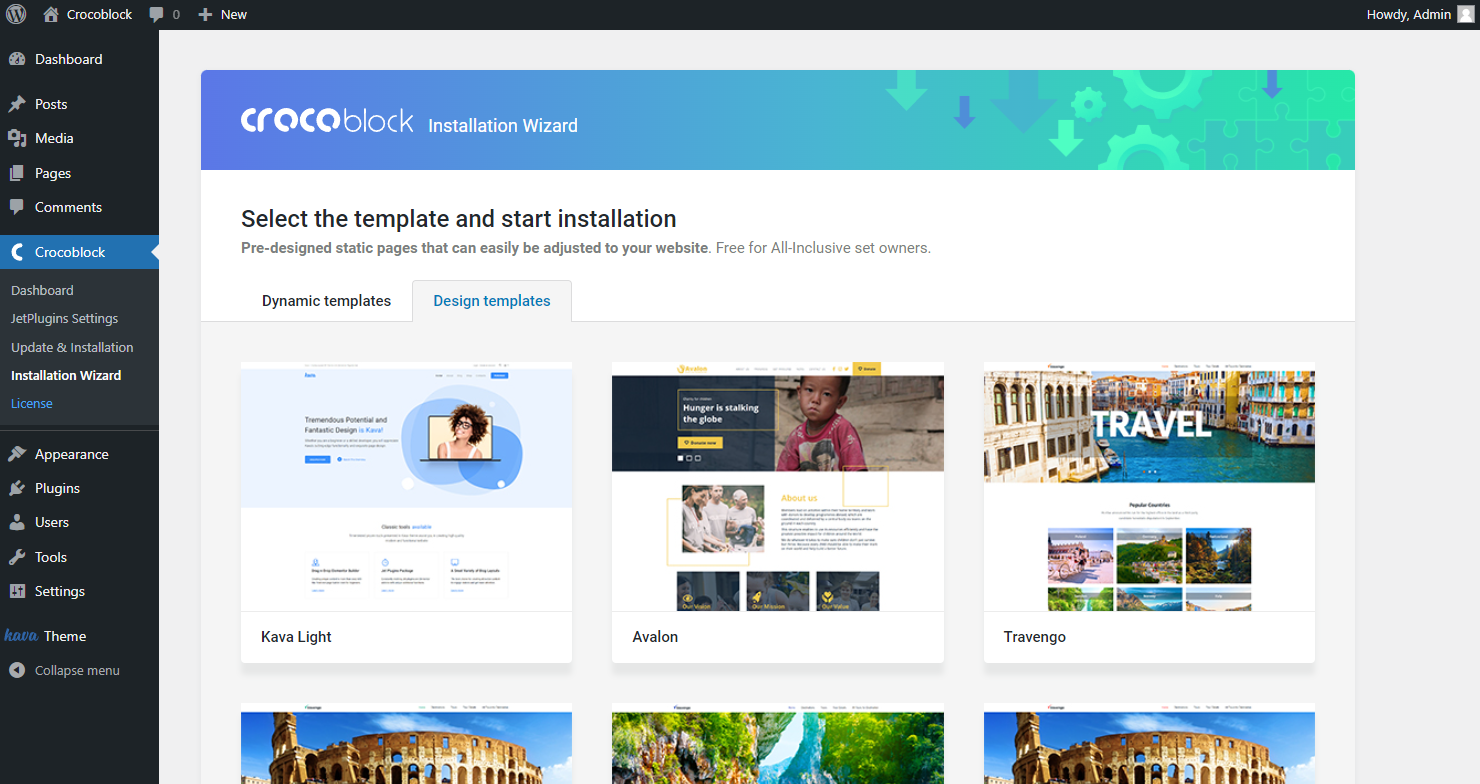
After making your decision click the “Start Installation” button.
Choose the Necessary Plugins
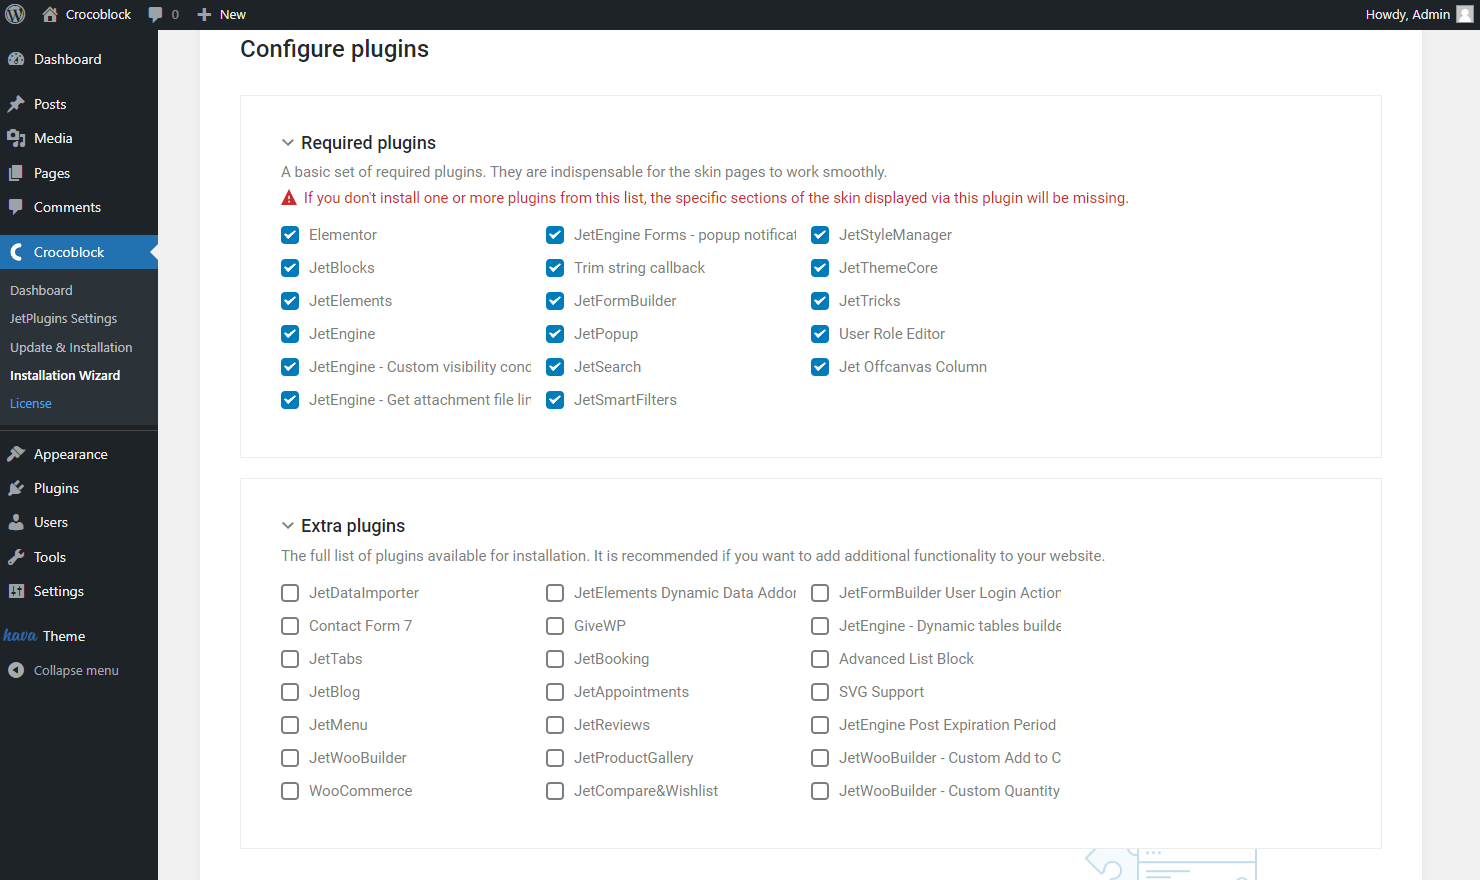
Now you can see the Configure plugins page. It will consist of two sections for the All-Inclusive clients and one – for all the others.
The first section is Required Plugins, which is common for the All-Inclusive package and all other subscription plans. You can turn off some plugins if you don’t need them in your work.
The second section, Extra Plugins, is available only for the All-Inclusive plan owners and exhibits a list of optional plugins available for installation. If you want to add functionality to your website, just tick the boxes on the left.
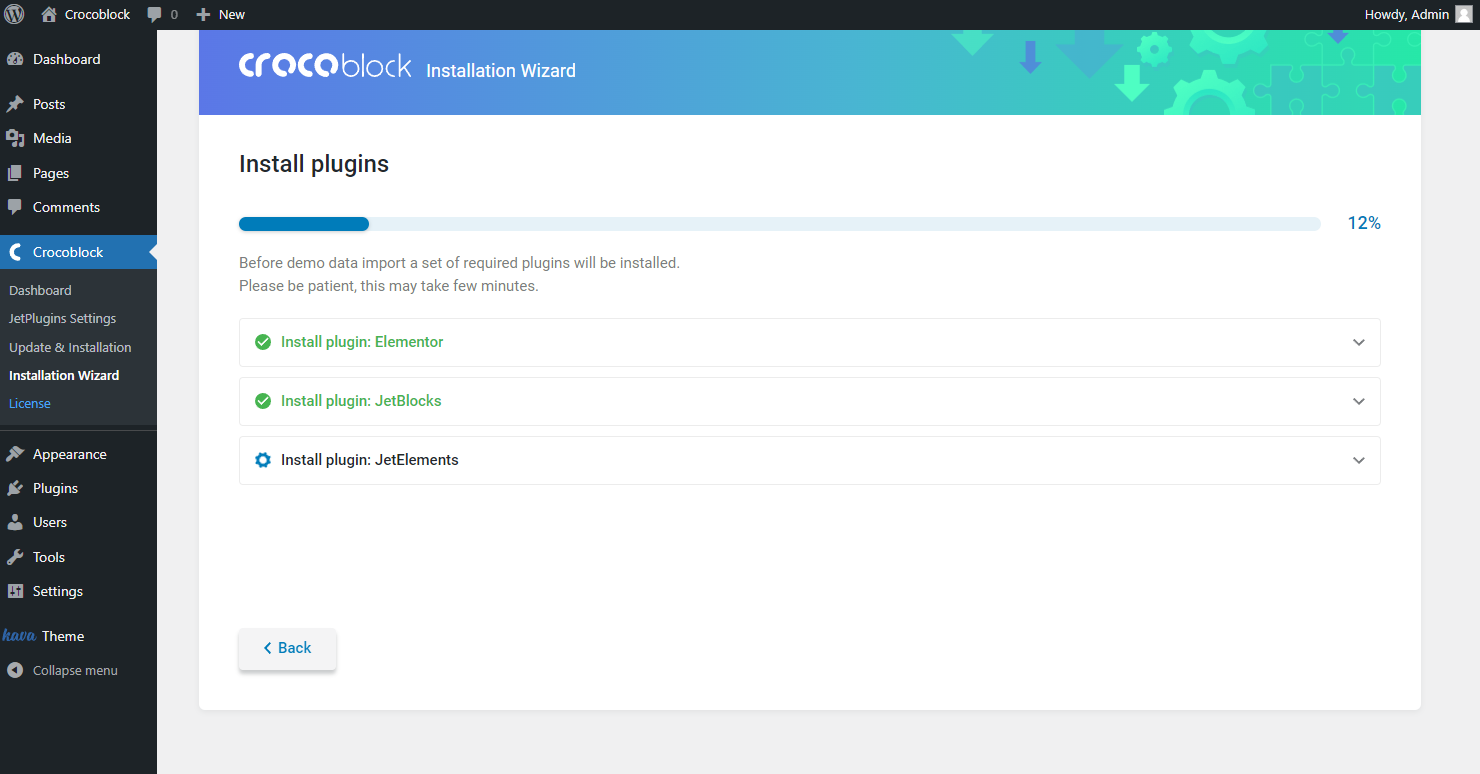
At the bottom of this block, you can click on the “Continue” button. If you don’t want to install plugins, hit the “Skip” button.
It will take a few minutes to install all the needed settings. You can watch the progress on your screen.
Decide on a Content
After the installation is done, you can see the Demo Content Import page, where you have to select what to do with your existing content.
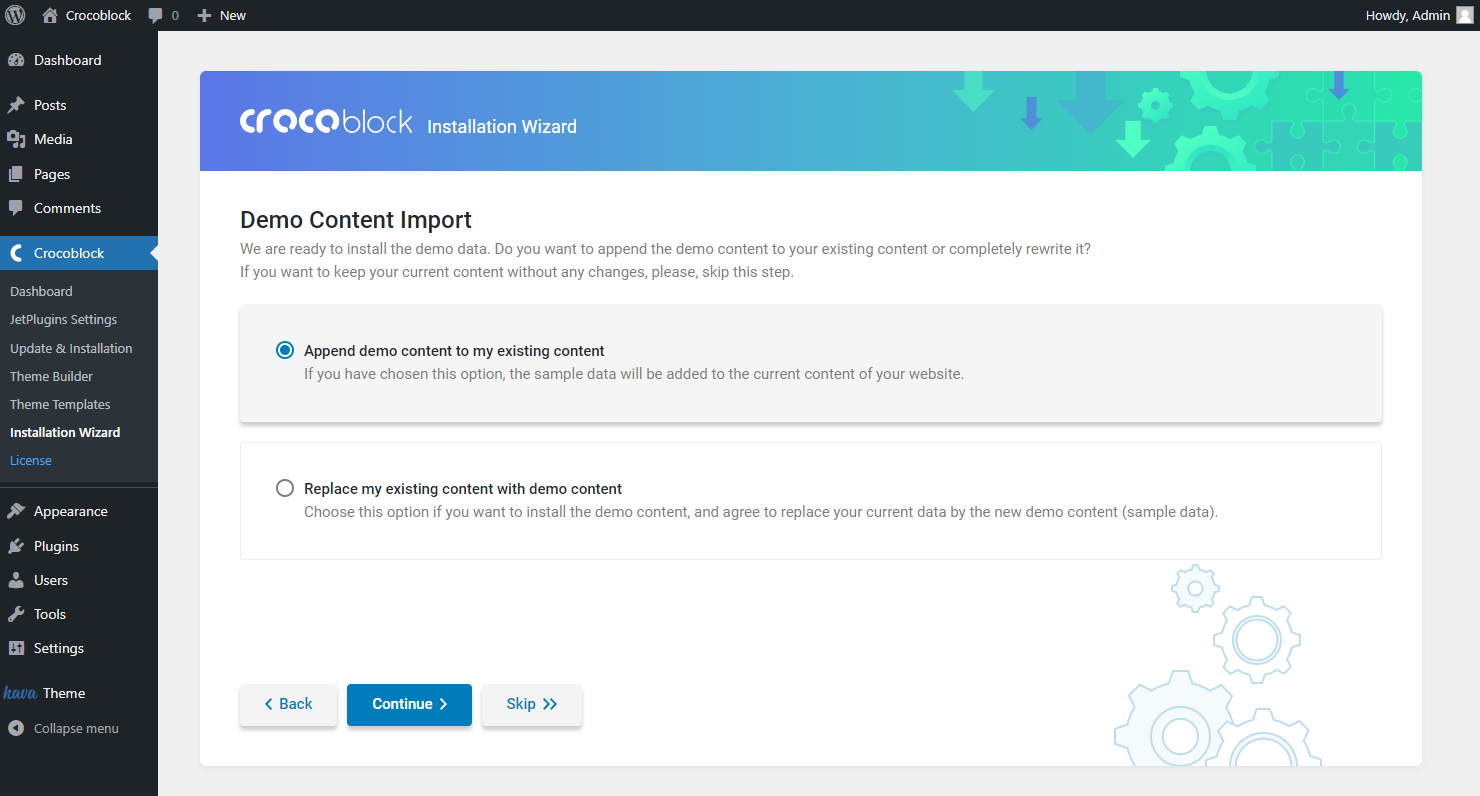
If you need to add the content to the one you already have, please, choose to Append demo content to the existing one.
To install new content instead of the existing one, choose to Replace your existing content with the demo one.
Alternatively, you can “Skip” the demo content installation. After you’ve made your choice, click the “Continue” button.
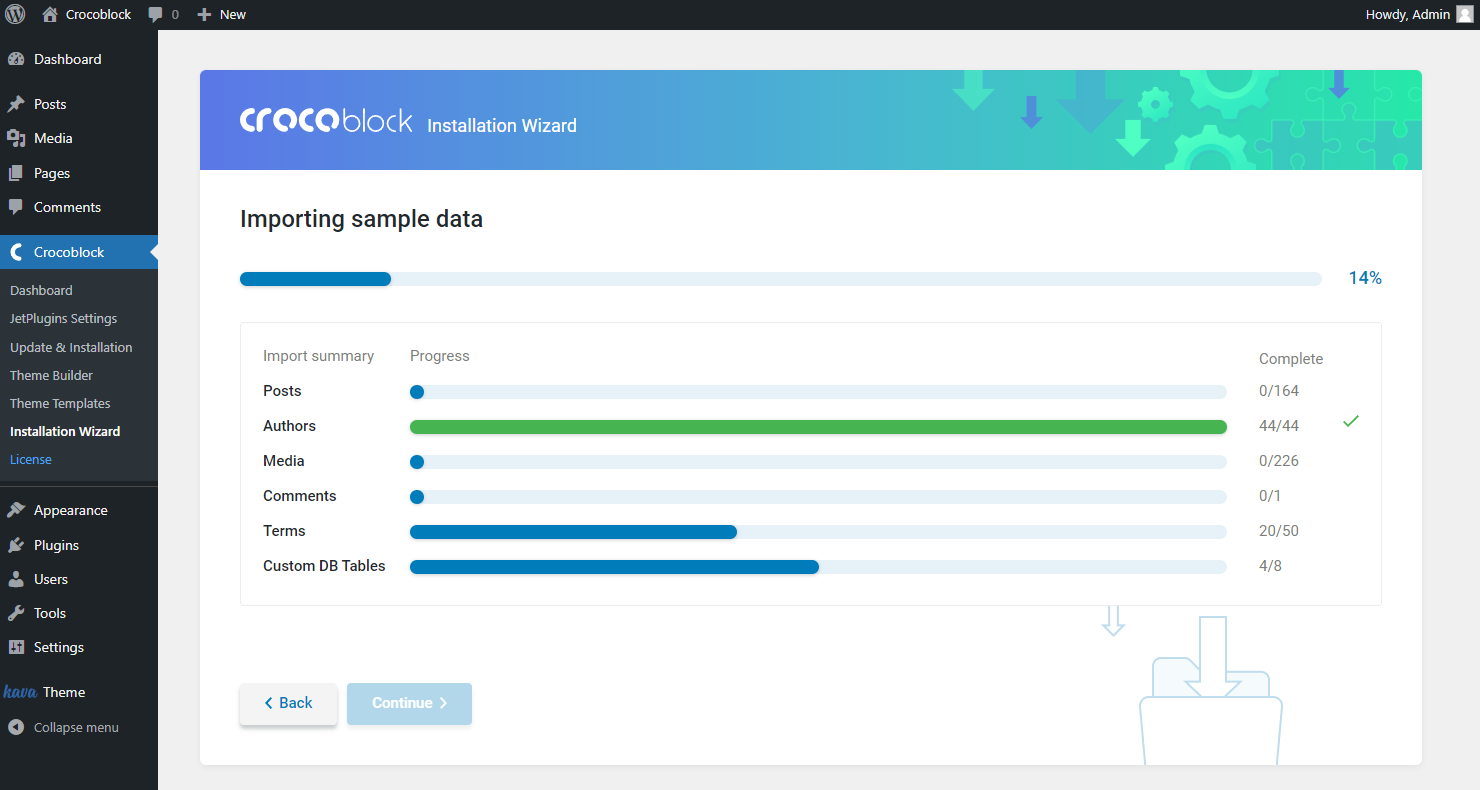
After that, you will see a progress bar that showcases the Importing sample data progress.
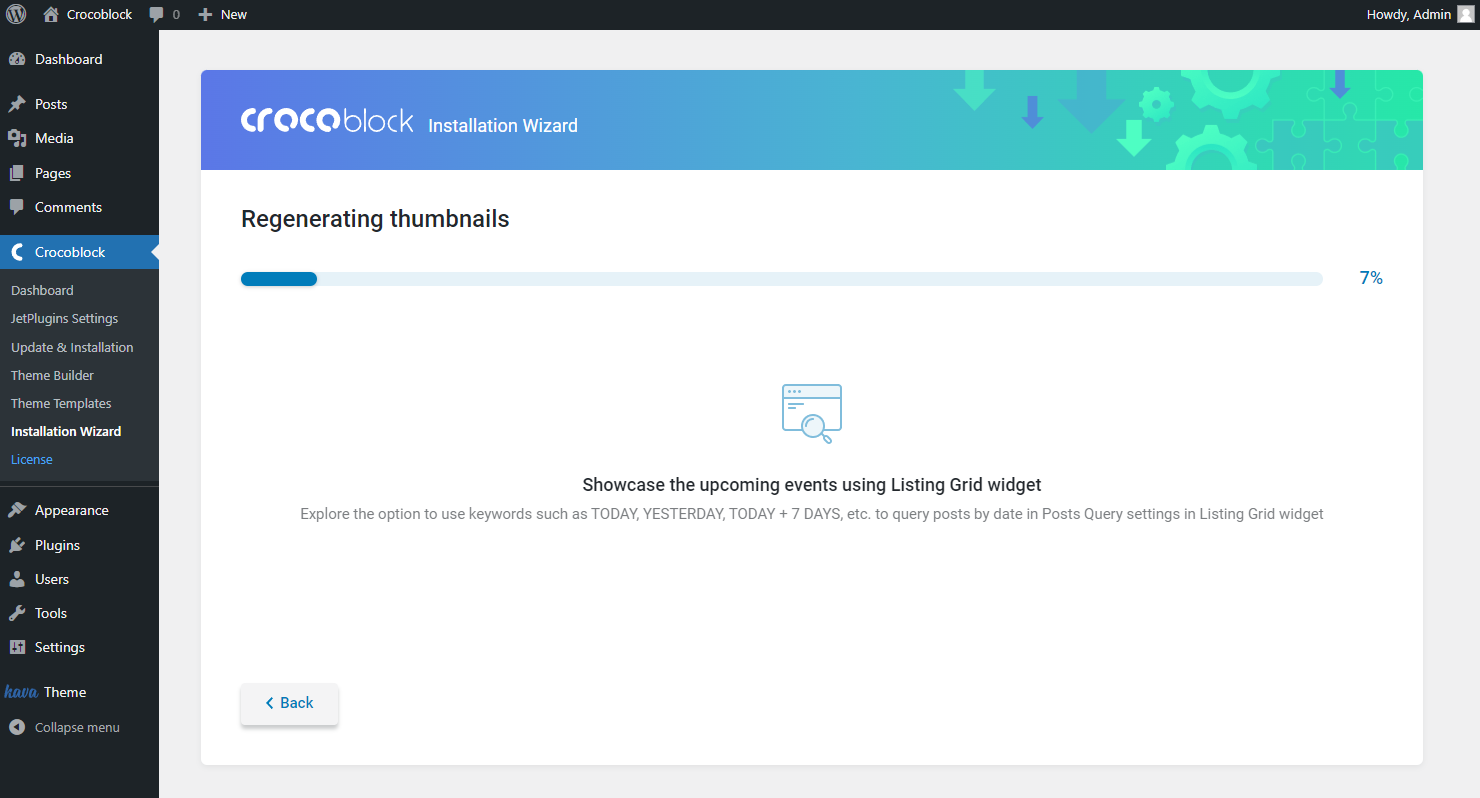
The next to be shown is Regenerating thumbnails progress.
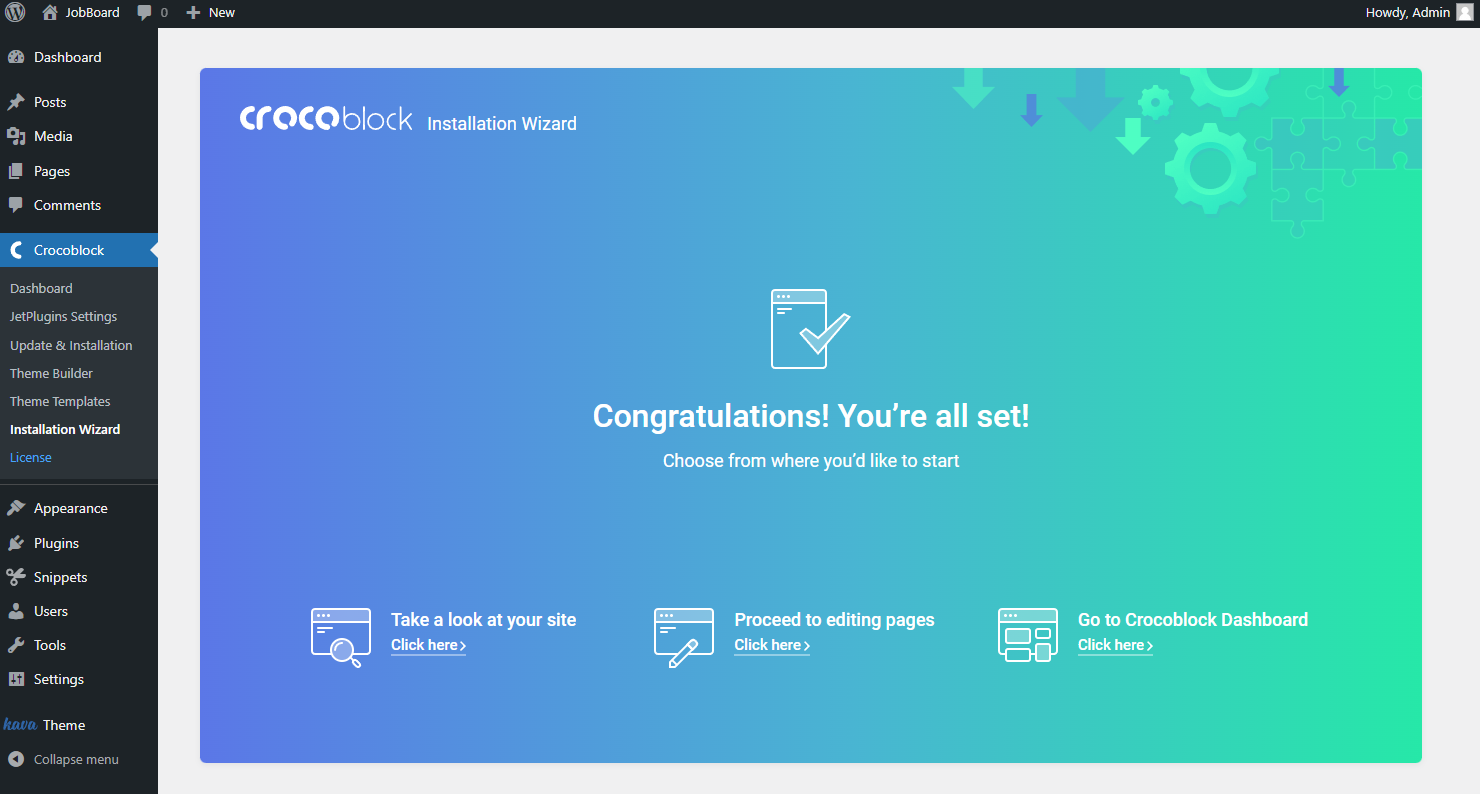
Finally, after completing all the steps, you will be redirected to the Congratulations! You’re all set! page, which provides access to your site, editing pages, or Crocoblock Dashboard.
If you would like to, there are functionalities to export or import any preferable skin.
Now you can start exploring opportunities that you have just obtained with the Crocoblock Wizard and JetPlugins.