
How to Use Image Comparison Widget
From this tutorial, you will learn how to create an attractive Before/After image with the help of the Image Comparison widget from the JetElements plugin.
If you are a designer, photographer, or service provider, the Image Comparison widget of the JetElements plugin will be of extreme use. With the help of this widget, you will be able to visualize the inspiring results of your work. This widget compares two photos, making the results of your work evident.
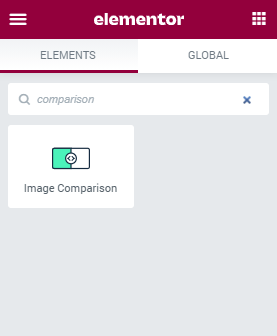
1 Step — Add the Image Comparison widget to the page
First of all, log in to your website. Move to the page where you need to add the Comparison widget. Click the “Edit with Elementor” option at the top panel. In the Elementor editor, search for the Image Comparison widget. Drag and drop it into a new section of your website.
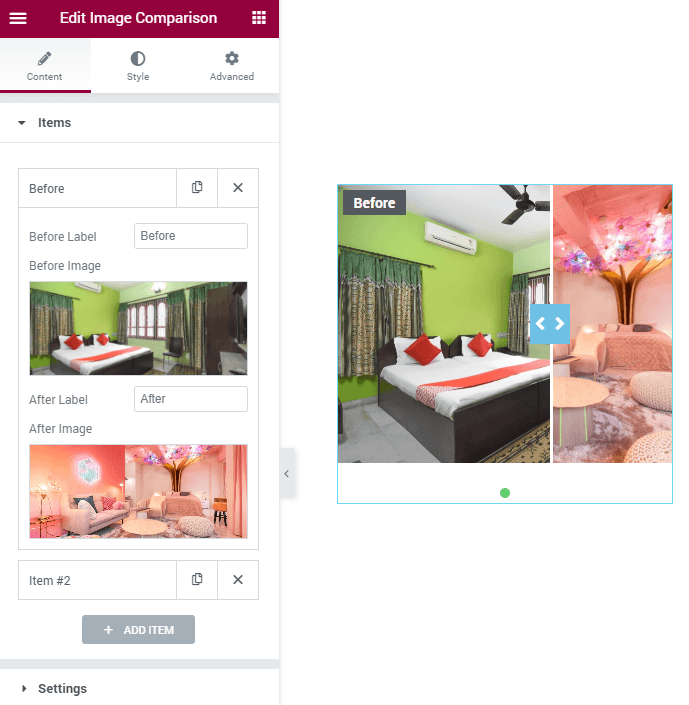
2 Step — Add the pictures
Go to the left-side menu and open Content > Items block. The items you can see here represent the pictures in the carousel. Each item is a Before/After comparison image. You can add as many items to the carousel as you want by clicking the “Add Item” button or remove all but one. Click on the item to choose the Images and Labels for them.
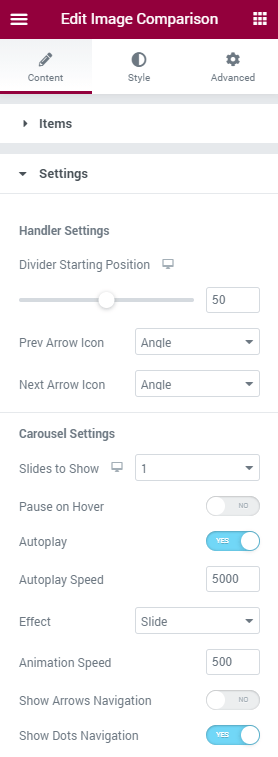
3 Step — Define the settings
Move on to the Settings section of the Content menu tab. Let’s go through the features:
- Divider Starting Position. This slider defines where the divider between images will be placed when the user first sees the comparison picture. You can also set it by typing in the value in percent. The bigger the number – the farther to the left the divider will be;
- Prev Arrow Icon and Next Arrow Icon are also connected with the divider. In the drop-down list you can choose the icons that are placed on both sides of the divider;
- Slides to Show. Select the number of slides (up to 10) to display on your site at a time in this dropdown;
- Pause on Hover. In case you want the autoplay to stop when you put the mouse cursor over a slide enable this option;
- Autoplay. Enable it if you want the slides to change automatically. Then, set the speed in the Autoplay Speed field (in ms);
- Effect. In this drop-down, you can pick either the Slide or the Fade effect of the images change in the carousel. Set the slides switching time (ms) in the Animation Speed option;
- When it comes to the navigation, you can enable the Show Arrows Navigation so as to showcase the tiny arrows on both sides of the slides and style them up by choosing the suitable arrows in the Preview Arrow Icon and Next Arrow Icon options. There is also the opportunity to enable the Show Dots Navigation option with the aim of displaying dots under the slides.
Finally, navigate to the Style block in order to make your Image Comparison widget more attractive. You can style up the Labels, the Handle, the Arrows, and the Dots navigation.
You have completed this tutorial, and now you can easily work with the Image Comparison widget!