
How to Add Static Reviews in Elementor
This tutorial explains how to add static reviews to posts (including CPTs) and pages using the JetReviews plugin's Static Review widget.
Before you start, check the tutorial requirements:
- Elementor free version
- JetReviews plugin installed and activated
- JetEngine plugin installed and activated with configured review meta-fields for pages or posts
The JetReviews plugin for Elementor is one of the most functional review plugins. It creates static and dynamic review types for any CPT types, applies custom behavior conditions, allows roles, provides verification, generalizes statistics via the dashboard, structures data rendering, and shows dynamic rates and dynamic data.
The Static Review widget is one of the two widgets of this plugin. This widget adds some pre-made reviews to any page or post and permits the visitors to leave or not their reviews. Static Review adds two types of reviews: admin static reviews (moderated reviews of visitors) and user static reviews (limited number of reviews per one user without review moderation).
Adding Admin Static Reviews
Adding the Static Review widget
Open the page or post you need to place the Static Review widget. In the widget menu, search for the Static Review widget and drag-n-drop it to the section where you want to put it.
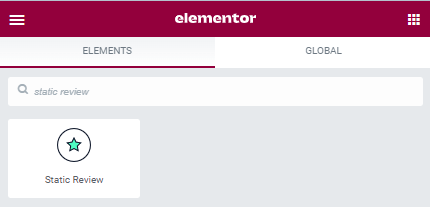
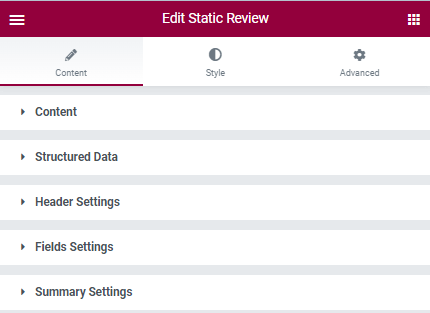
The widget has the following settings: Content, Structured Data, Header Settings, Fields Settings, and Summary Settings.
Manual input of the Review Options
In the Content settings block, choose the Manually Input option for the Content Source drop-down menu.
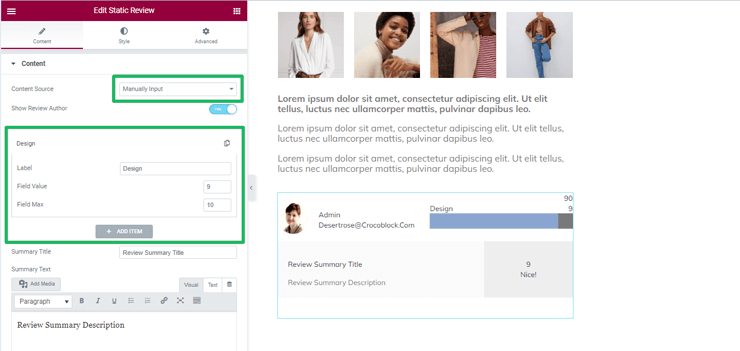
The Manually Input option, if enabled, turns on the following settings to customize the review box:
- Show Review Author toggle turns on the review data showing on the review, i.e., [email protected].
- Label is the field to type the review option shown on the review; users can type any other word instead of the Design.
- Field Value and Field Max fields to type the user’s assessment, i.e., nine out of ten.
To add the new item to show, press the “+ADD ITEM” button.
Adding Summary Data
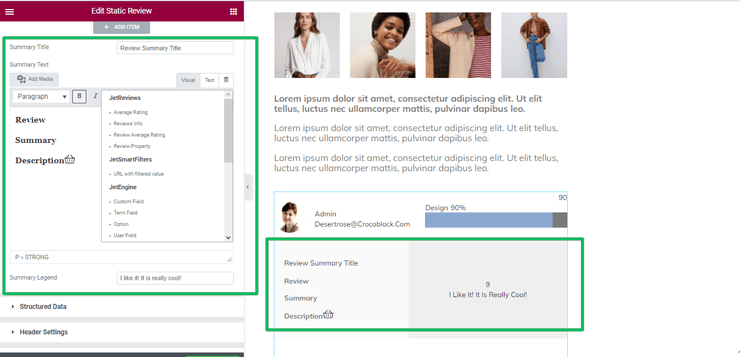
Type the data into the appropriate fields to add the summary data as the Review Summary Title, Summary Text, or Summary Legend. Besides, the Summary Text field allows adding media (the “Add Media” button), customizing the text, and selecting the dynamic data via JetEngine Dynamic tags.
This tutorial overviews JetEngine: Dynamic Tags and Dynamic Settings and explains how to use dynamic tags.
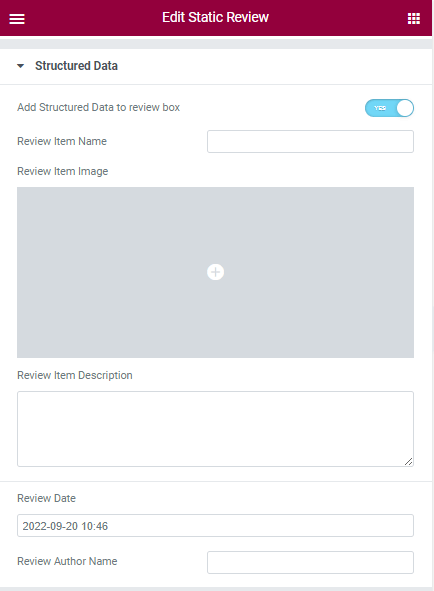
Adding Structured Data
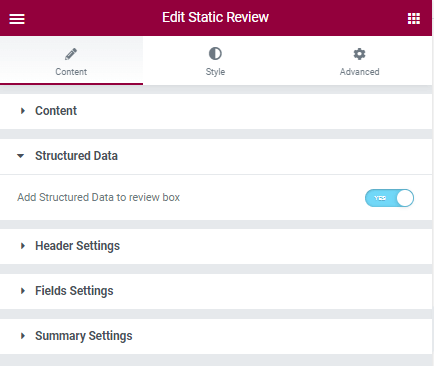
If enabled, the Add Structured Data to the review box toggle turns on the following fields to add these data: Review Item Name, Review Item Image, Review Item Description, Review Date, and Review Author Name. These settings make the review more specific and help Google to rank it; therefore, the review does not show it. If you leave the bars empty, the data will be automatically taken from the meta fields of the current post.
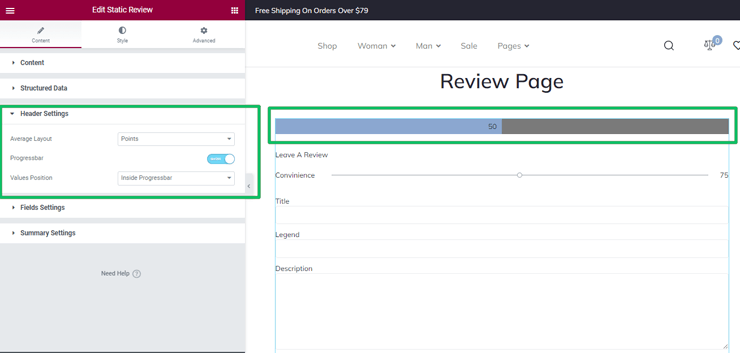
Header Settings
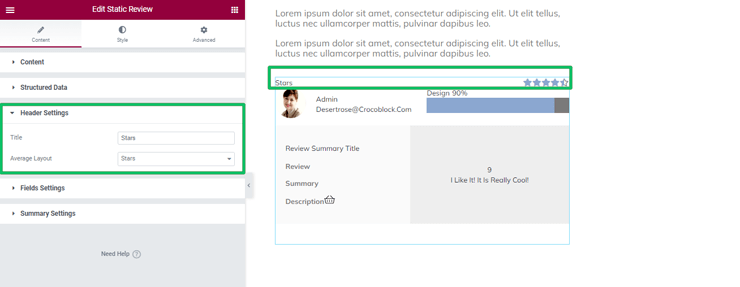
This block of settings is responsible for the review’s headline. It displays on the top of the widget. Type in the Title of the review and pick the Average Layout value from the drop-down list to show Stars, Percentages, or Points.
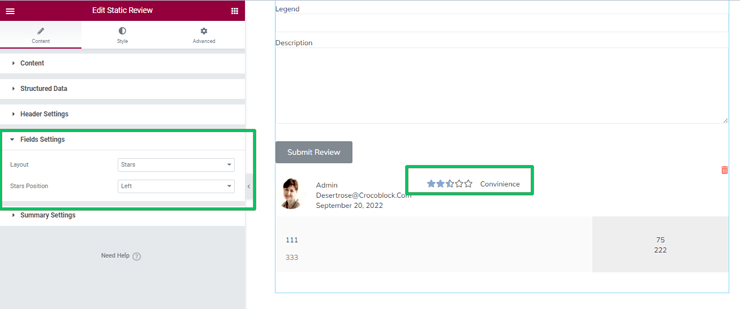
Field Settings
>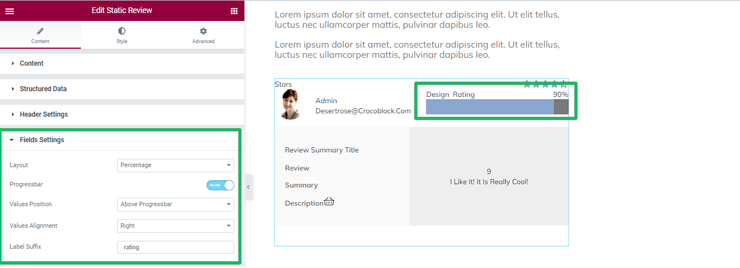
These settings define the positioning and general appearance of the assessment criteria scales. The Layout can be displayed as Stars, Percentages, or Points. Users can determine whether to show the Progressbar or not, define the Values Position and Alignment, and add a Label Suffix.
Name the filter
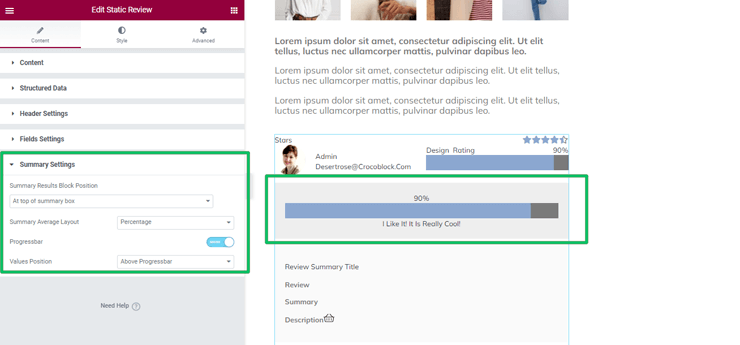
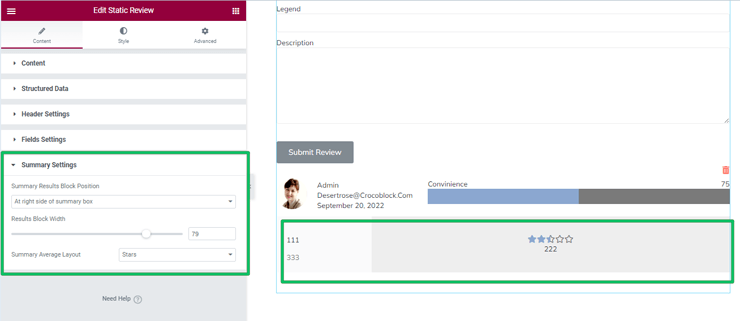
To add the Summary Settings data, unroll the Summary Settings block and choose the options you need.
Stylish Settings
These settings customize all options of the review box to make it stylish. For example, the Review settings manage the Review Gap, Padding (field to type), Border Type (drop-down menu), Color, Border Radius (in pixels and percentages), Box Shadow, etc.

Adding User Static Reviews
This review type covers the possibility of displaying the review data from one post (including CPTs) on another page/post.
Fill in the meta box
Open the page, post, or custom post where you want to add the static review. After enabling reviews for this type of page or post, a set of meta fields was added.
To add metadata to the post, click on the post to edit and scroll the post or page to the JetReviews meta box.
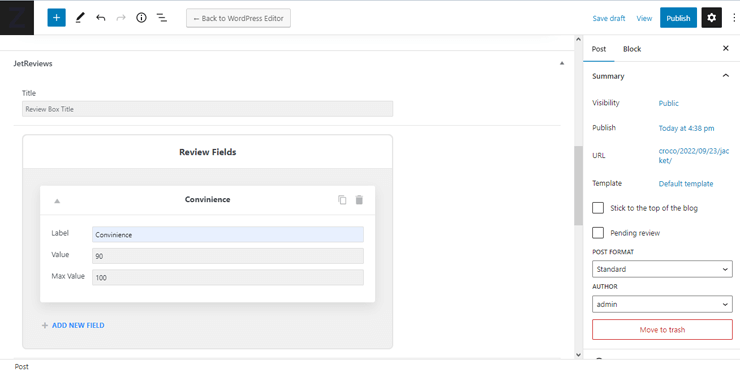
Here used a post with meta fields:
- Title field of the review.
- Reviews fields: Label, Value, and Max Value fields to add assessment criteria for the users to evaluate the post or item.
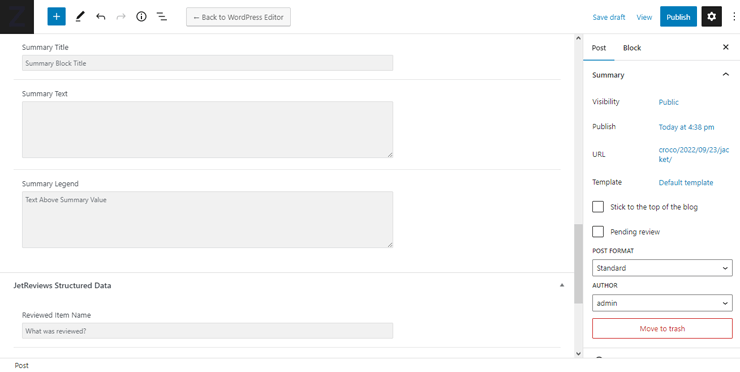
- Summary Title bar for a short opinion on the post.
- Summary Text field to type the text of the review.
- Summary Legend field to display the average score of the review.
The following meta box is JetReviews Structured Data. It allows you to add the data for the reviewed item straight to the review, making the reviews more understandable for visitors. You can add the Item’s Name, Image, Description, and Author.
Click the “Update” button to save changes.
To add review fields to CPTs, you need to have the JetEngine plugin. But JetReviews allows adding review fields to posts or pages without JetEngine.
This tutorial explains Adding and Attaching a Review Type to the CPT.
This tutorial is the Full Review Addition Tutorial on JetReviews; specifically, it explains how to customize JetReviews‘ settings to show review fields on specific posts.
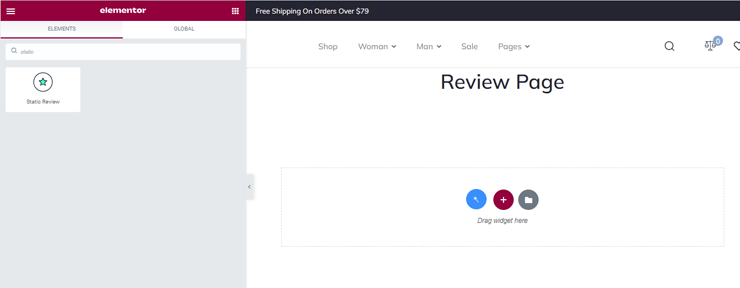
Adding the Static Review widget
Open the page or post you need to place the Static Review widget. In the widget menu, search for the Static Review widget and drag-n-drop it to the section where you want to put it.
Here the Static Review widget was added to a page.
Post review data input
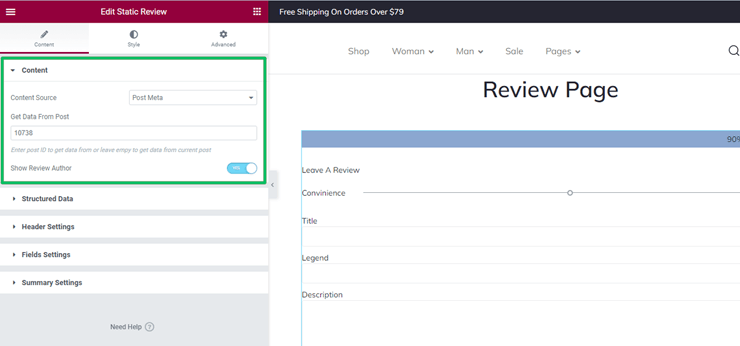
To add the data from the postof the Product CPT with meta fields, navigate to the Content settings block. Type the post ID in the Get Data From Post field to get data. The ID is the number in the URL that goes after “post=”. Unroll it down and choose the Post Meta option from the Content Source drop-down menu. If you leave the Get Data From Post bar empty, the widget will automatically upload the metadata of the current post.
The video about JetReviews for Elementor explains how to choose the post’s metadata from the review field to be shown.
The Show Review Author toggle, if enabled, allows displaying which user had written the review.
Adding Structured Data Settings
To add the Structured Data to the review, switch the toggle. These settings make the review more specific and help Google rank it; therefore, the review box does not show it.
Name the filter
Users can customize the following Header Settings:
- Average Layout drop-down menu to select the presentation of the user’s estimation from Stars, Percentage, and Points.
- Stars, Percentages, and Points options refer to the user’s choice. For example, if the user selected the Percentage, the Progressbar toggle would be shown. It turns on the Values Position drop-down menu with two options: Above Progress bar and Inside Progress bar.
Fields Settings
Users can choose one of three possible options (Stars, Percentage, and Points) from the Layout drop-down menu. The customizable settings refer to the Stars, Percentage, and Points options according to the users’ choice.
Summary Settings
These settings are the last group of settings. Users can choose one of three possible options (Stars, Percentage, and Points) from the Layout drop-down menu and customize.
When you have completed the customization, click on the “Publish” or “Update” button. Now, you know how to easily add static reviews to your website using the JetReviews plugin.