
How to Create Relations Between Posts
Discover how to build relationships between Custom Post Types using the JetEngine plugin on your WordPress website.
Before you start, check the tutorial requirements:
- Elementor (Free version), Block editor (Gutenberg) or Bricks
- JetEngine plugin installed and activated with two Custom Post Types created and several posts added. If you have not done this yet, please follow this tutorial.
- JetThemeCore plugin installed and activated
JetEngine allows setting different types of relations. For now, the refactored Relations feature enables you to build relations between Custom Post Types, Custom Content Types, users, and taxonomies.
In this article, we revise the Custom Post Types relations.
Build a Relationship
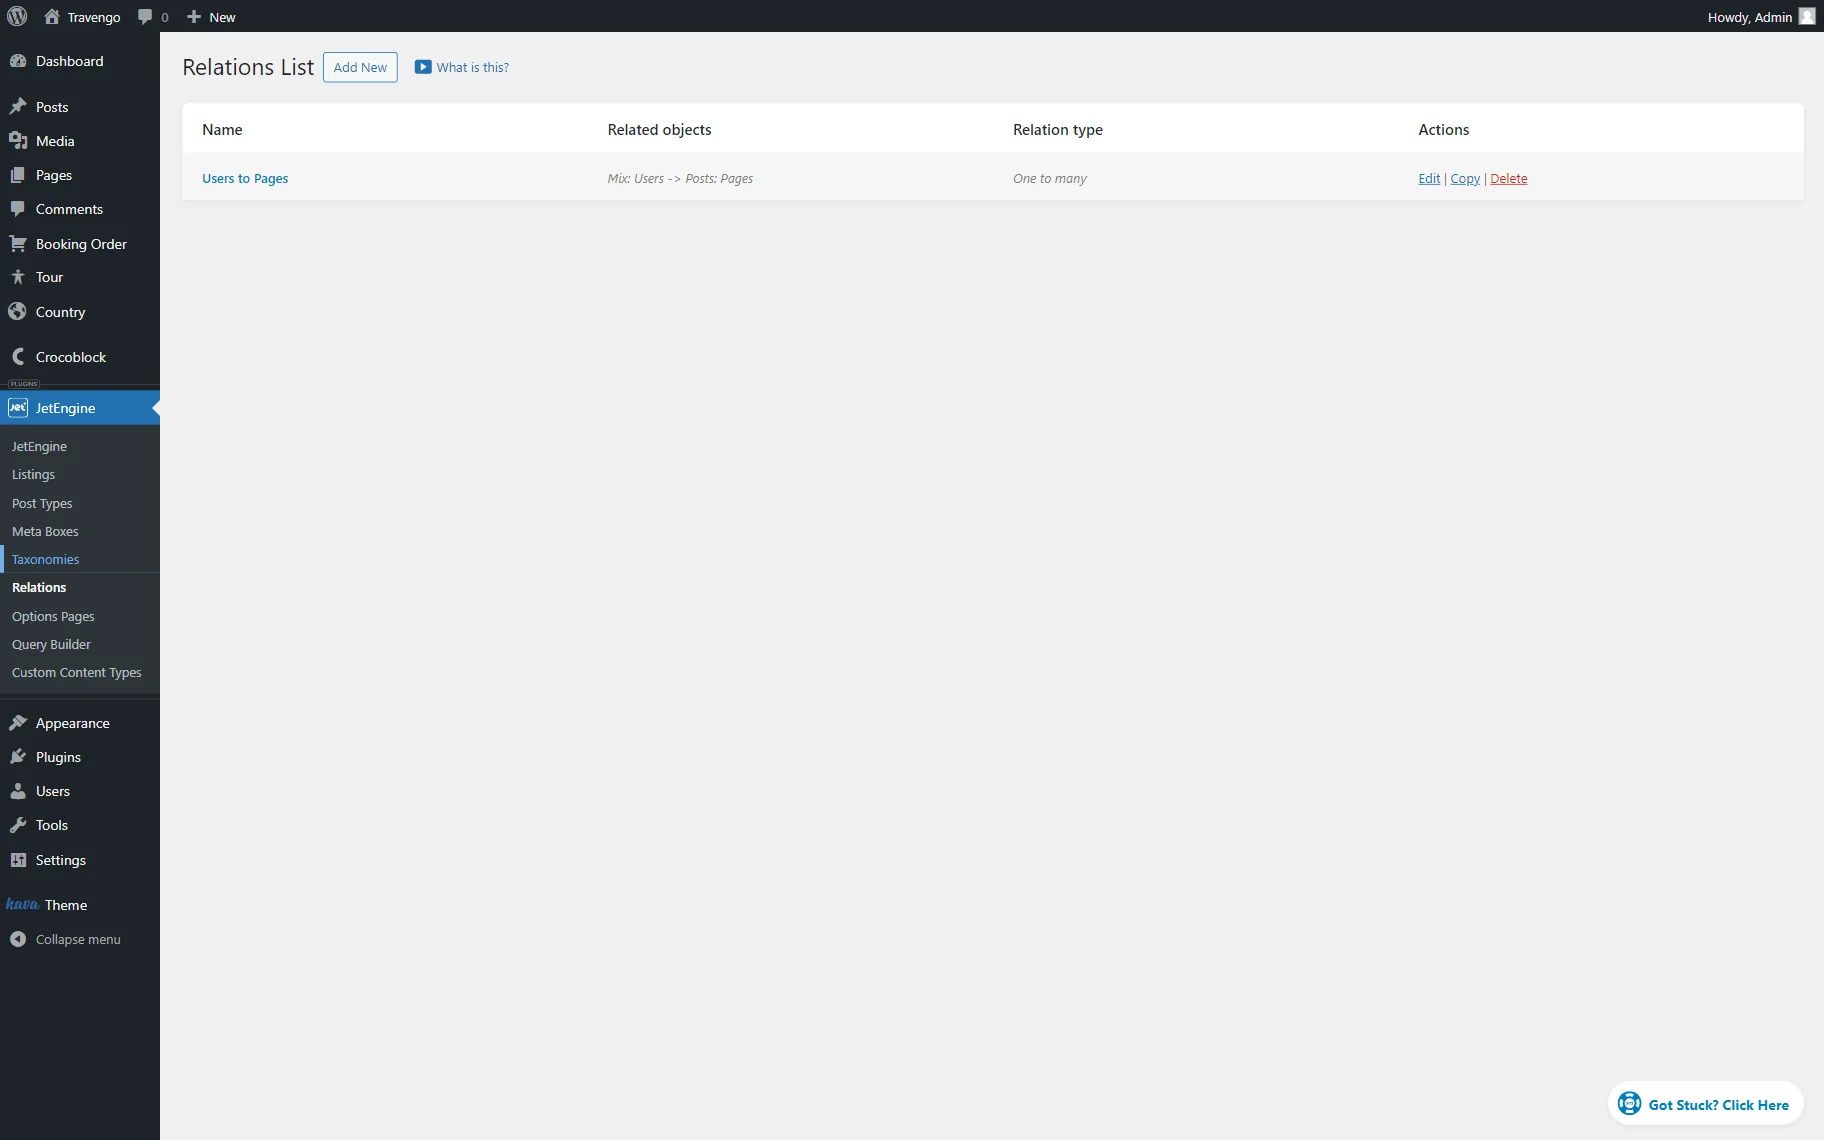
Head to the WordPress Dashboard > JetEngine > Relations directory and push the “Add New” button to build a new relationship.
If you have already created some relations, you can also click on the “Edit” button next to the existing item to open the relations editor.
General Settings
Set a Name for the relation and select the created post types as the Parent object and Child object in the corresponding drop-down menus.
Proceed to the Relation type selector and pick the suitable option.
Once the type is defined, you can set the Parent relation if desired.
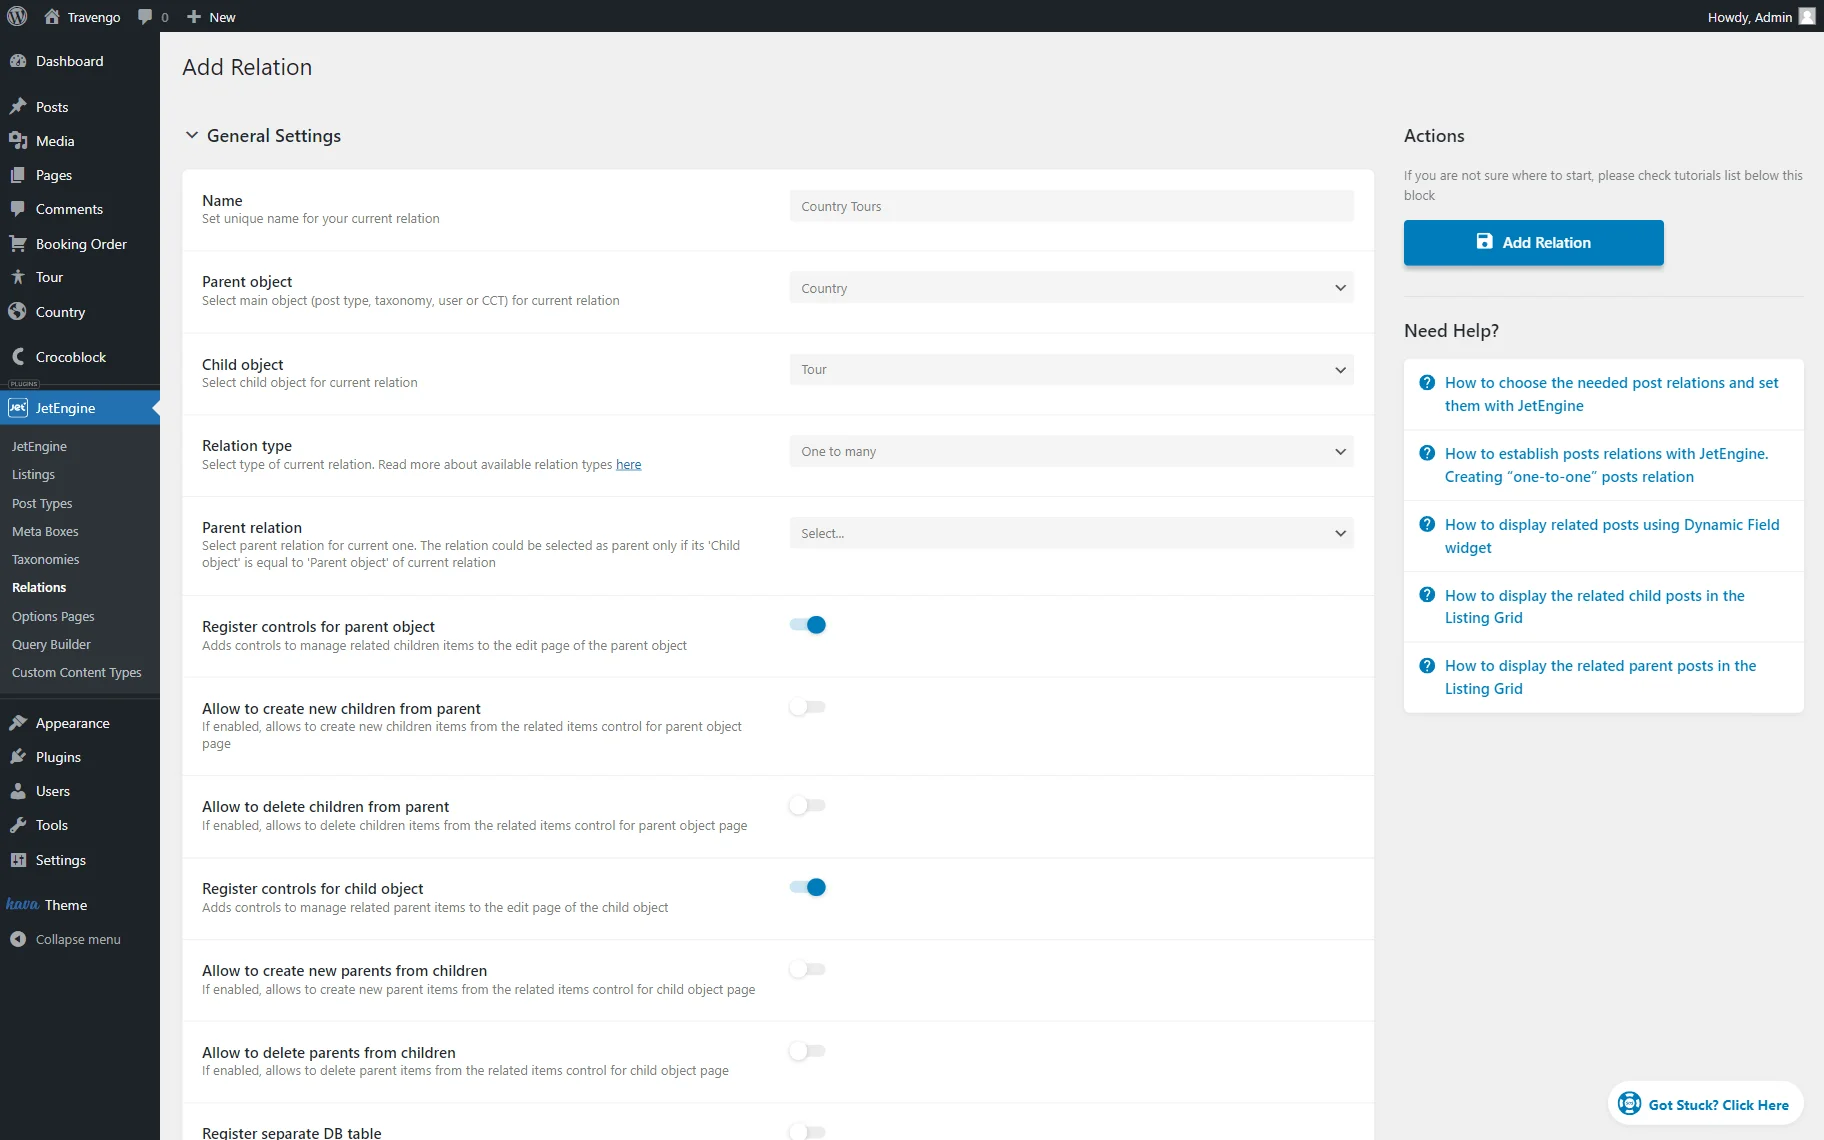
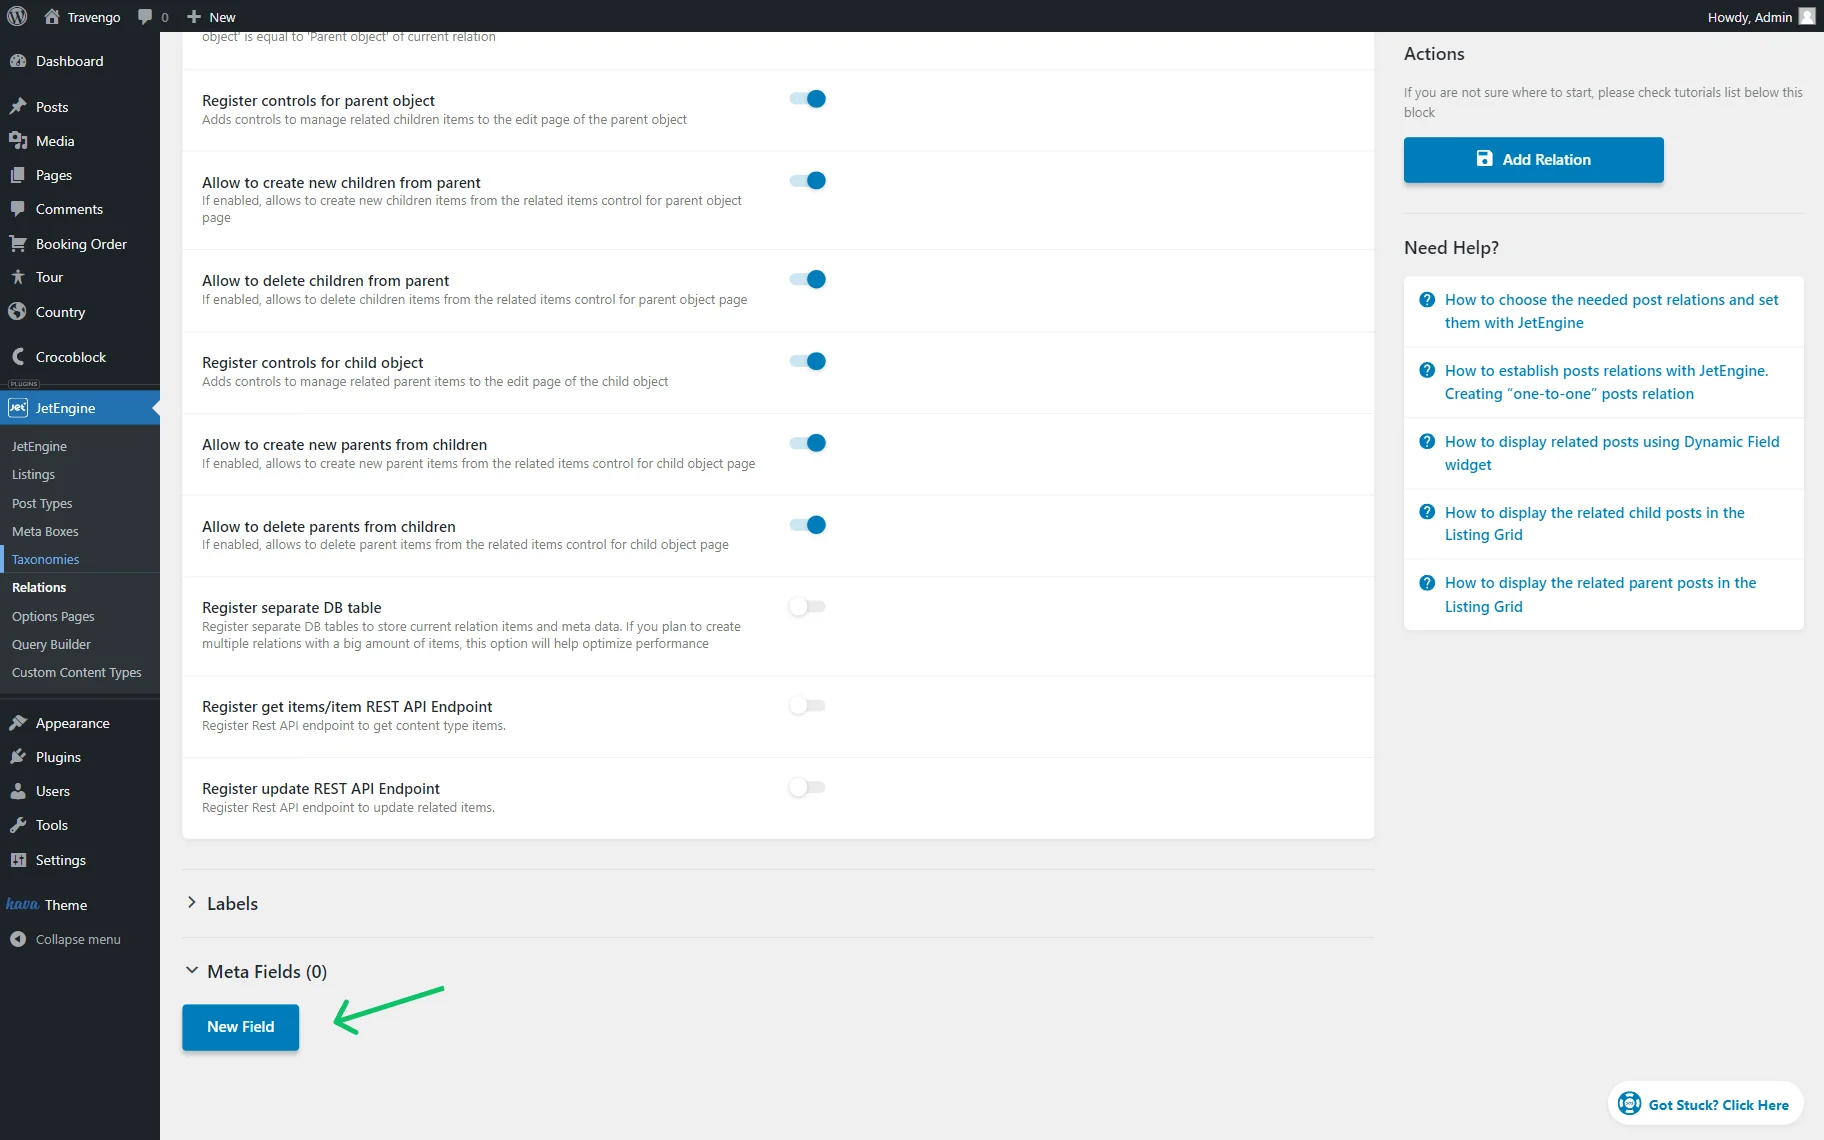
The following toggles allow registering more controls for the related items:
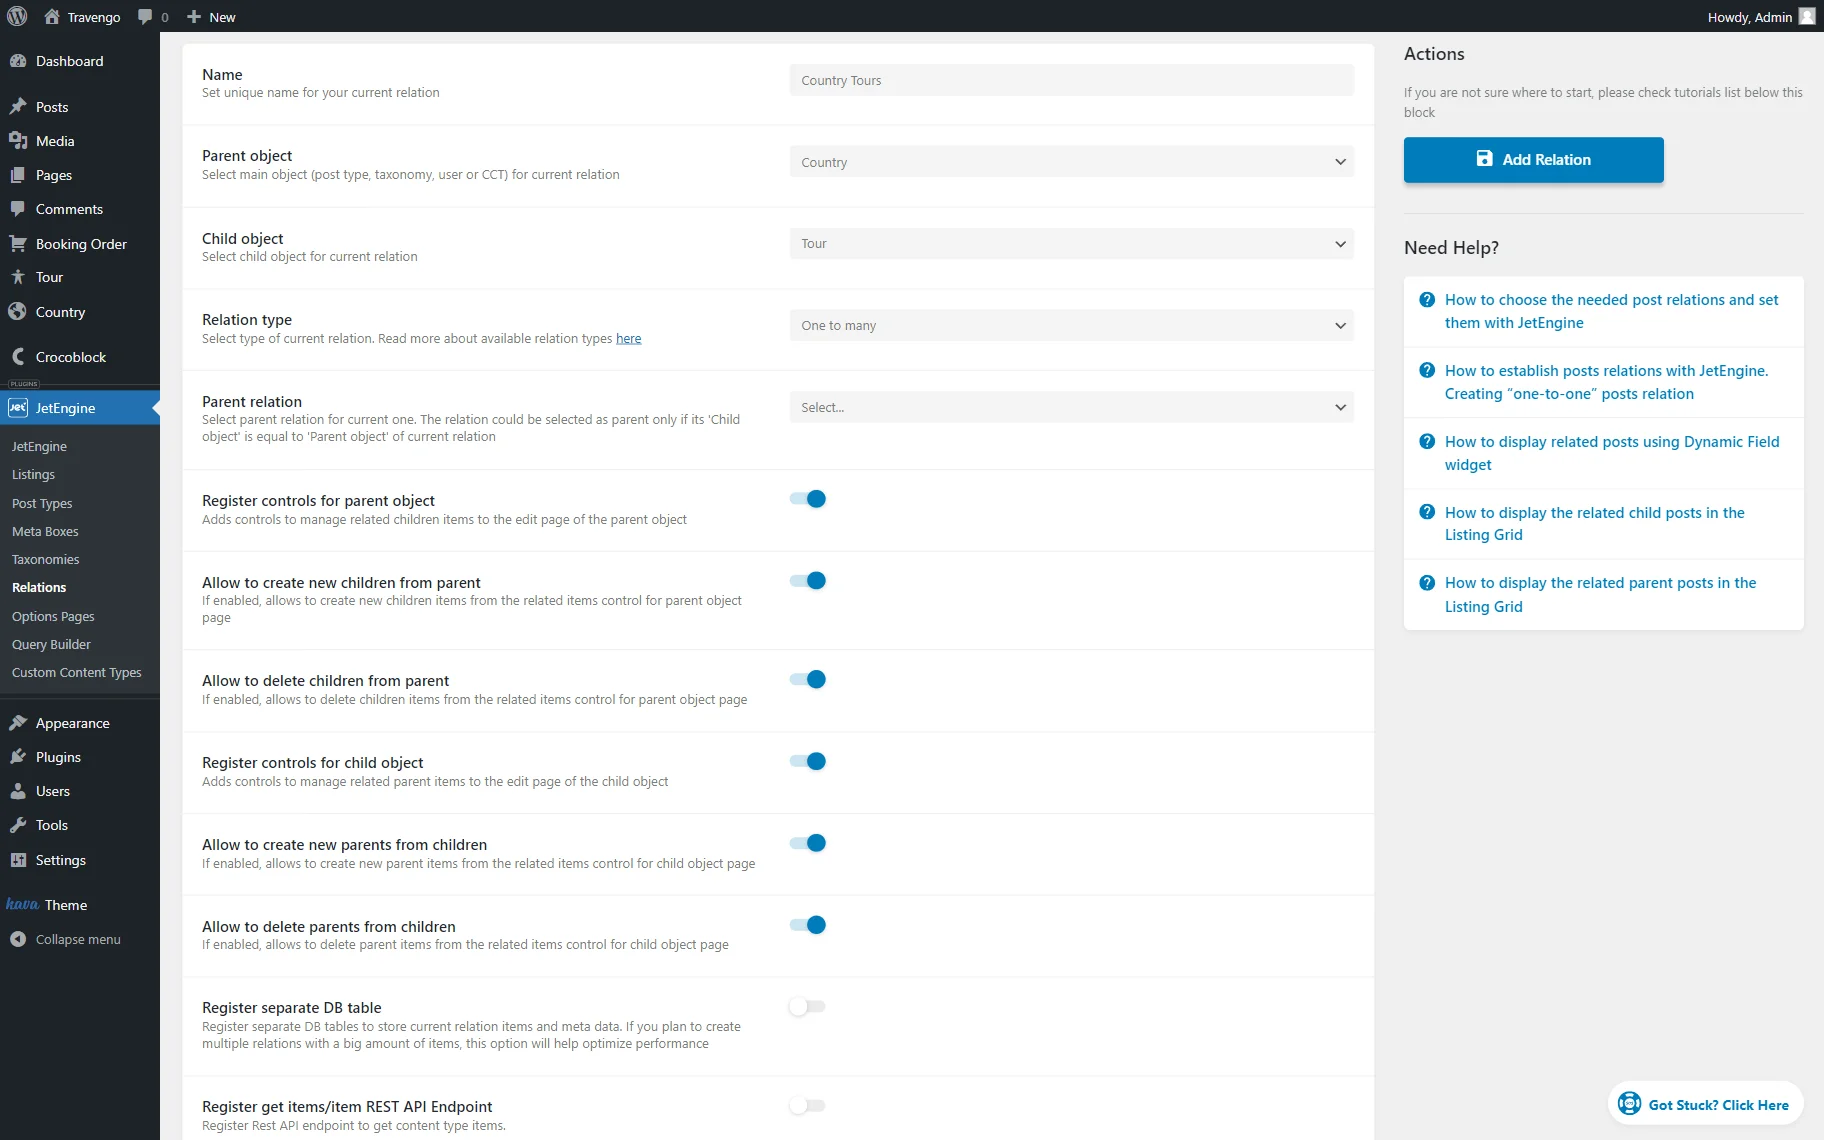
- Register controls for parent object — a toggle that adds controls of the related children to the parent object;
- Allow to create new children from parent — a toggle that allows creating new children from the parent object page;
- Allow to delete children from parent — a toggle that allows deleting children from the parent object page;
- Register controls for child object — a toggle that adds controls of the related parent to the child object;
- Allow to create new parents from children — a toggle that allows creating new parents from the child object page;
- Allow to delete parents from children — a toggle that allows deleting parents from the child object page;
- Register separate DB table — a toggle that creates a new database only for the current relation. If not enabled, the data will be stored in the global relations database.
Labels
If desired, set the custom labels for the controls or leave them empty to see the default labels.
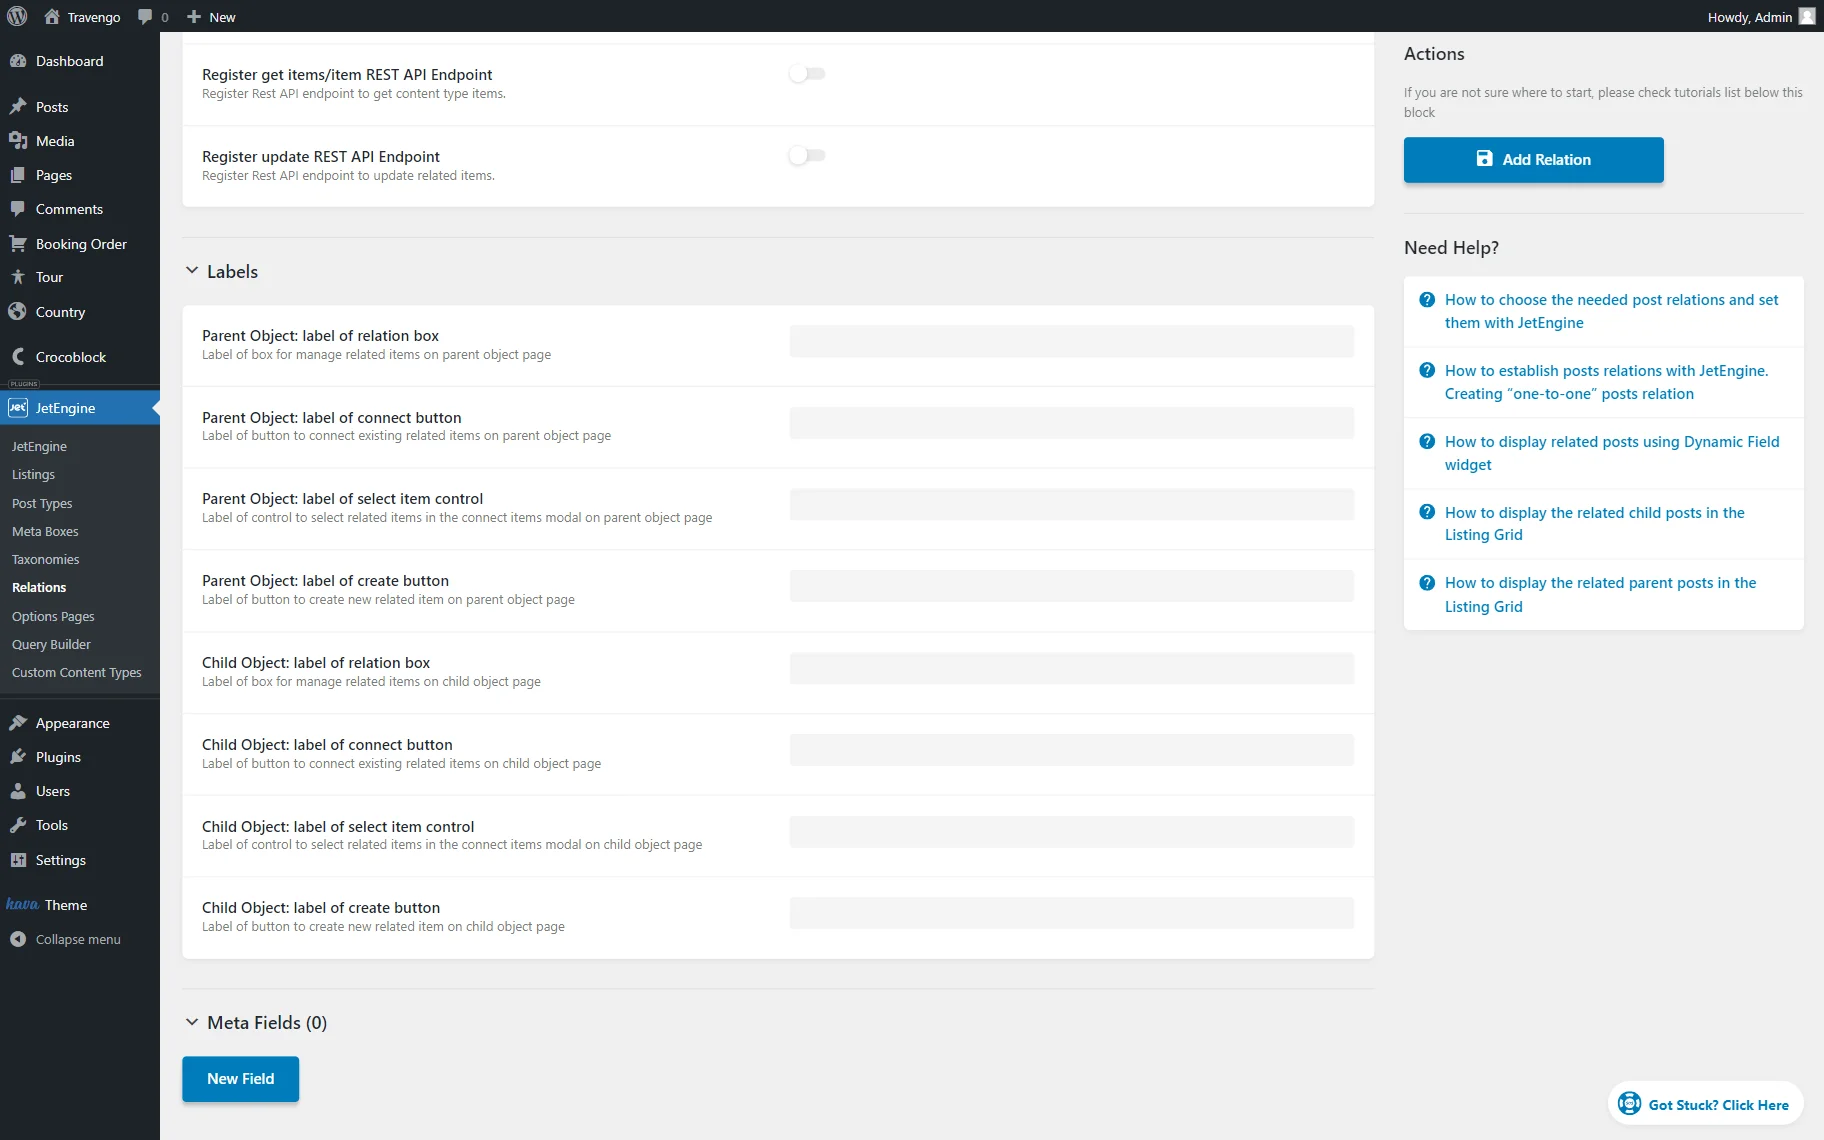
Meta Fields
This tab allows setting meta fields for the relationship as a unit. Push the “New Field” button to add a new meta field.
Adjust the needed meta fields.
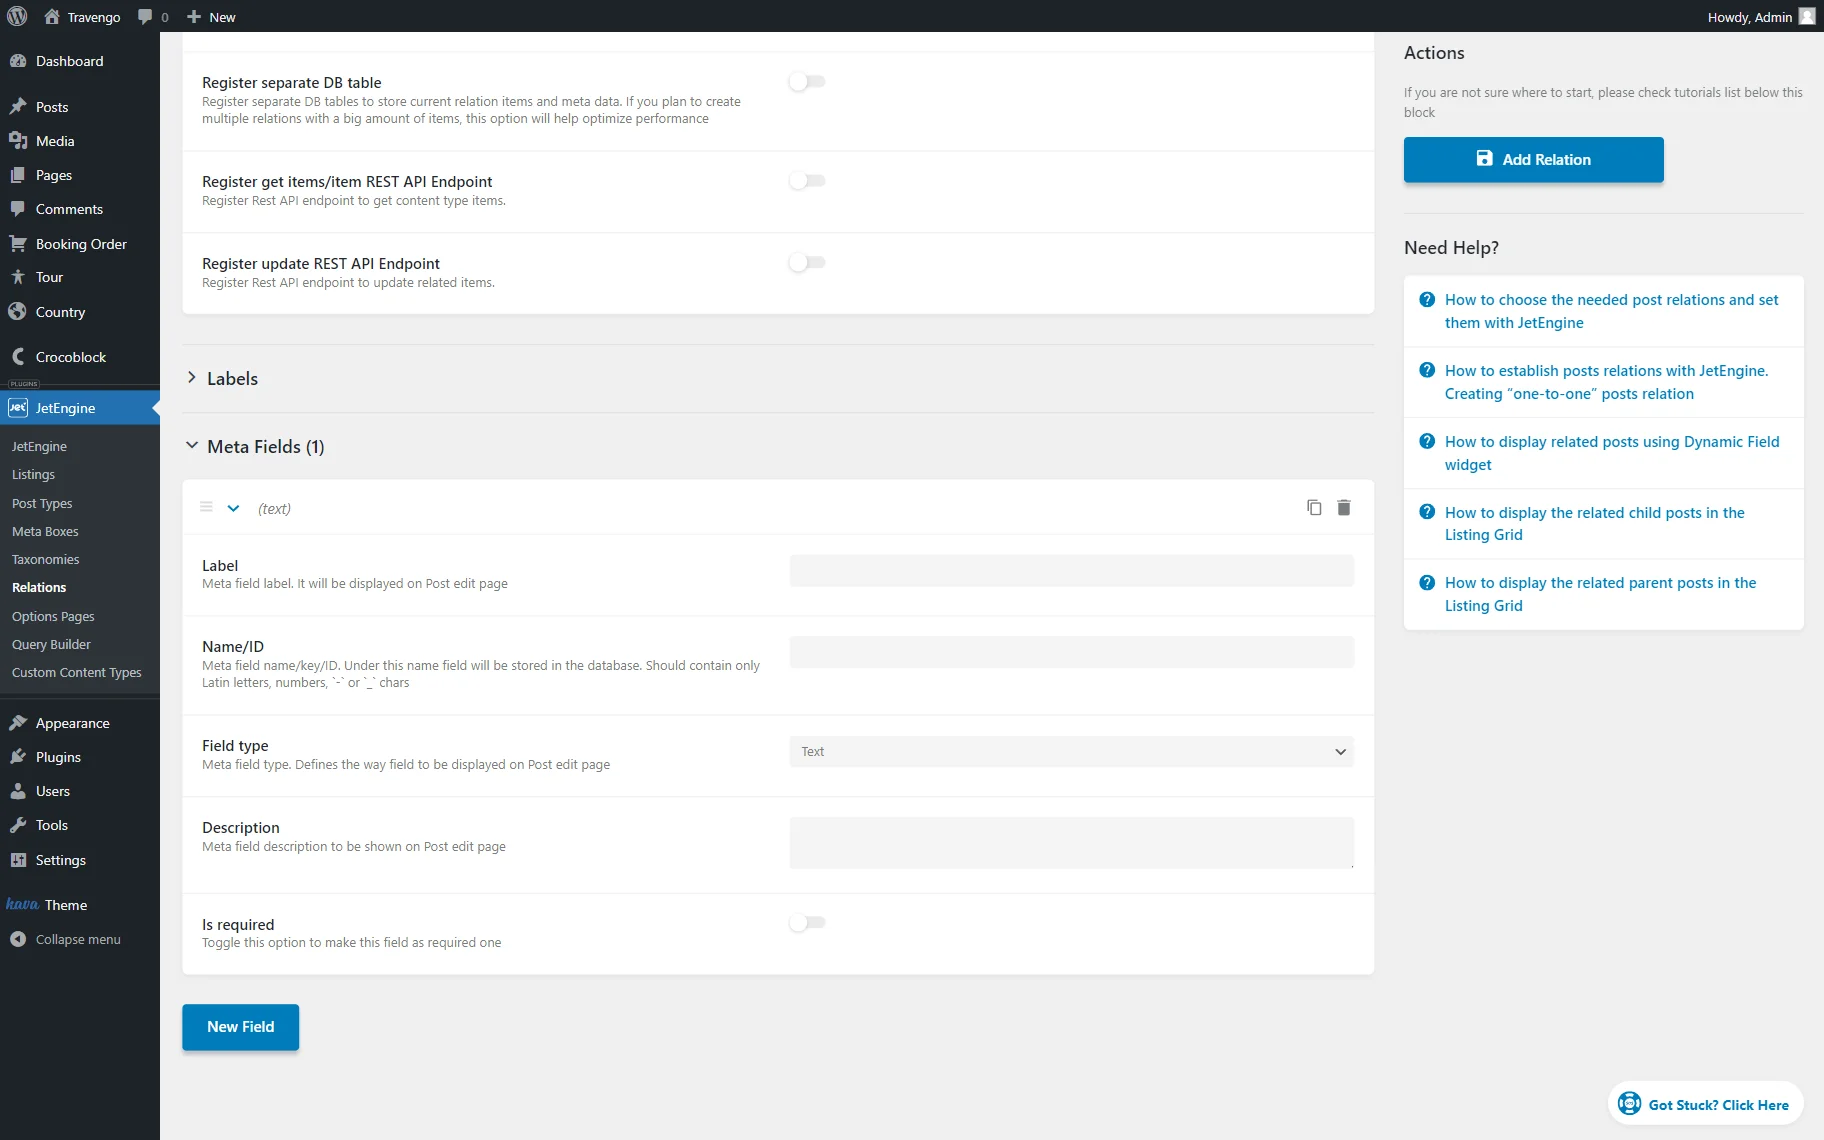
- Label — a label that will be displayed next to the meta field;
- Name/ID — a value stored in the database. Mind that this field should include only lowercase Latin letters with no spaces. Use “-” and “_” symbols to separate words;
- Field type — a meta field type that will be displayed when the field in the post is being edited;
- Description — a meta field description that can be used if you want to show additional information about the field next to it;
- Is required — a toggle that, if enabled, makes the field obligatory for completing.
After making all the changes, push the “Add Relation” button.
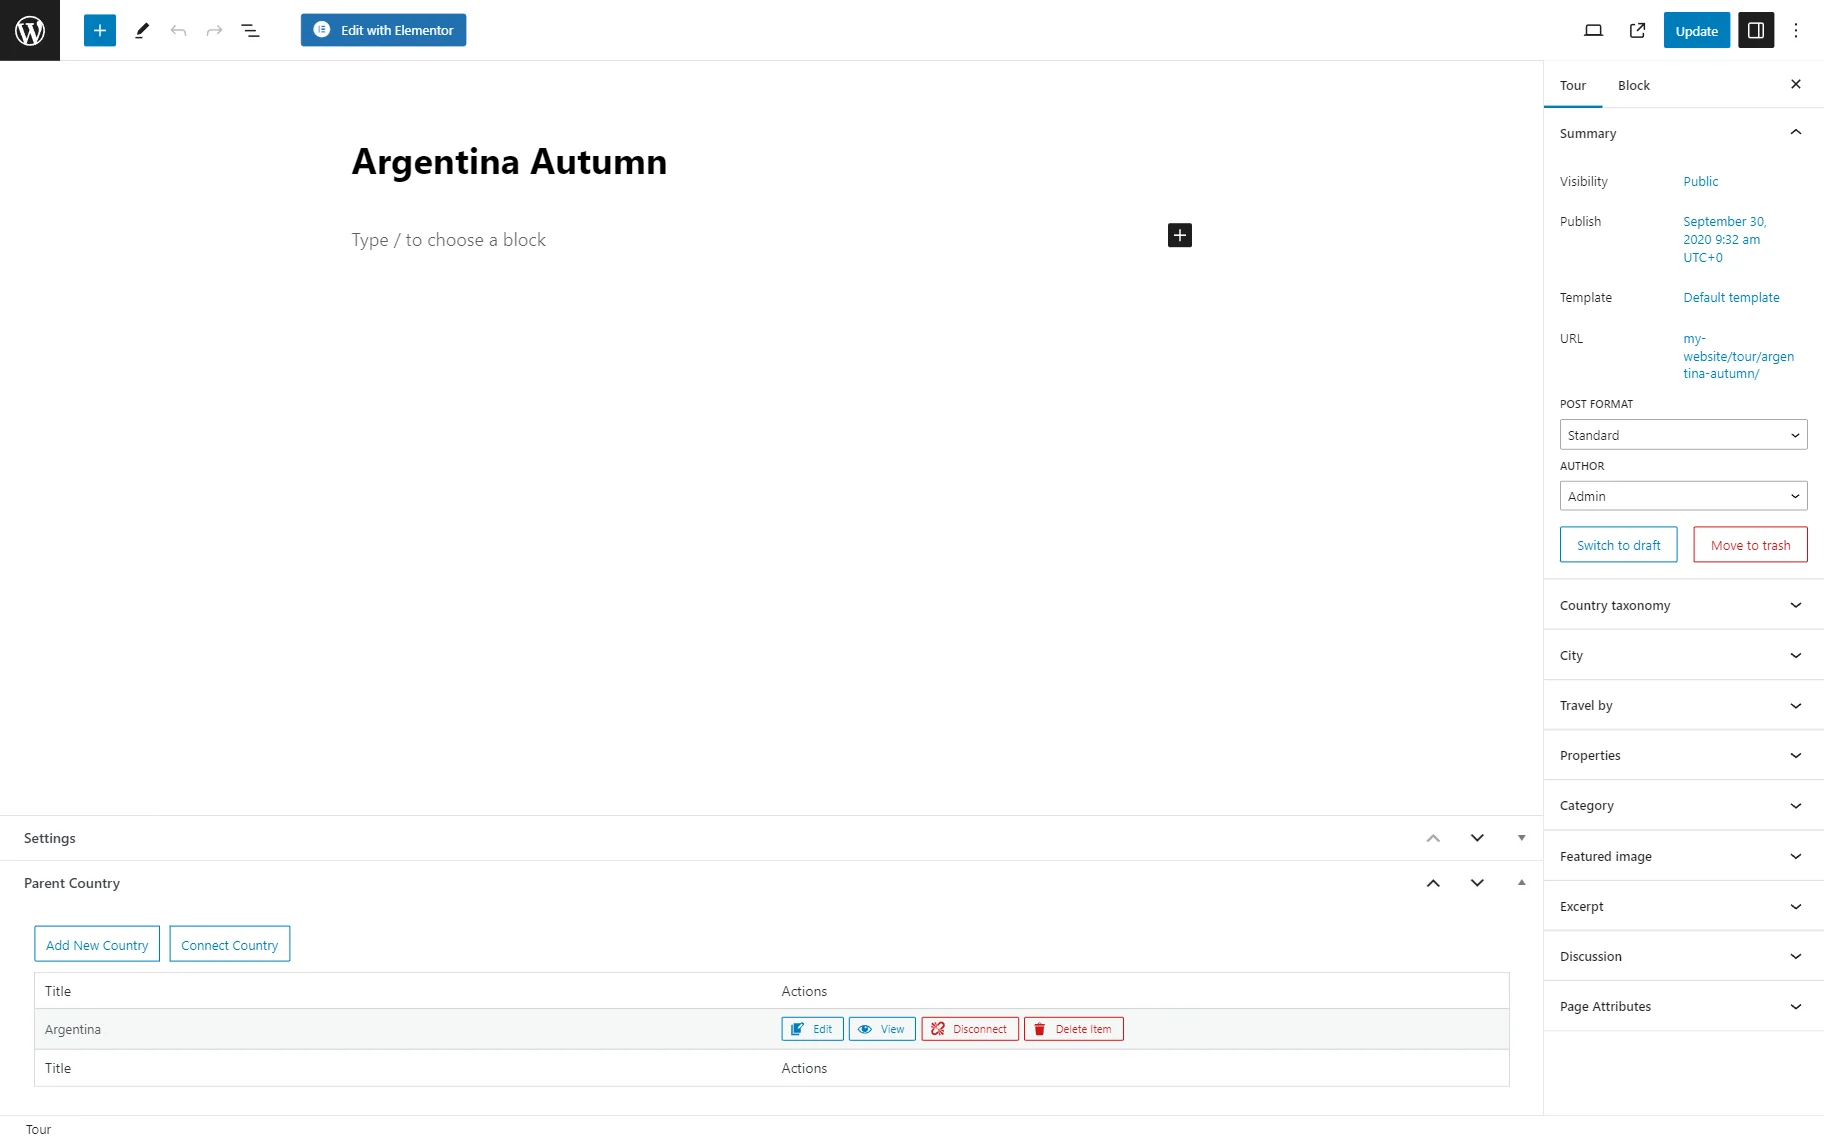
Parent Post Type Editor
The editor will appear in the Custom Post Type posts, both in the parent and child post types.
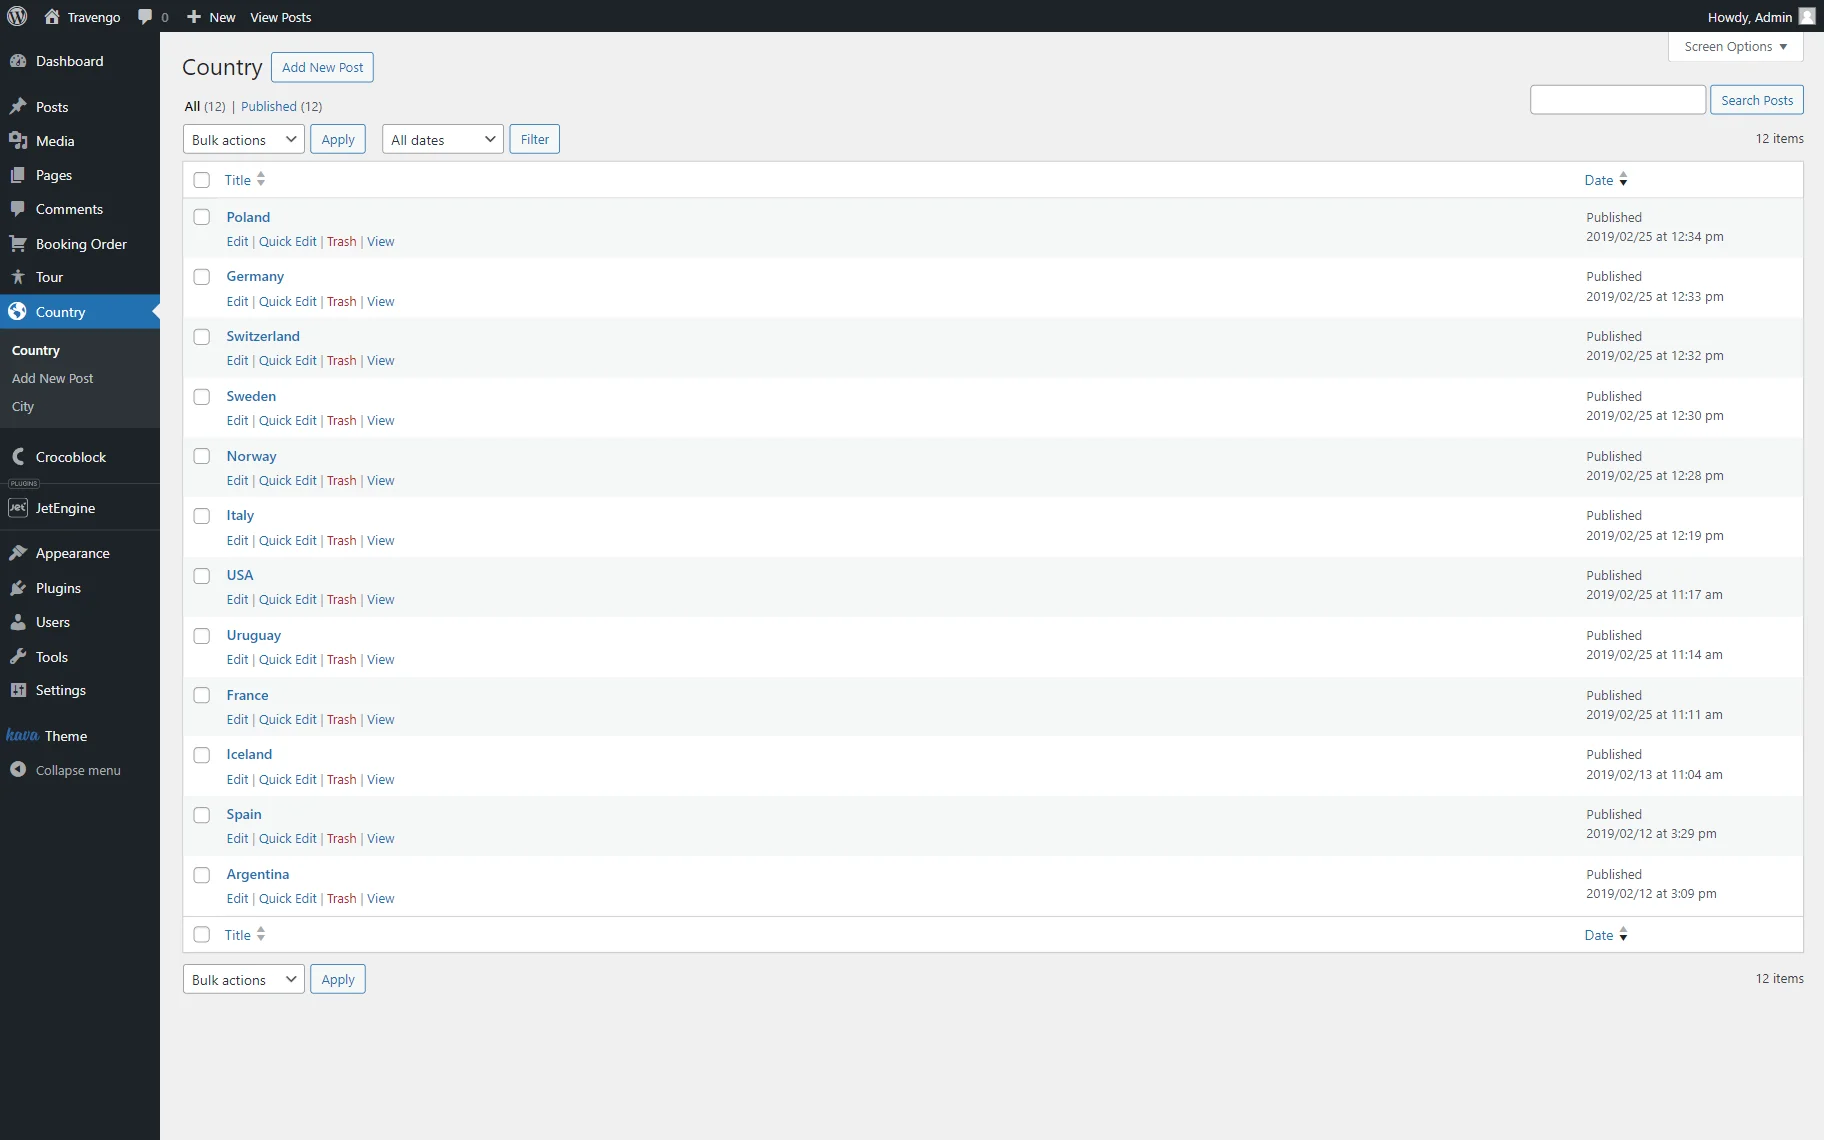
Let’s check the parent post type. Return to the WordPress Dashboard and head to the custom post type you have set as a Parent object.
Click on the “Edit” button next to any post to which you want to add related children.
After opening the parent object post type, head to the Children … tab. Here, you can add, edit, and delete all the needed posts as related child items. You can read more about the controls in the Related Items Editing article.
Once the connections are made, press the “Update” button.

Repeat the previous steps for all the child posts you want to relate.
Child Post Type Editor
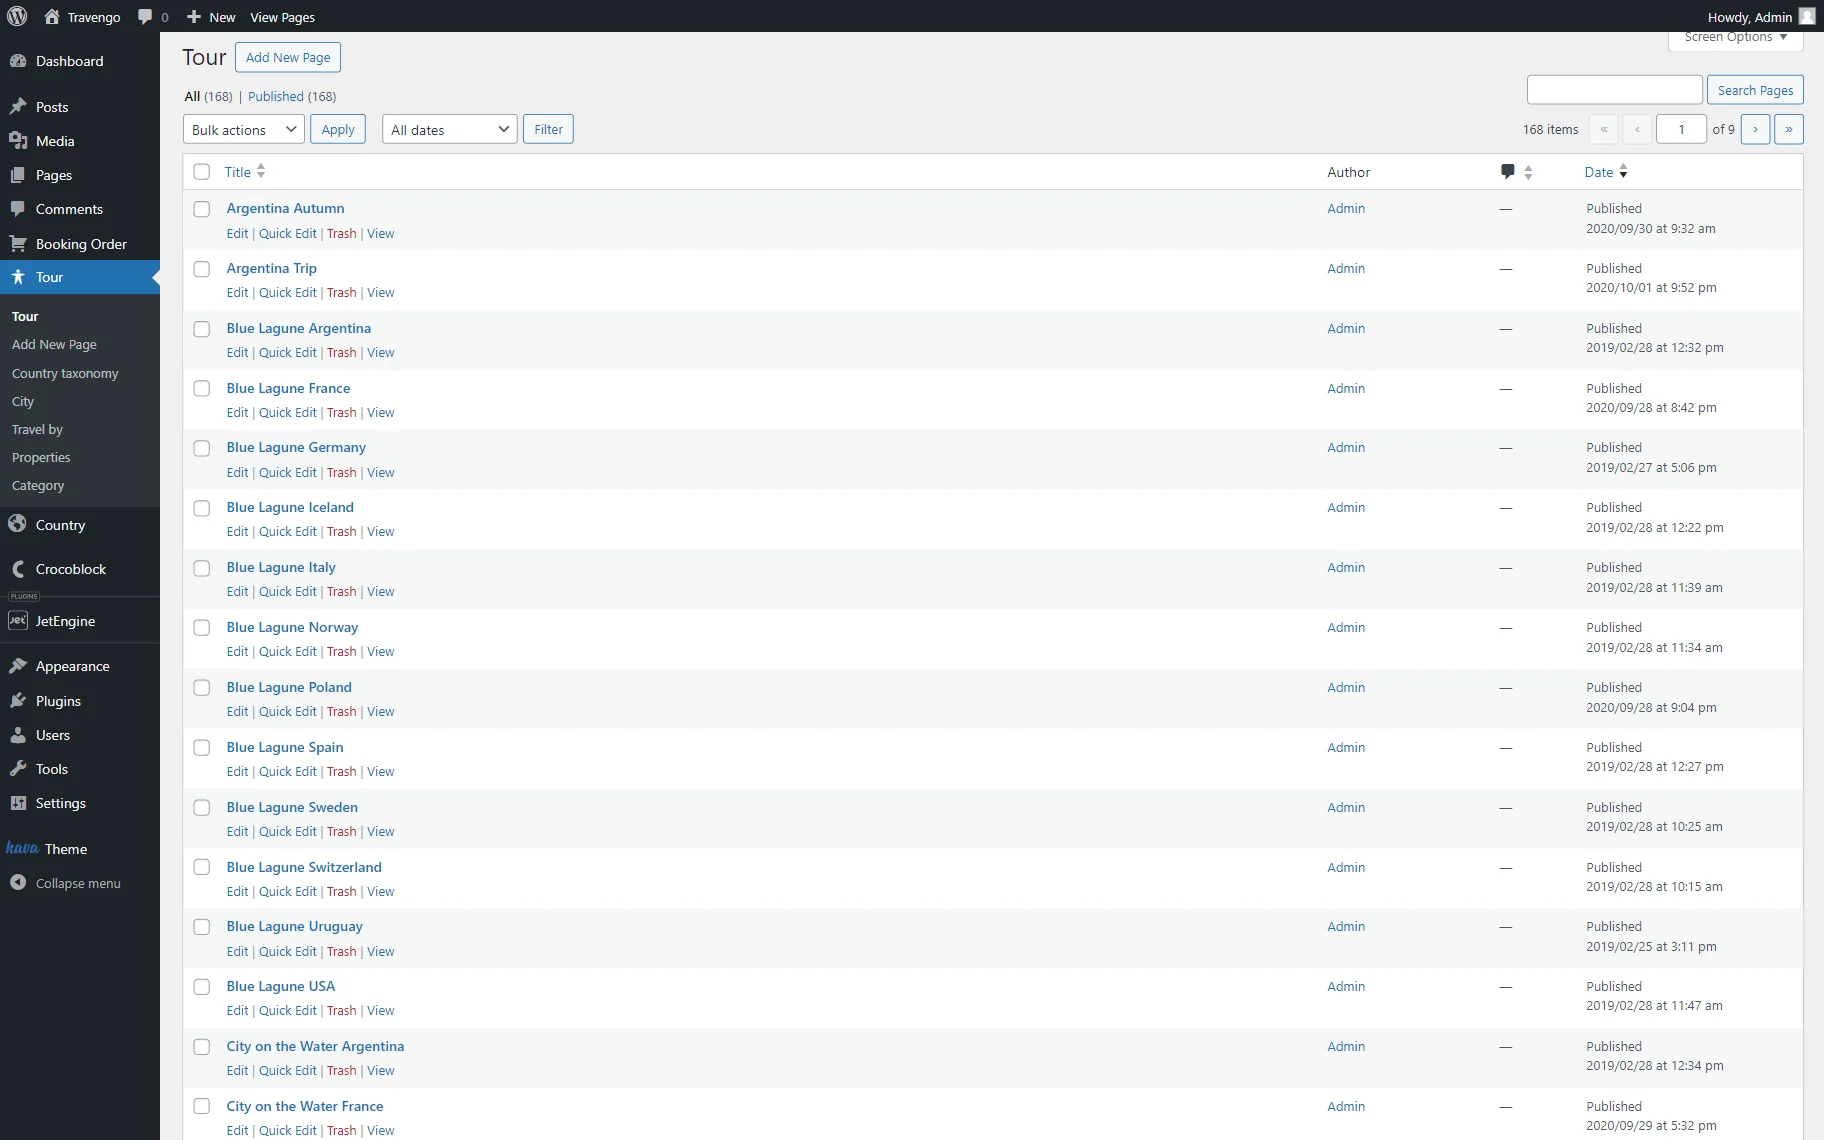
If you want to work with the child object, return to the WordPress Dashboard and proceed to the post type you have set as a Child object.
Click on the “Edit” button next to any item to which you want to add related parent posts.
Go to the Parent … tab. Here, you can set and delete relations with the parent object posts.
Remember to update the post to save the result. This way, you can relate any children posts you need to parent post type items.
Use Case
Let’s assume you already have related posts connected and want to display the child objects on the parent Single Page.
Create a query
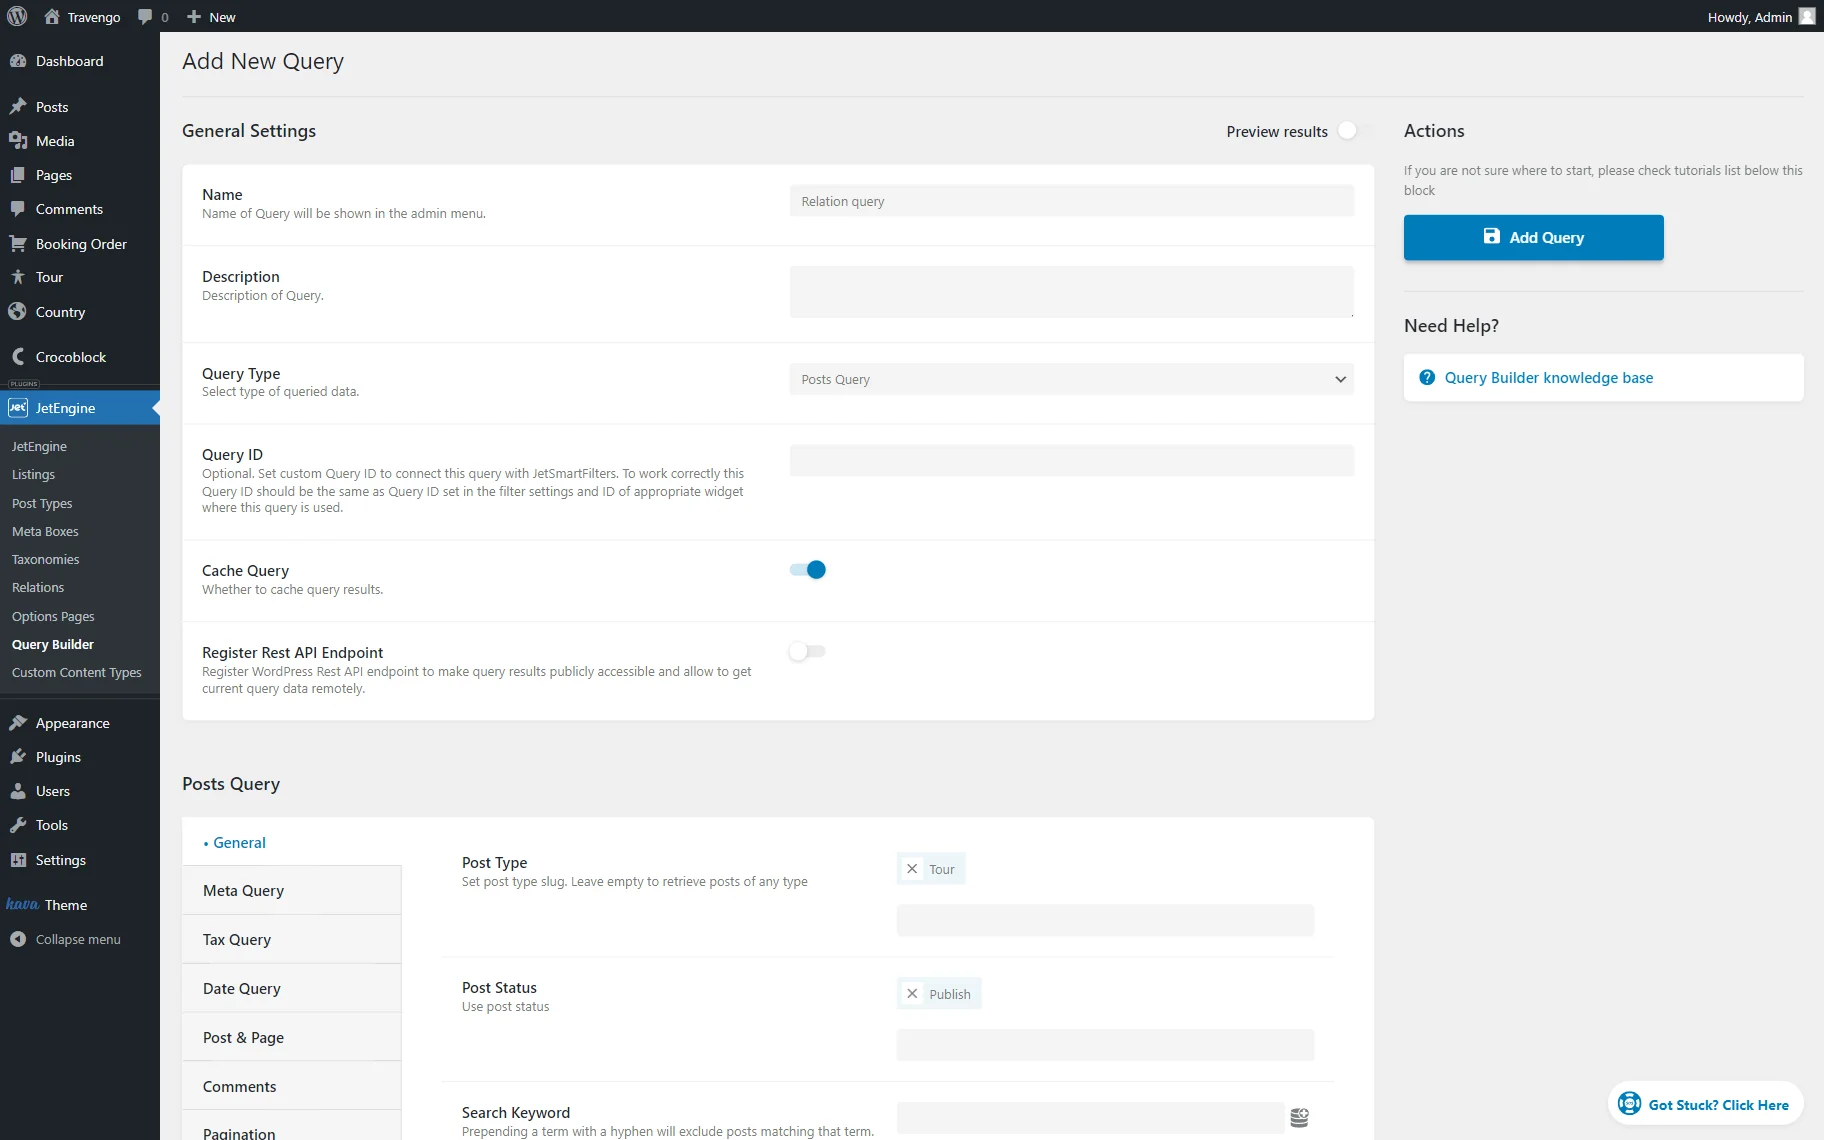
To do so, we first need to build a custom query. Proceed to WordPress Dashboard > JetEngine > Query Builder.
Click the “Add New” button.
In the query editor page, complete the Name field and select the “Posts Query” Query Type.
In the General tab of the Posts Query section, select the Post Type that was previously set as a child.
Set the Post Status to “Publish.”
Open the Post & Page tab. Here, push the “coin stack” button to open the list of available macros.
Find the “Related items” option and click on it to open the additional customization settings.
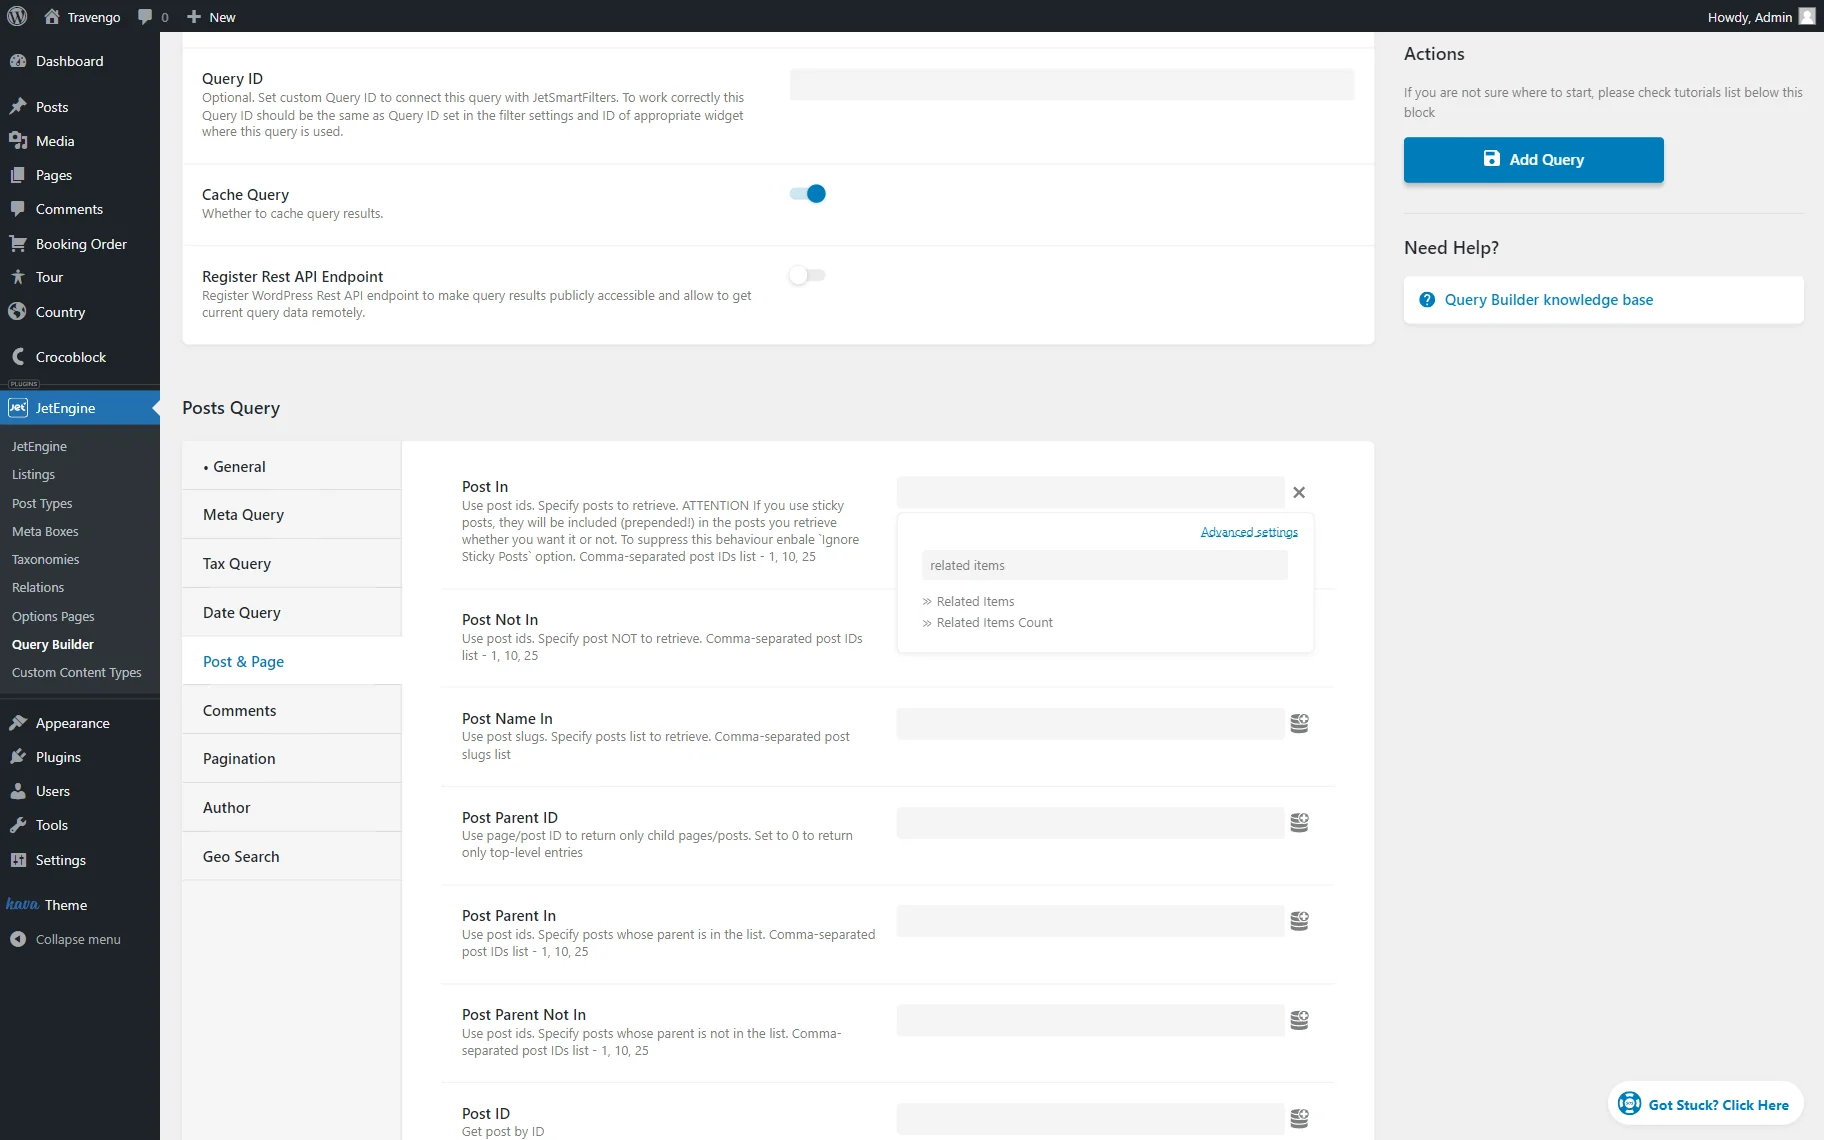
In the From Relation field, pick the relation that will be used as a source; in the From Object (what to show) field, select the “Child Object” option; and in the Initial Object ID From (get initial ID here) field, pick the “Current Object ID” option.
Press the “Apply” button.
Once the query is adjusted, press the “Add Query” button.

Build a listing
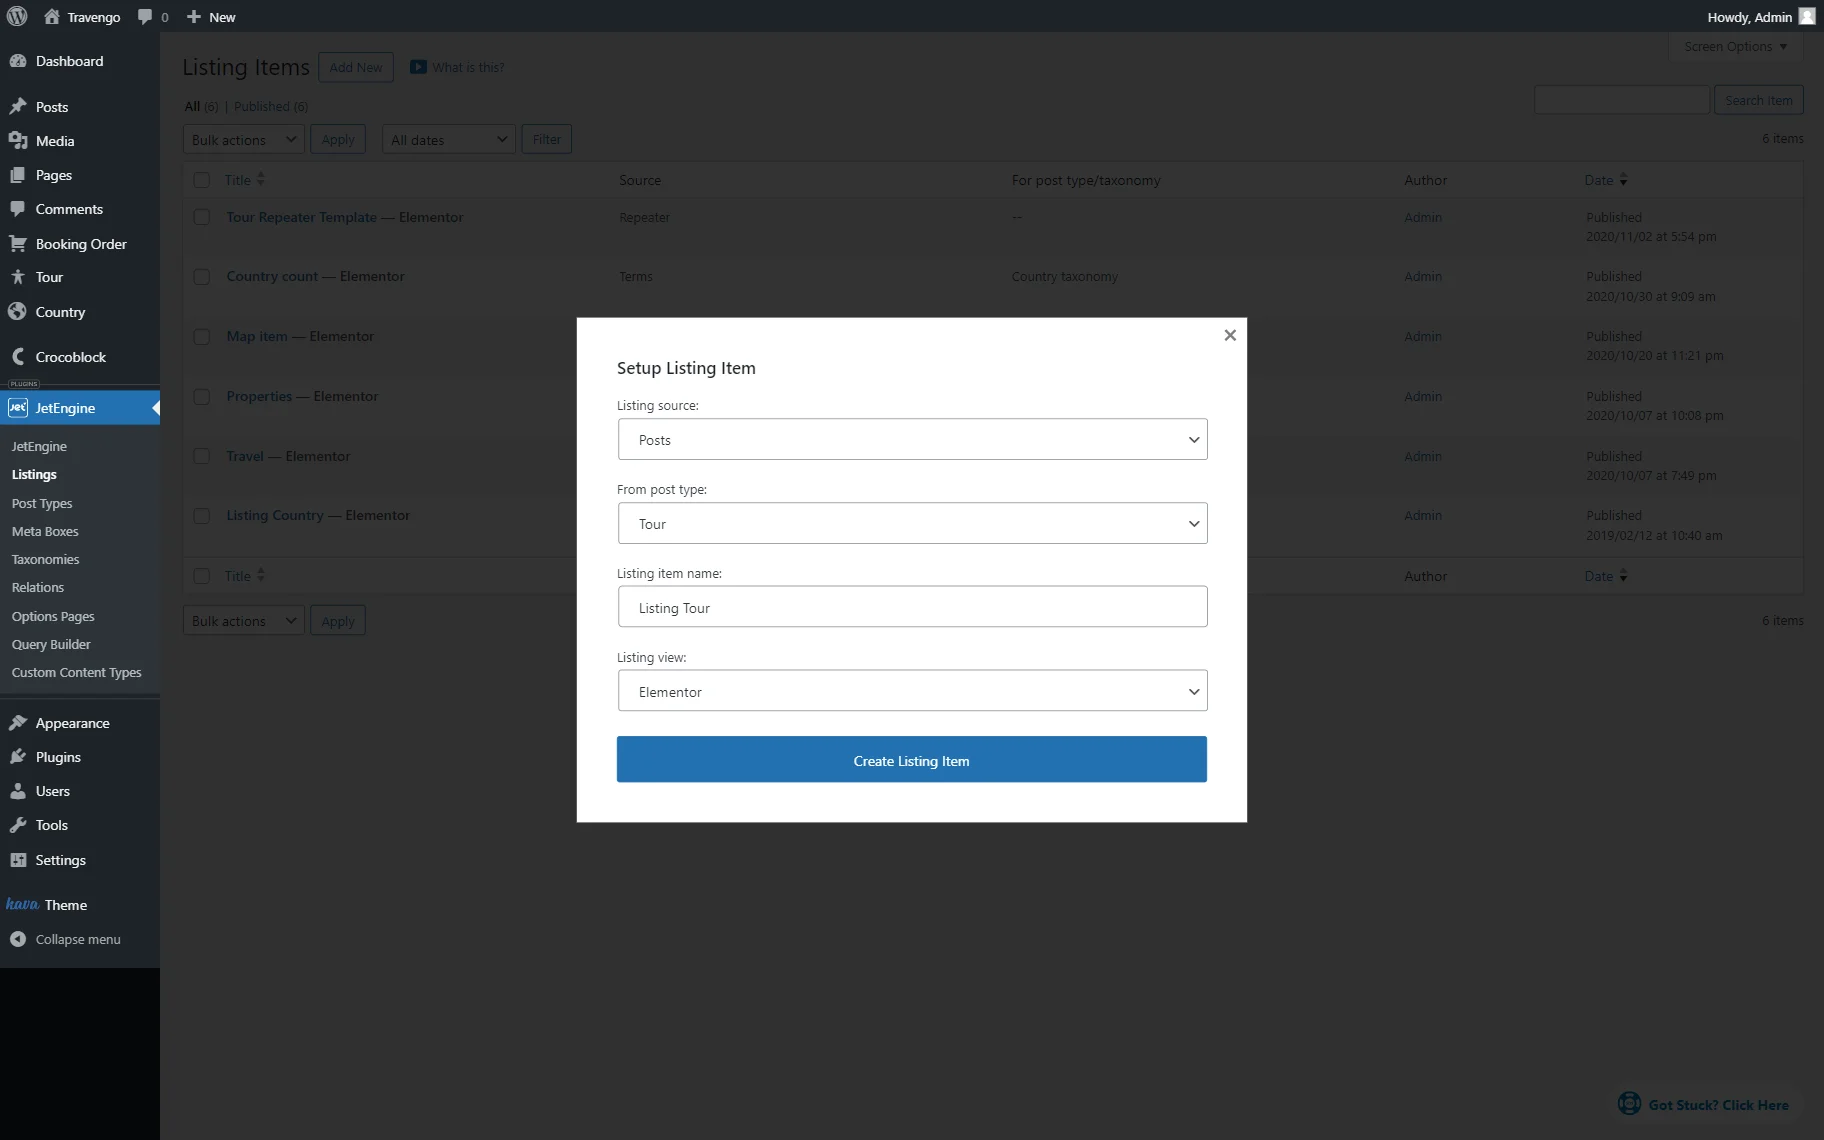
If you haven’t created a Listing for the child object, you can do it in the WordPress Dashboard > JetEngine > Listings directory.
Click the “Add New” button. In the opened pop-up, complete the pre-customization fields.
Press the “Create Listing Item” button to proceed to the editor.
Depending on the option picked earlier, the corresponding editor will be opened. In this tutorial, it’s Elementor.
Add the needed dynamic widgets/blocks/elements to display content.
Once done, press the “Update” button.
Adjust a parent single template
Now, it’s time to create a Single Template for the parent object. We will use the JetThemeCore plugin to create a template.
Head to WordPress Dashboard > Crocoblock > Theme Builder and push the “Create new page template” button.
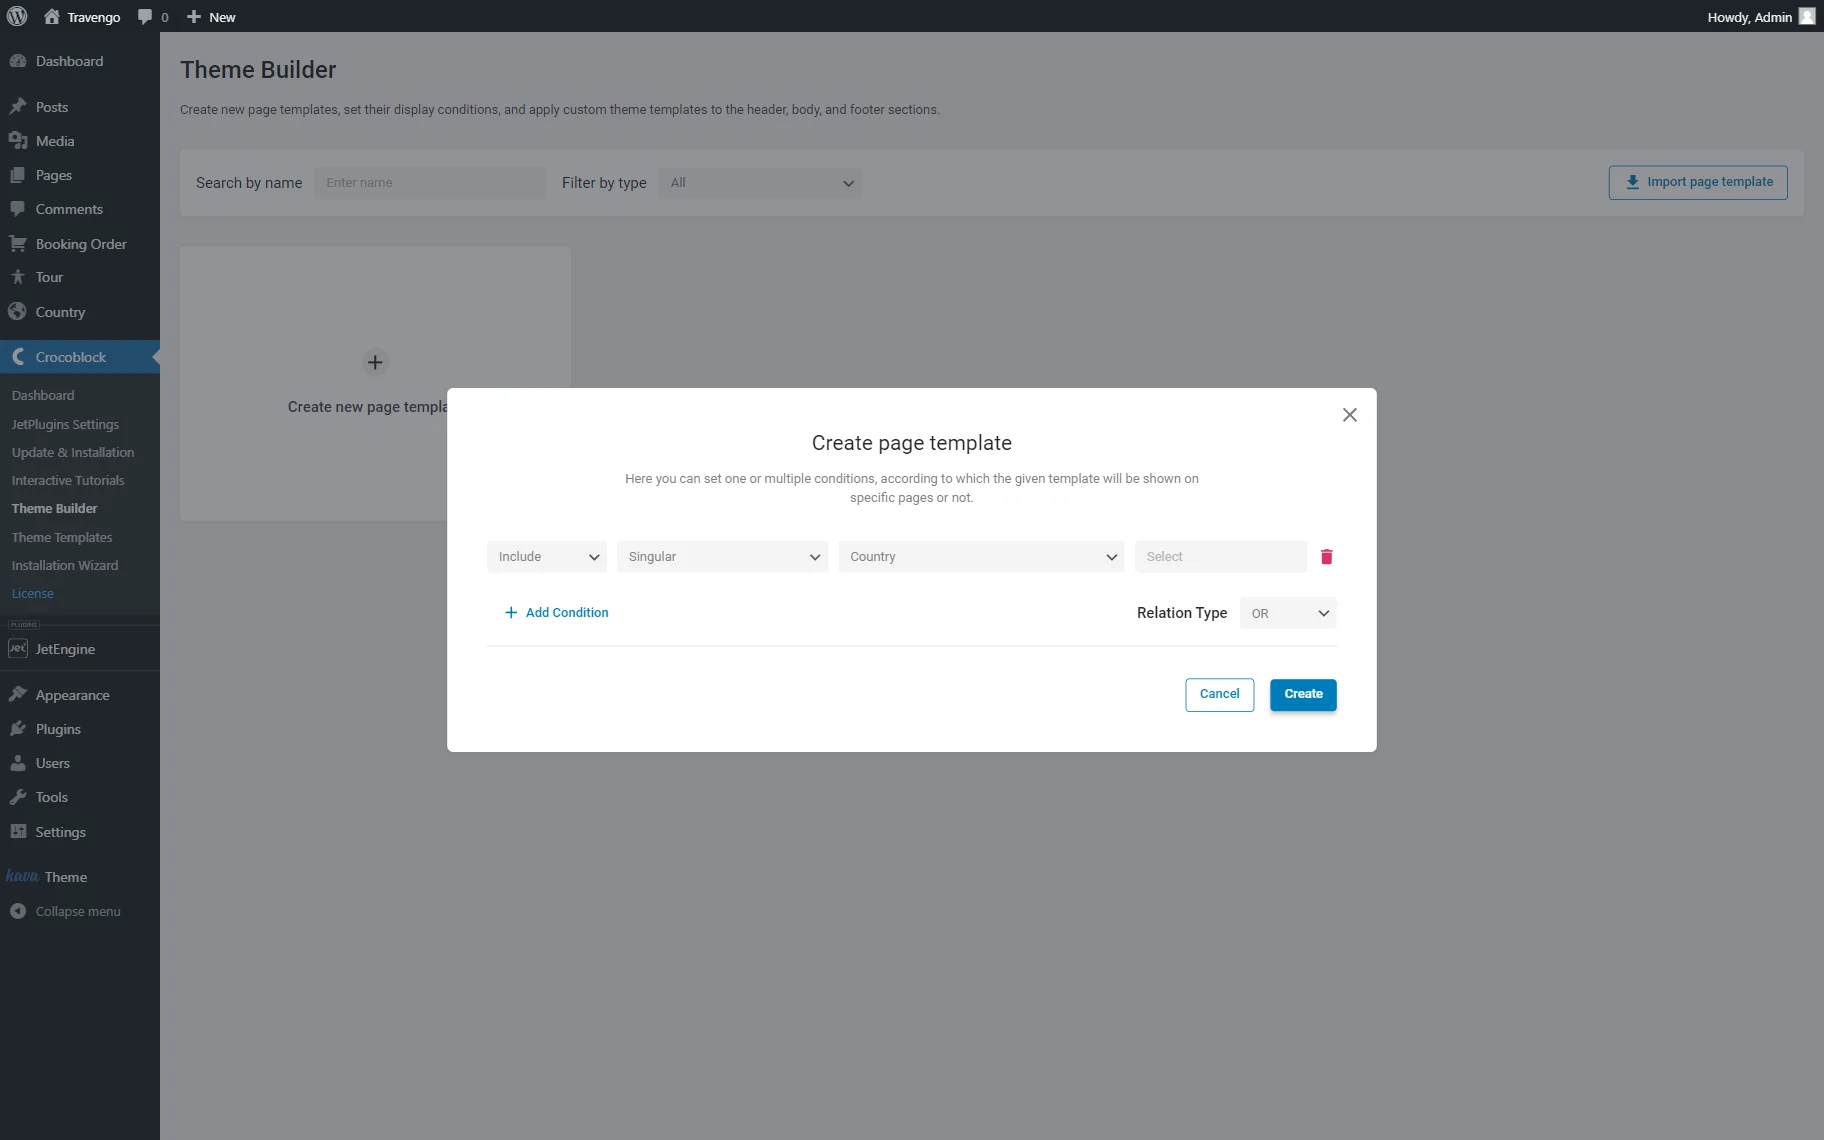
At first, the conditions pop-up will open. Press the “Add Condition” button.
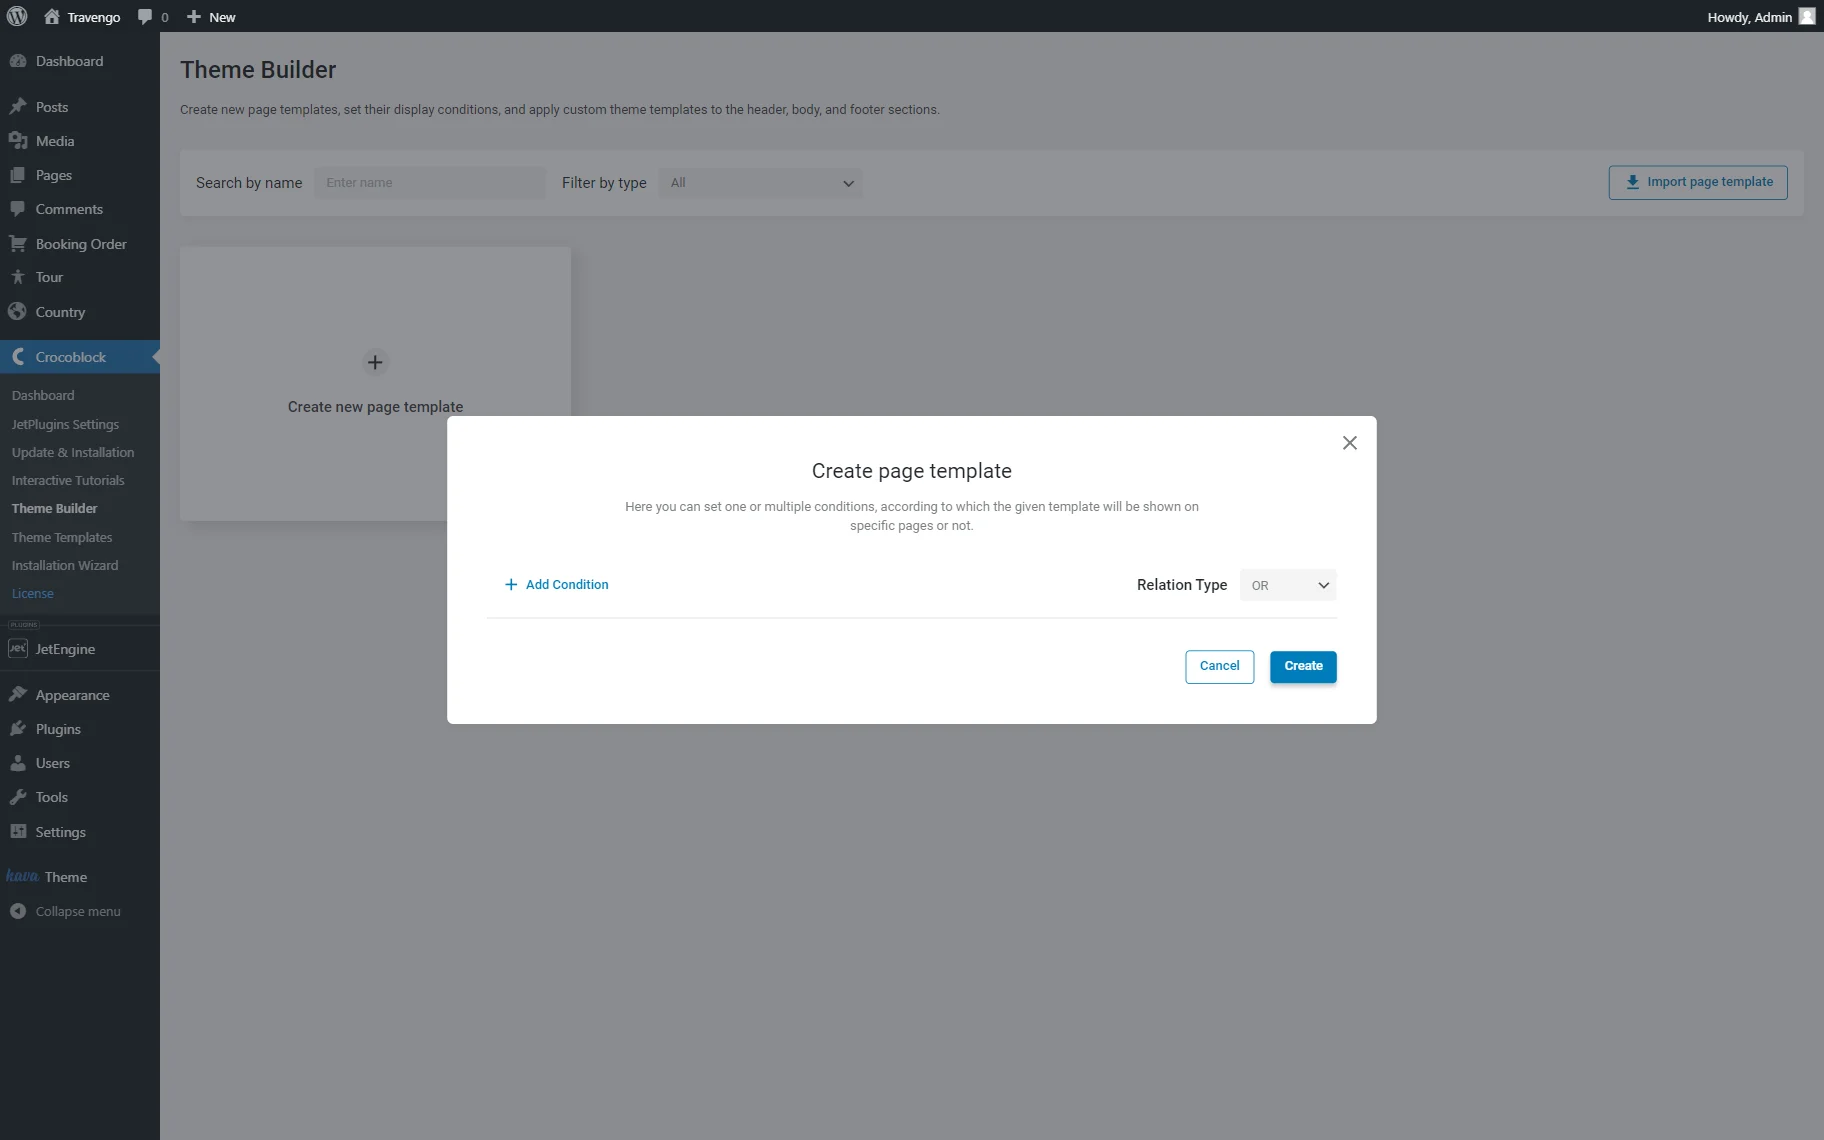
Set the needed conditions: “Include,” “Singular,” and pick the parent post type.
Once done, press the “Create” button.
You can set the header and footer of your desire and proceed to the body editing.
Then, create a new template by clicking the “Create template” button or select a new one with the help of the “Add from library” button.
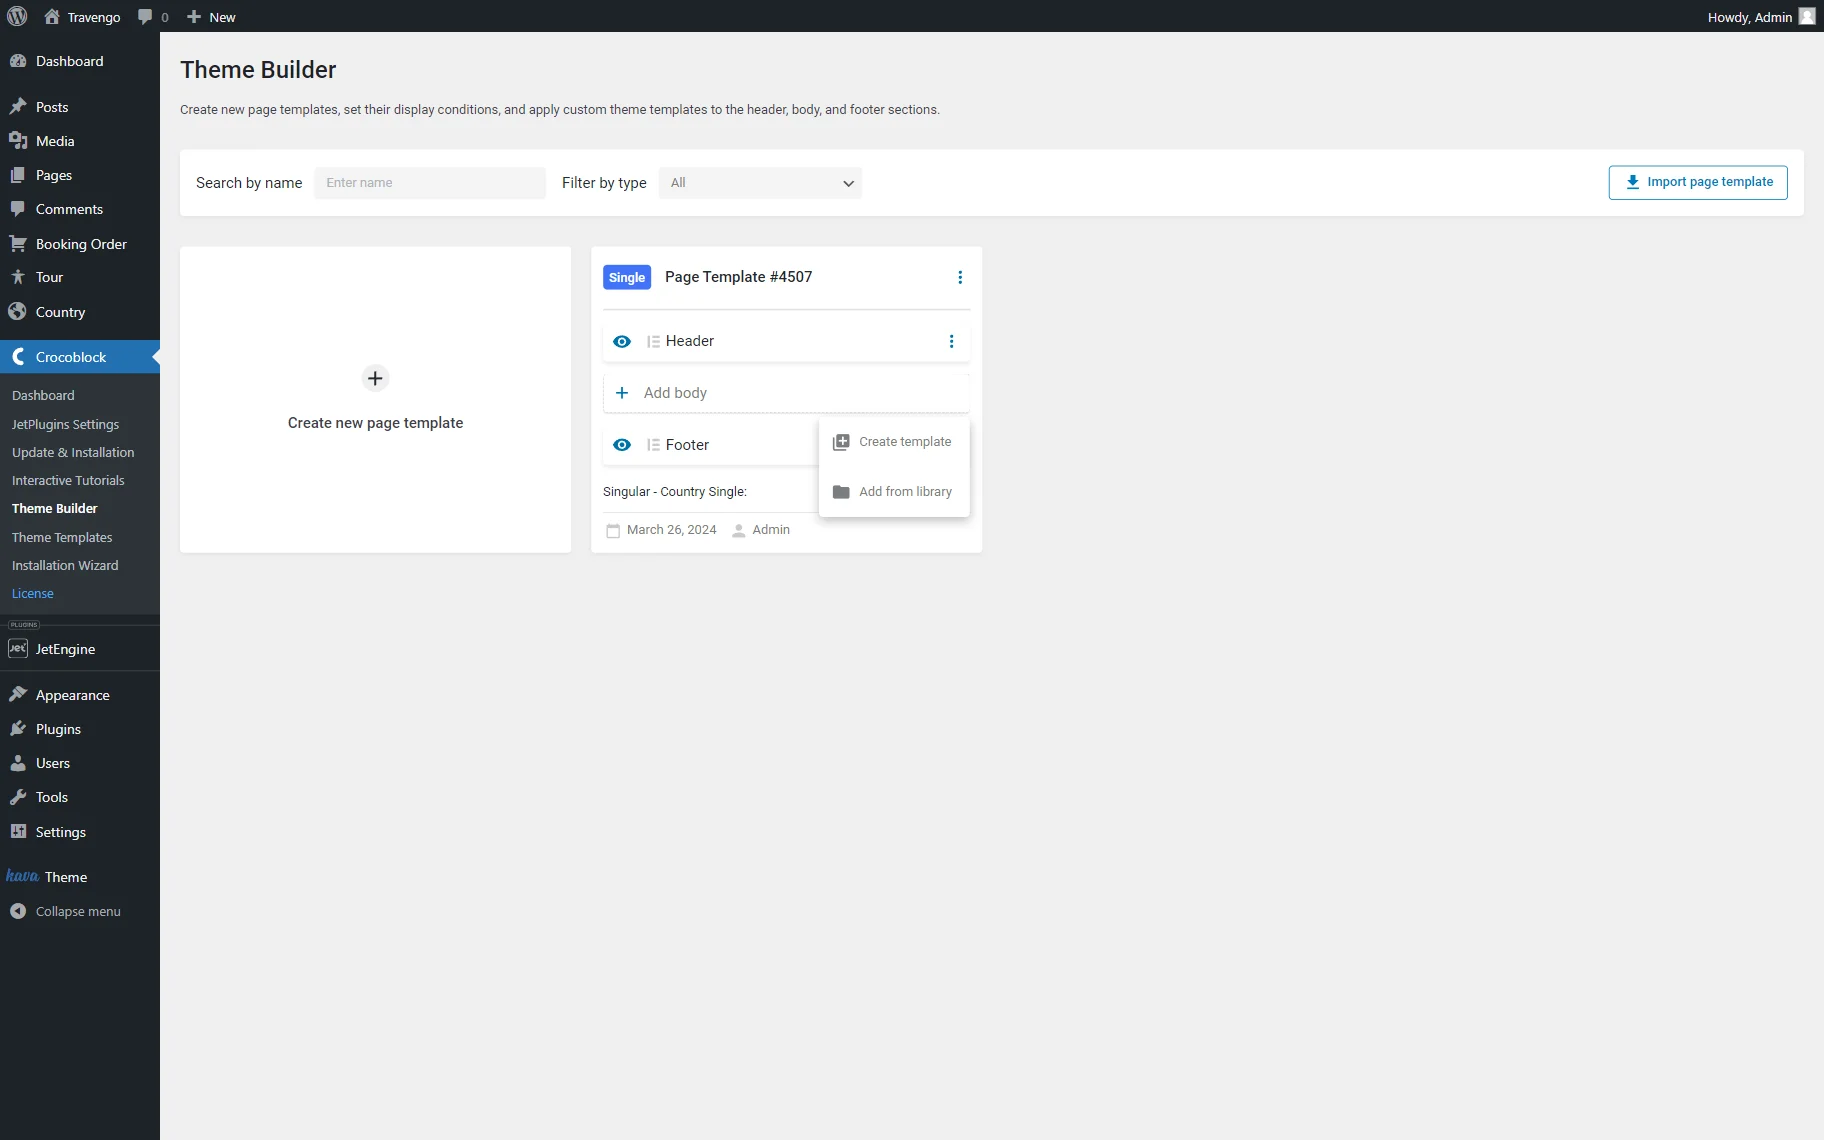
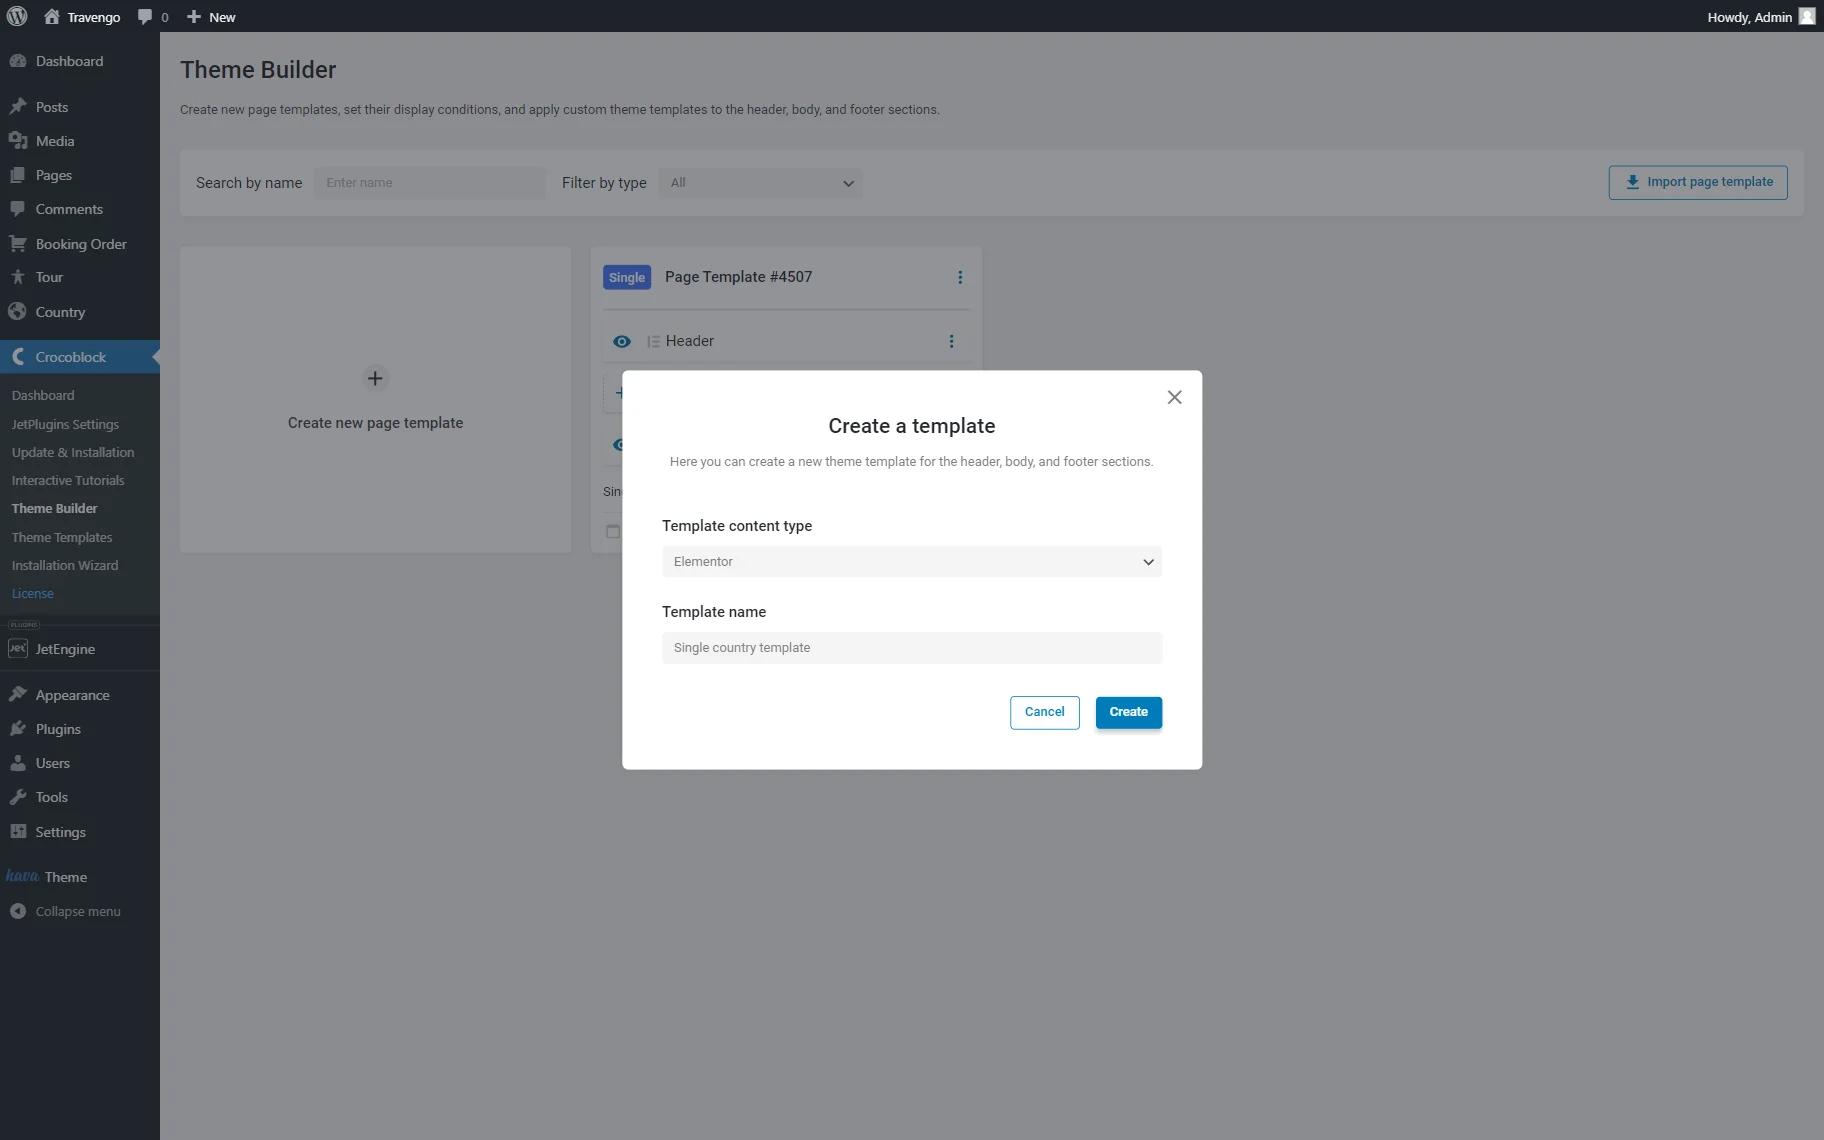
For instance, we create a new template. Once we click the “Create template” button, the pre-editing pop-up opens.
Here, select the preferred option in the Template content type drop-down list and complete the Template name field.
Once done, press the “Create” button.
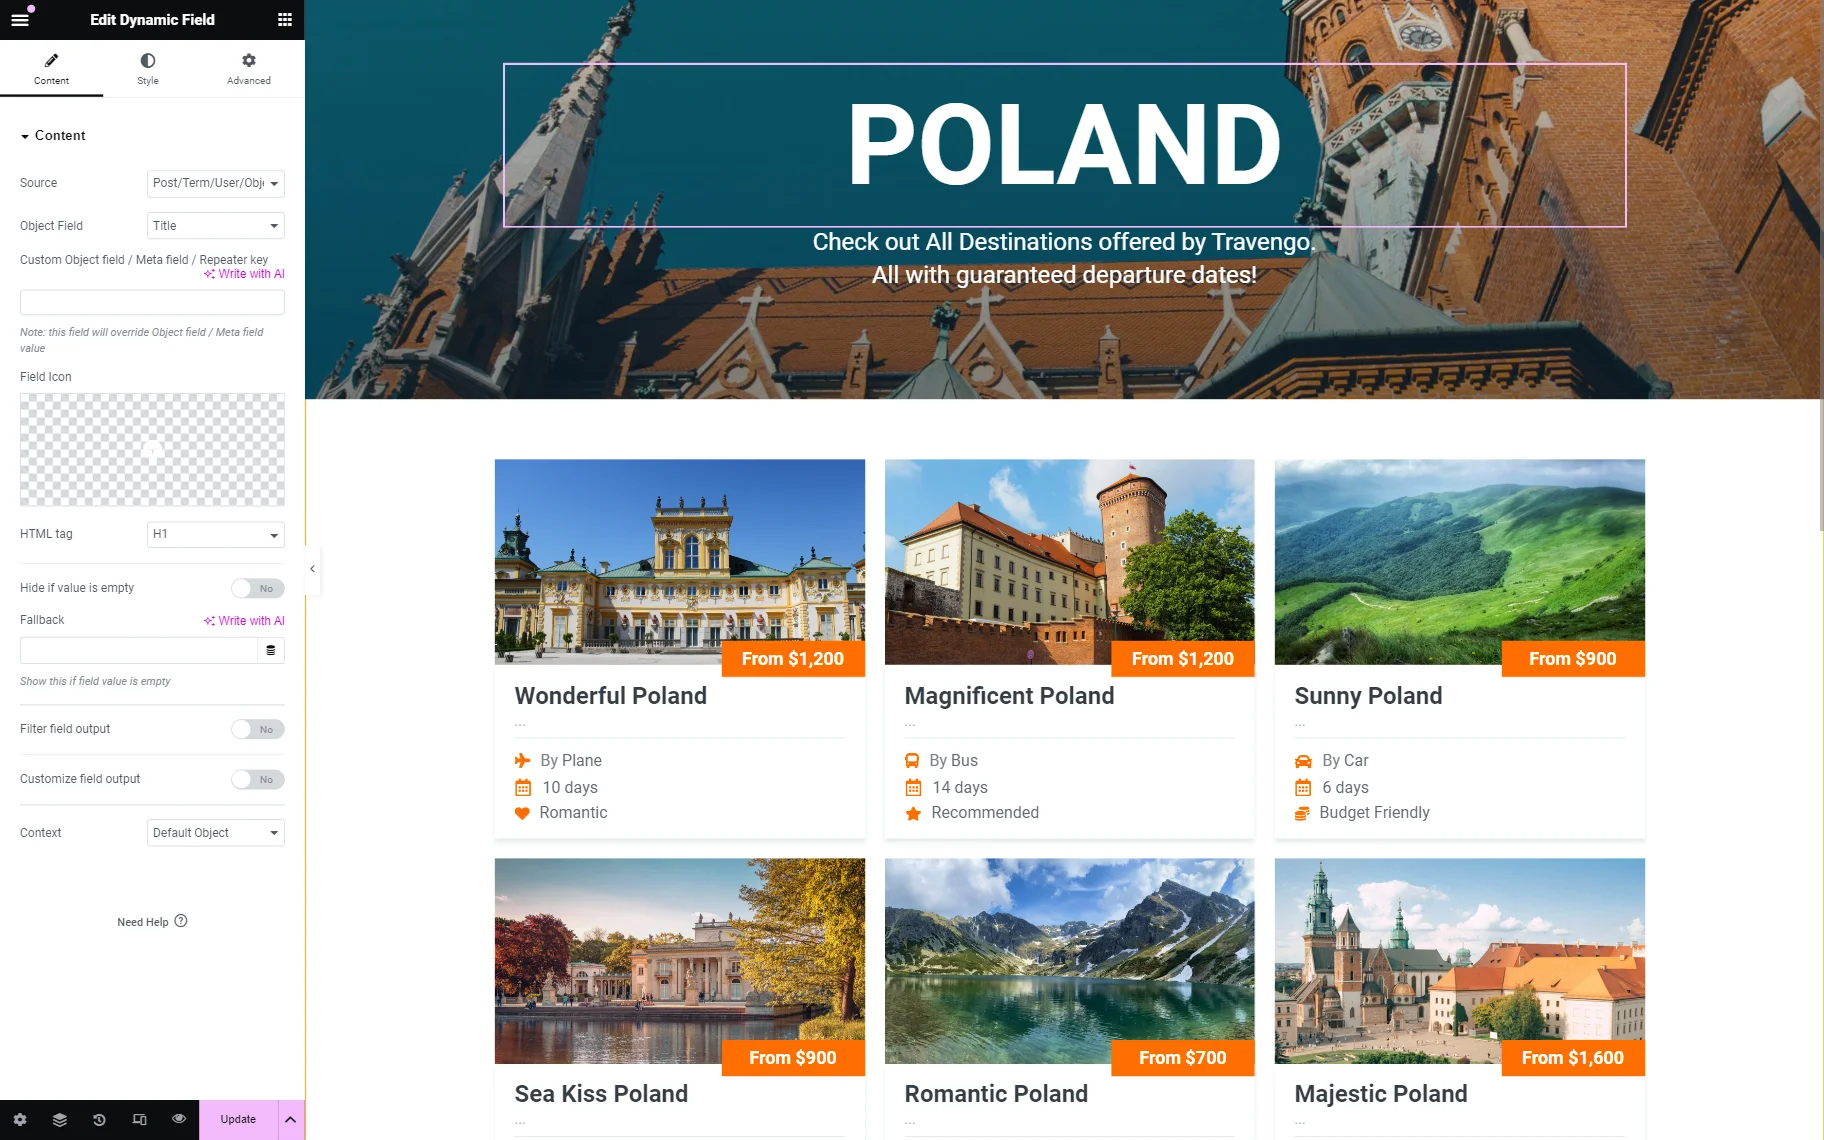
First, add some information about the current parent.
In our case, it is a country. So we put the Dynamic Field widget and set its Object Field to “Title.”
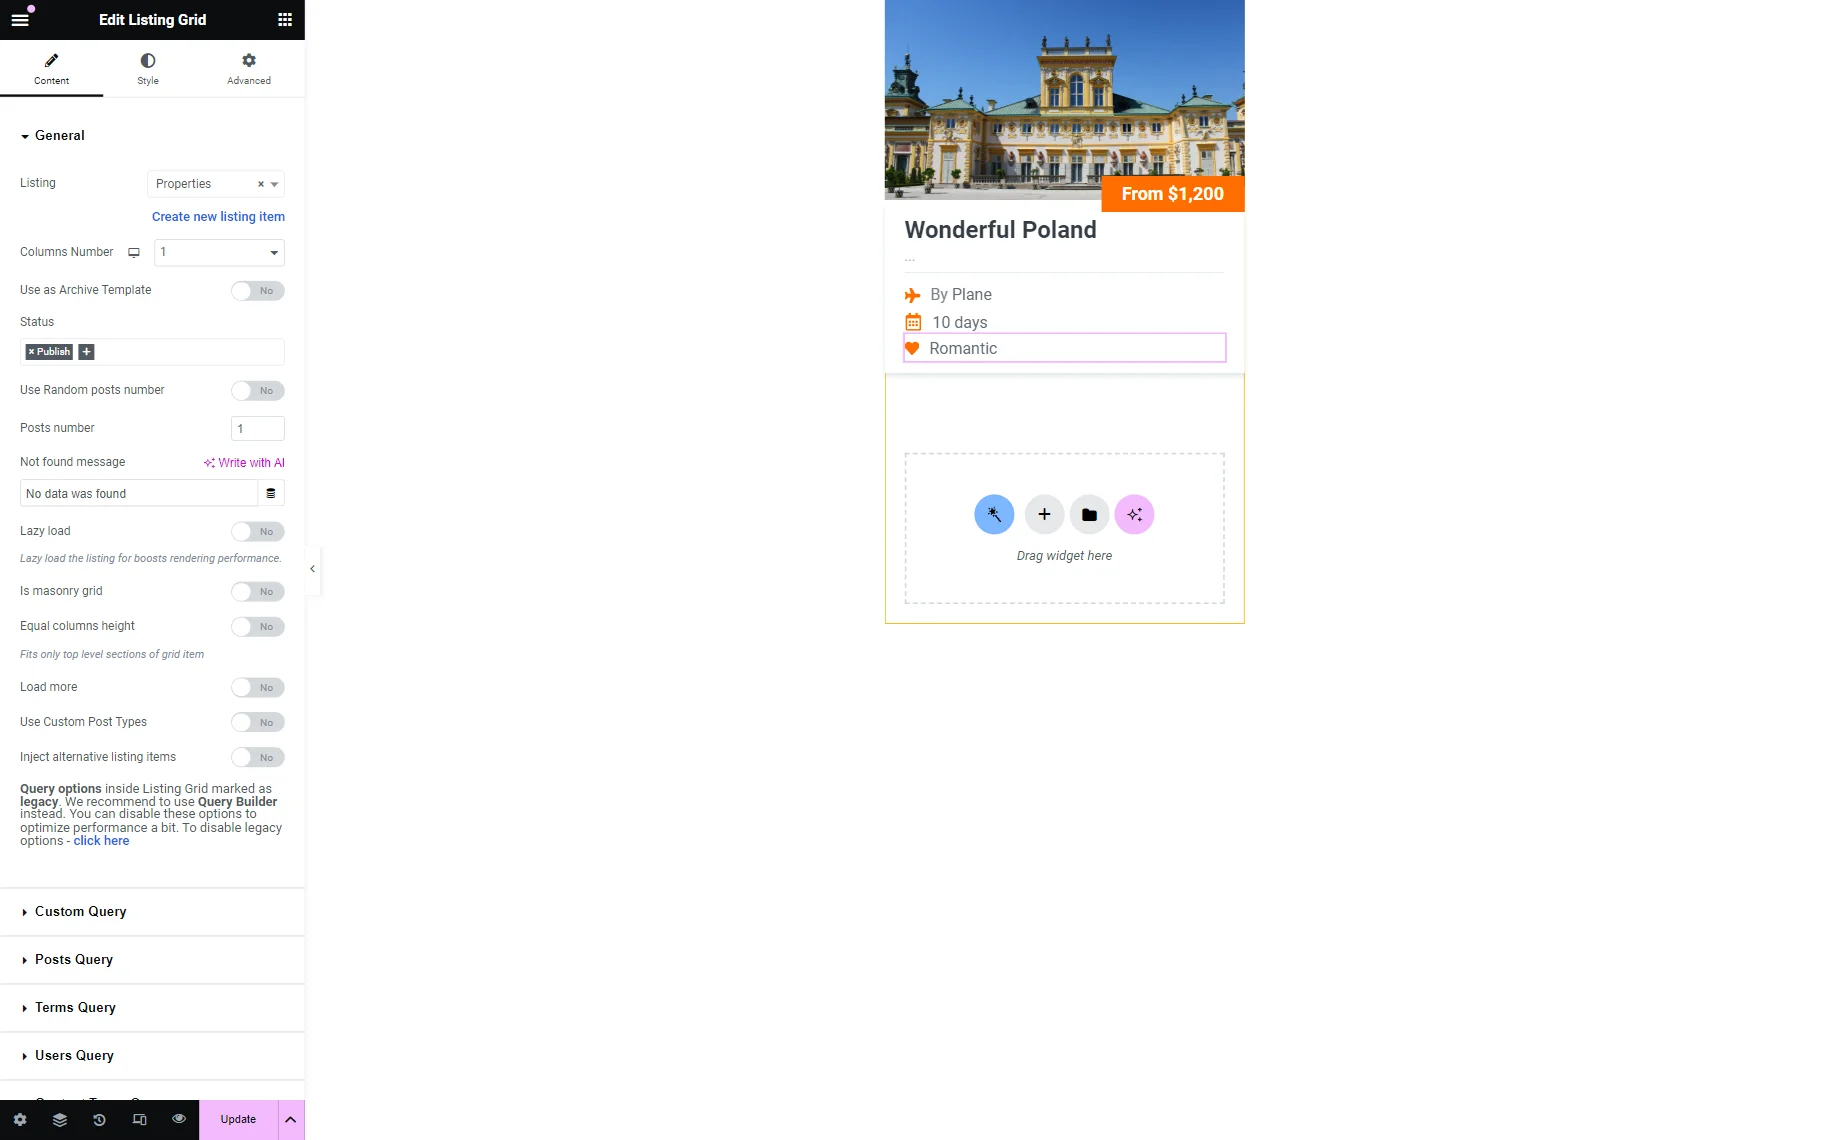
Then, add the Listing Grid widget/block to the page.
Pick the just-built Listing in the General tab.
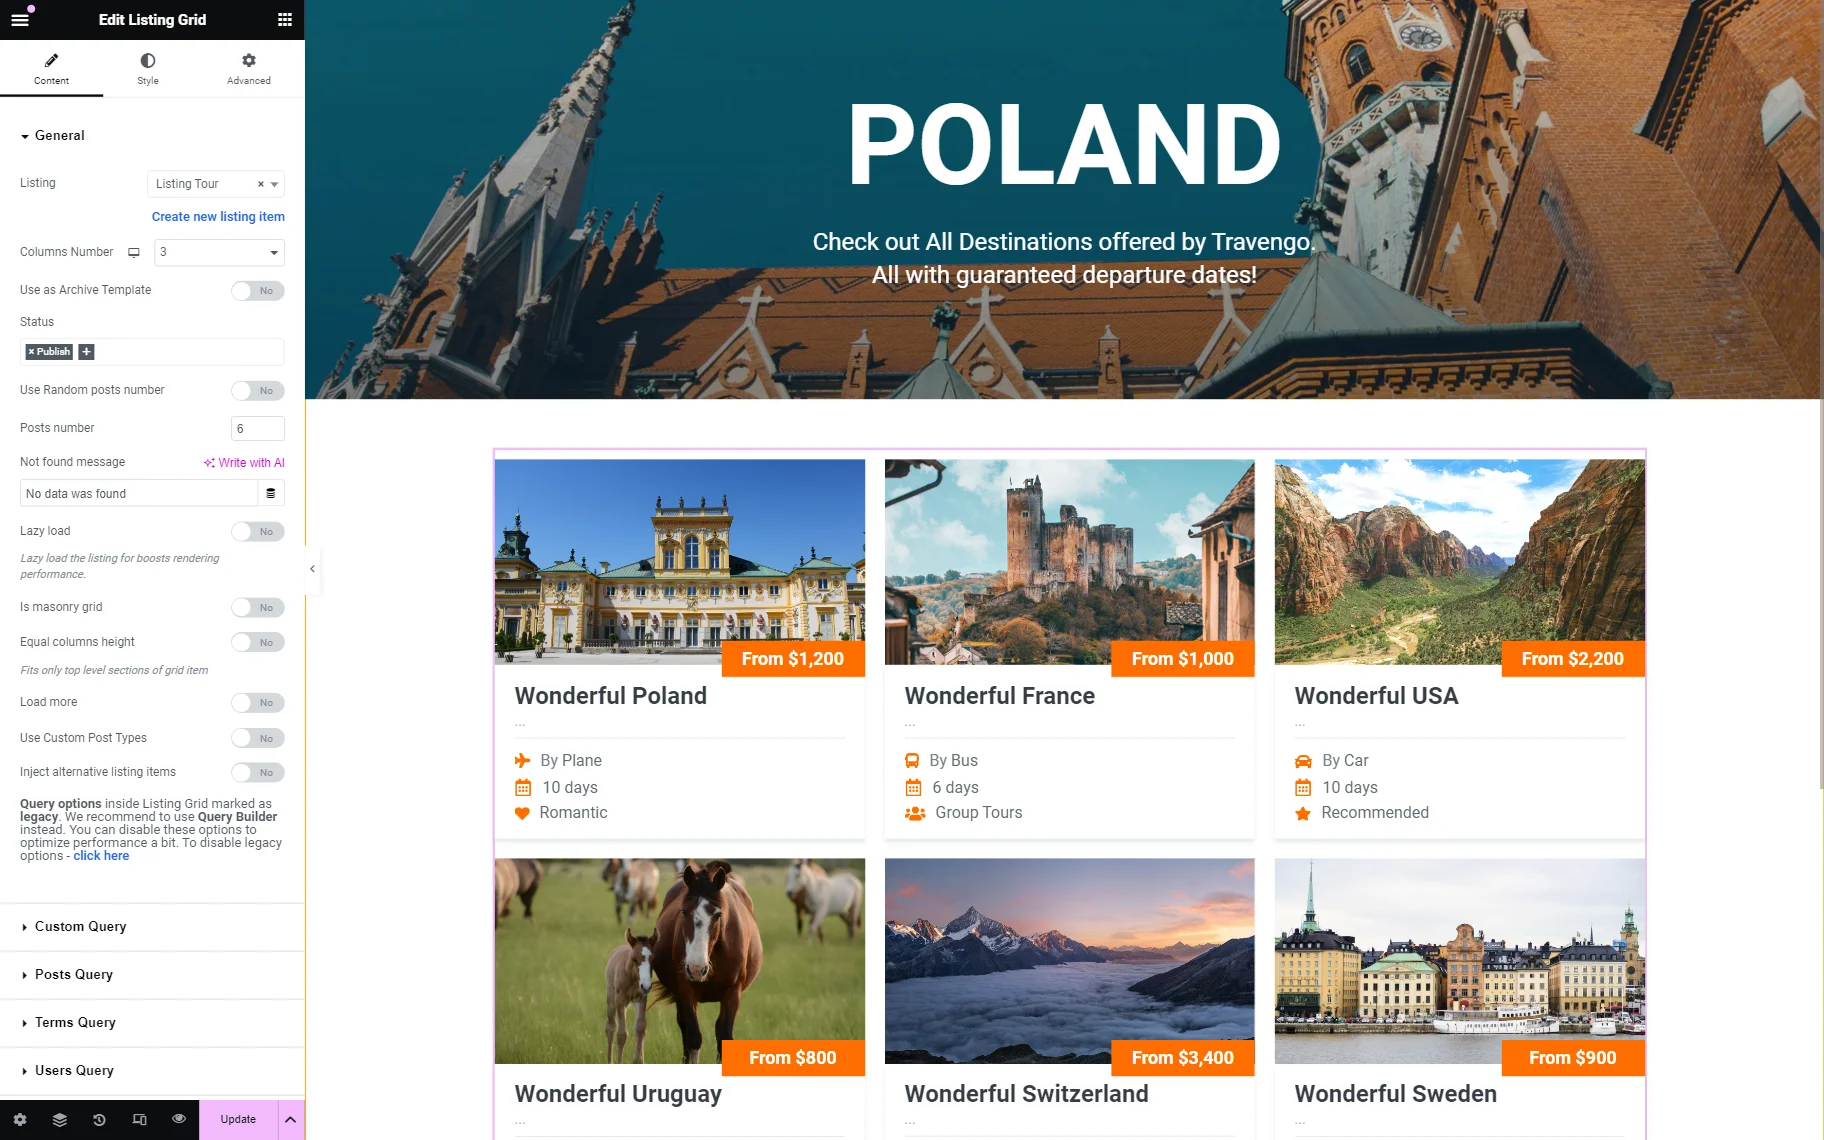
Open the Custom Query tab and activate the Use Custom Query toggle.
Pick the needed option in the Custom Query — the query you built earlier.
That’s it for the basic customizations; adjust other settings if needed and press the “Update” button.

Check the result
Head to the front end and open one of the parent posts. The listing with the related child items will be displayed on a single page.
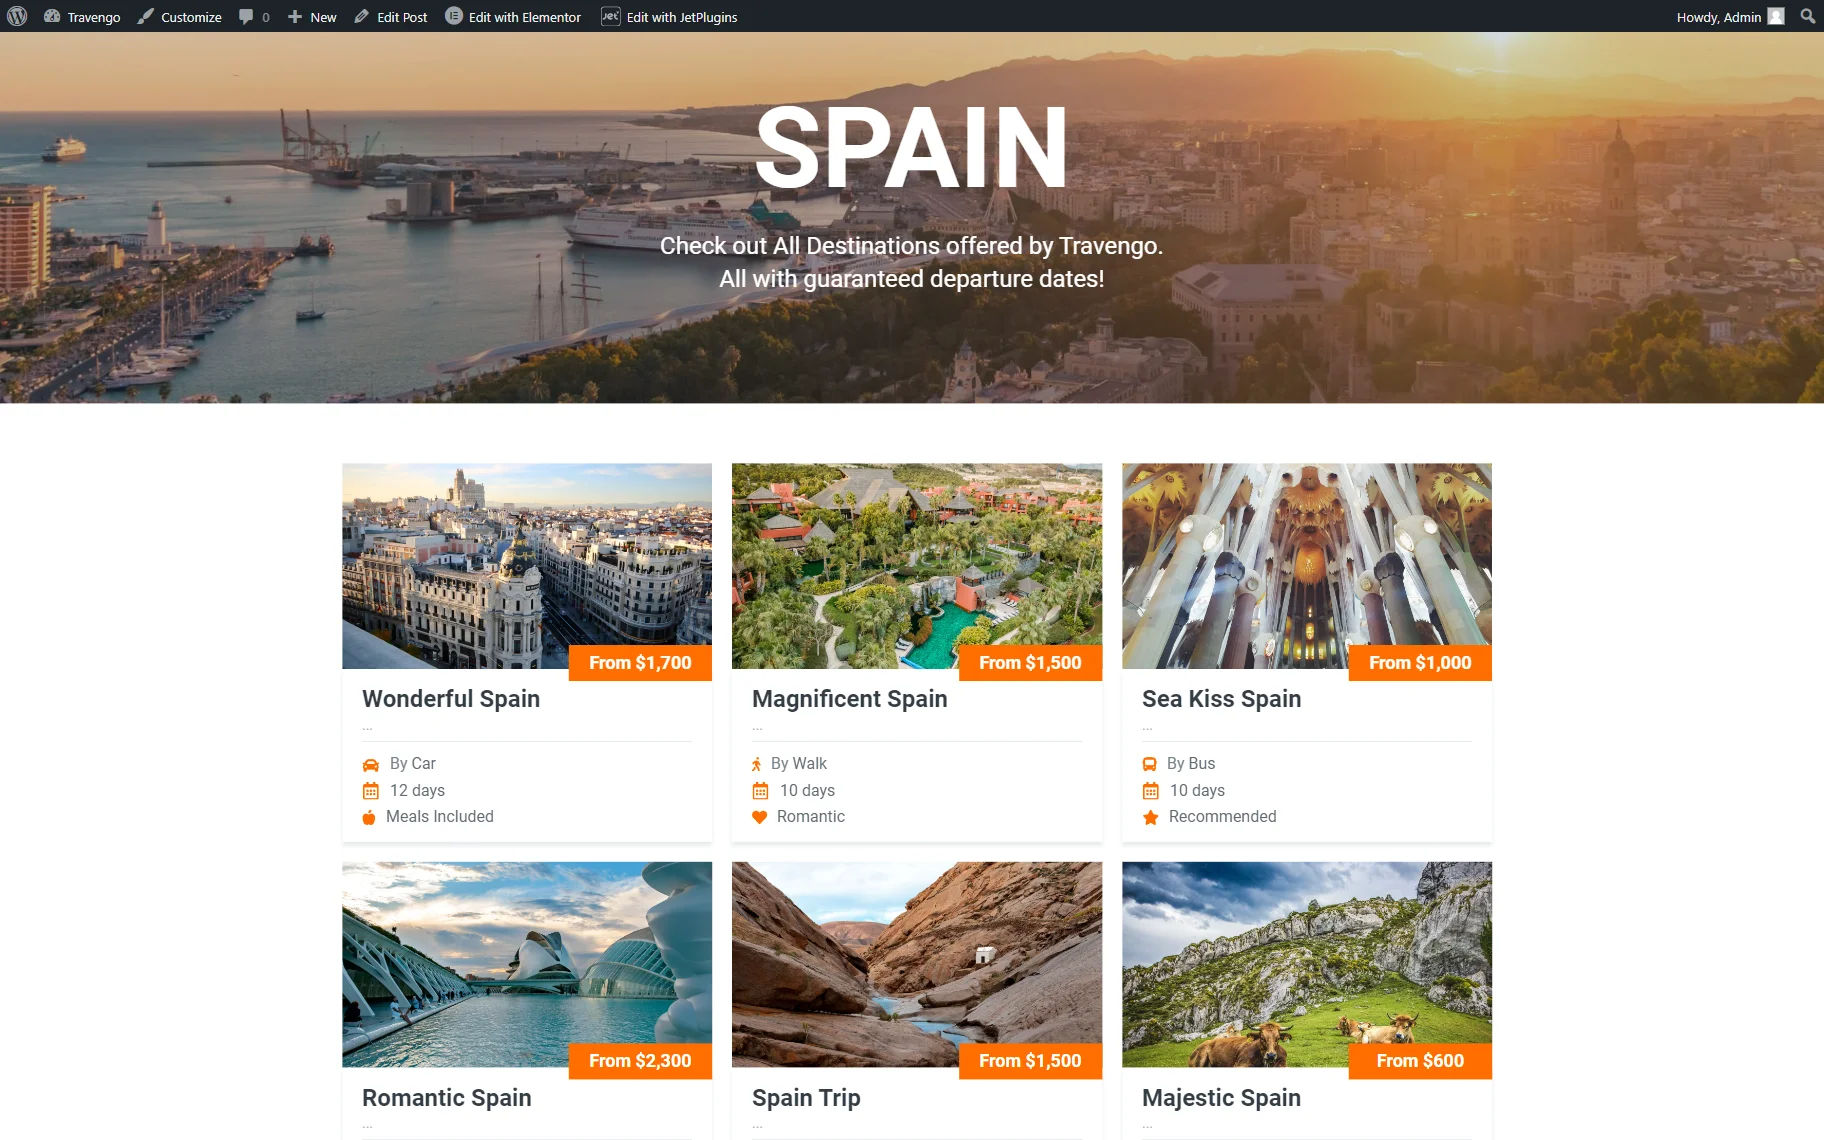
This is it; the WordPress Custom Post Type relation is set. Now you know how to relate items with one another using the JetEngine plugin.