
How to Export Skin Using Crocoblock Wizard
If you want to export any skin without any difficulties, keep reading this tutorial in order to know how to perform it with Crocoblock Wizard plugin.
Crocoblock Extras, available for the All-Inclusive subscription plan owners, is the library of pre-made skins and templates and could be really fruitful and profitable. You may use the ready-made skin and customize it up to your needs after it’s installed on your current theme.
It’s not a problem with the multi-tasking Crocoblock Wizard plugin which can provide you with some other opportunities among full or partial installation.
In this step-by-step guide let’s learn more about exporting skins with the help of this plugin.
If you haven’t installed the Crocoblock Wizard yet, follow the link to read our tutorial on how to make the full installation and how to install JetPlugins only.
Open the Wizard
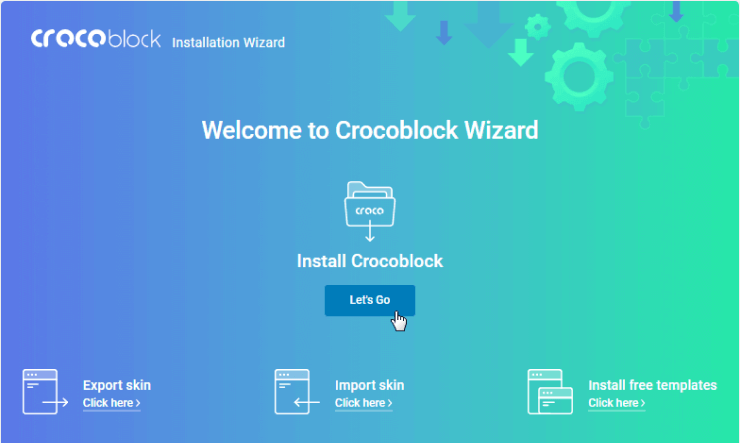
Open your WP Dashboard and go to JetPlugins > Installation Wizard. You’ll see the start screen with several options.
Define the General Settings
Click the “Export skin” button and you will see the General Settings block, at first.
Here you should decide if you need to enable the Export only content option. If you turn it on, you will be provided with the opportunity to export only the content from the website without plugins. But you may add several of them in the third block. Keep reading this tutorial to clarify this aspect.
If you won’t turn this option on, all the plugins created and used with certain skin will be exported.
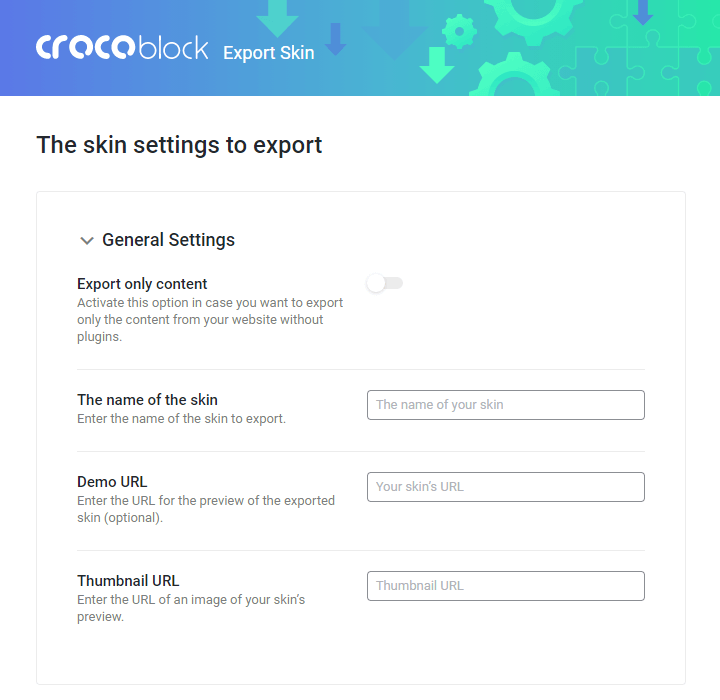
Next, you must enter the Name of the skin in the corresponding field. It’s an obligatory option to go on exporting the skin. After that, you will see the Demo URL and Thumbnail URL options. The entered value will appear at the preview of the exported skin. They are optional to be filled in.
Define the Export Content Settings
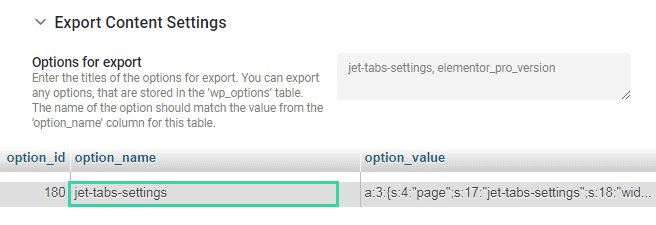
When using the plugin you, naturally, change its settings according to your needs. If you want to export those settings – unfold the Export Content Settings section. Here you can choose the settings of which plugins would you like to export.
In Options for export, you should enter the titles of the settings sets stored in the ‘wp_options’ table. If there will be more than one option, separate them with a comma. The ‘wp_options’ table can be found in your website’s database. To enter it, go to your website’s hosting and open the PhpMyAdmin app (or another tool that is used for database management on your hosting). If you have problems finding the database – check for the instructions on your hosting’s website or contact its tech support.
If you want to export all the options from the site, please use this full list of Options:
jet_engine_meta_boxes,jet-smart-filters-settings,jet-smart-filters,jet-engine-cpt,jet-engine-cpt-tax,profile-builder,kava-extra-settings,jet-engine-relations, jet-engine-options-pages,current_theme,jet-popup,jet_popup_conditions,jet-engine-booking,jet-apb-settings,jet-apb-appointments,jet-abaf-bookings,jet-abaf-settings
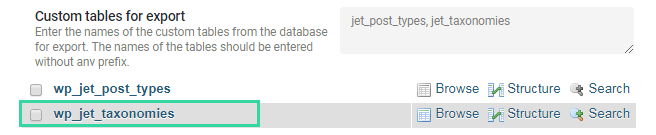
In Custom tables for export bar type in the names of the custom tables from the database, you want to export. Enter the names without prefixes and use a comma to separate them. Those tables can also be found via your website’s hosting. Enter the database management tool (like PhpMyAdmin or OSPanel) and take the table names from the plugins folder in domains > localhost > croco-troubleshoot > wp-content > plugins.
If you want to export all the tables from the site, please use this full list of tables:
jet_post_types, jet_smart_filters_indexer, jet_taxonomies, jet_appointments, jet_appointments_excluded, jet_apartment_bookings, jet_apartment_units
Define the Include Plugins settings
The next block of settings is Include Plugins. Here you should enable the plugins you want to be included manually by toggling them on. After this action, you should choose the Plugin Source.

In case you select the WordPress plugins repository, you make it simple to browse the exported plugins and download the latest version after importing it thanks to the physical content they contain.
If you choose the Crocoblock option, it means that you are a Crocoblock user and keep working with Crocoblock plugins. You will have an opportunity to export the imported skin and save the physical content of the plugins as well.
In case you choose the Remote URL option, you will download the information about your plugins only. After further implementation while importing they will be installed according to the information received after performing this action.
Click the “Export Skin” button and your newly created plugin will be downloaded into a certain folder on your hard drive.
That’s it! It’s pretty easy to export the preferable skin especially when it takes literally a few minutes.