
How to Reinstall JetPlugins via WordPress Dashboard
This tutorial explains how to reinstall JetPlugins if your server provides cPanel functionality.
This particular tutorial explains how to reinstall the JetPlugins on the Bluehost server. But users can reinstall their plugins using other web hosting services, which provide the cPanel functionality to replace plugins.
This tutorial presents instructions on how to reinstall JetPlugins manually. It can be helpful if a plugin stops working correctly due to some changes; there are compatibility issues with the Dashboard use (i.e., users can not delete and install the plugin anew).
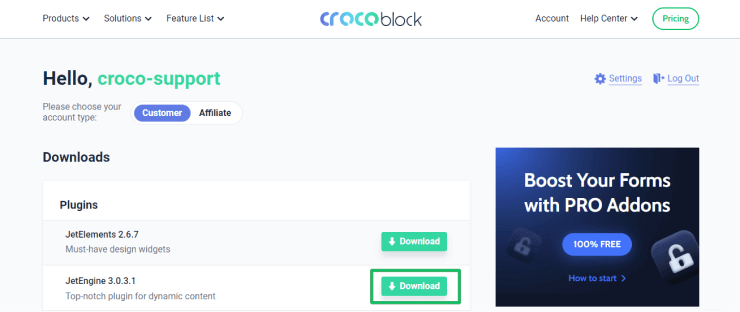
Downloading the Plugin
Firstly, log into your Crocoblock Personal Account and proceed to the Downloads section. Select the plugin you want to reinstall from a list of plugins. Click the “Download” button to download it on your hard drive.
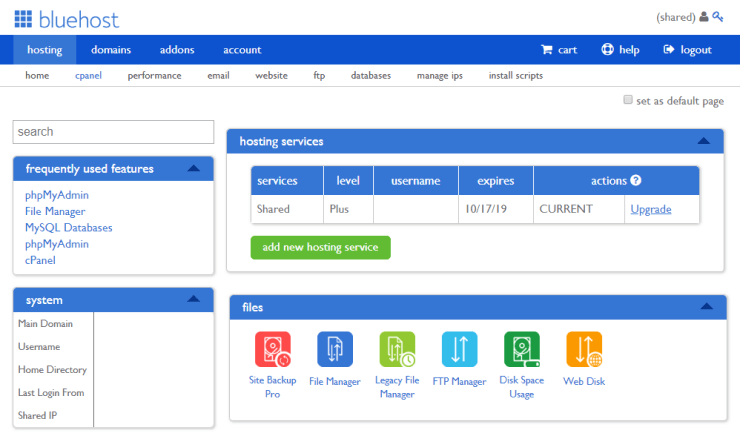
Usage of the cPanel
Open the user’s cPanel on your server (e.g., on Bluehost) and scroll down to the Files section. Click the File Manager to navigate to the directory with installed JetPlugins.
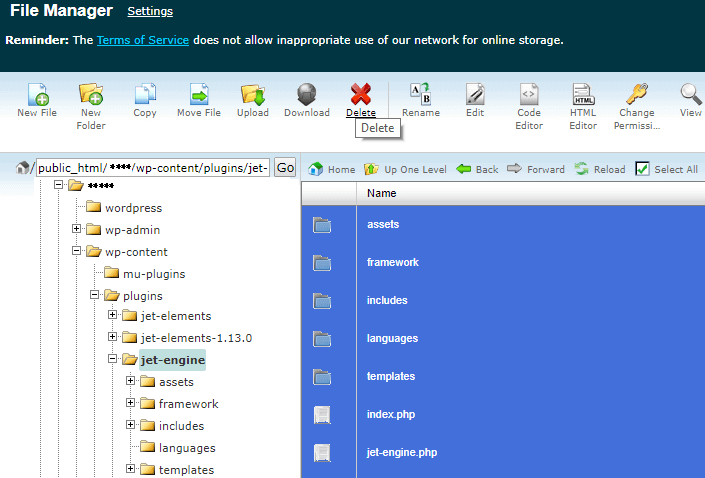
Reinstalling the Plugin
Delete the plugin first and reinstall the downloaded one. To do this, browse WP-content > Plugins and select the plugin to delete it. Delete all files from the folder with this plugin, and the old plugin will be removed from your WordPress site.
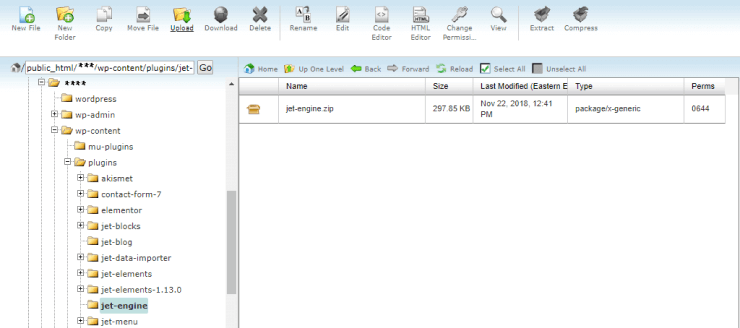
Uploading the Plugin to the Directory Editor
The File Manager of the cPanel presents a toolbar on its top. Choose the directory to upload the plugin (this directory has no files because you previously deleted all files to add to this directory the plugin you need to reinstall).
Then click the “Upload” button to upload the archive file with the plugin you need to reinstall to the wp-content/plugins directory.
Completing of the Uploading
When the uploading is complete, you will see a progress bar in the bottom-right corner informing you about it.
Extracting the Plugin Editor
The next step is extracting the plugin from the archive file you have uploaded. To do so, click the “Extract” button in the toolbar on the top.
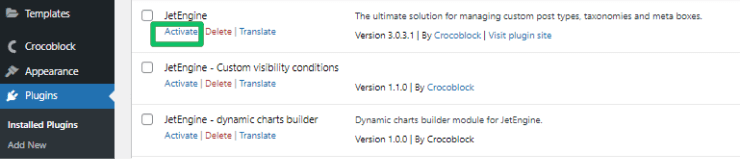
Activate the plugin.
Now you know how to reinstall JetPlugins manually.