
How to Show or Hide Section Depending on the URL Using Dynamic Visibility based on Appointments
From this tutorial, you will find out how to show and hide WordPress content depending on the URL with the help of JetEngine’s Dynamic Visibility module.
Before you start, check the tutorial requirements:
- Elementor (Free version) or Block editor (Gutenberg)
- JetEngine plugin installed and activated
- JetAppointment plugin installed and activated
Adjust Dynamic Visibility in Elementor
The JetEngine plugin allows you to set specific conditions to show or hide the content. Dynamic Visibility module may help you to show or hide content by the URL parameter. This tutorial will teach you how to implement this feature on the WordPress website.
Activate dynamic visibility
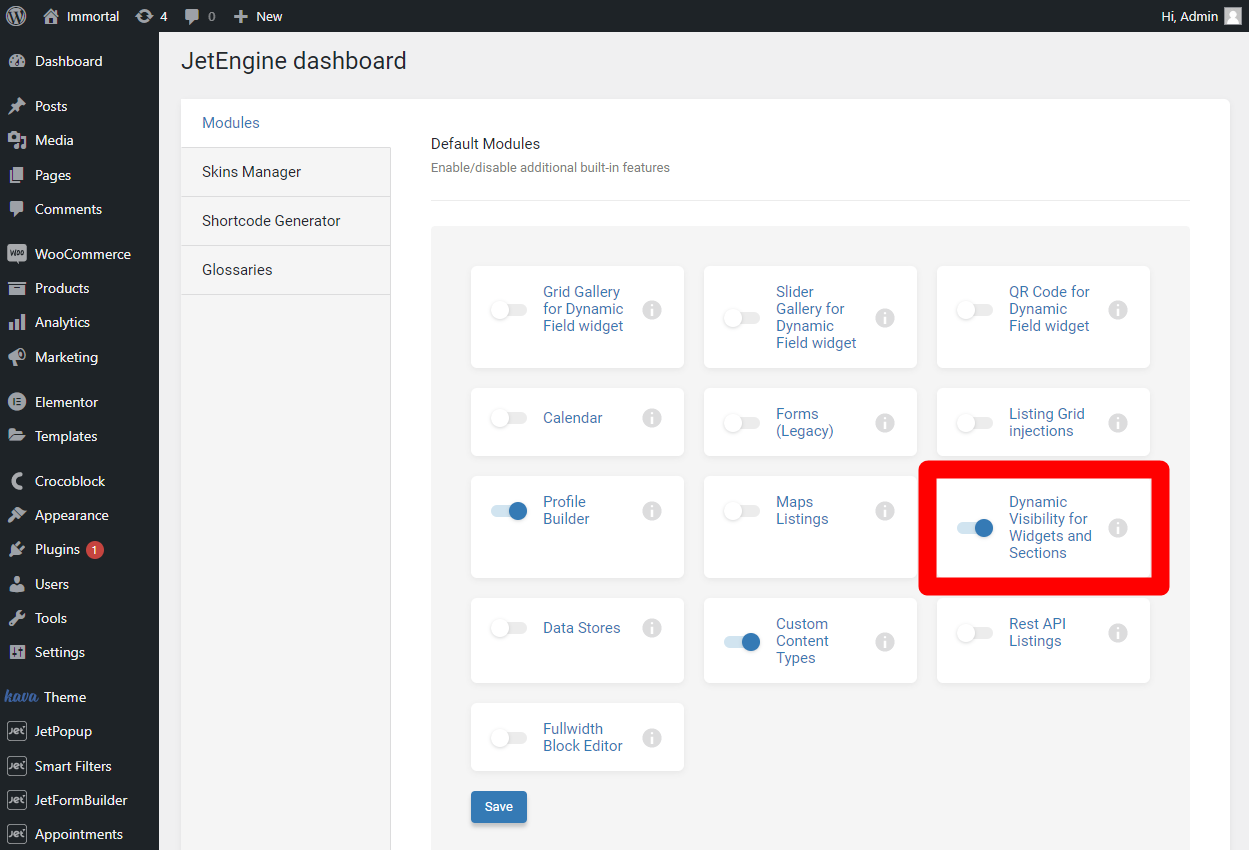
First of all, we need to enable the module. For this, navigate to the JetEngine > JetEngine and enable the Dynamic Visibility for Widgets and Sections toggle. After, click the “Save” button.
Now we’ll see the Dynamic Visibility option while editing in Elementor or Gutenberg Page Builder.
Show content
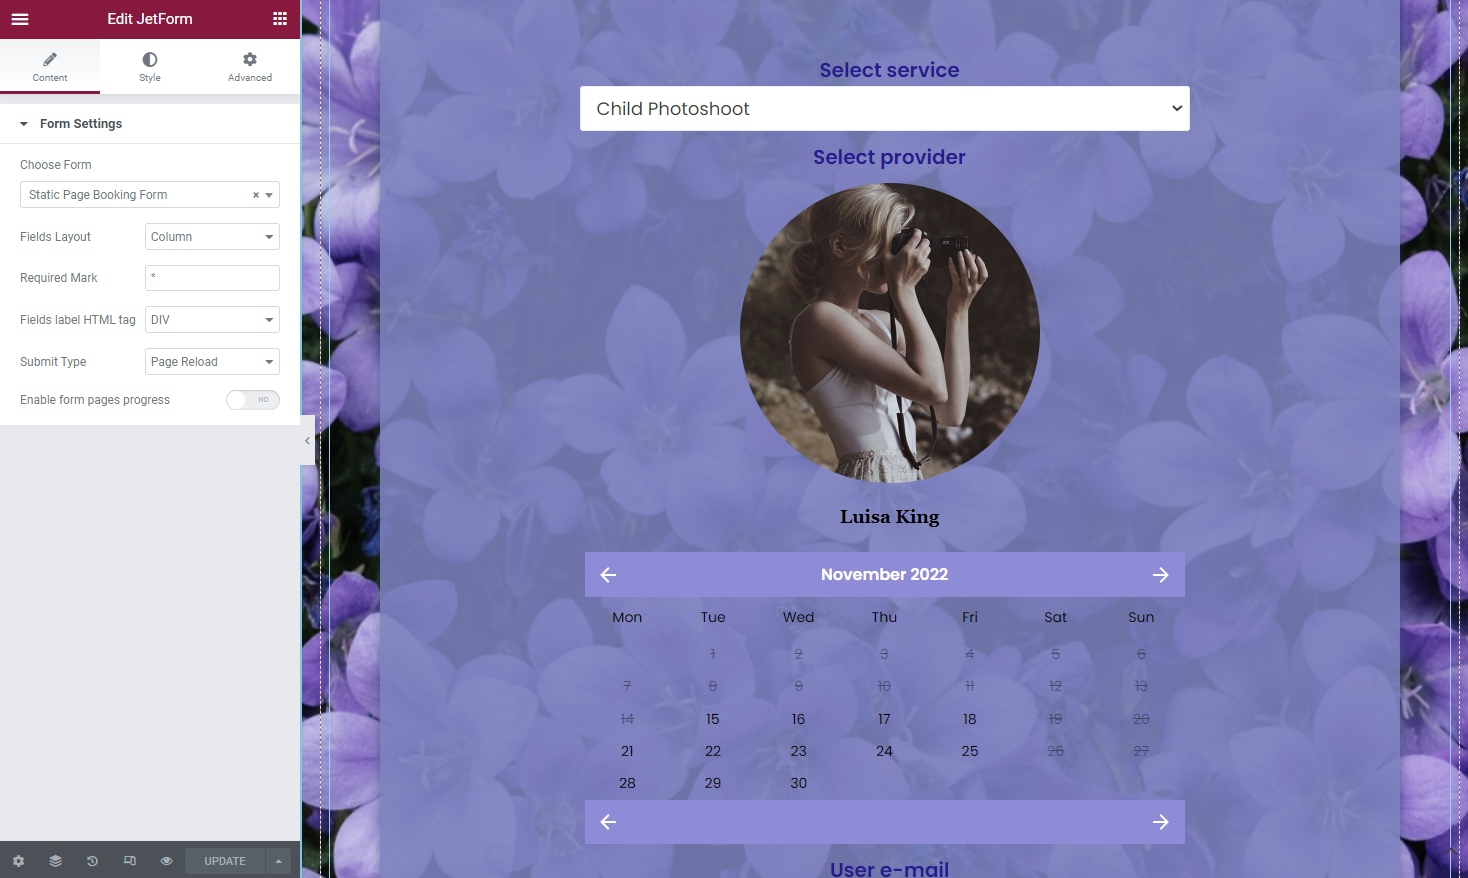
Add a form for booking a service created with the JetFormBuilder and JetAppointment plugins to the page with Elementor Editor. The Submit Type should be set to “Page Reload.”
Let’s check how the URL changes when the form is submitted and when it is not.
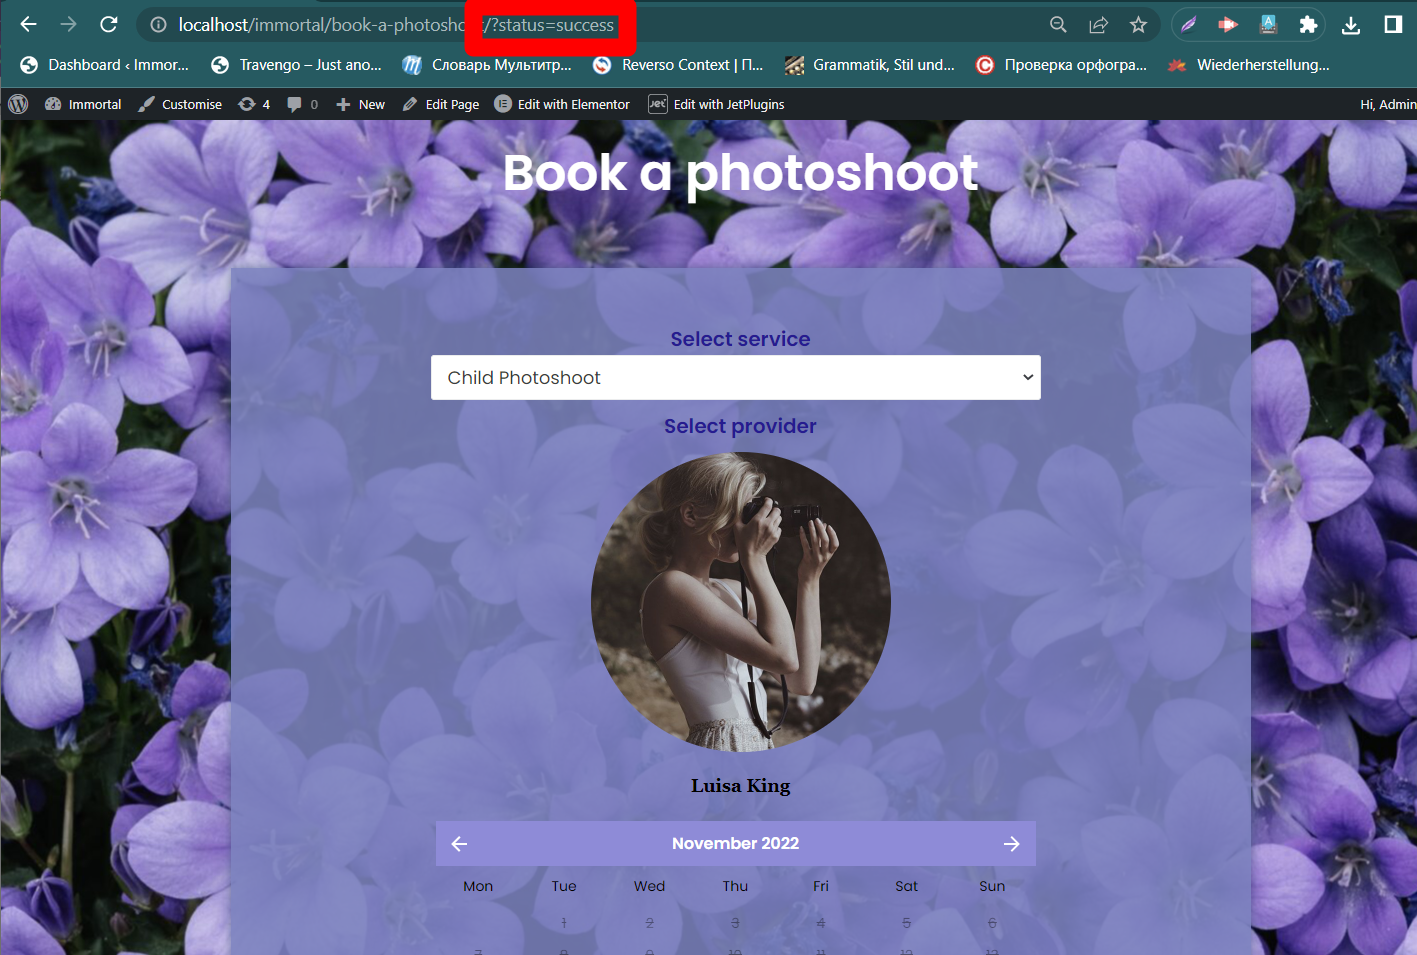
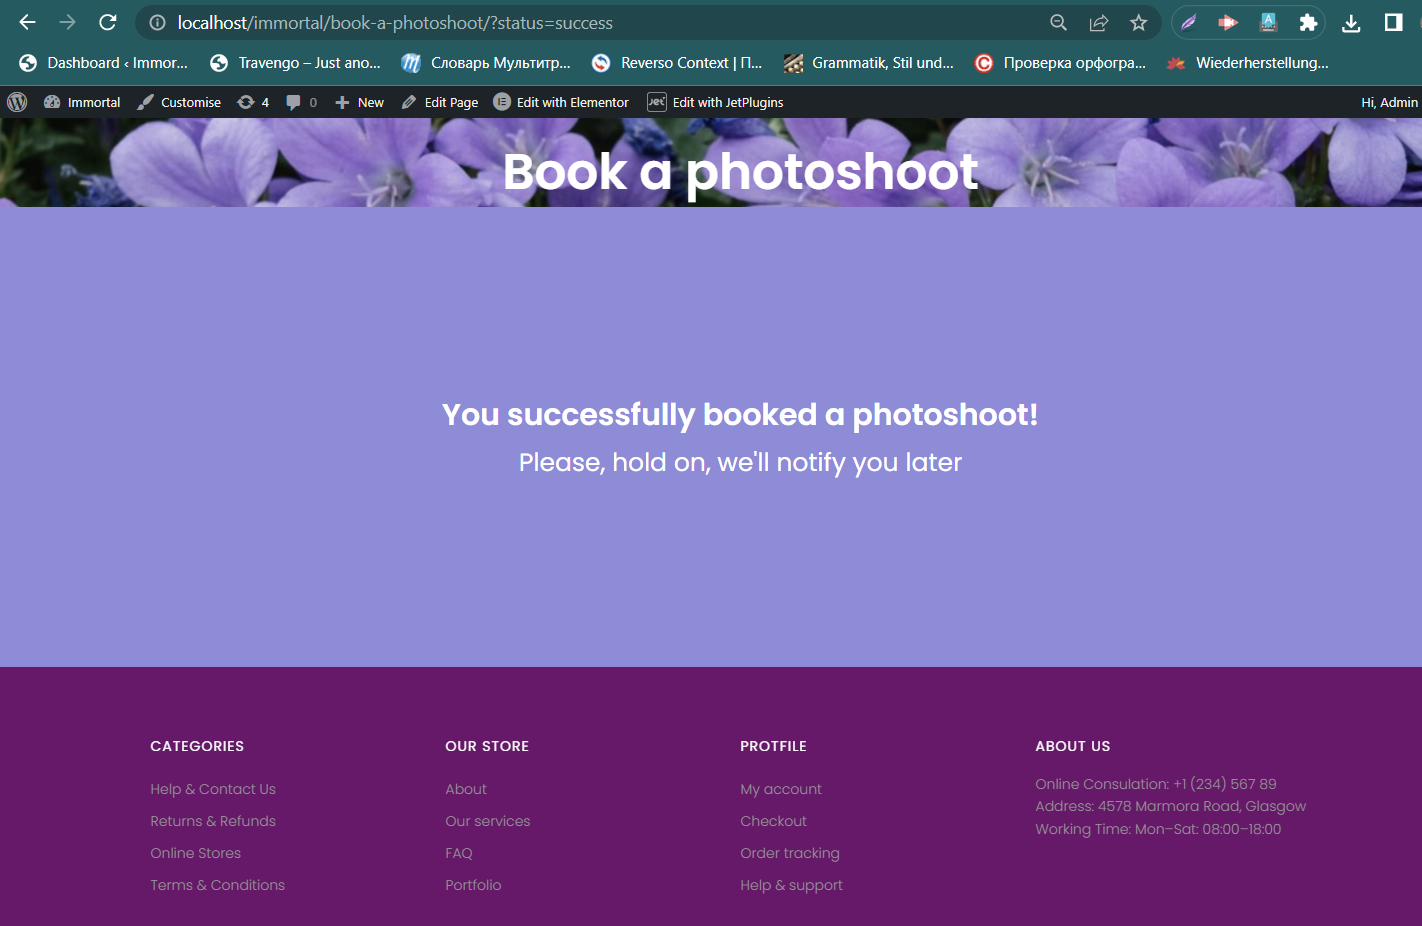
This is how it looked when the form was submitted successfully.
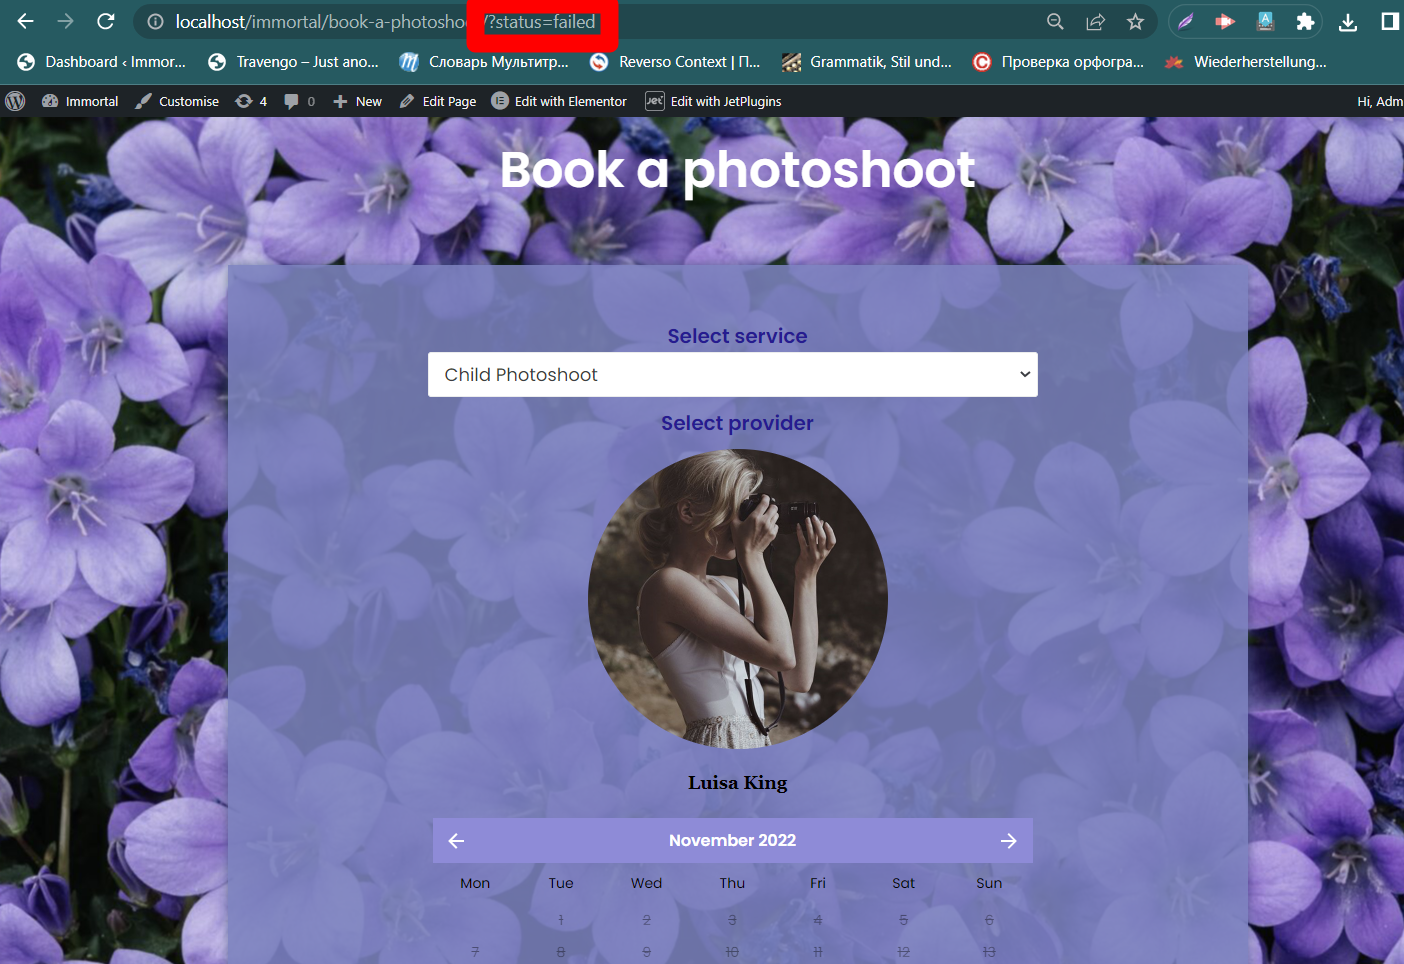
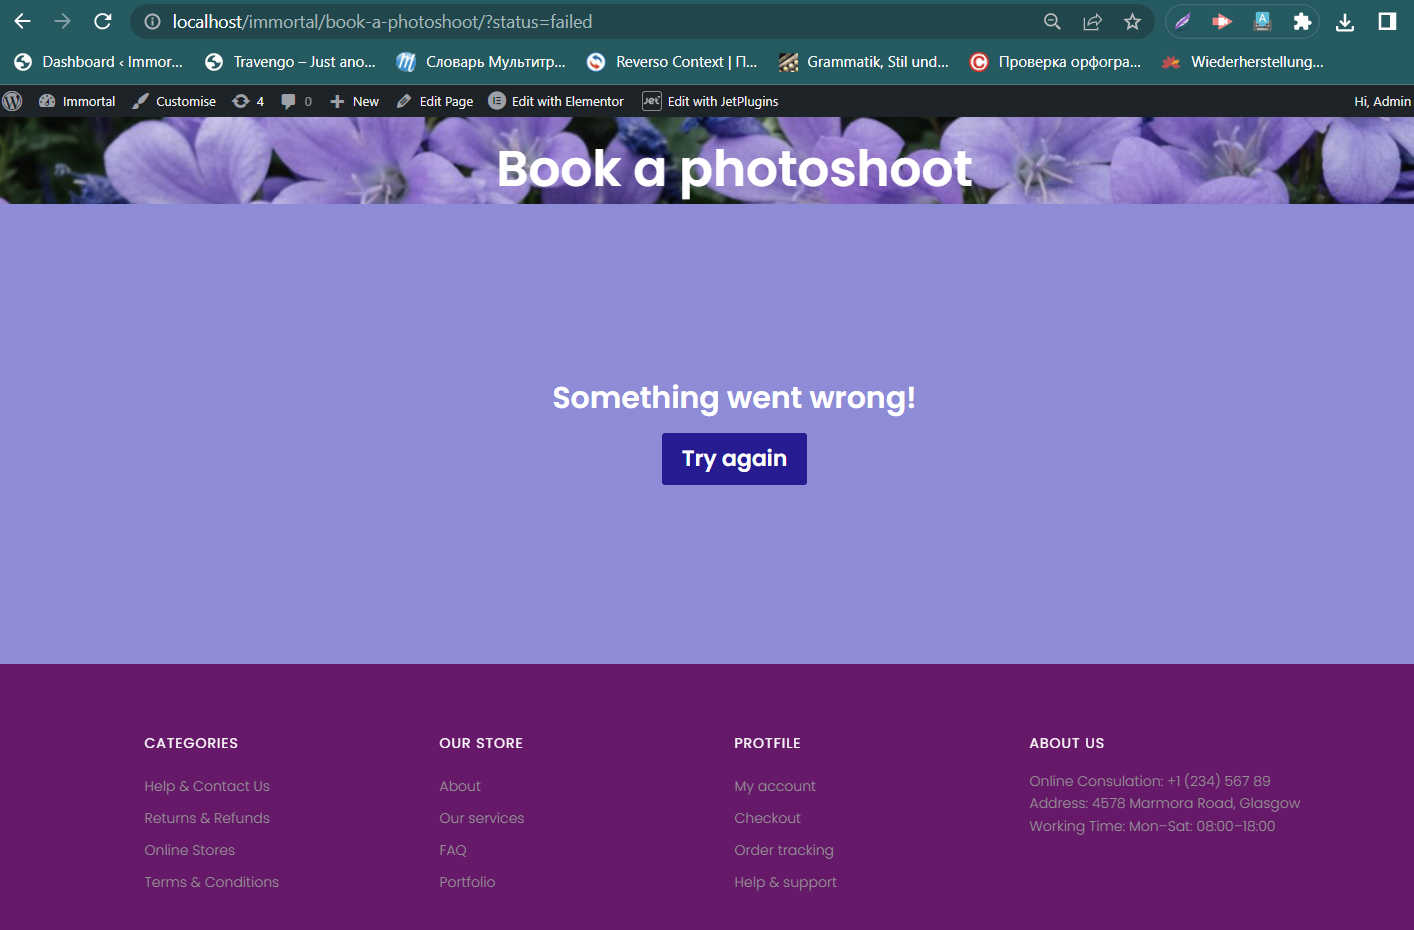
If something goes wrong, for example, we haven’t filled in all required fields, that is how the page will look.
Now let’s check how we can use these URL parameters with Dynamic Visibility.
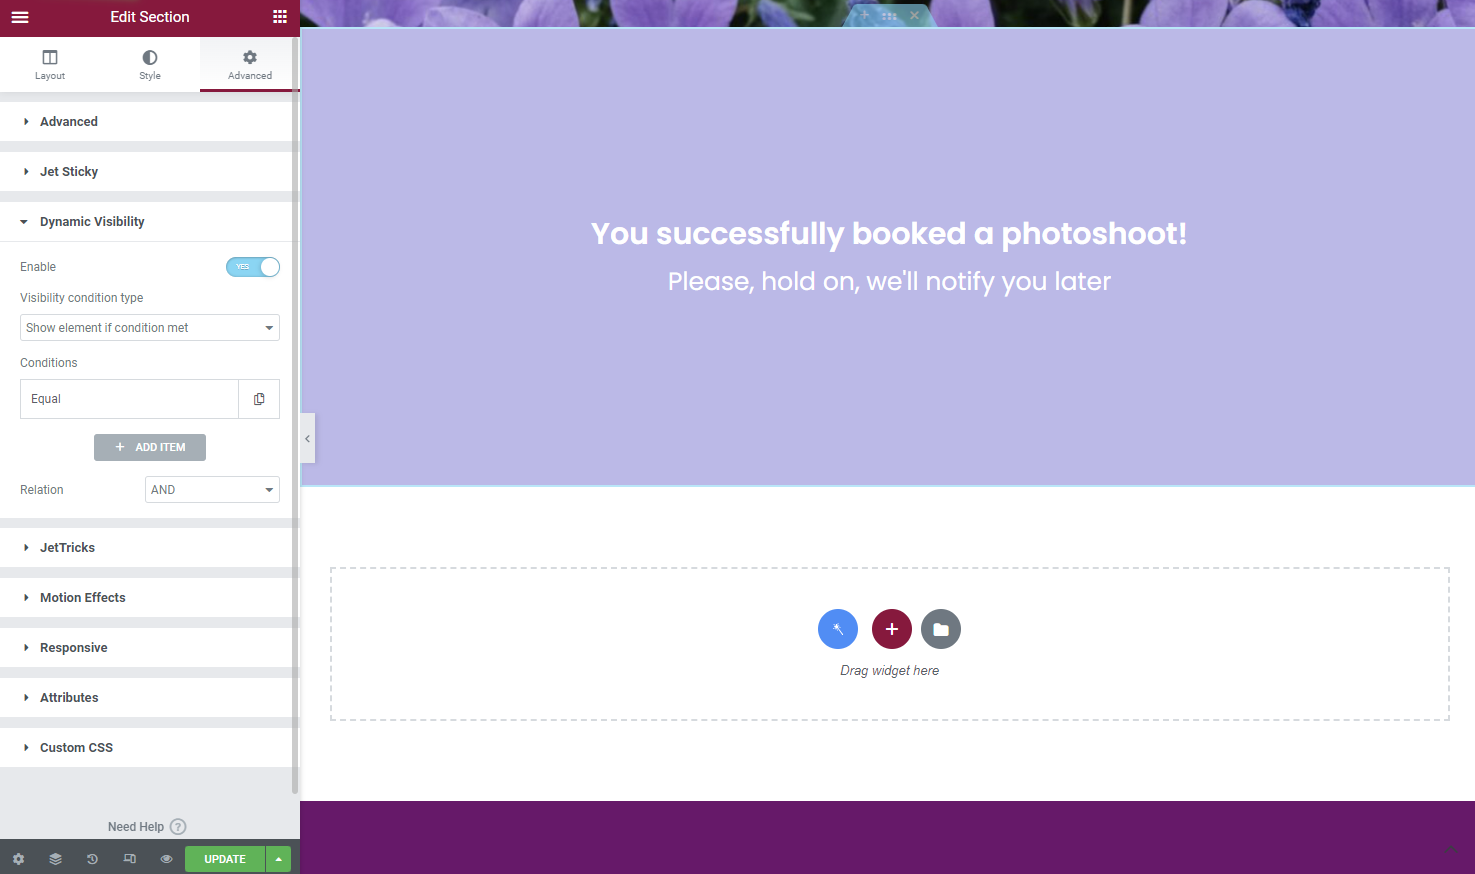
Add a new Section to the page you wish to display only when the form was submitted. Navigate to the Advanced Tab of the Section, find Dynamic Visibility, and enable it.
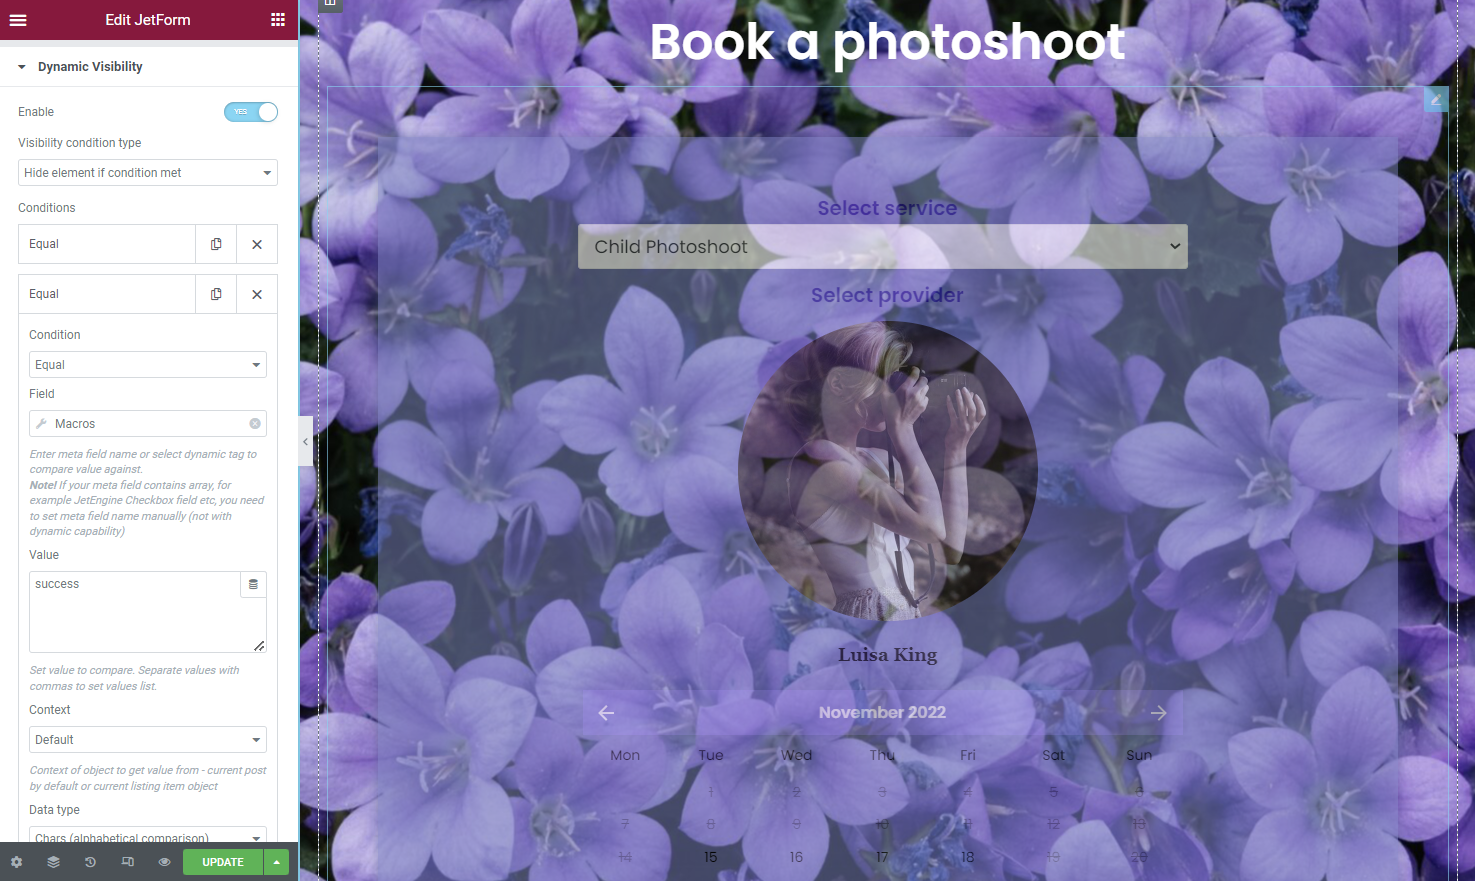
In the Visibility condition type, select the “Show element if condition met” option and set Condition as “Equal”.
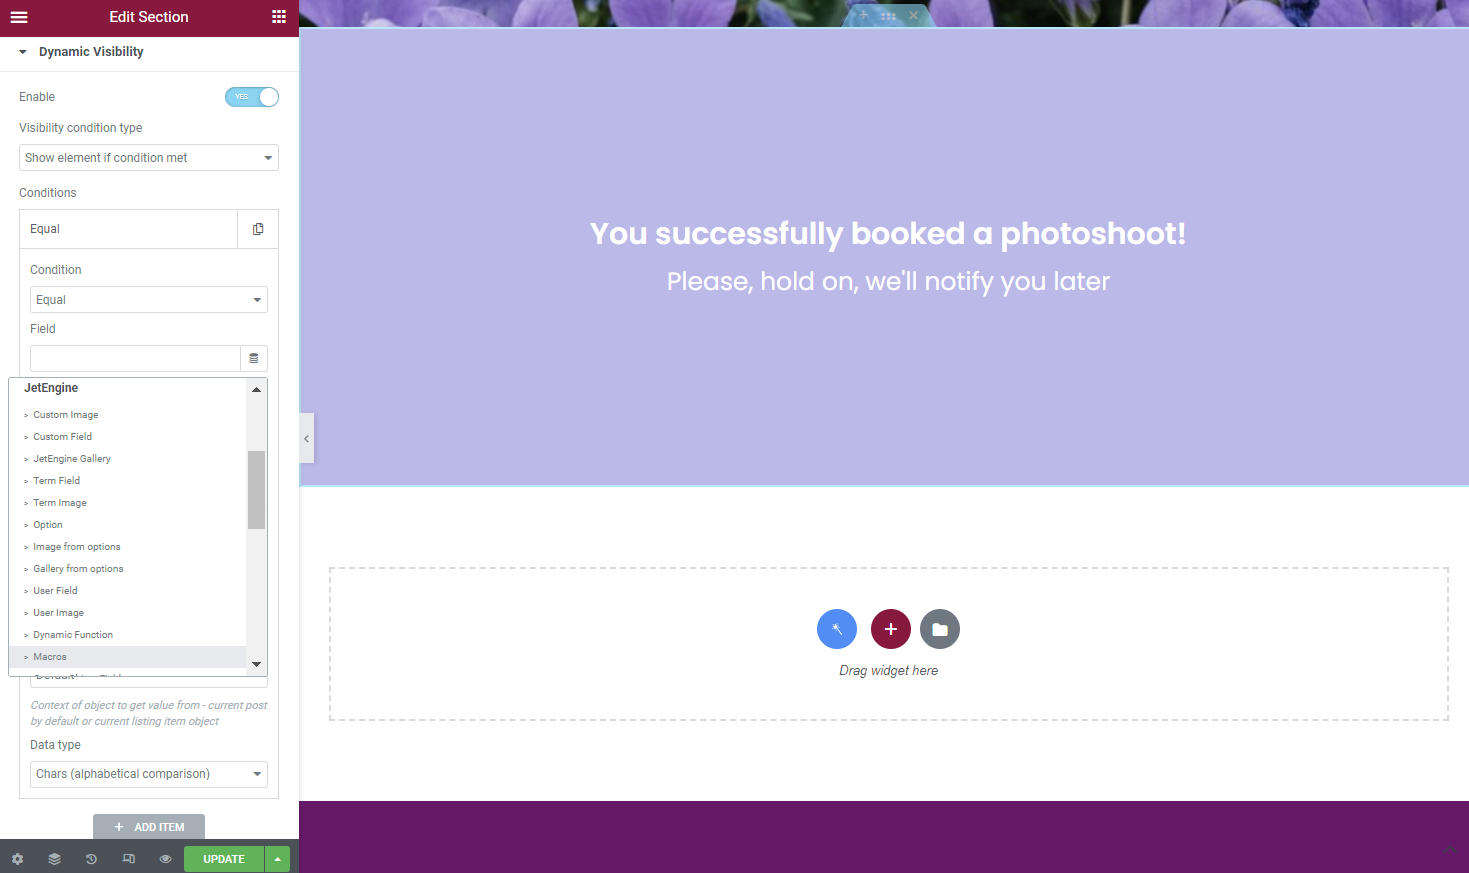
In the Field, select the “Macros” option.
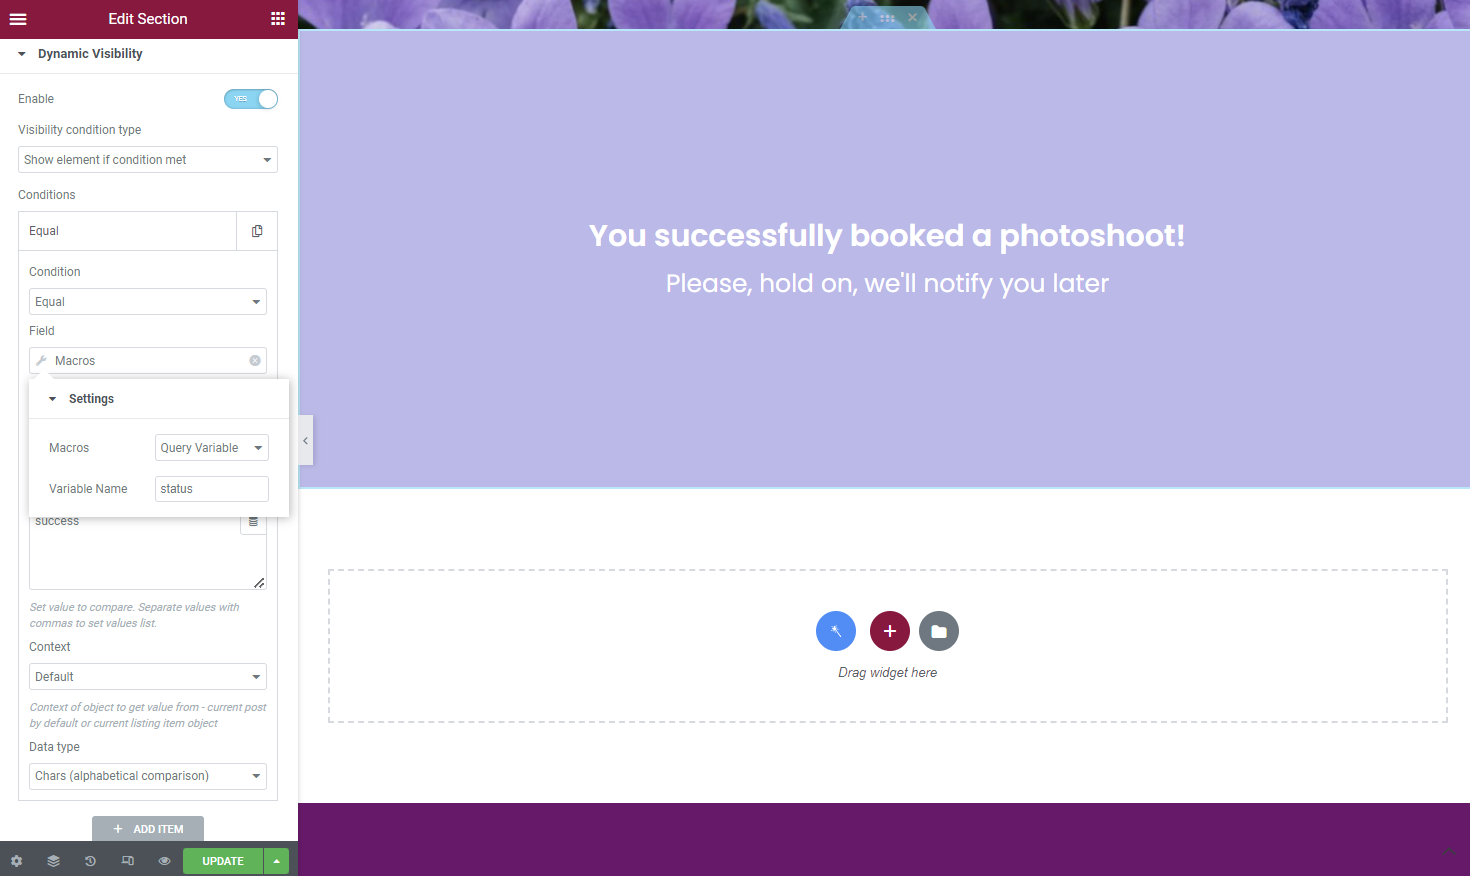
The macro we’re searching for is “Query Variable.” The Variable Name will be “status” that we’ve already seen in the URL. Complete a Value field with a “success.”
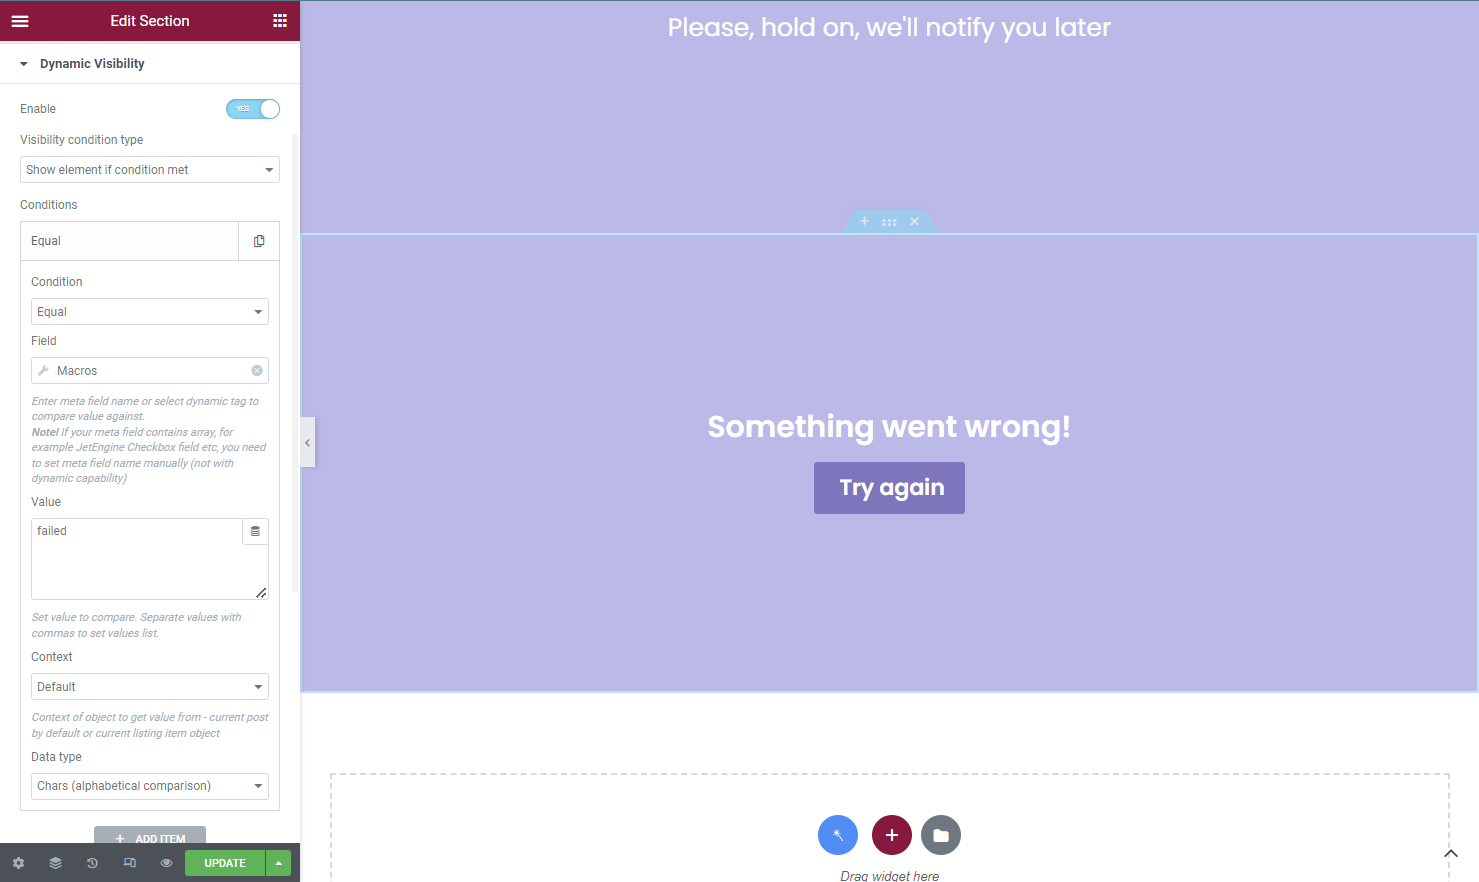
Now let’s add another Section with the content we need to display if the form wasn’t submitted. The settings will be the same as we set above; the only difference is that the Value in our condition will be “failed” now.
Hide content
As we don’t want to show the form after submitting anymore, we can hide it with Dynamic Visibility. Click on the JetForm widget, move to Advanced Settings, and enable Dynamic Visibility. Now the Visibility Condition Type will be set as “Hide element if condition met”.
Here we need two conditions with the Relation type “OR”.
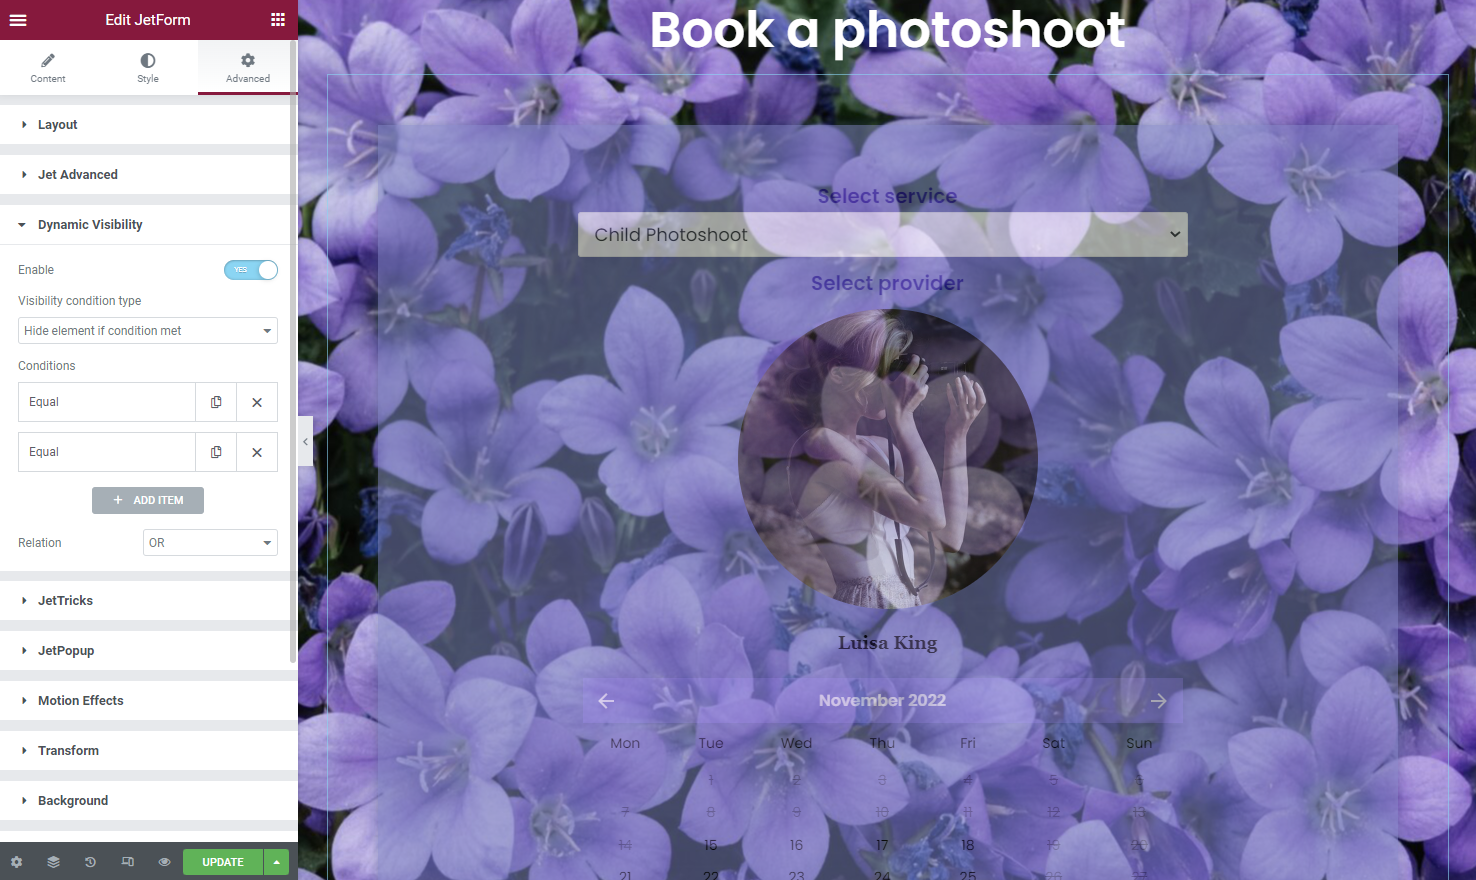
The Condition will be the same as we added for both sections.
The first one is for success.
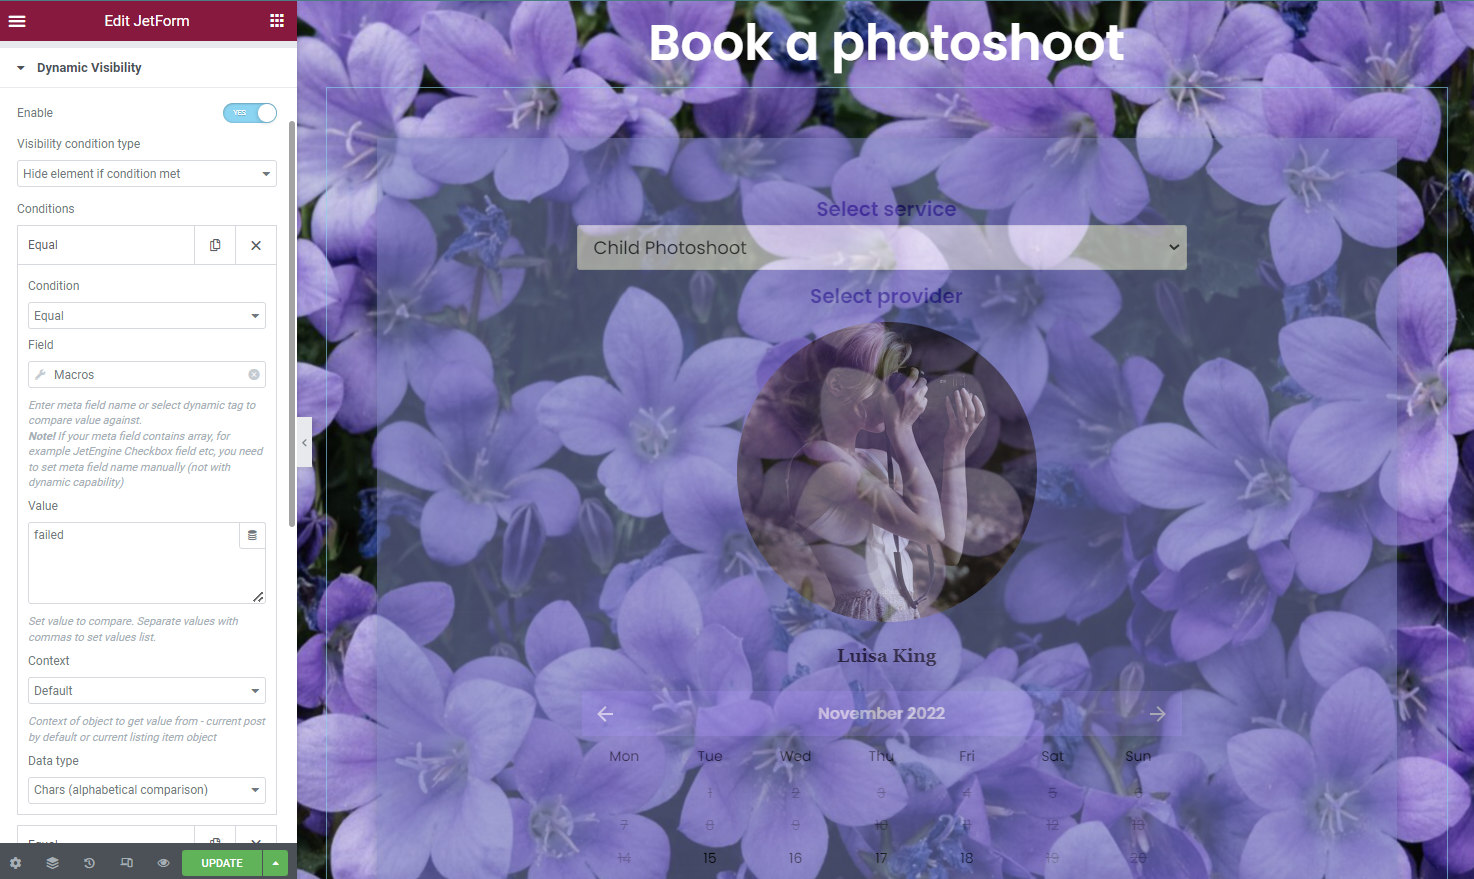
And the second one is for failed statuses.
Check result
Let’s look at how the feature works on the front end.
That is what users will see if they submit the form successfully.
And this is what can be seen if we can’t submit the form.
Set Dynamic Visibility in Gutenberg
Let’s overview another example. For this, we need to create a Search Archive template with the help of the JetThemeCore plugin.
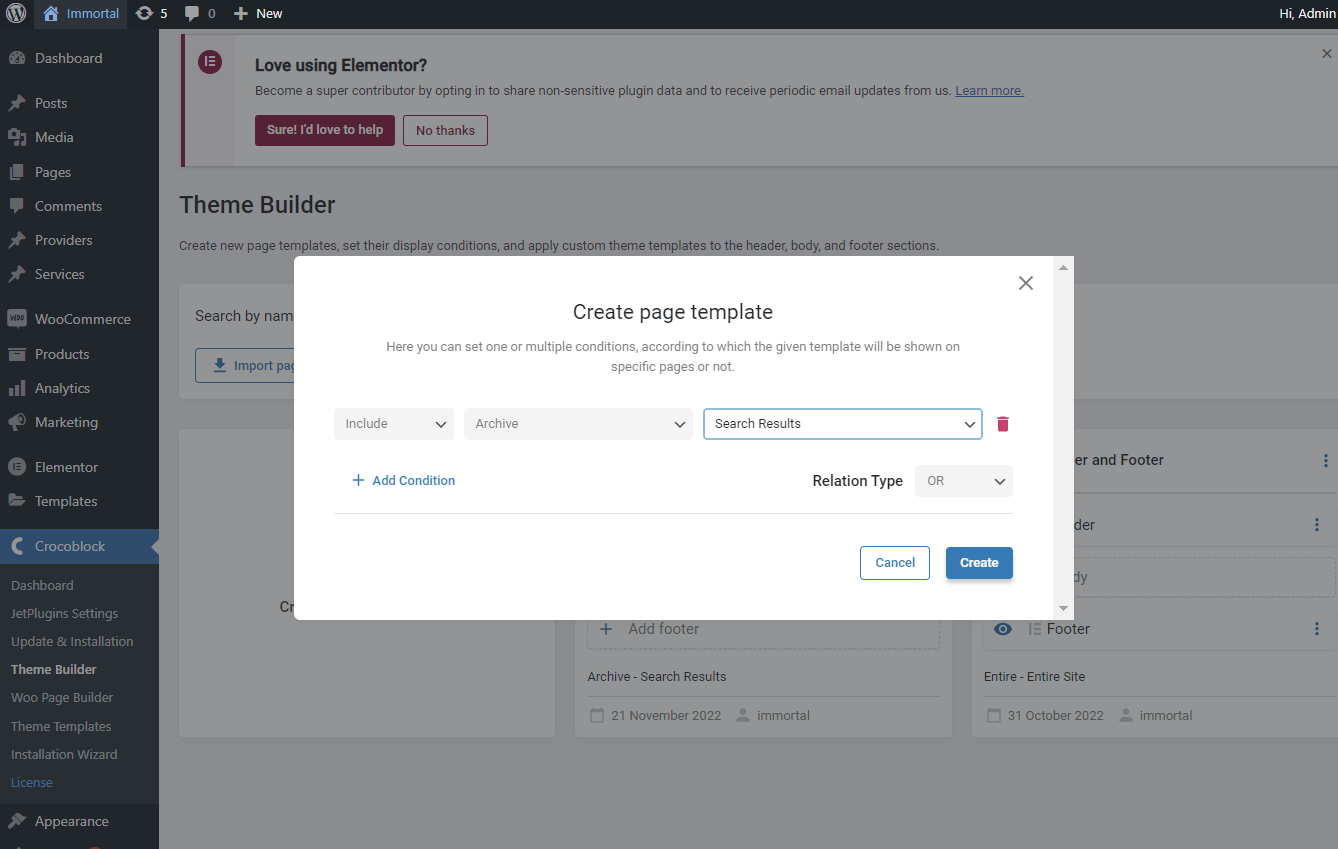
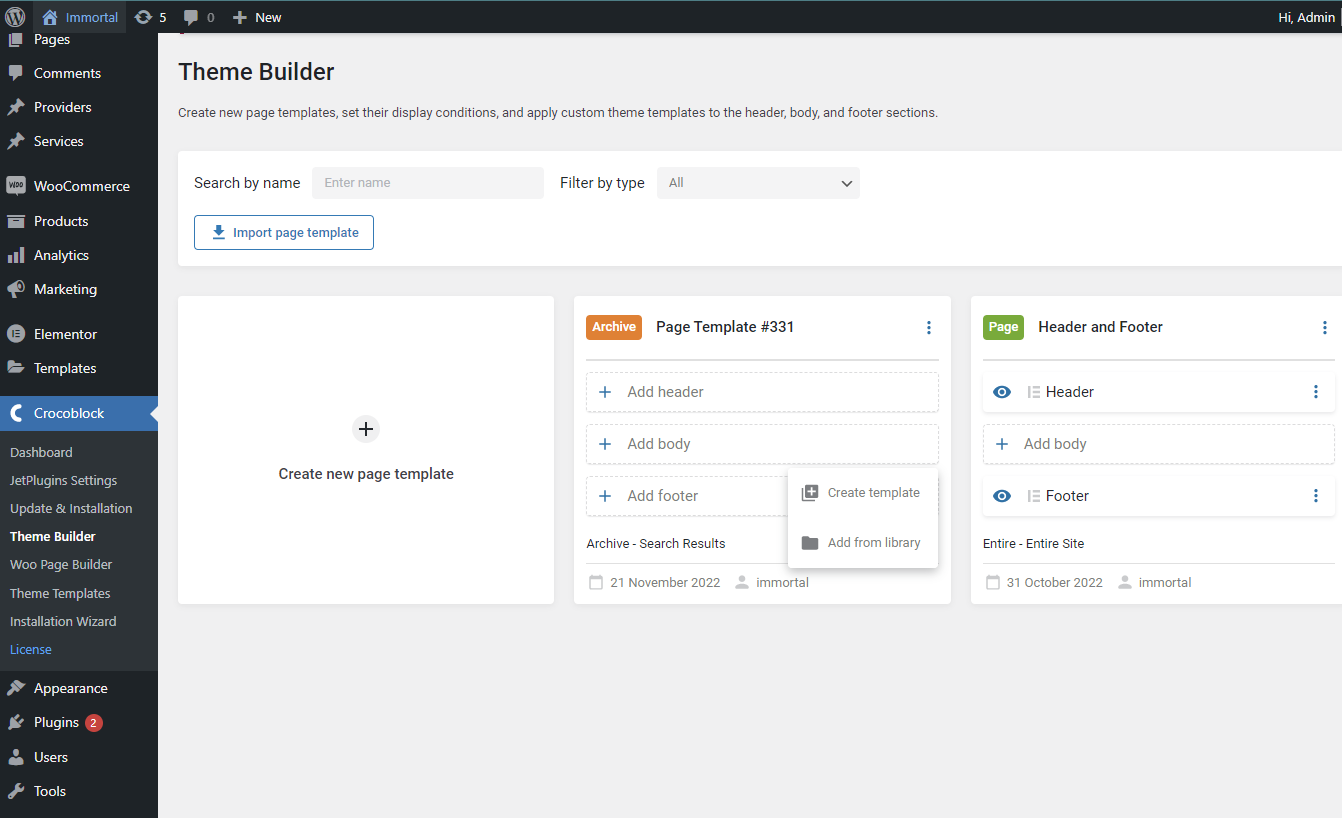
Navigate to Crocoblock >Theme Builder and click “Create New page template”. In the appeared pop-up, select such conditions: “Include,” “Archive,” and “Search Results.”
Select the “Create template” option in the body section of the newly created page template.
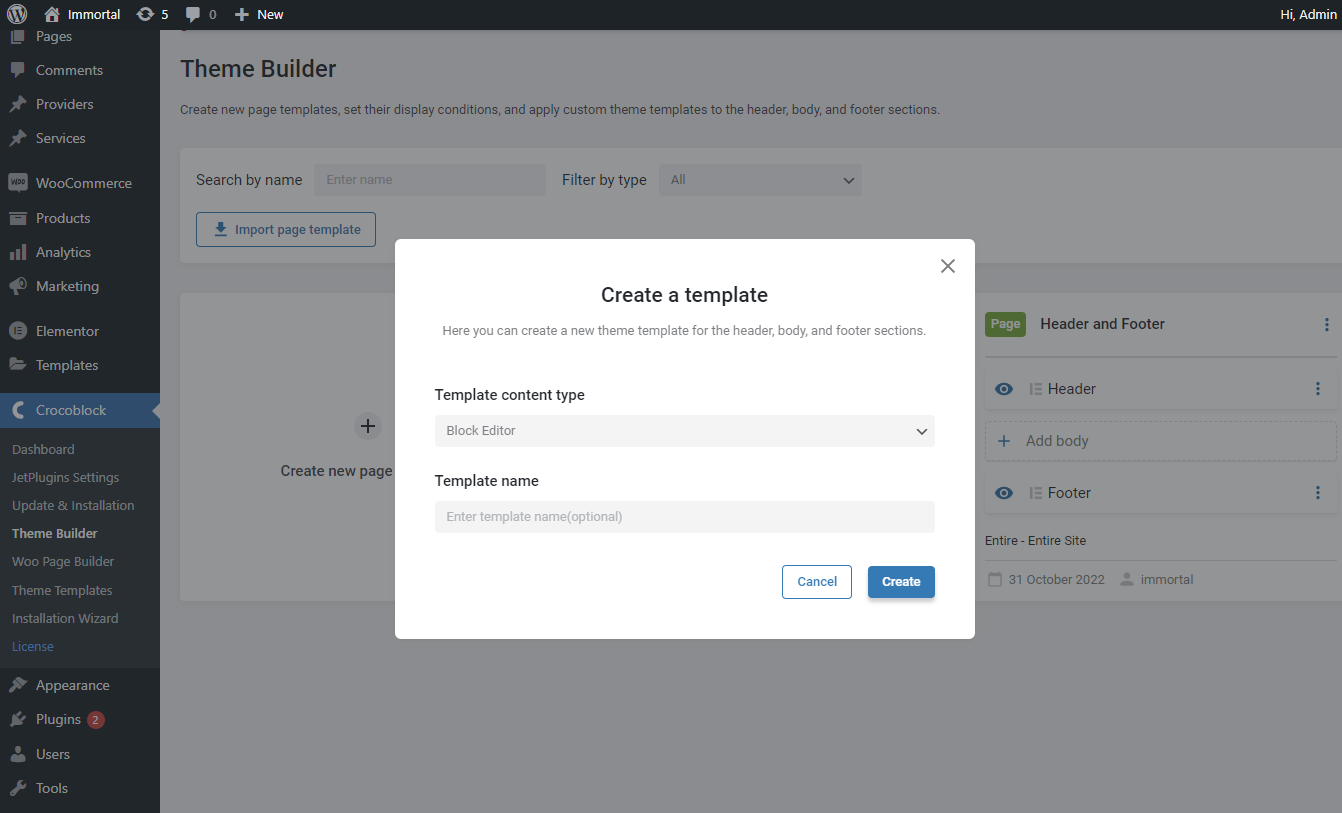
In the pop-up, select “Block Editor” and give a name for the new template.
Show content
Now let’s add such content that will be displayed on the front end only if the user enters the word, for example, “photo”.
Add an Image block to the page and, on the toolbar, click on the eye-shaped icon.
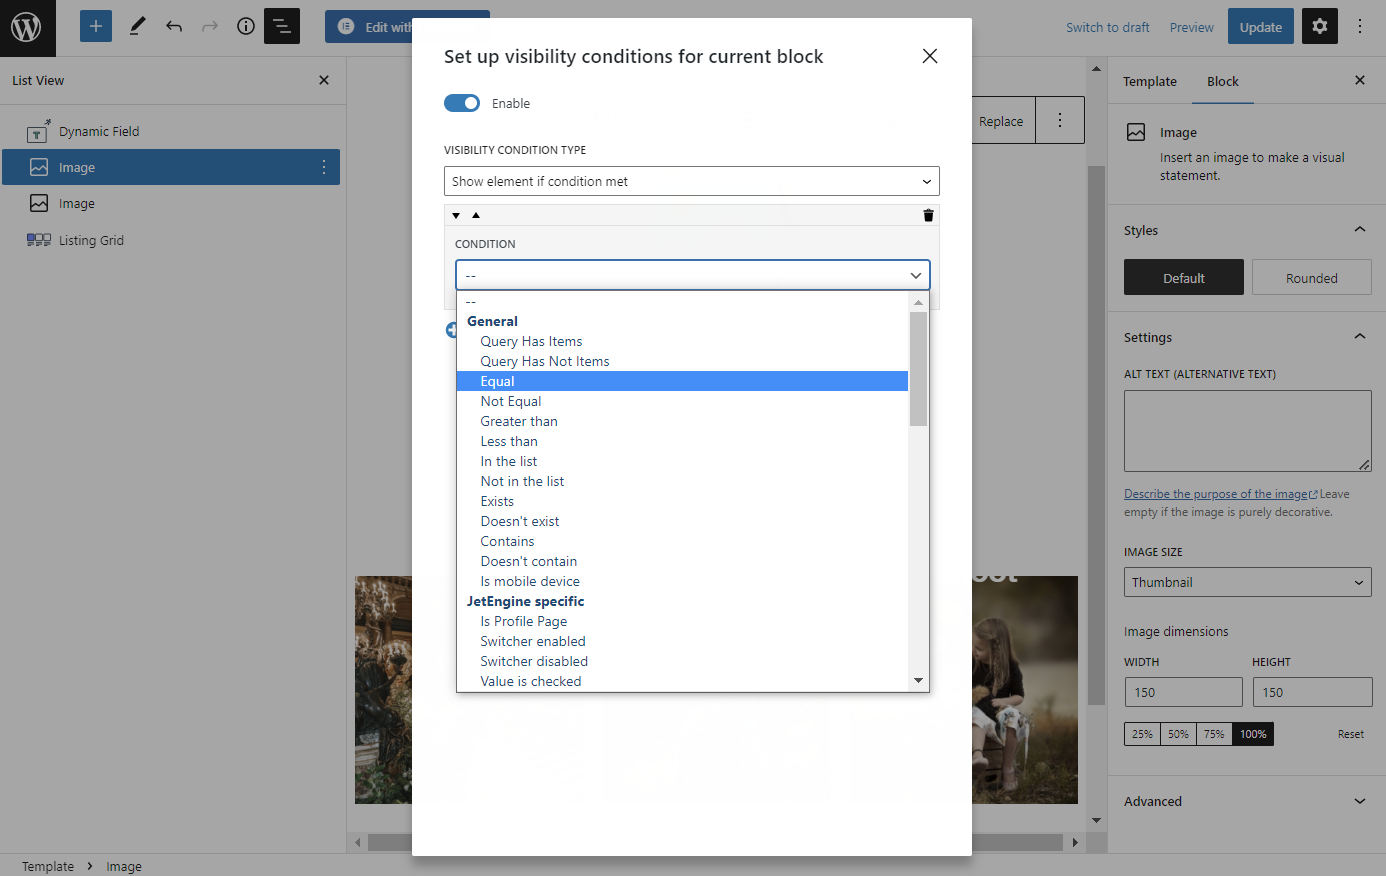
We can now enable the Dynamic Visibility option, select the “Show element if condition met” Visibility Condition Type, and set the Condition as “Equal.”
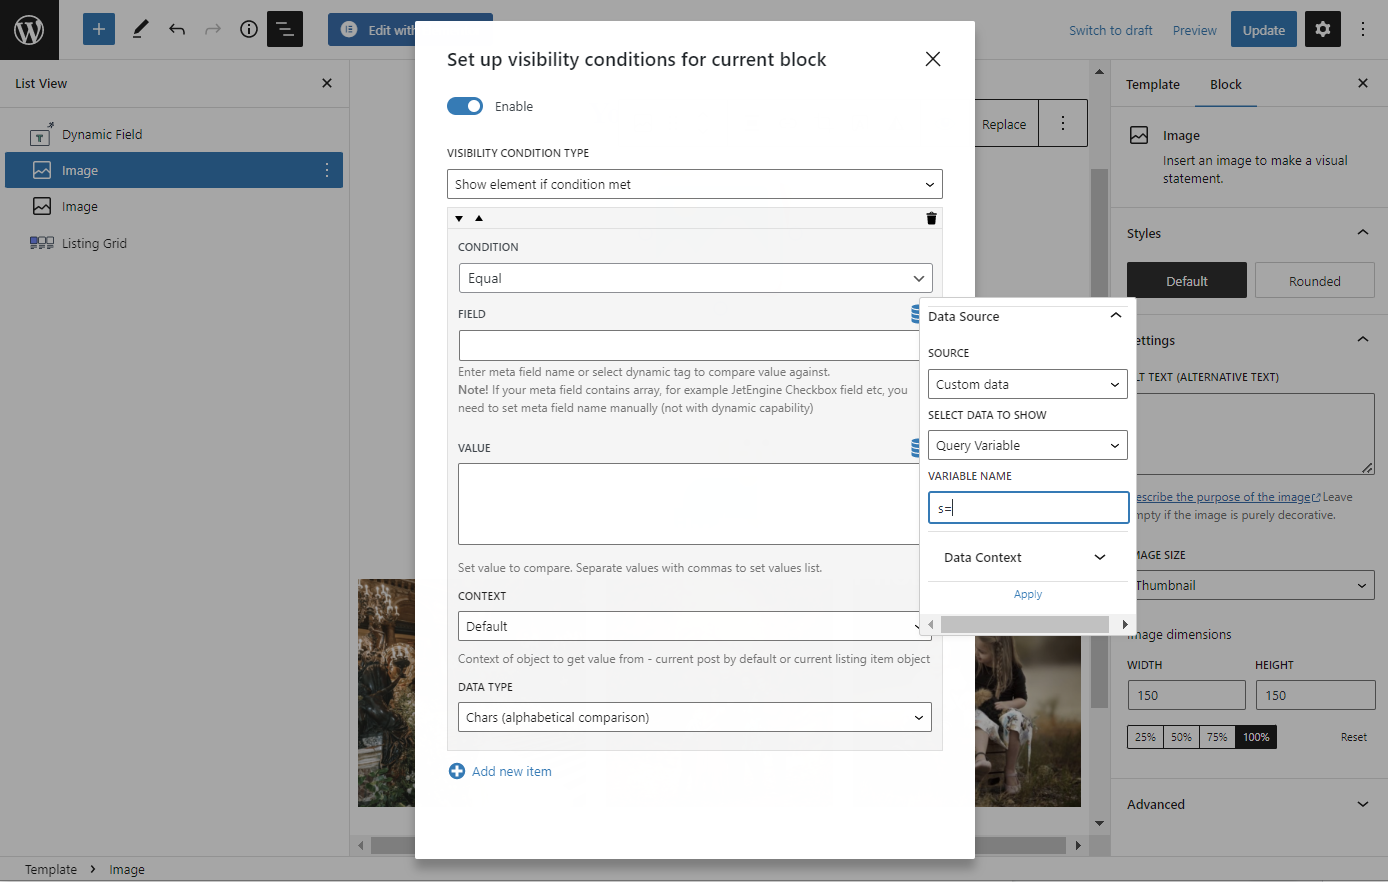
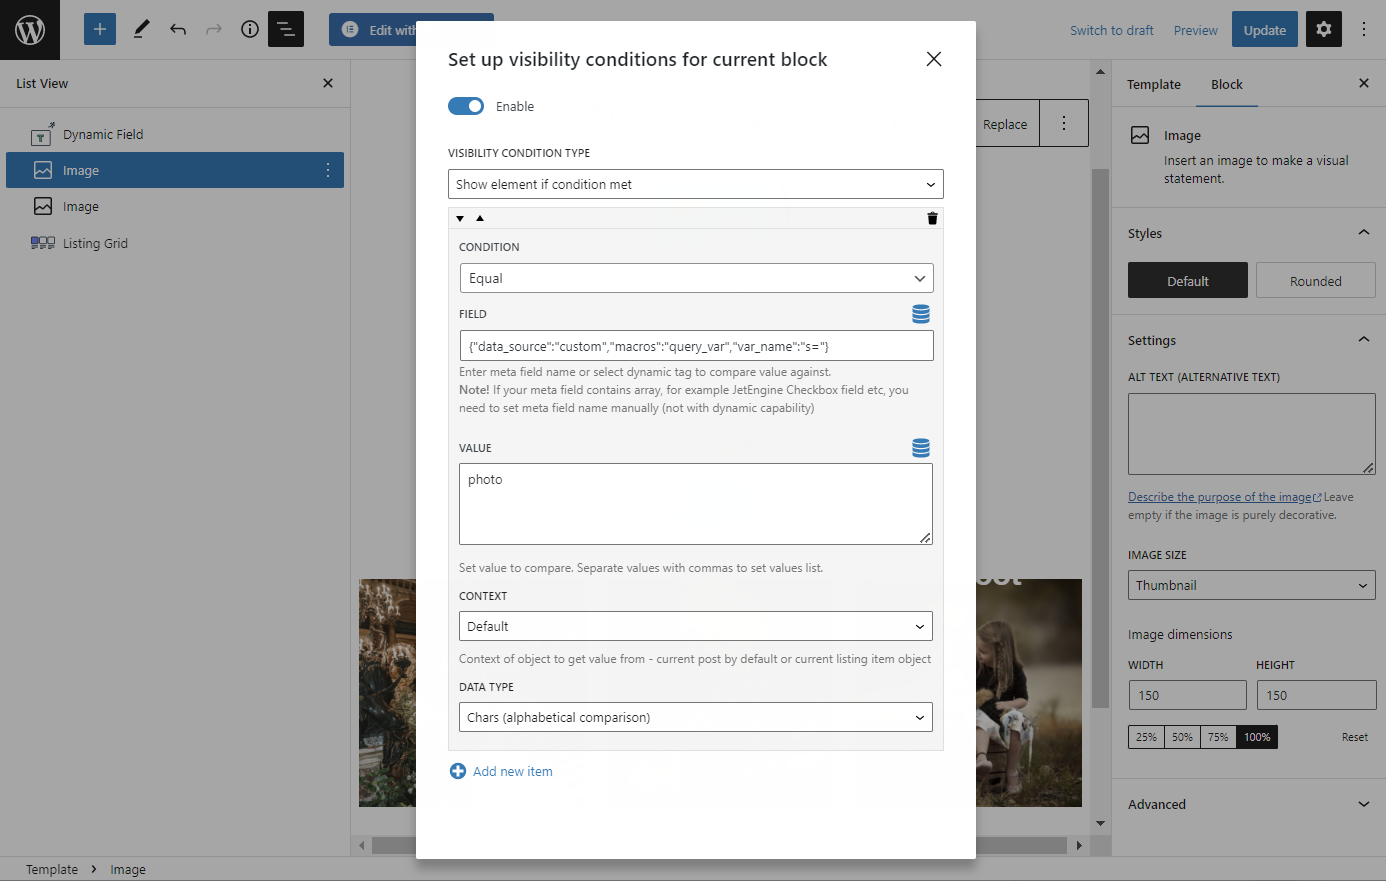
In the Field, click on the Dynamic Tag button and set the Source as “Custom Data.” Then select the “Query Variable” Data to Show and complete the Variable name field with the “s” value. Don’t forget to click the “Apply” button.
As said before, the value in our case will be “photo”.
After that, just close the pop-up and save the changes in the template.
Hide content
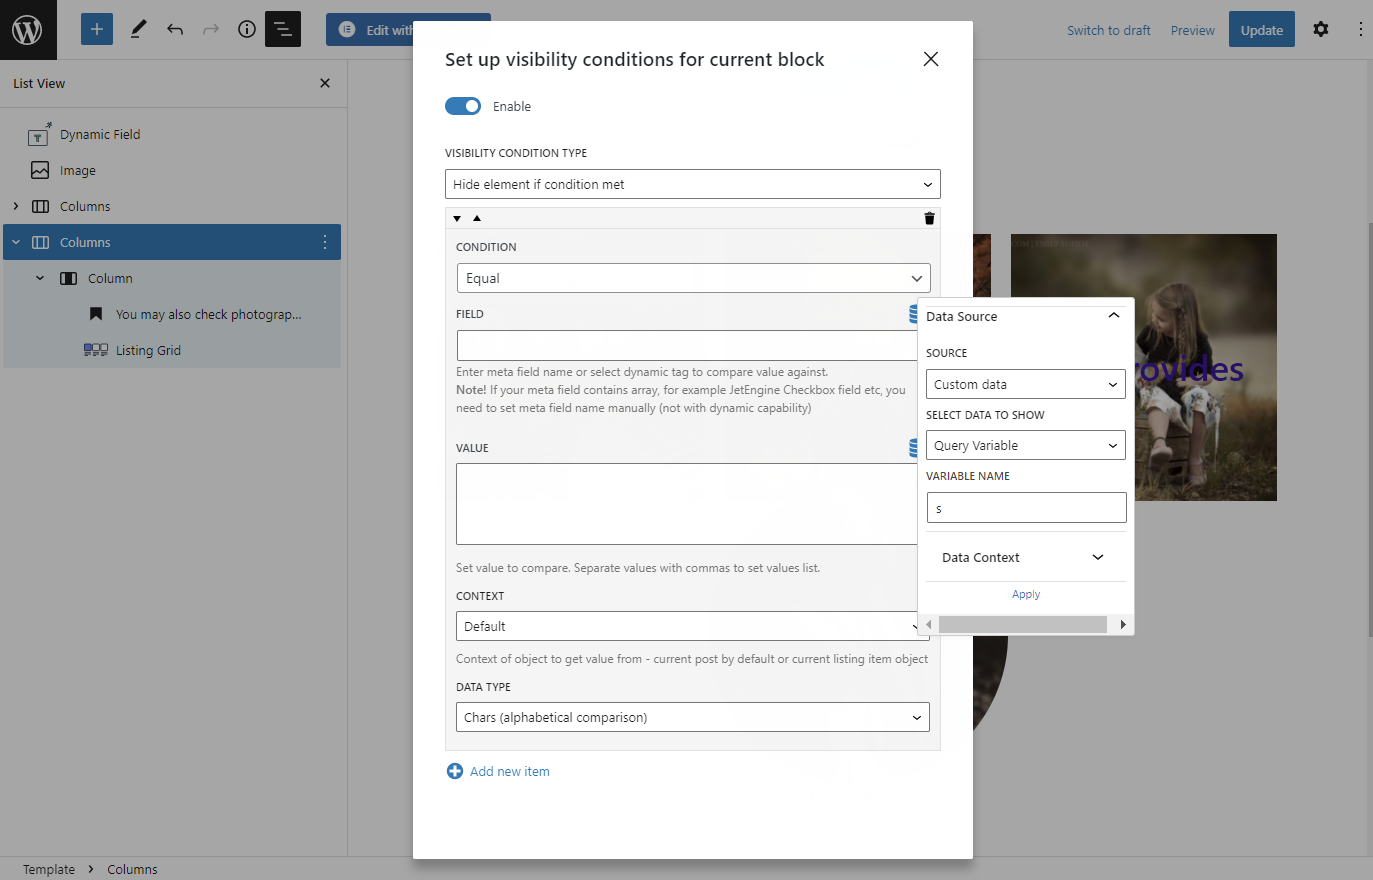
Now, let’s add a column with needed information that we want to hide for specific search requests and add the “Hide element if condition met” Visibility Condition Type.
The Field will be set up as previously. The Source will be “Custom Data,” Select Data to Show — “Query Variable” and Variable name — “s”.
The Value will be another in this case; let it be a “wedding” because our Provider doesn’t make such photoshoots.
Now save the changes and check the results on the live page.
Check result
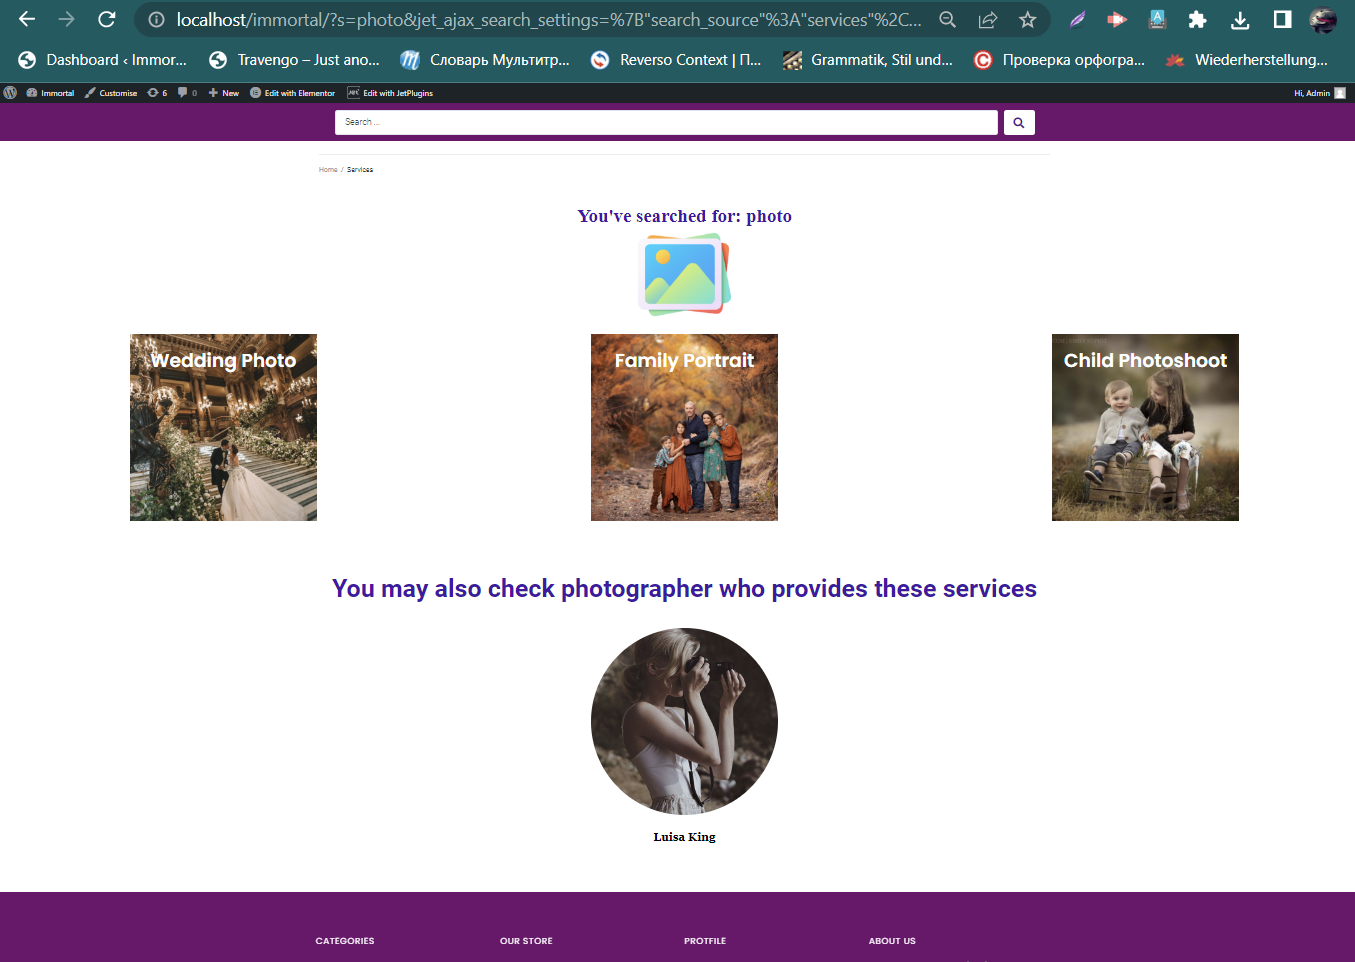
This is what the result page with the “photo” search word looks like now.
And for another request, “child,” in our search, we won’t see any content where Dynamic visibility was applied.

That’s it; now you know how to display or hide a section depending on the URL with the help of the JetEngine plugin.