
Custom Taxonomy Overview
With the JetEngine plugin, you can create taxonomies that will help you group WordPress posts by specific criteria at your request.
General Settings
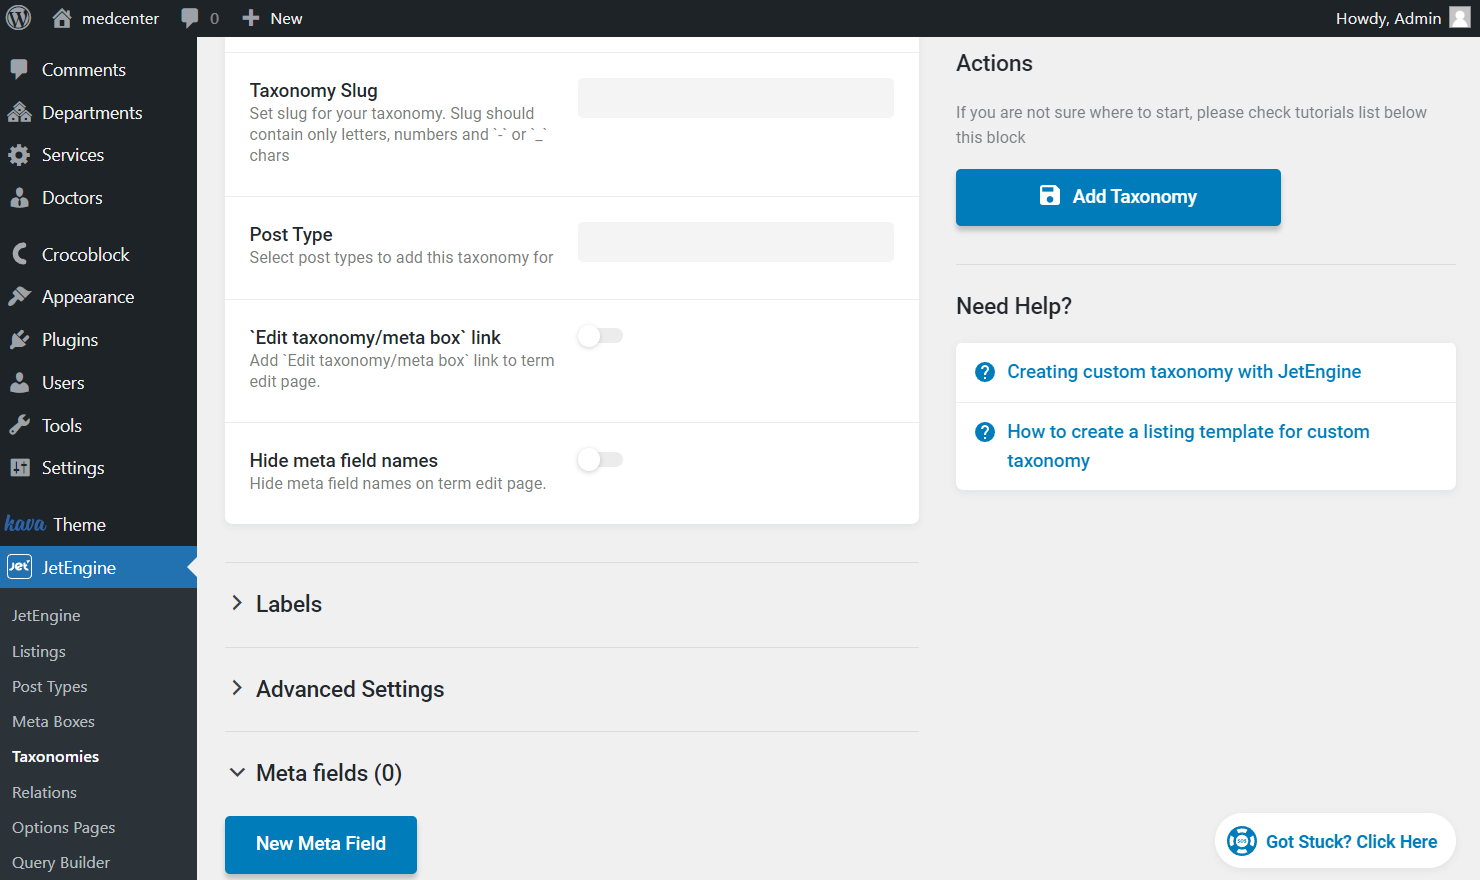
In the General Settings section, you can adjust the primary settings of your newly built taxonomy.
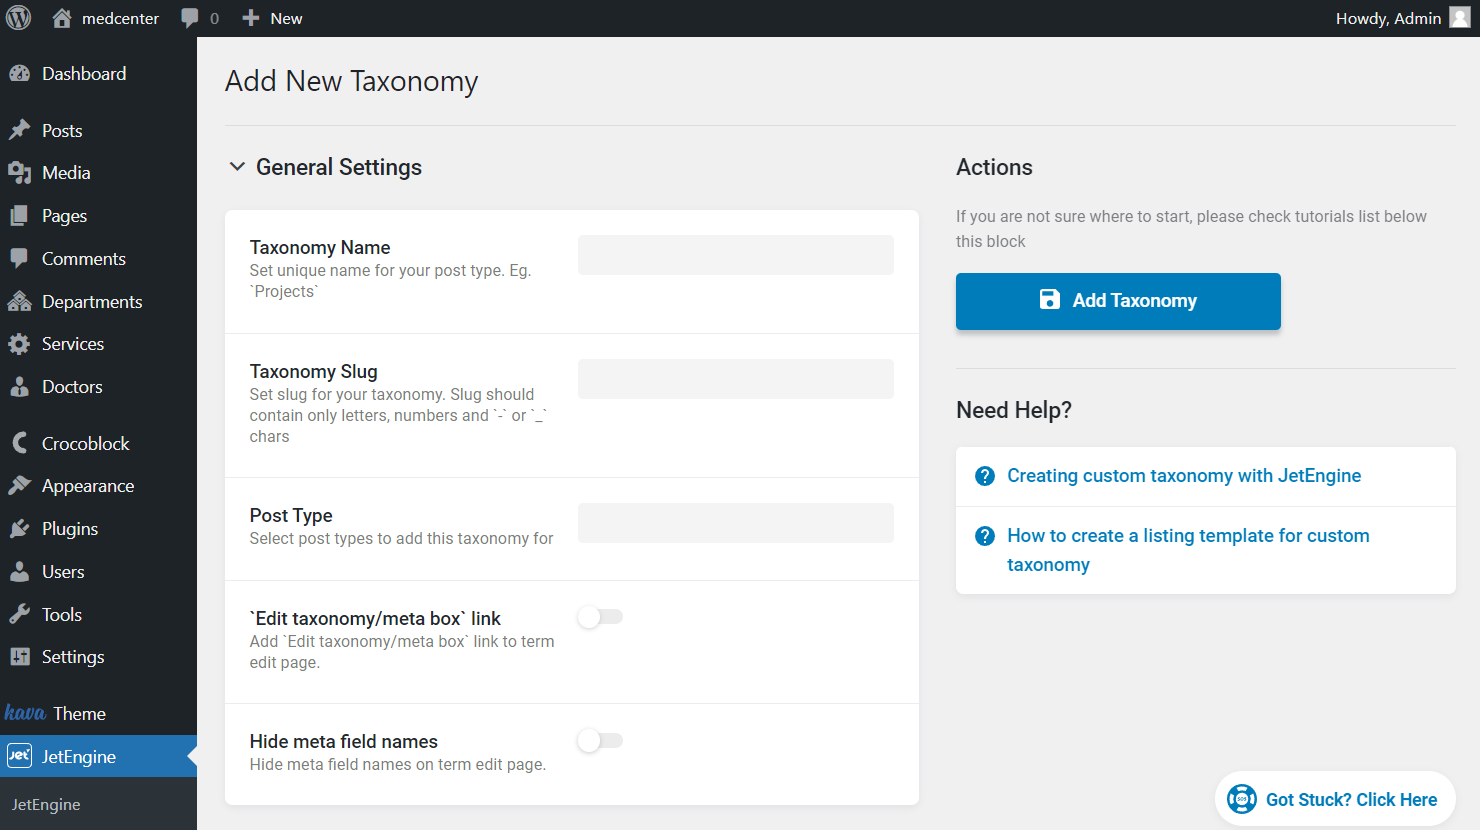
- Taxonomy Name – complete the field with a unique name for your taxonomy;
- Taxonomy Slug – define the slug of the taxonomy. It should only contain Latin letters, numbers, and “-” or “_” characters;
- Post Type – pick the post type to which the taxonomy will be attached;
- ‘Edit taxonomy/meta box’ link – activate the toggle to add a link to this taxonomy editing page to the term edit page;
- Hide meta field names – hides the Name/ID from the term editing page.
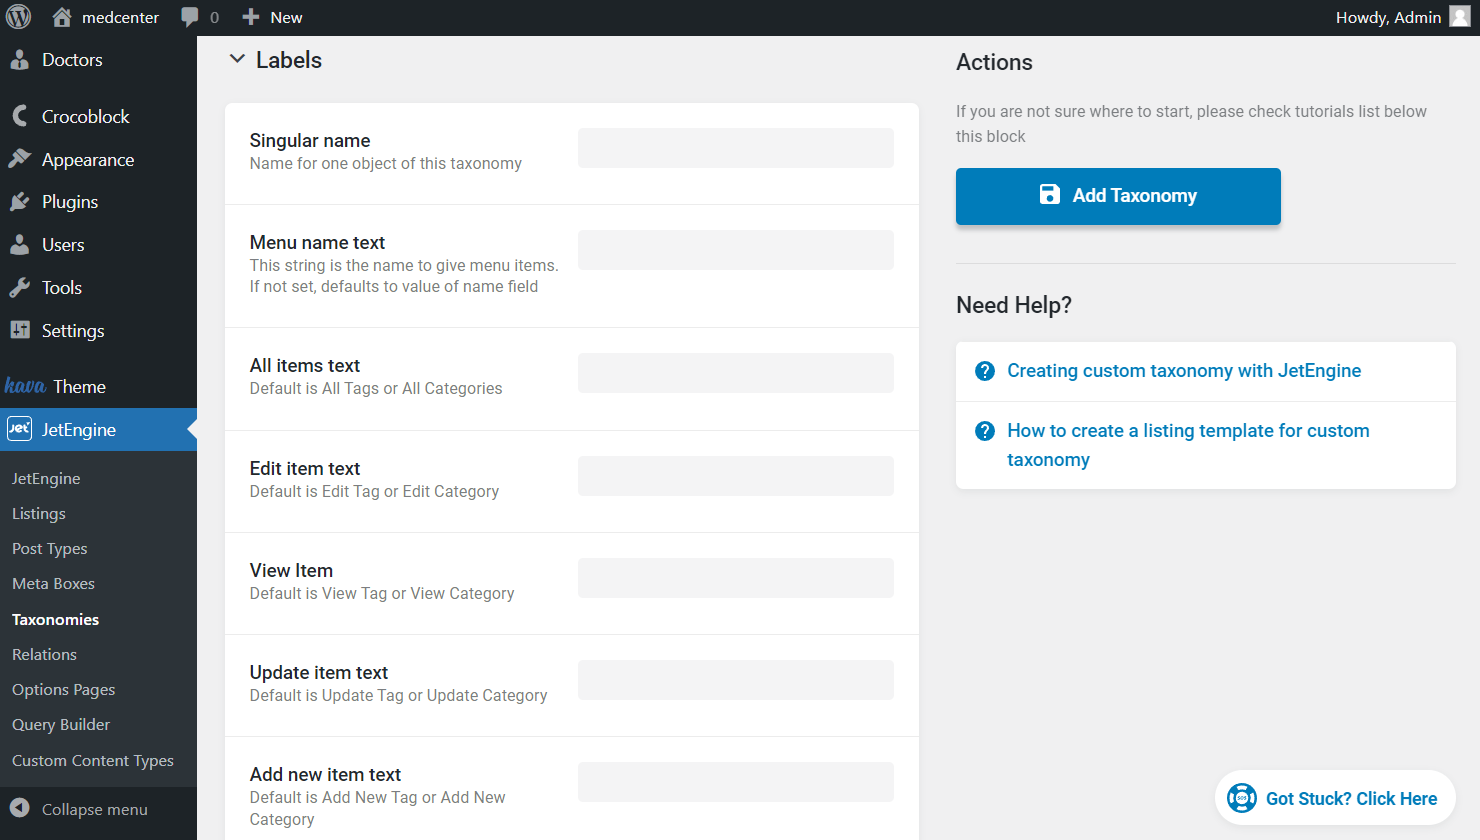
Labels
In the Labels tab, you are free to change the labels connected to the taxonomy you create.
In addition, you can leave the fields empty to make labels default.
Advanced Settings
The proceeding Advanced Settings tab lets you customize the taxonomy more precisely if needed.
Some of the switchers are enabled automatically, so decide whether to leave them activated or not.
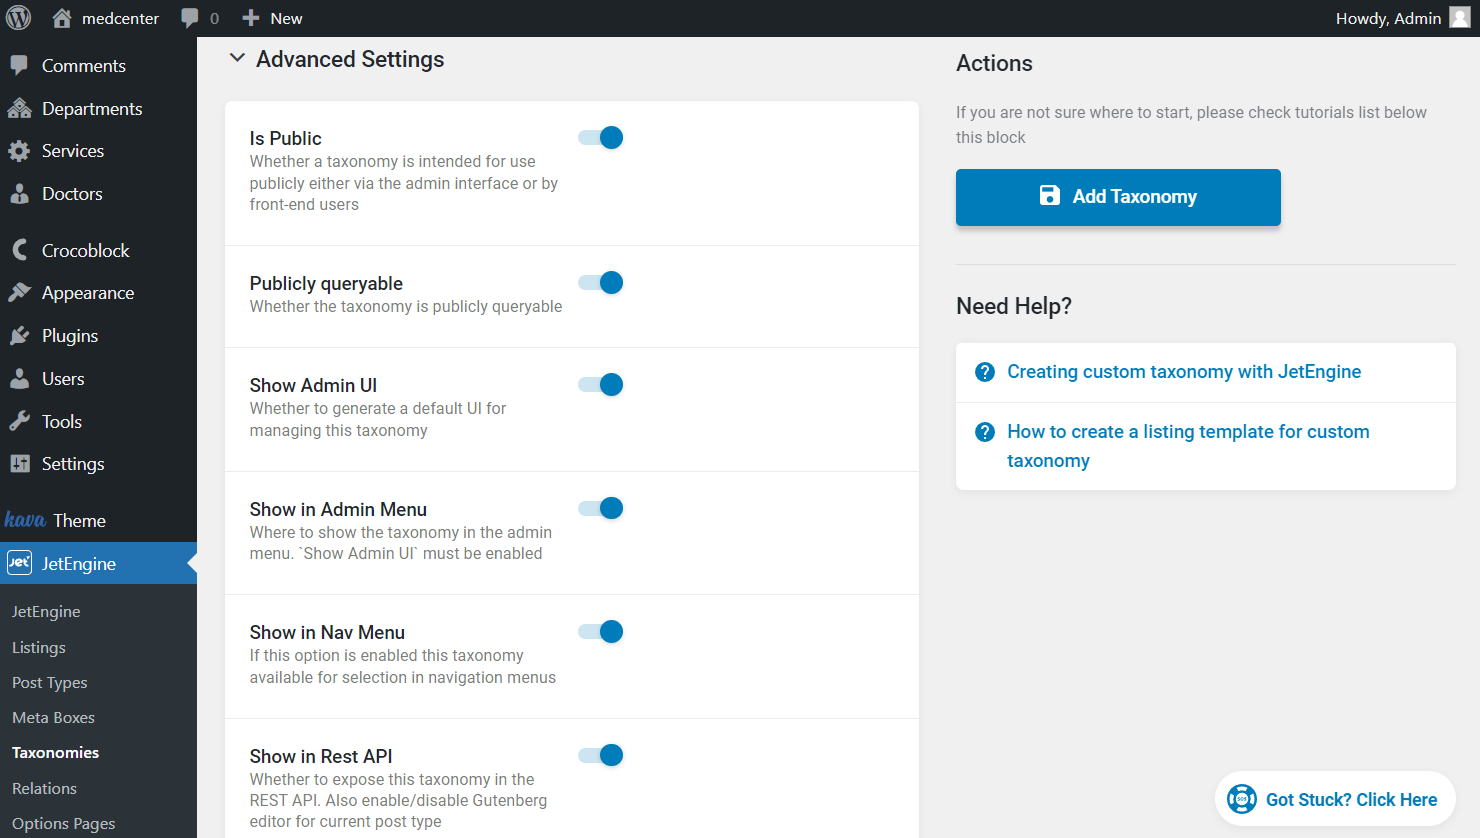
- Is Public – makes a taxonomy available for all users, either via the admin interface or front end;
- Publicly queryable – leaves the built taxonomy queryable publicly;
- Show Admin UI – leave this field activated to be able to add categories to this term via the WordPress Dashboard;
- Show in Admin Menu – leave switched on to show the term name when you hover over the item you attached the taxonomy to in the WordPress Dashboard menu. It allows you to go to the term editing page, so the previous Show Admin UI toggle should be activated as well for everything to work;
- Show in Nav Menu – makes taxonomy visible and available for selection in navigation menus across the WordPress Dashboard;
- Show in Rest API – enable showing the taxonomy in the REST API;
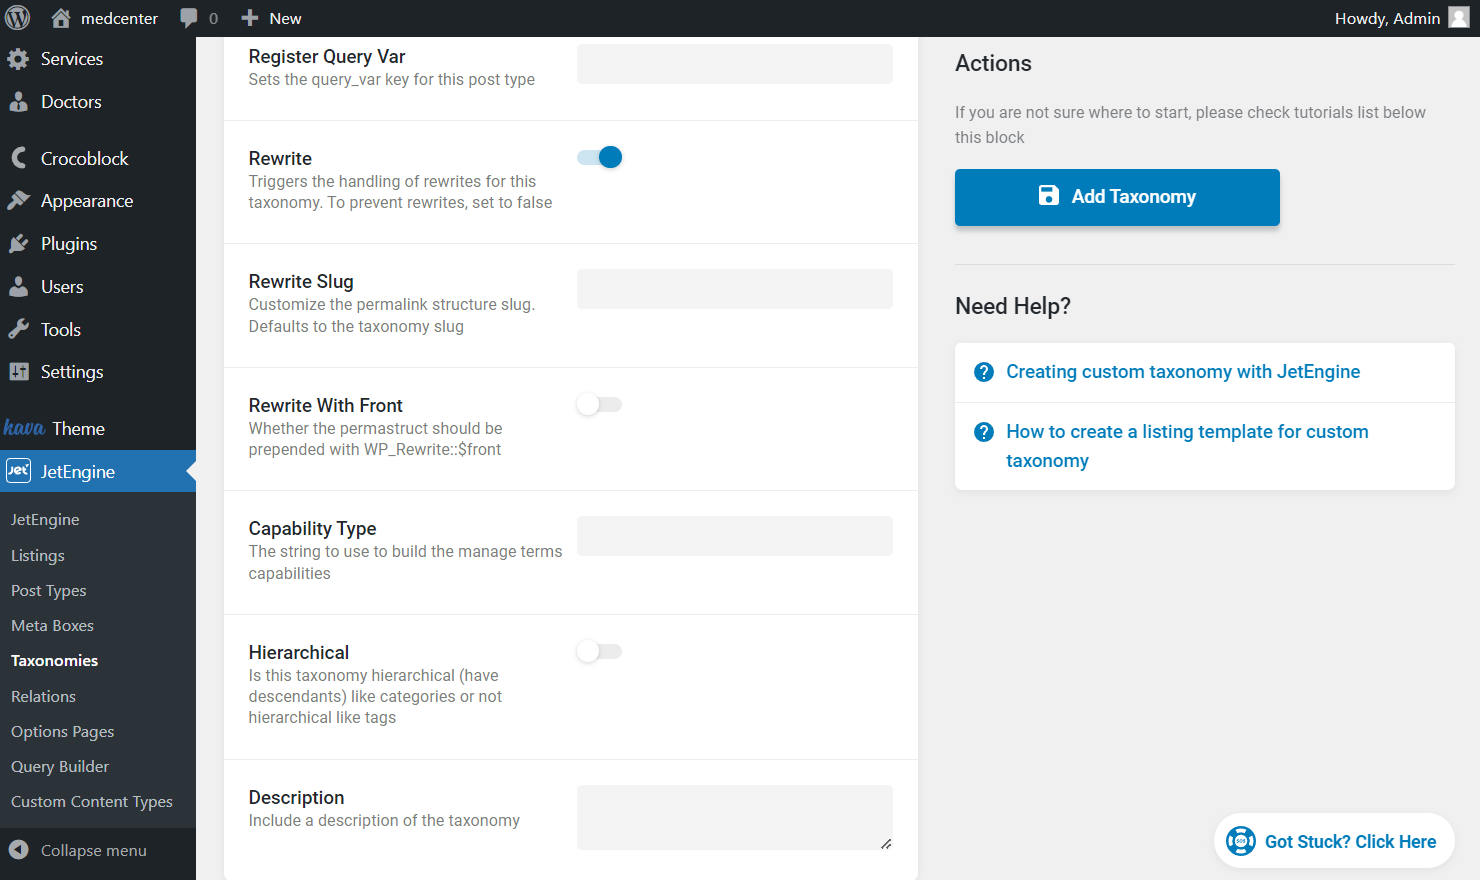
- Register Query Var – sets the query_var key for this post type;
- Rewrite – triggers the following Rewrite and Rewrite Slug fields that allow rewriting the taxonomy slug;
- Rewrite Slug – complete the field with the new taxonomy slug displayed in the URL;
- Rewrite With Front – activate if the permalink structure should be prepended with WP_Rewrite::$front;
- Capability Type – complete the field with term capabilities if needed;
- Hierarchical – activate in case you want the taxonomy you create to be hierarchical and have descending items;
- Description – complete this field with the taxonomy description if desired.
Meta Fields
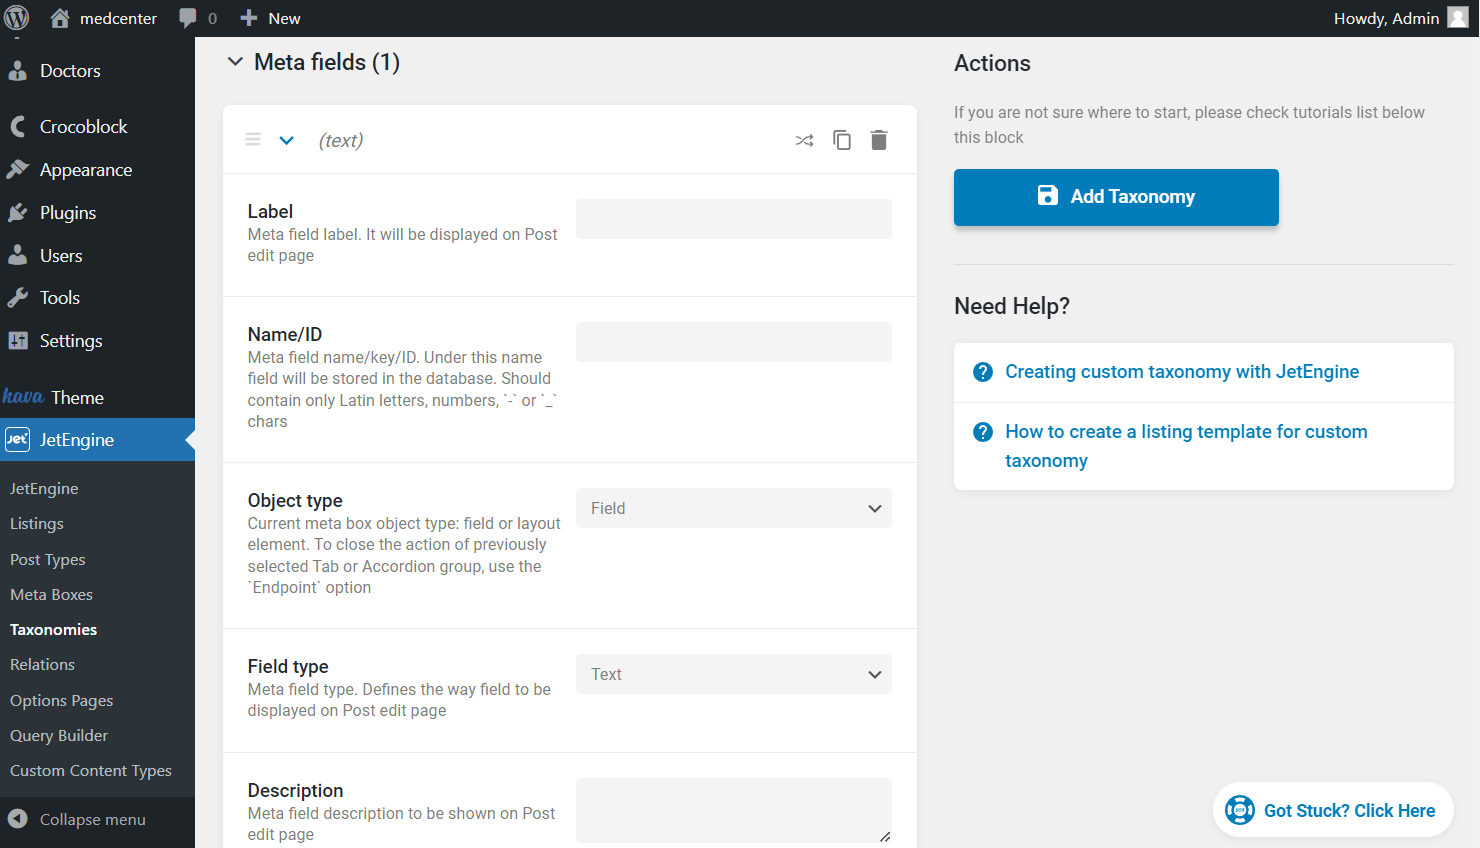
After the Advanced Settings, there is the Meta Fields tab. Here, you can create additional meta fields attached to each taxonomy term.
Once clicked, the “New Meta Field” button opens the primary settings fields.
By default, the “Text” Field type settings are shown; here, you can change the type if needed. Read about all JetEngine meta fields available for selection.
To add one more meta field, press the “New Meta Field” button again.
After adjusting the settings, the “Add Taxonomy” button should be clicked.
Now you know all the basics about the custom taxonomy settings available with the JetEngine plugin for your WordPress website.