
Authorization Links Widget Overview
This tutorial explains how to add Authorization Links with the help of the JetBlocks plugin to allow users to register and sign in to their accounts.
Do you want to allow the users to register on your website? If you have set the functionality that allows the creation of new user accounts, you will need the “Register” and “Sign in” buttons. The Auth Links widget of the JetBlocks plugin can help you to create those buttons. It allows users to log in, log out, register, and enter their account page.
Let’s find out how to add the Authorization Links widget and customize it as you wish.
How to Add the Auth Links Widget
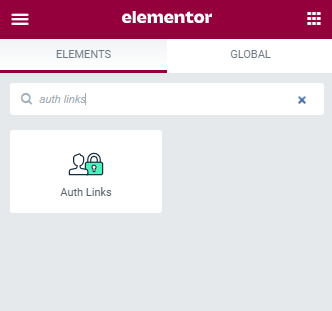
Open your website’s dashboard and find the page where you would like to add the authorization links. Open it with the Elementor page builder and seek the Auth Links widget in the panel on the left. Drag and drop it on a certain place in the header or to some of the page’s sections.
Auth Links Widget Settings
Let’s take a look at the available customization options for the Auth Links widget. There are the Login Link, Logout Link, Register Link, Registered Link, and General blocks with different settings.
Login Link
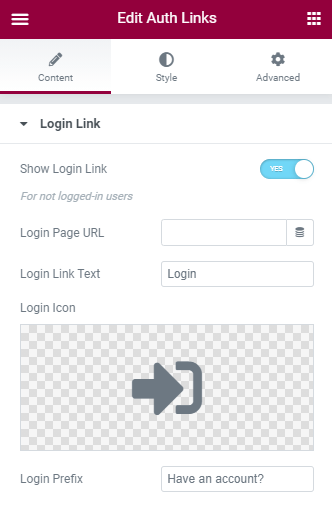
- Show Login Link. When this toggle is enabled, only the users that are not logged in will see the “Log in” button;
- Login Page URL. You can paste the URL of the separate login page here or choose it from the Dynamic Tags list;
- Login Link Text. This is the label of the button. By default, it is “Login” but you can change it to any other text;
- Login Icon. You can add an icon to the login button. Choose it from the Icon Library or upload an SVG file;
- Login Prefix. This is the text that will be shown before the login button.
Logout Link
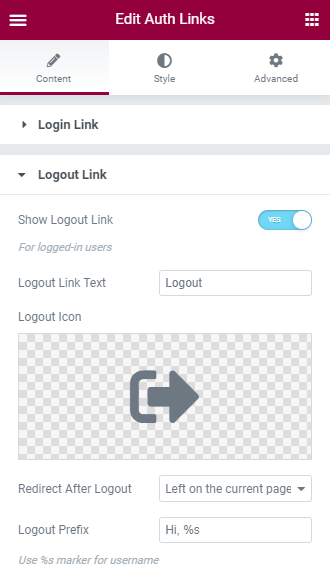
- Show Logout Link. This toggle makes the logout button visible to the logged-in users;
- Logout Link Text. Here you can type in the label of the logout button;
- Logout Icon. You can choose the icon that will be shown before the button label. Choose it from the Icon Library or upload your own SVG file;
- Redirect After Logout. In this drop-down menu, you can choose what will happen after the user is logged out. He/she can be redirected to the Home page or some Custom URL, or Left on the current page;
- Logout Prefix. The text you enter here will be shown before the logout button. You can use the %s macro code, and the user’s name will be automatically used there.
Register Link

- Show Register Link. By default, this toggle is enabled and the “Register” link is shown to all users that are not logged in. If you disable it, the link will become hidden;
- Register Page URL. Type the URL of the registration page here;
- Register Link Text. Here you define the label of the registration button;
- Register Icon. If you want to add an icon to the label, choose it here from the Icon Library or upload the SVG file;
- Register Prefix. The text you will type here will be shown before the registration link.
Registered Link
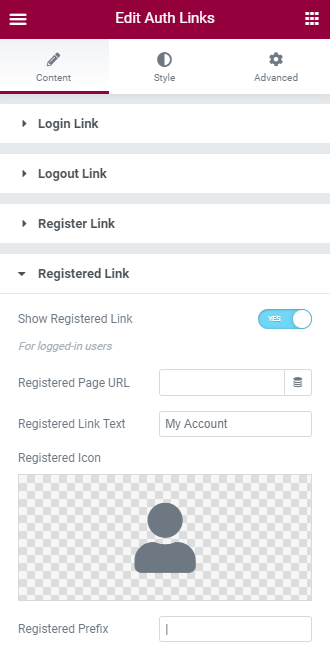
- Show Registered Link. This toggle shows the link to the logged in users;
- Registered Page URL. Put the URL of the user’s account page here;
- Registered Link Text. In this bar, you can define the label of the button. By default, it is “My Account Page”;
- Registered Icon. If you need an icon on this button, you can select it here from the Icon Library or your PC;
- Registered Prefix. Type the text here, and it will be shown before the button.
General
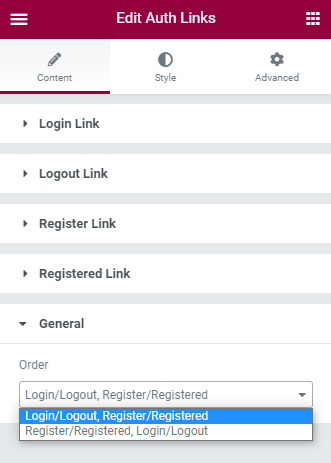
Here you will see only one drop-down menu that will help you choose the order in which the links will be placed. All of them are shown in the row, and you can select to place the login/logout buttons first or the registration/my account ones.
When you are done customizing the Auth Links, click the “Update” button to save the adjustments. Go ahead to the page and view how the widget looks on the frontend.
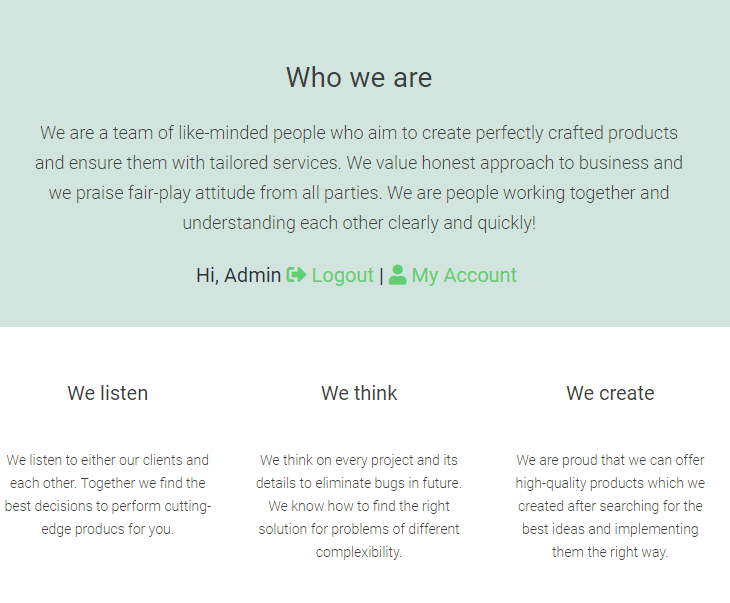
This is it! Hope this tutorial will help you create authorization links with the help of JetBlocks.