
How to Connect Relation Items Using Forms (Legacy)
Discover how to create a JetEngine form to update the WordPress relation items right on the front end.
The JetEngine’s relations feature allows you to set relations right in the needed post. However, you can simplify the process by creating a form that will update relations even on the front end. So let’s find out how to do it.
Connect Child Objects to Parent Ones
The first form we build is for attaching already existing child posts to parent ones.
Begin by proceeding to JetEngine > Forms. Push the “Add New” button to create a form.
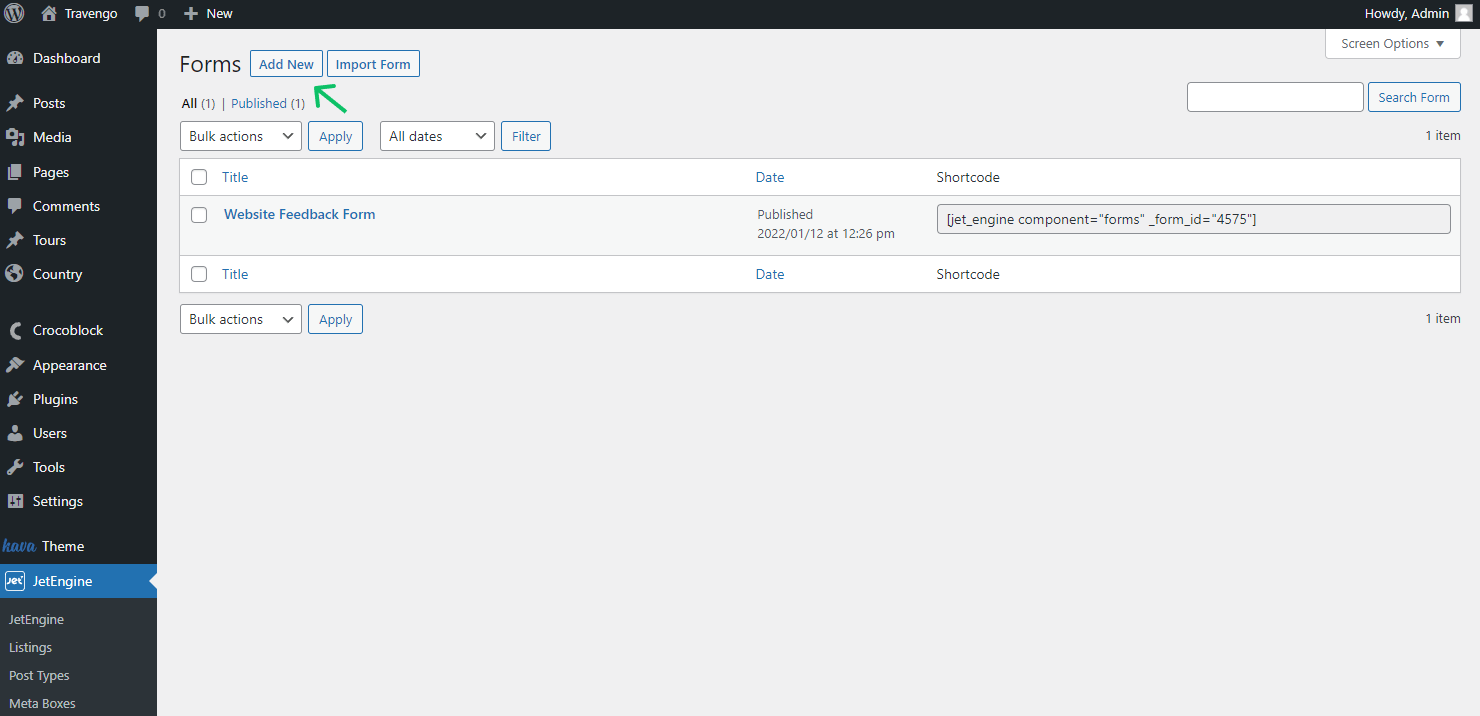
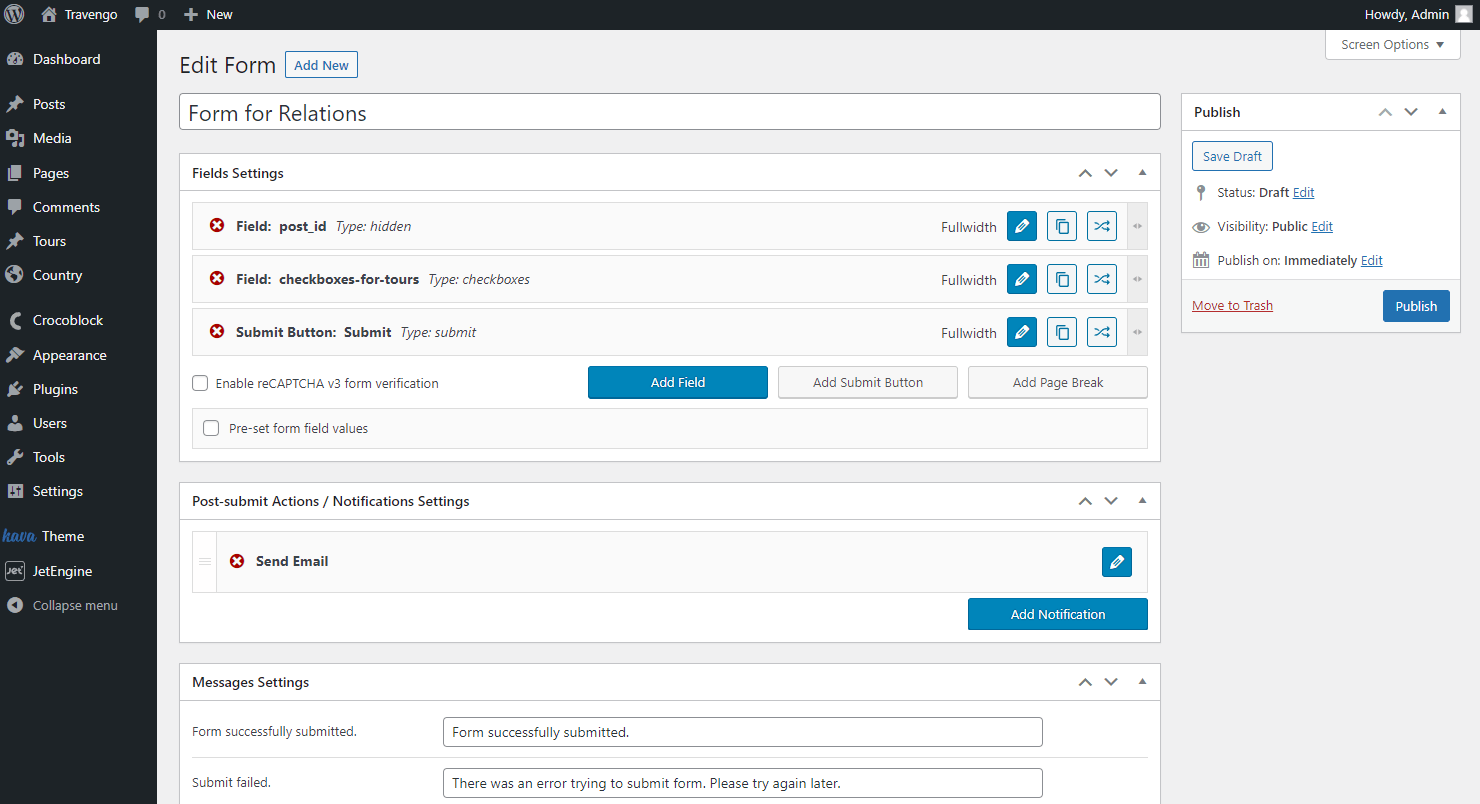
Initially, type in the title of the form.
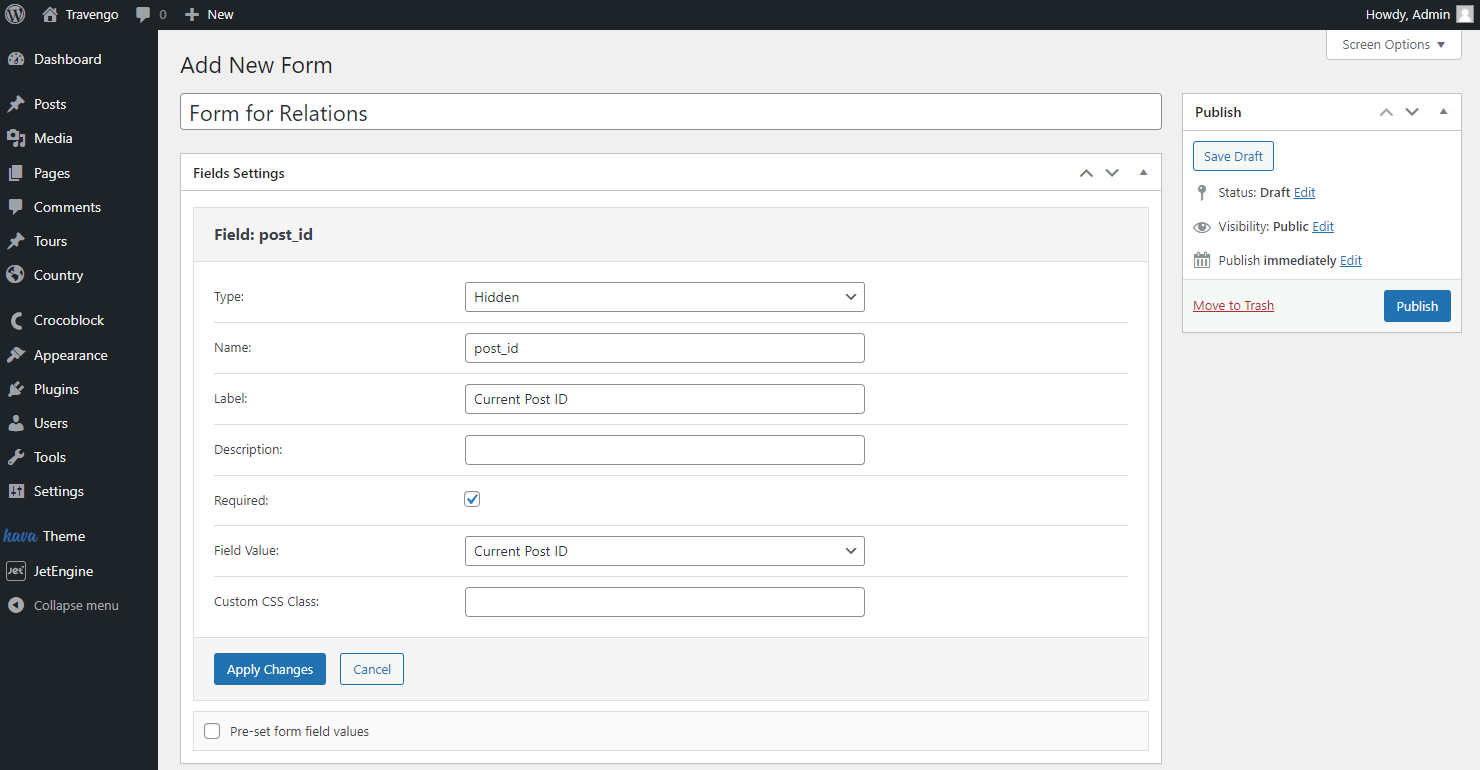
The Hidden Field and Submit Button are created by default. We will leave them in the form as they are vital in our case.
Let’s check the Hidden Field settings. These should be left without changes as this field will be the source for the ID of a parent element.
Push the “Apply Changes” button to save the field.
To place one more field into the form, click on the “Add Field” button.
The new field will be placed right after the Submit Button as we didn’t delete it. However, you can easily change the order of the fields by dragging the needed field and dropping it in the desired place.
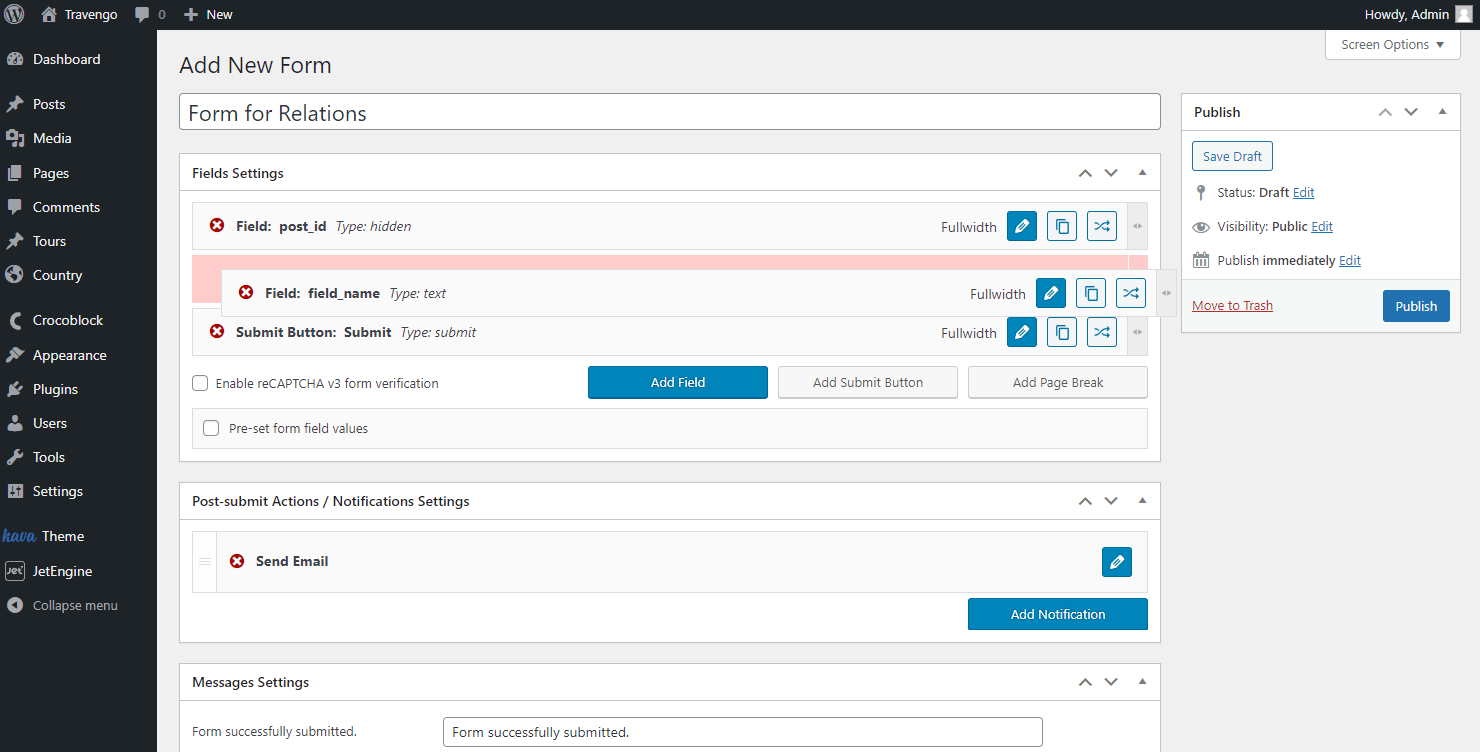
The field we have added should display the list of related posts. So, you can use any field type that lets you make a list of the options.
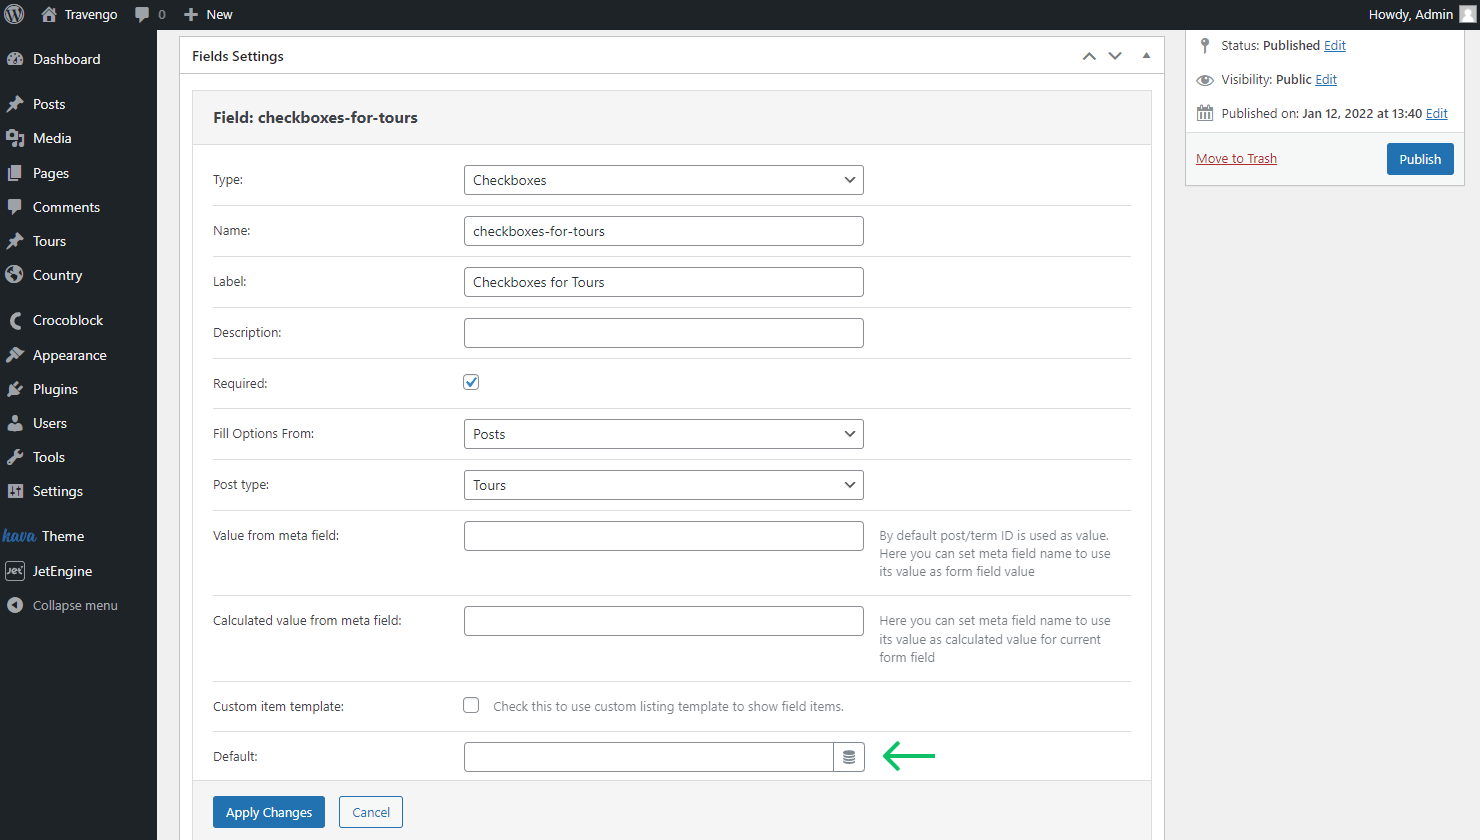
We will use the “Checkboxes Field” as a Type to pick several options that will be added as related once the form is submitted.
Complete the Name of the field and add its Label and Description if desired.
Remember to define whether the fields you create are obligatory by ticking the Required field.
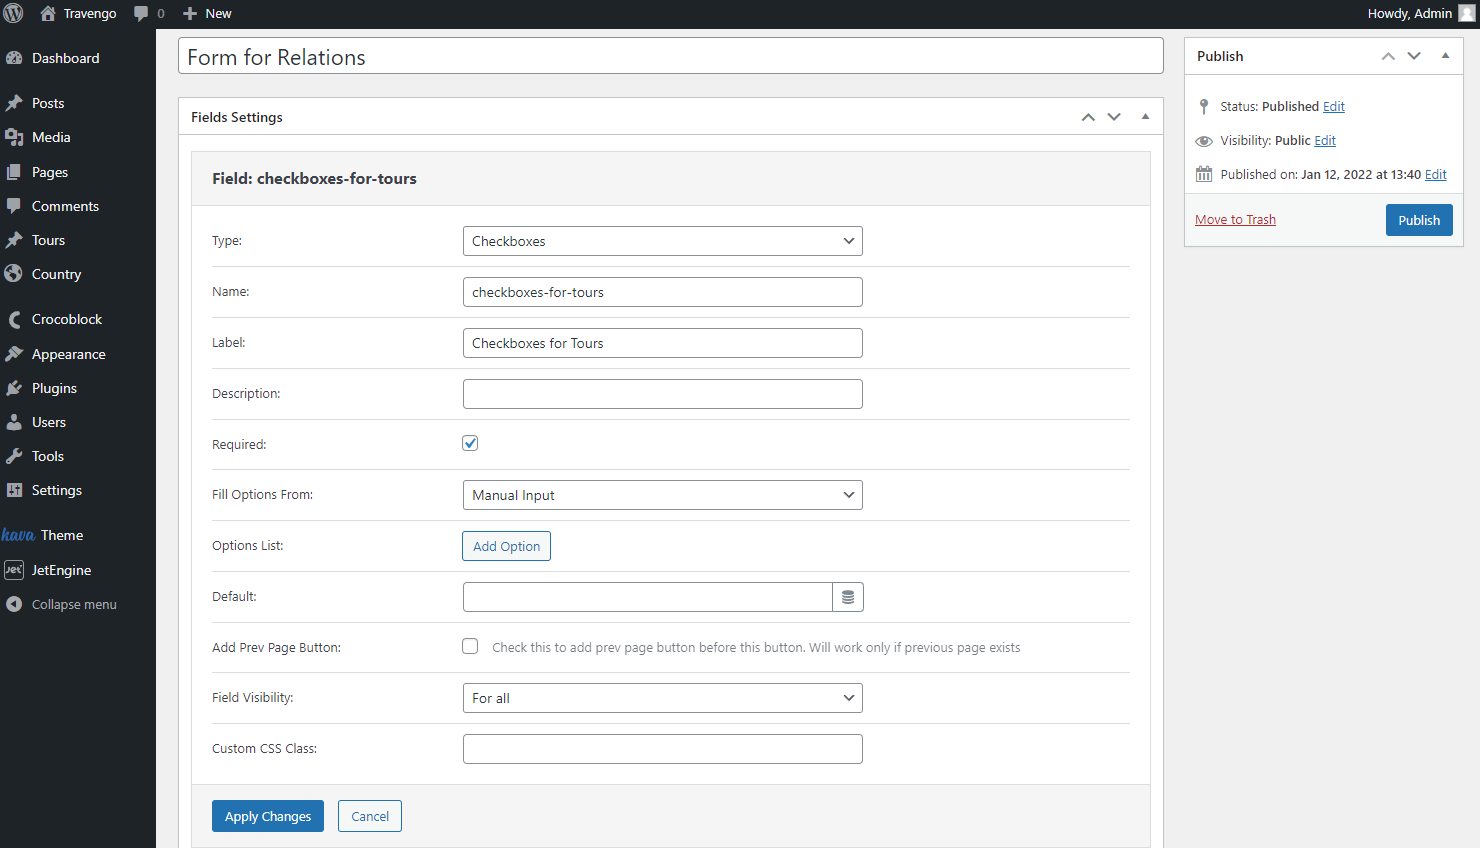
Select the “Posts” as the source in the Fill Options From field and define the needed Post Type.
Since we will attach child posts to the parent objects, it’s necessary to pick the Child object post type.
We skip the Value from meta field and the Calculated value from meta field as they are not needed for the form we create.
Check the following Custom item template field if you want to attach the custom template to the field and move to the Default field.
Press the “Dynamic tags” button to open the pop-up with the additional settings.
There are several settings to adjust in the displayed pop-up:
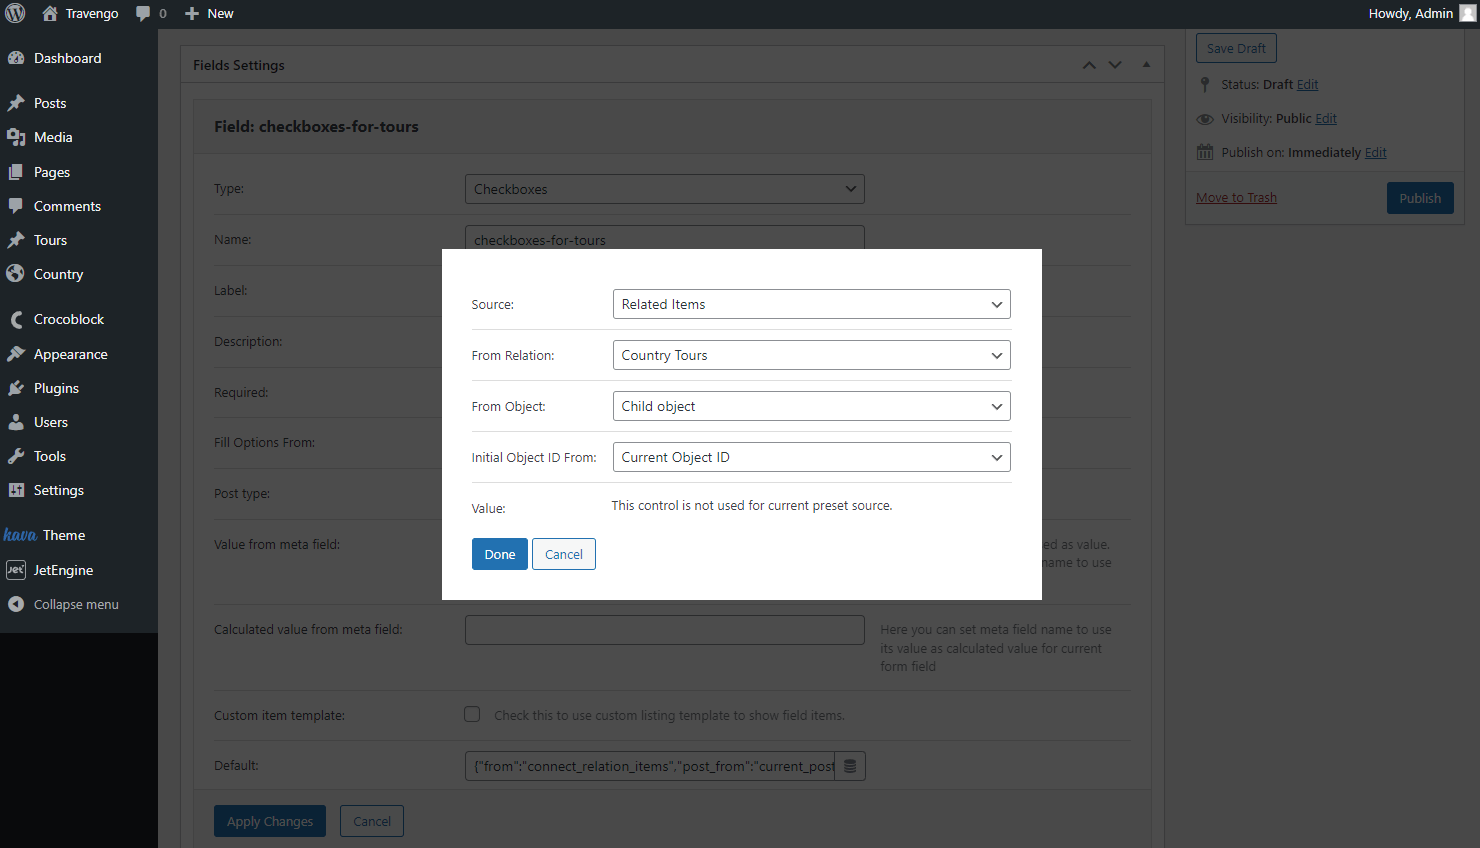
- Source — select the “Related items” option;
- From Relation — define the relationship you want to use as the source;
- From Object — choose the options of which object will be pulled, the parent or the child one;
- Initial Object ID From — leave the default “Current Object ID” to pull the default information from the object ID.
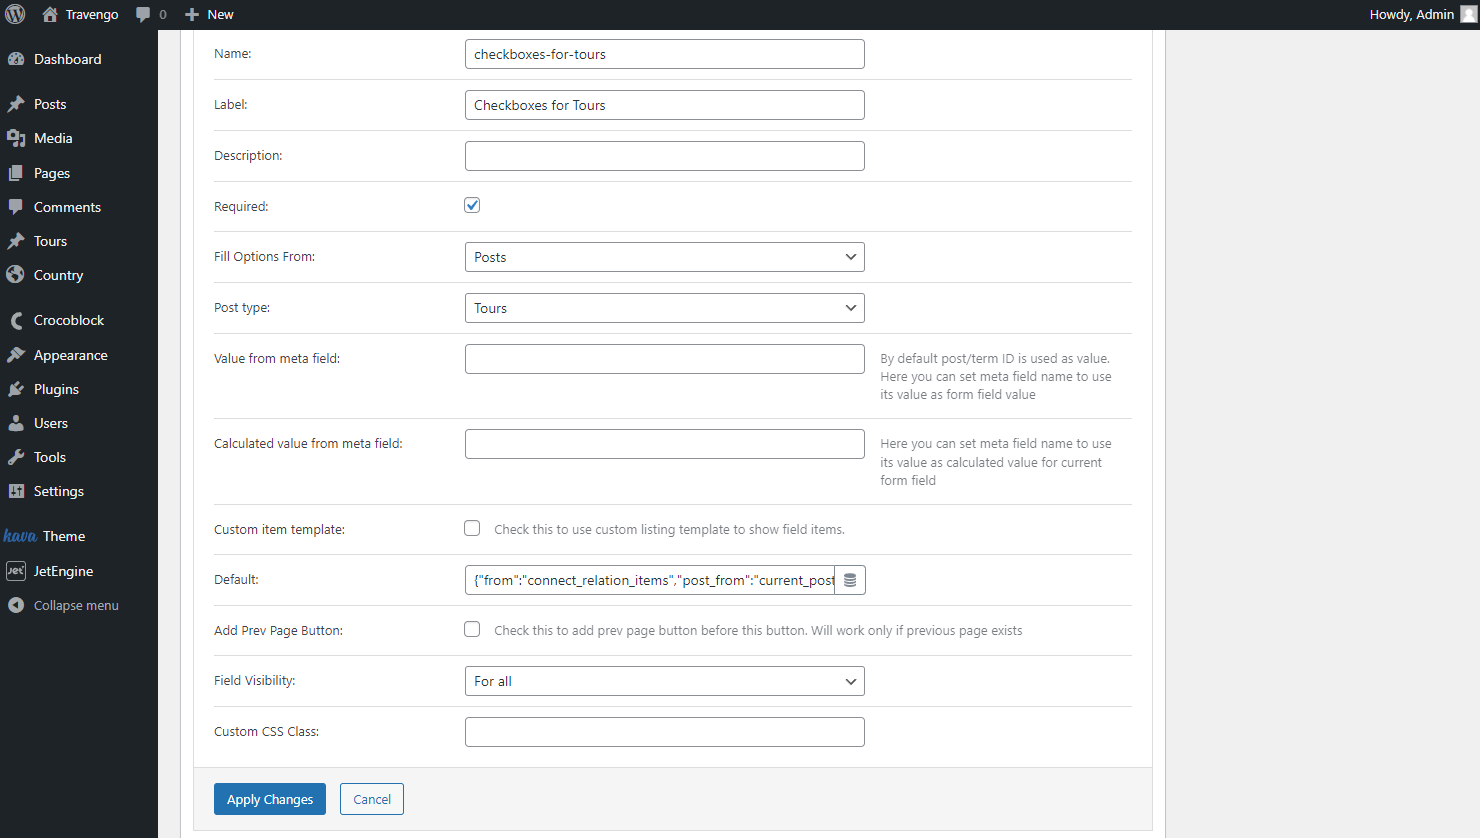
Press the “Done” button to save the changes and adjust the following fields if desired.
Enable the Add Prev Page Button if you have created the previous page, which will precede the page on which the form will be located.
Set the Field Visibility for users and place an additional Custom CSS Class to customize the style of the form if needed.
Click on the “Apply Changes” button once you are done with the field editing.
Add the other fields if desired, and don’t forget that you can adjust the Submit Button. Hit the “Apply Changes” button after making changes.
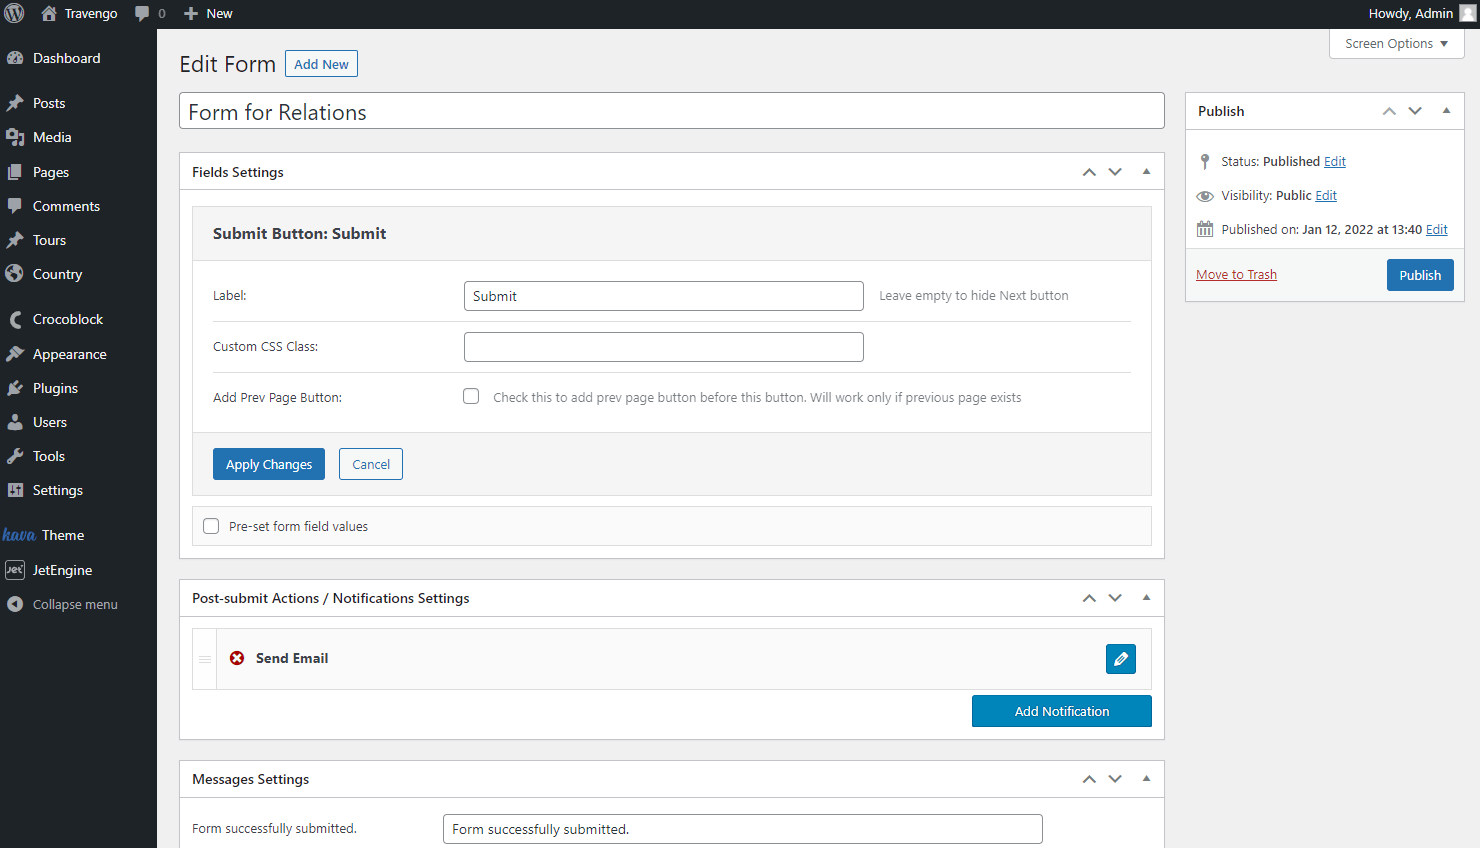
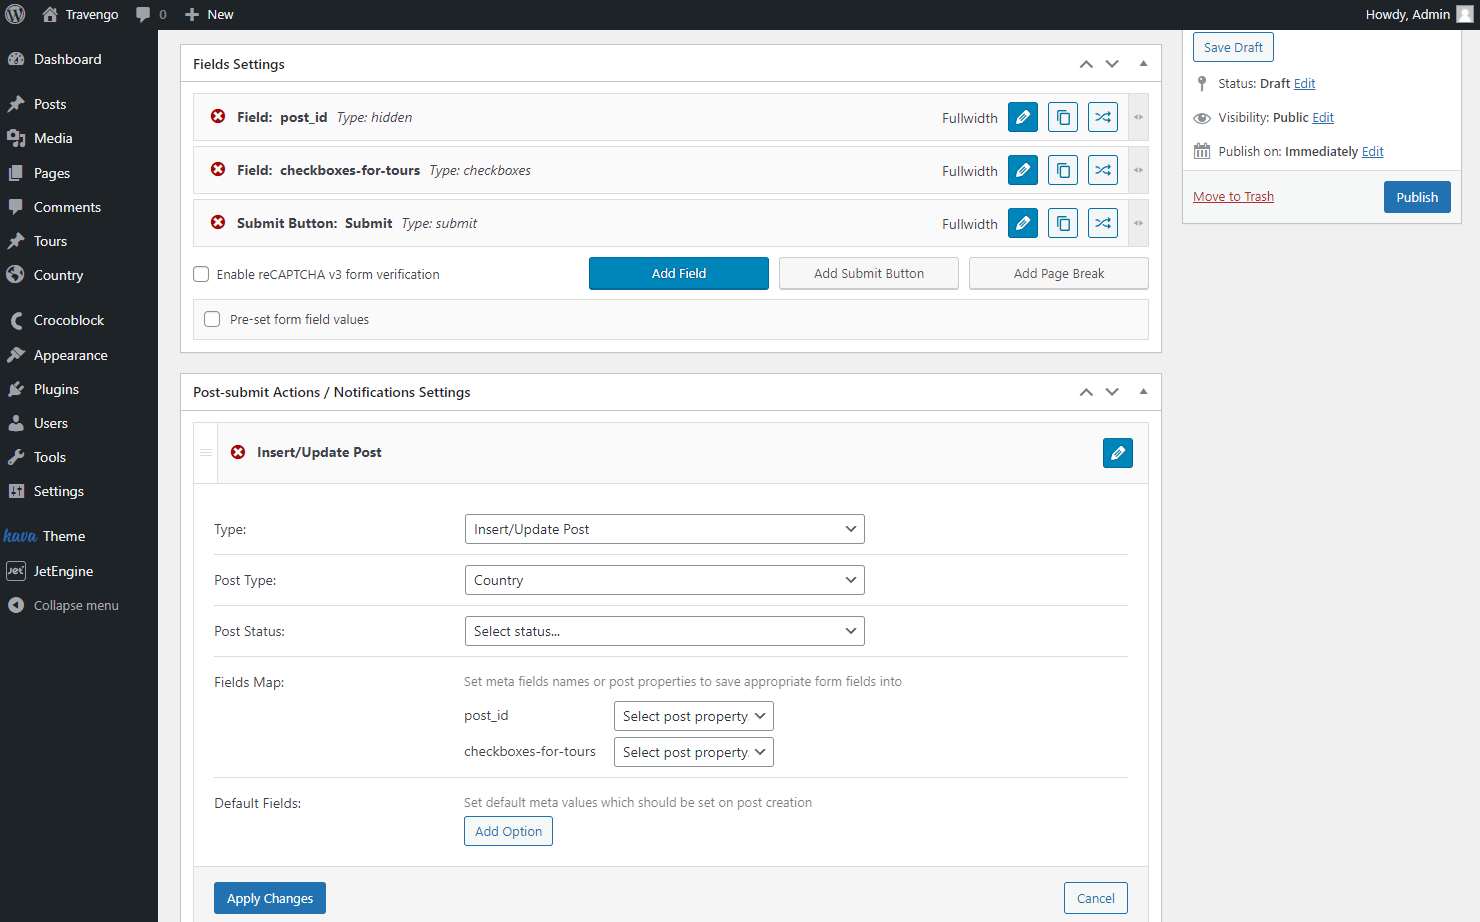
Move on to the Post-submit Actions / Notifications Settings tab. Click on the pencil-shaped icon next to the default Send Email action.
Set the “Insert/Update Post” option as the Type and select the post type you want to update via the form in the Post Type field.
Select the needed Post Status or leave it empty. Also, leave the default Fields Map values.
As for the Default Fields, they are not needed in this case. So, once done, click on the “Apply Changes” button.
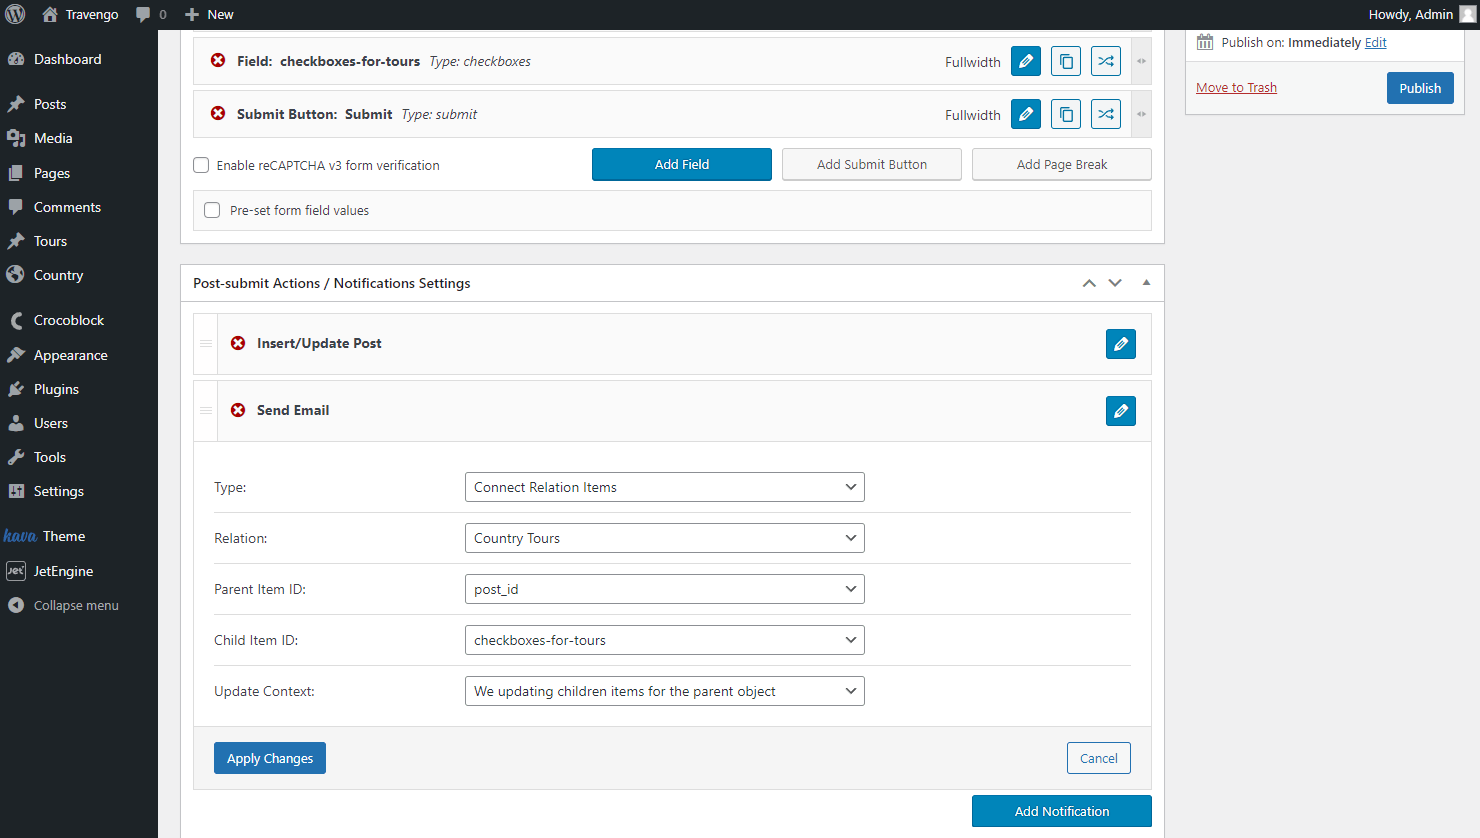
Let’s add one more post-submit action by hitting the “Add Notification” button.
This time choose the “Connect Relation Items” as the Type and the relation you are working on in the Relation field.
Select the created Hidden Field as the Parent Item ID and the field you have set for displaying the child object list as the Child Item ID.
Pick the “We updating parent items for the child object” in the Update Context drop-down menu.
Push the “Apply Changes” button.
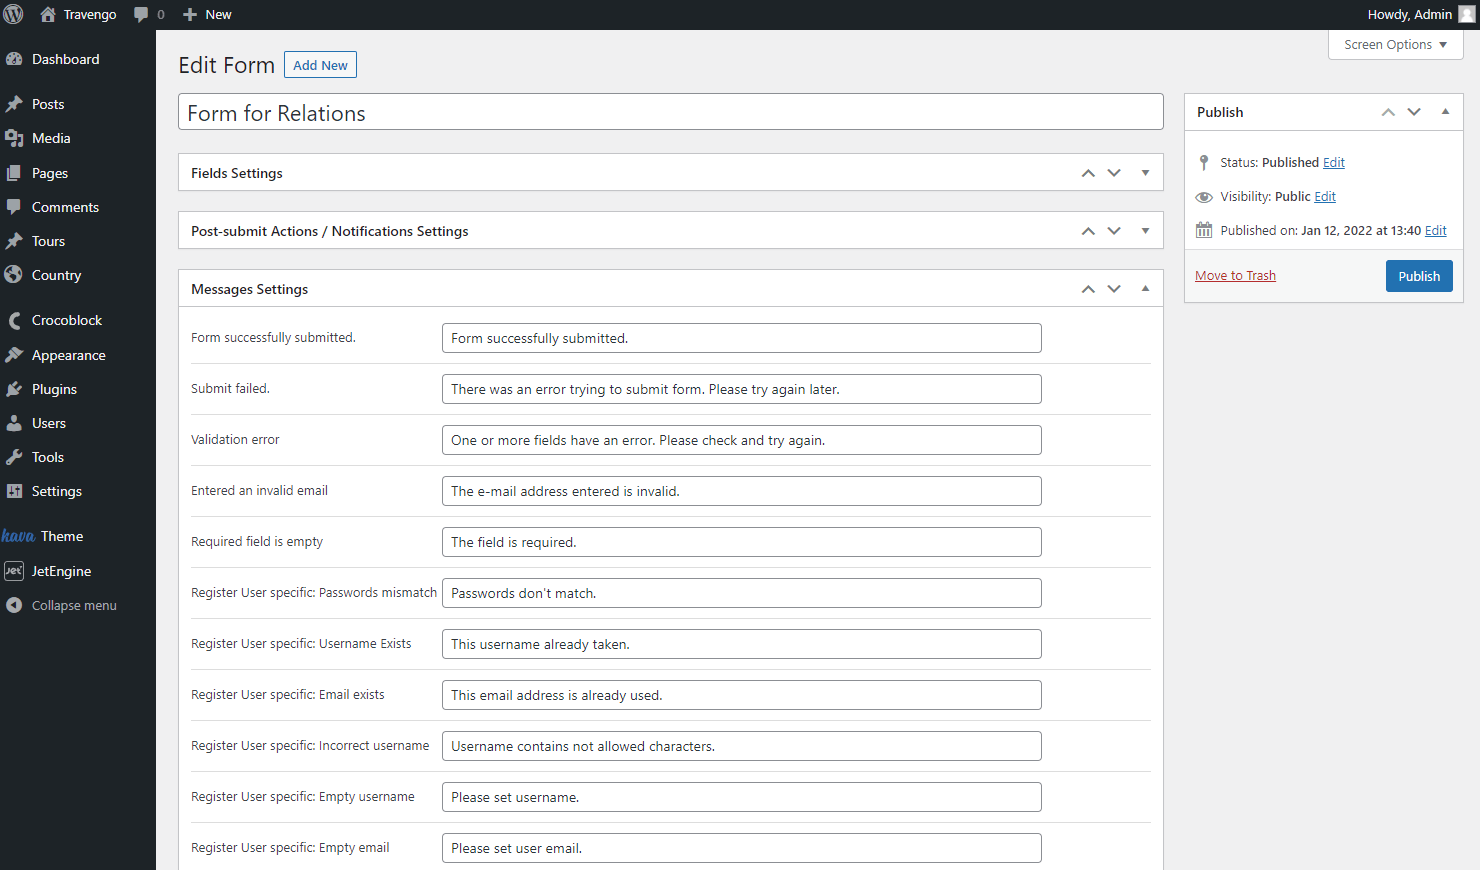
Scroll down to the Messages Settings if you want to change some default notification messages shown to the user while completing the form.
Save the changes by pushing the “Publish” button.
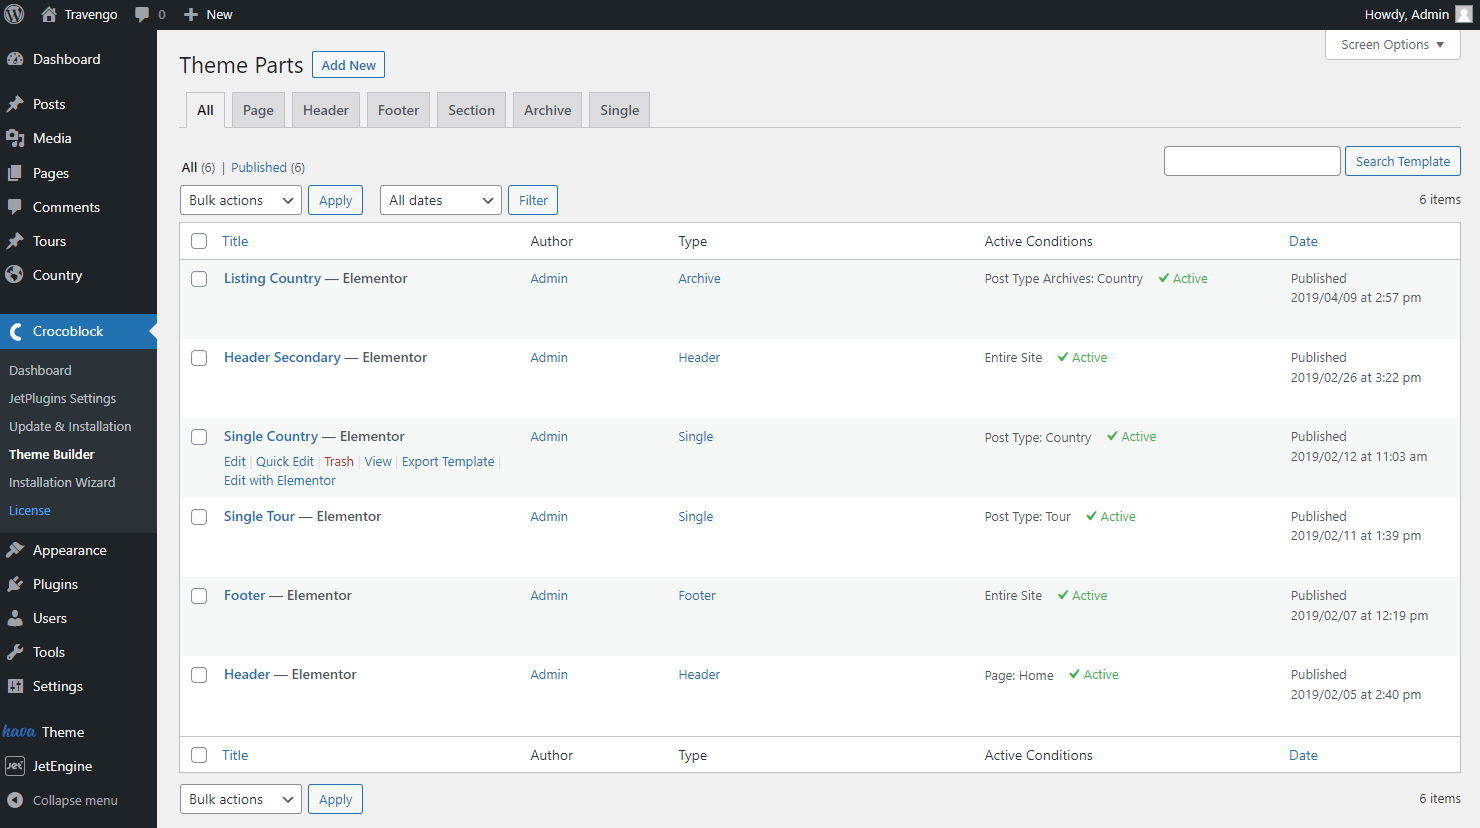
To place the form on the parent object single page, head to WordPress Dashboard > Crocoblock > Theme Builder and push the “Edit” button on the needed single page. Or create a new single template by pressing the “Add New” button.
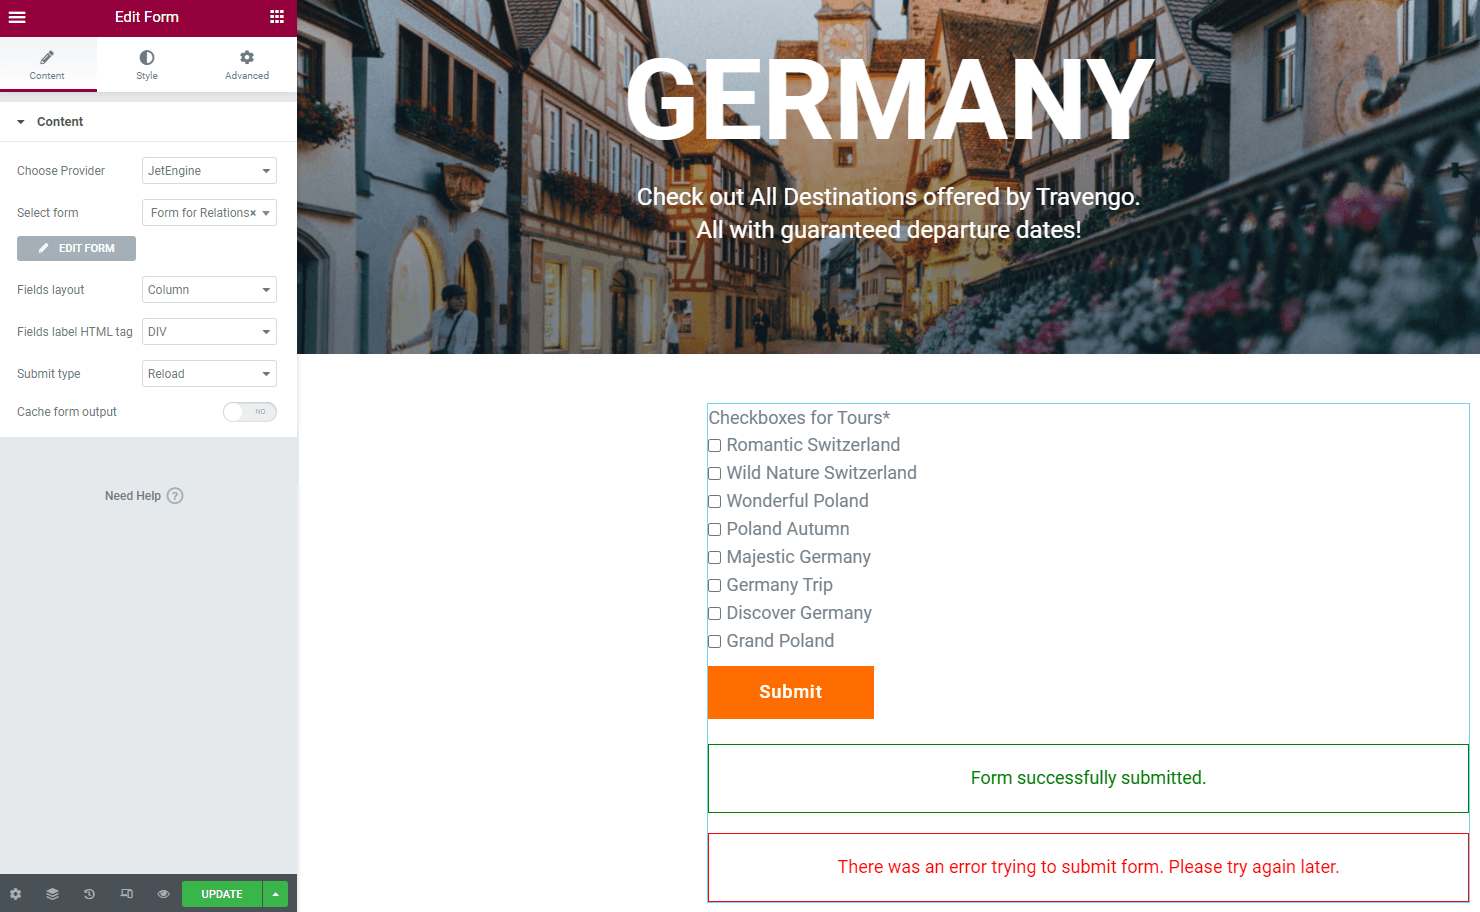
Place a Form widget on the page. Select the “JetEngine” option in the Choose Provider list and pick the newly created form in the Select form field.
Feel free to customize the settings further. Change the Fields layout, Fields label HTML tag, Submit type, and Cache form output if desired.
Adjust the Style and Advanced tabs.
Push the “Update/Publish” button after implementing the changes and navigate to the post on the front end.
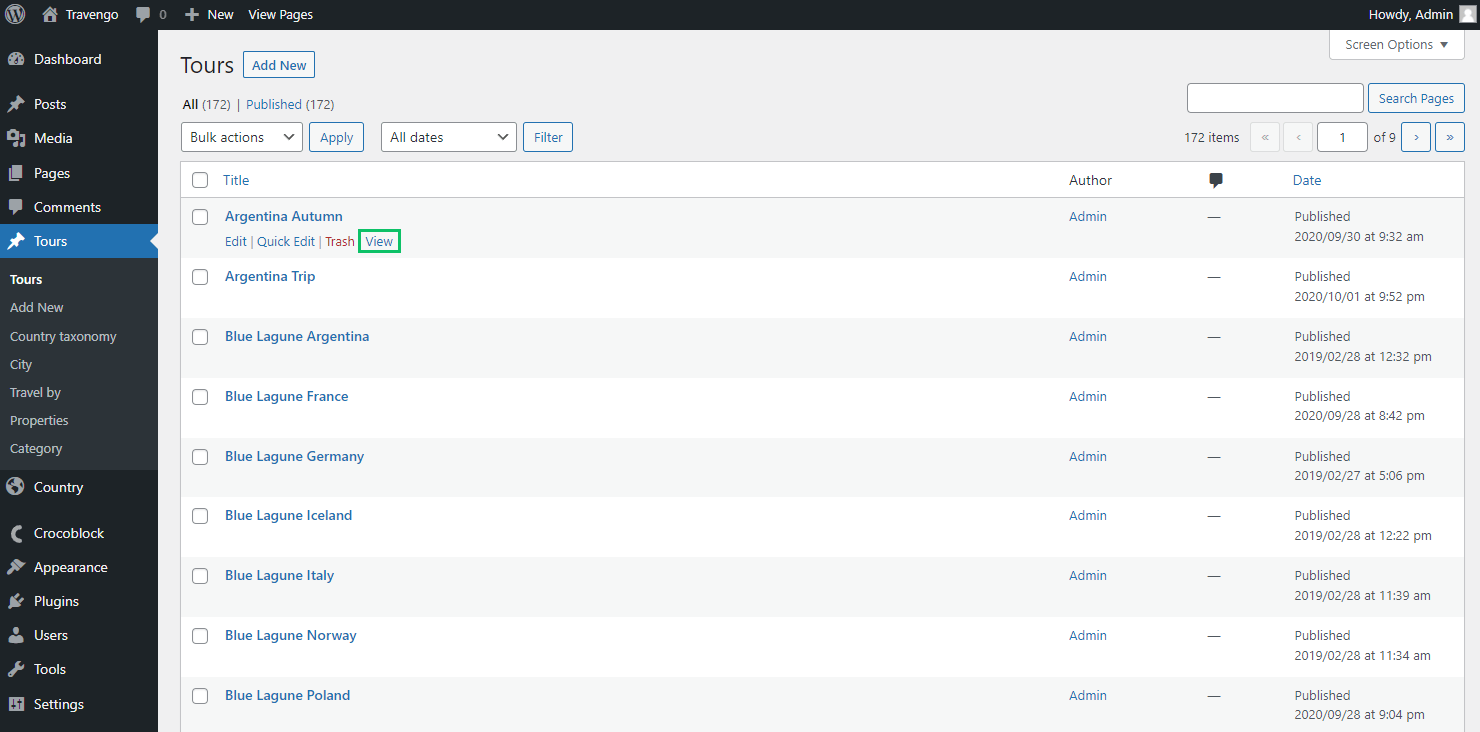
To reach the post, you can proceed to the post type and find the desired post. Click on the “View” button.

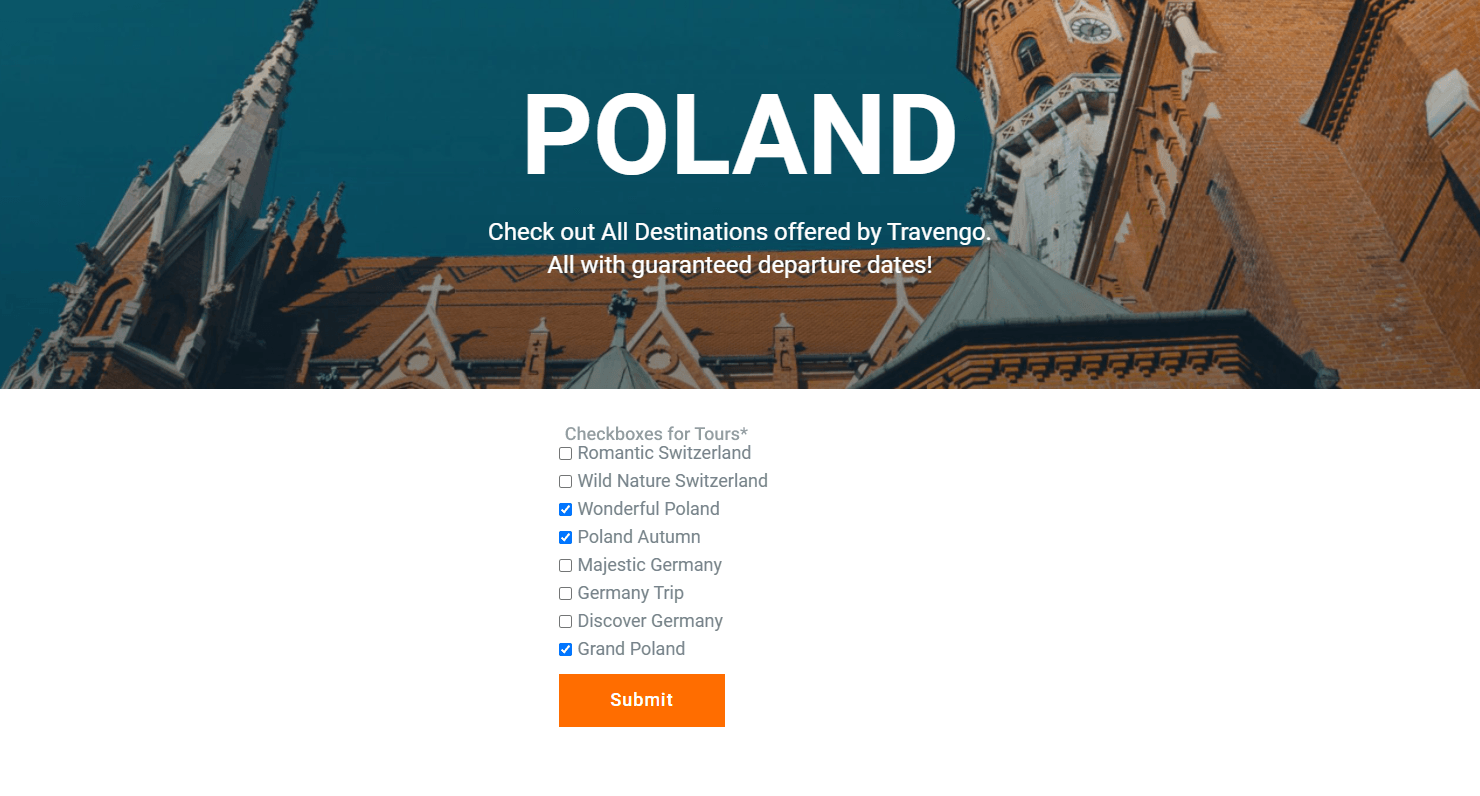
The form is now displayed on the page. Since we have added the Checkboxes field as the selector for the posts, you can select as many posts as you need.
Click the “Submit” button and check if the selected posts are now related to the parent posts.
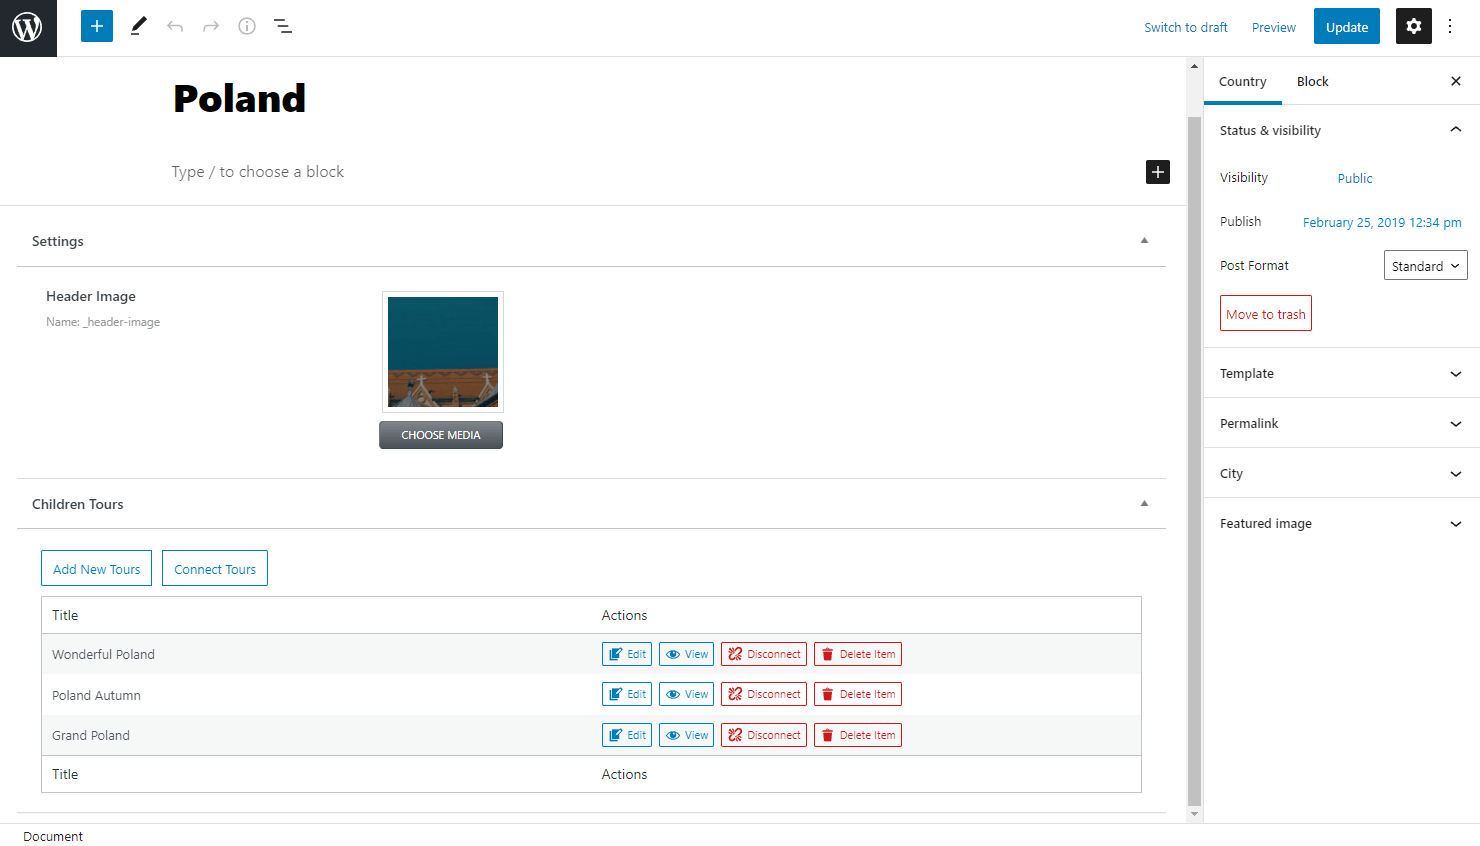
Return to the post type page on the WordPress Dashboard and press the “Edit” button.

Scroll down to the Children … tab. The options you have checked in the form will be added to the related posts list.
Connect Child Objects to New Parent Post
Now let’s find out how to build a form that will make a new parent post and connect child objects to it.
Move to the WordPress Dashboard > JetEngine > Forms and press the “Add New” button to proceed to the editor.
Name a form and delete unnecessary fields built by default. Currently, we delete all the fields to create a new form from scratch.
The first field we add is a Text Field for the parent object name. Fill in the needed fields and remember to fill in the Name field appropriately, separate words with the “-” and “_” symbols, and use only lowercase Latin letters.
Click the “Apply Changes” button.
The following field will serve as a selector for child items, so we add a Checkboxes Field.
During the field adjusting, focus on the Fill Options From and Post Type fields. Here you should select the correct source, the child post type. Once all the fields are set accordingly, push the “Apply Changes” button.
The last vital step of the form is Submit Button. Push the “Add Submit Button” to place the mentioned button at the end of the form. Optionally, you can work on its Label and Custom CCS Class or leave them “as is.” Just mind pressing the “Apply Changes” button once the changes have been made.
Moving to the Post-submit Actions / Notification Settings, you can see the default Send Email action, which should be replaced with the Insert/Update Post one.
Press the pencil-shaped button next to the Send Email action to edit it.
Select the “Insert/Update Post” Type and define the parent post type as the Post Type. Set the Post Status to “Published” and head to the Fields Map.
The displayed fields refer to those fields you have added to the form. The Text Field of yours should be connected to the “Post Title” and the following Checkboxes Field left with the default option.
Hit the “Apply Changes” button to save the result, and let’s add one more action by pressing the “Add Notification” button.
This time we select the “Connect Relation Items” as the Type, set the needed Relation, choose the corresponding Parent Item ID and Child Item ID, and leave the Update Context field empty.
Don’t forget to press the “Apply Changes” button and head to the Messages Settings tab to alter some of the notifications shown to the user.
The final step here is to save the form, so push the “Publish” button and head to the page where the form will be located.
Place a Form widget on the page, pick the “JetEngine” option in the Choose Provider drop-down and fill in the Select form field with the form’s name.
Set up the fields and form styles, and press the “Update/Publish” button to save the page.
Check the front-end result. You can fill in the form with a title and relate some items to it. Finally, press the “Submit” button.
Head to the parent post type and search for the newly created post. Open it in the editor by pressing the “Edit” button next to the post title.
Scroll down to the Related … tab, where all the ticked posts should be seen.
Connect Parent Objects to Child Ones
Mind that you can also create a form that will attach parent object items to the child ones.
If this option is what you are looking for, head to the WordPress Dashboard > JetEngine > Forms and press the “Add New” button.
Give a title to the form. Leave the default Hidden Field settings and create the field for the parent object items list.
For example, we add the Radio Field to have the ability to pick only one option in the form.
Change its Name and Label. Mind completing the Name field with the lowercase Latin letters; the field also shouldn’t contain any special characters except for the “-” and “_” separators.
Complete the Fill Options From and Post type fields and work on other fields if desired.
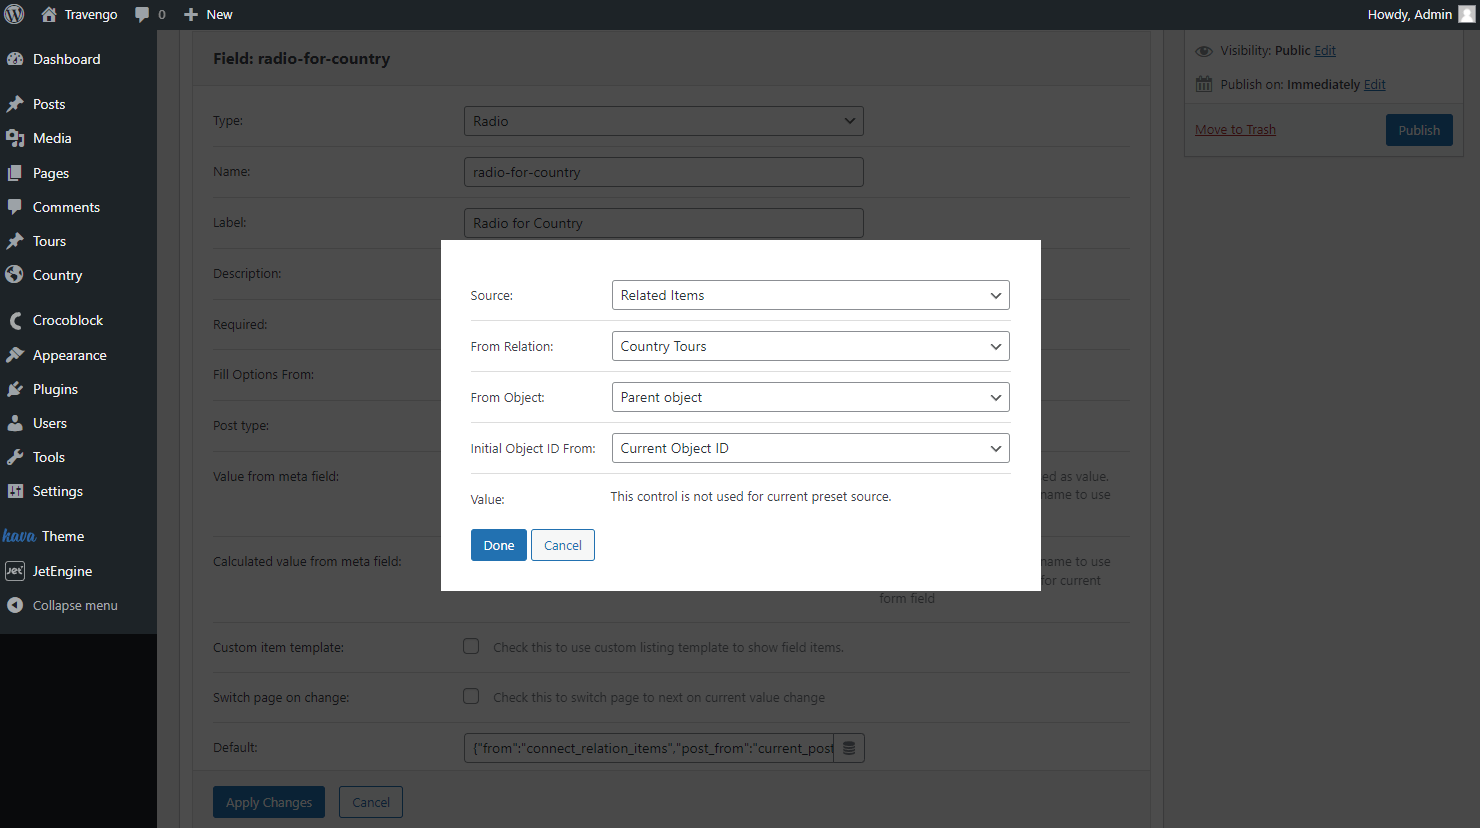
Press the “Dynamic tags” button in the Default field.

In the Source selector, choose the “Related Items” option and specify the relationship in the From Relation field.
Change the From Object value into the “Child object,” leave the “Current Object ID” option in the Initial Object ID From field, and push the “Done” button.
Configure the remaining fields and click on the “Apply Changes” button.
Set the Submit Button, save this field, and go to the Post-submit Actions / Notifications Settings.
Begin creating the Insert/Update Post action. Select it as the Type in the corresponding list.
Choose the child object in the Post Type field this time, and don’t forget to press the “Apply Changes” button once the post-submit action is ready.

Press the “Add Notification” button to set the following action.
Select the “Connect Relation Items” Type and define the needed Relation.
Pick the Radio Field option as the Parent Item ID and Hidden Field ‘post_id’ value as the Child Item ID.
Also, specify the Update Context by picking the “We updating children items for the parent object” option.
Next Messages Settings tab includes default notifications shown to users while completing the form. Work on this tab or leave the default values.

Then push the “Publish” button and place the form on the child’s single page by proceeding to the WordPress Dashboard > Crocoblock > Theme Builder and finding the needed page.

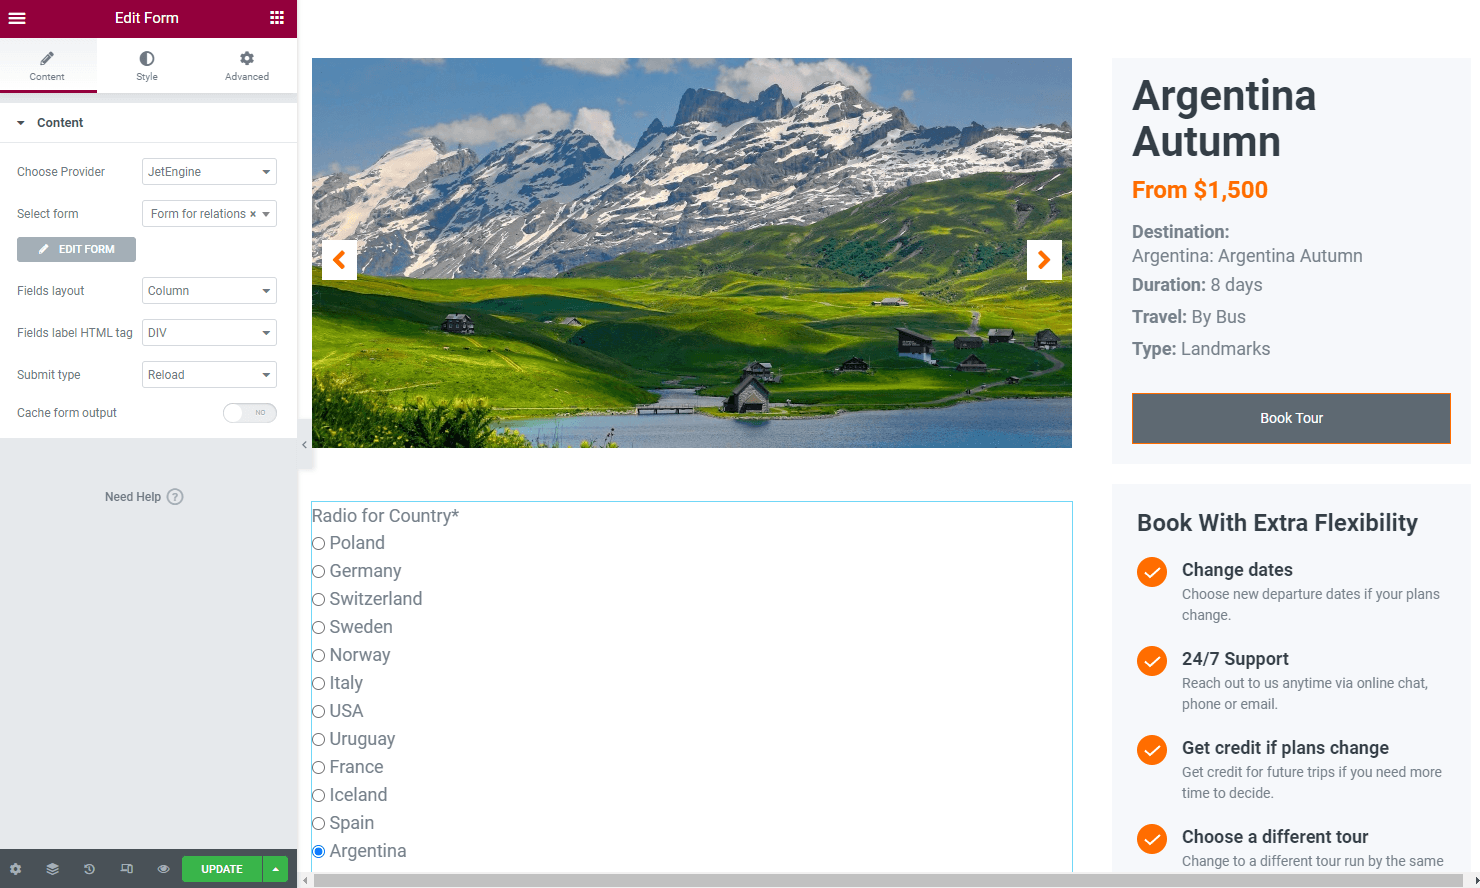
Place the Form widget on the page, pick the “JetEngine” option in the Choose provider drop-down list, and the newly created form in the Select form field.
Click on the “Update” button and navigate to the child post type.
Select any post from the child post type list and hit the “View” button.
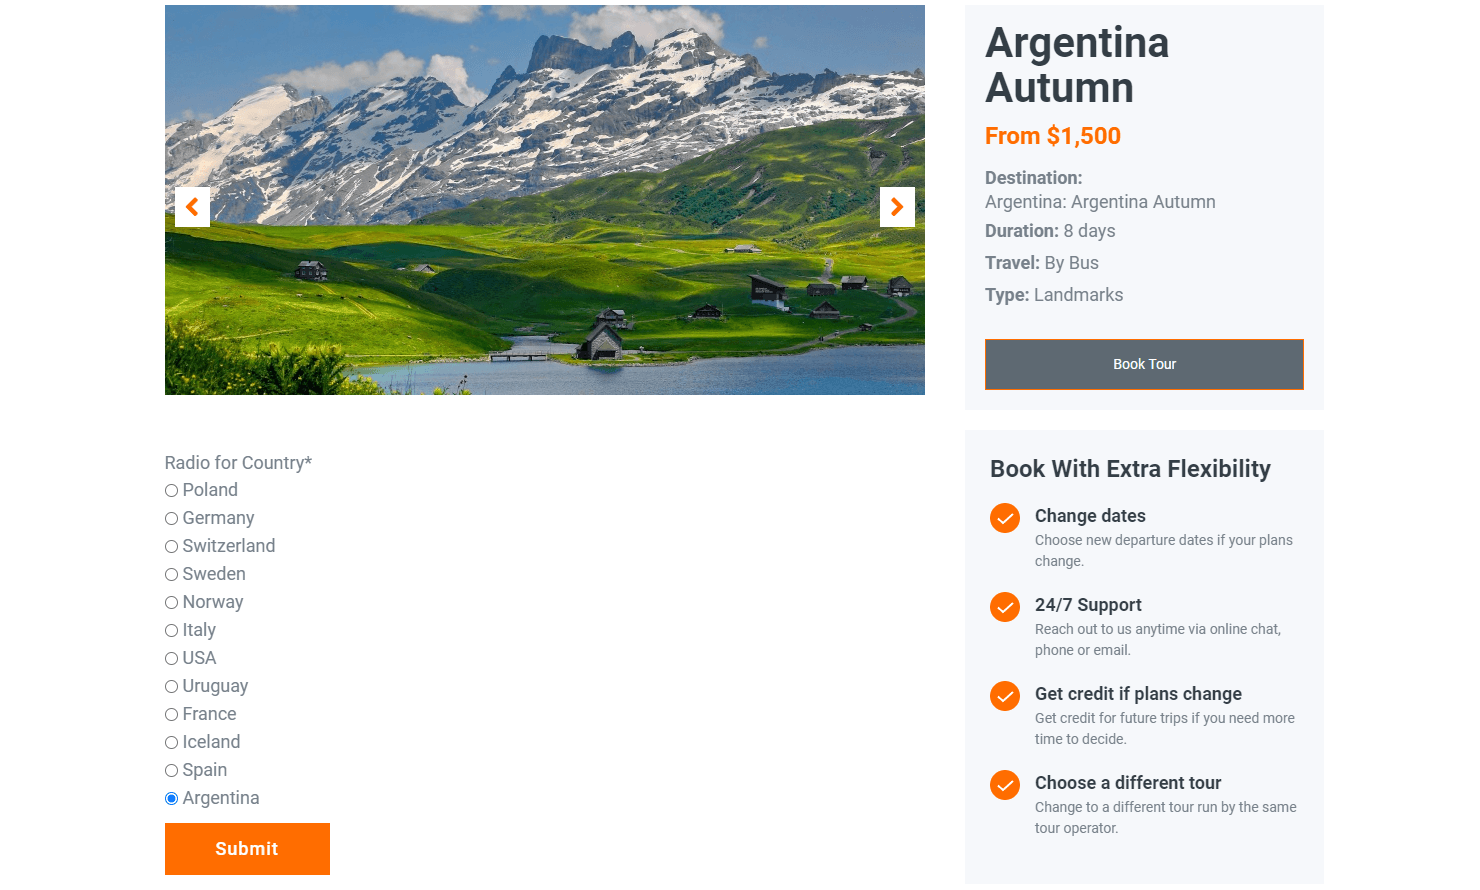
Now the form will update the child object relations once submitted.
You can check it by moving to the child post type and opening the post editor of the needed post. To do so, press the “Edit” button that appears next to the post on hover.

Open the Related … tab to see that the related parent post is now displayed in the list.
Connect Parent Objects to New Child Post
You can also build a form that will add a new child post and connect it to the parent at once.
Once you have set a relationship, head to WordPress Dashboard > JetEngine > Forms. Push the “Add New” button to open the form editor.
Now you can delete all the default fields to avoid getting confused during editing.
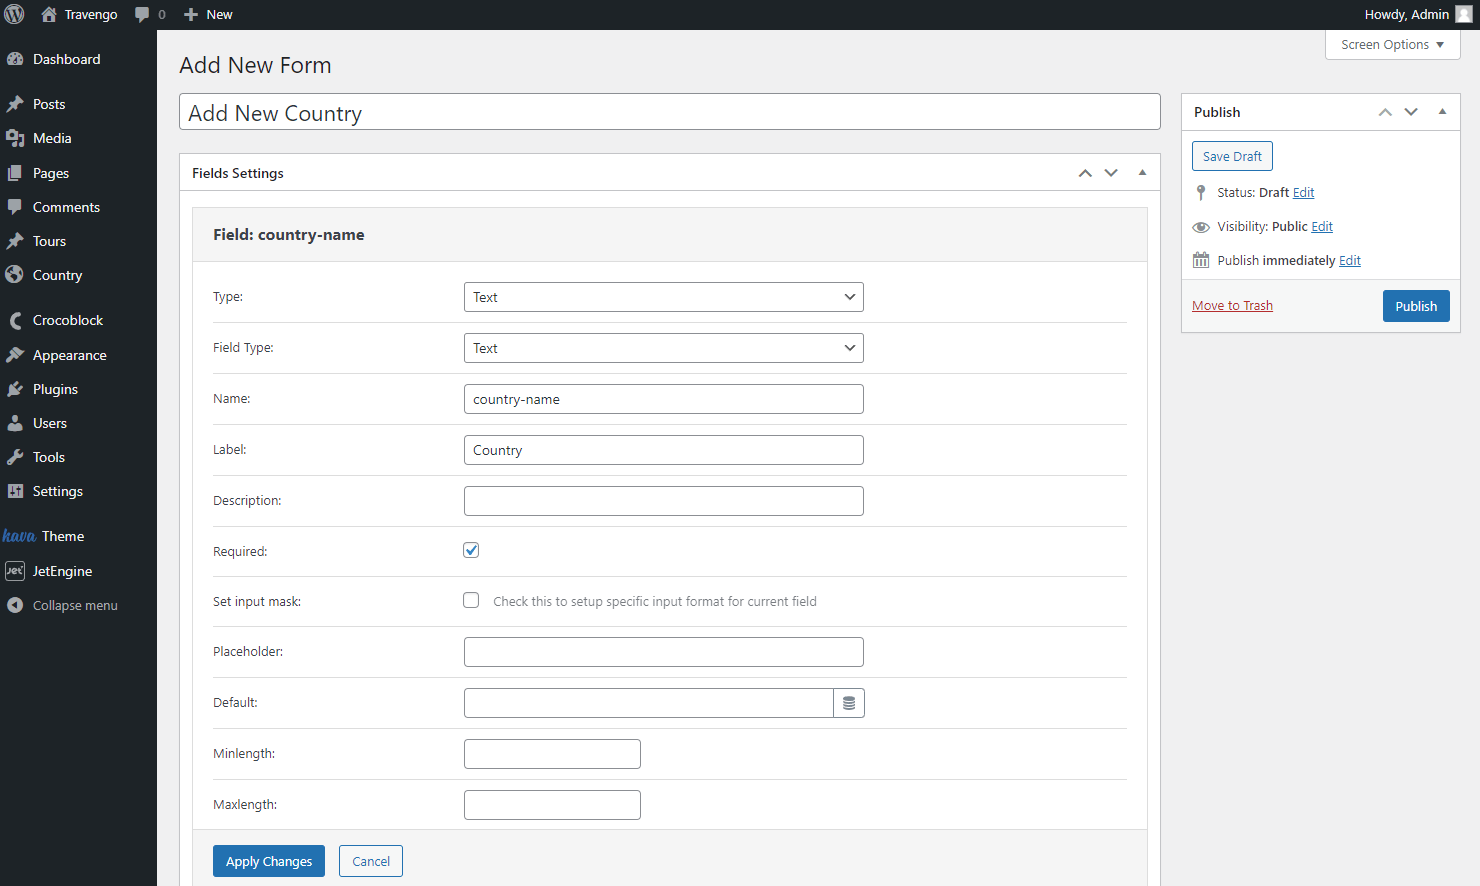
We start with adding a Text Field for a new post name. Feel free to adjust this field as desired. Remember that the Name field shouldn’t include capital letters, spaces, and other special characters.

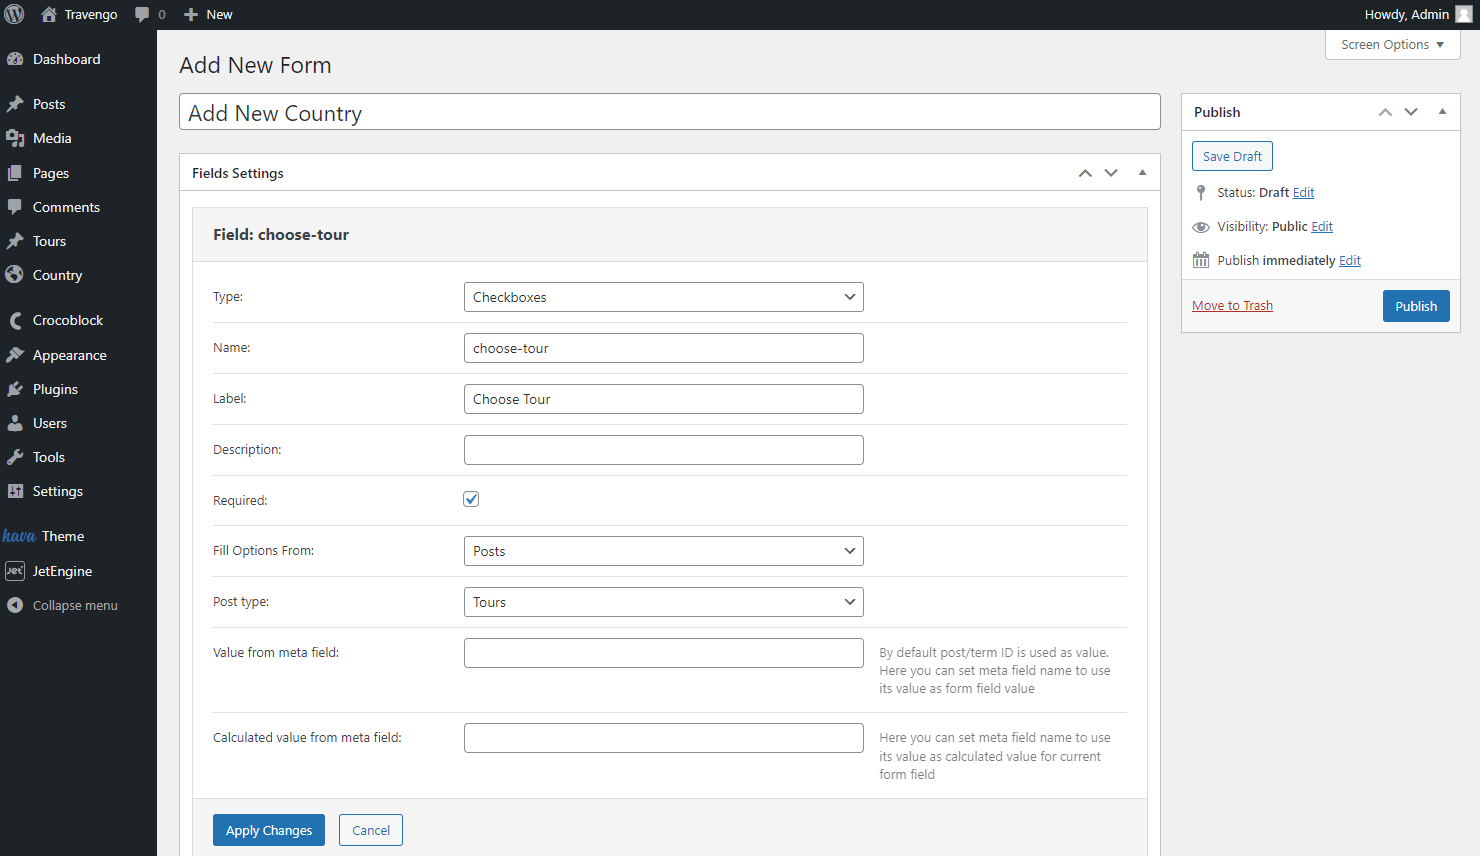
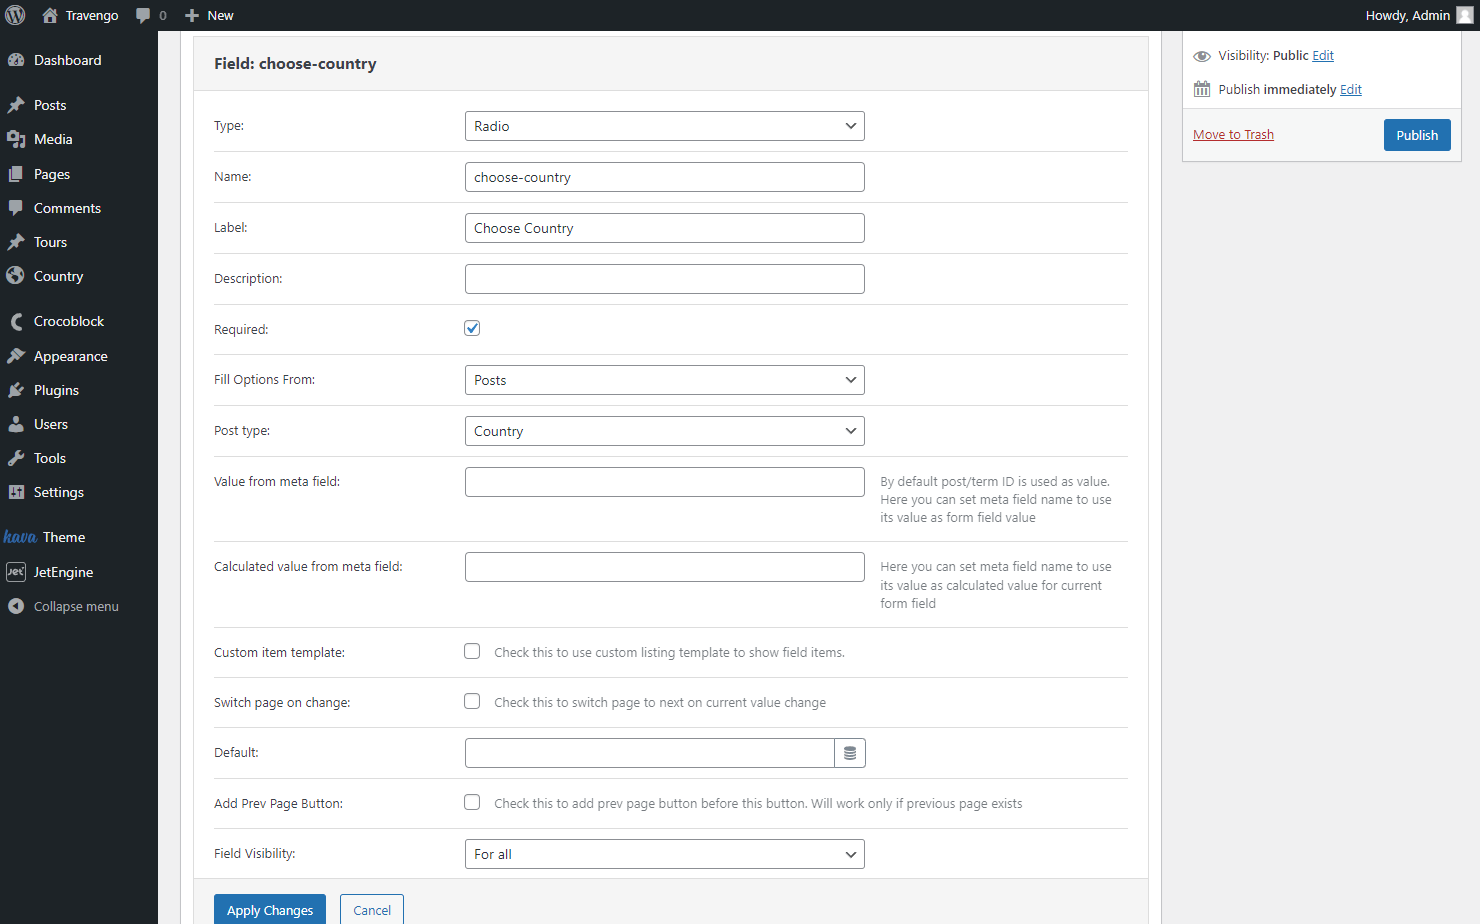
The following field is for choosing parent, so we select Radio Field to let users pick one option.
Pay attention that the “Posts” option is selected in the Fill Options From drop-down menu. In the following Post type field, we pick the needed parent post type as the source.
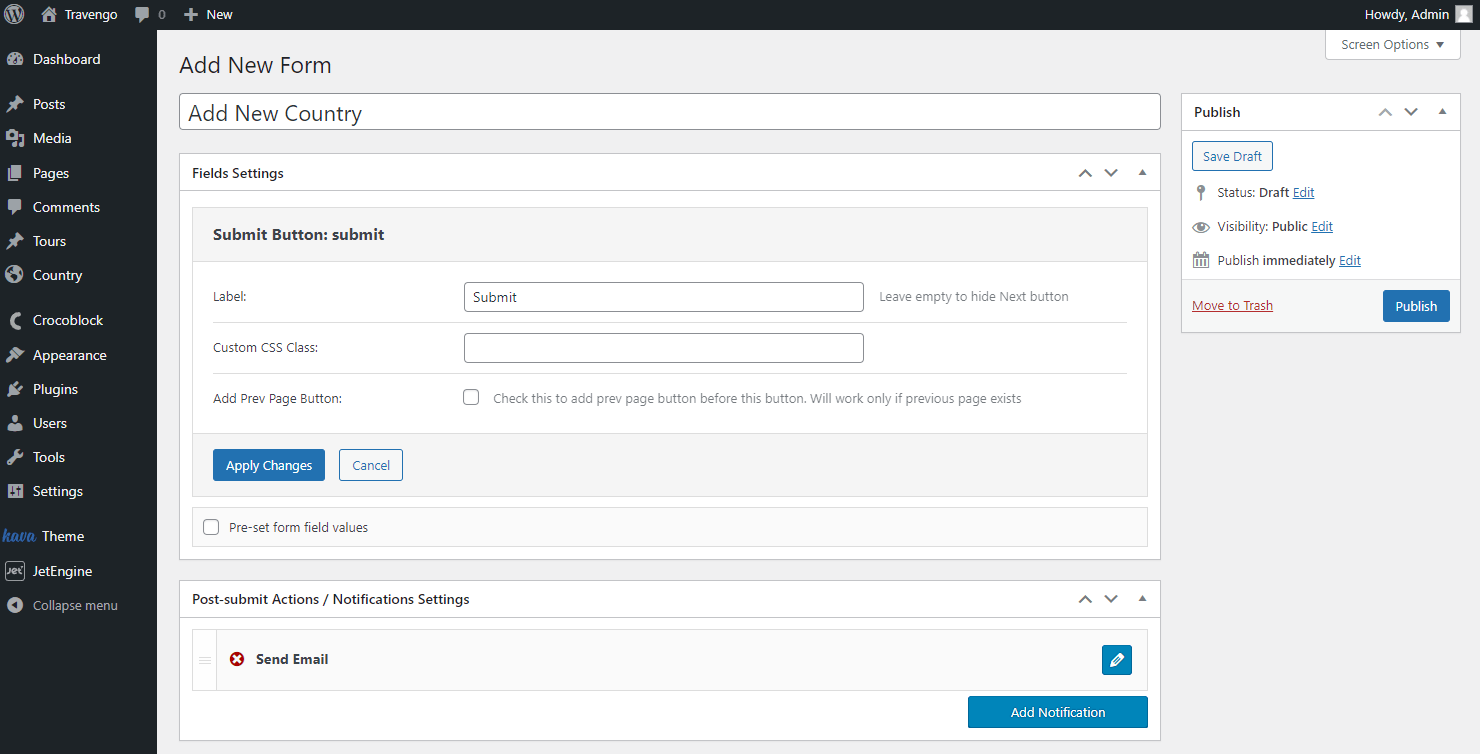
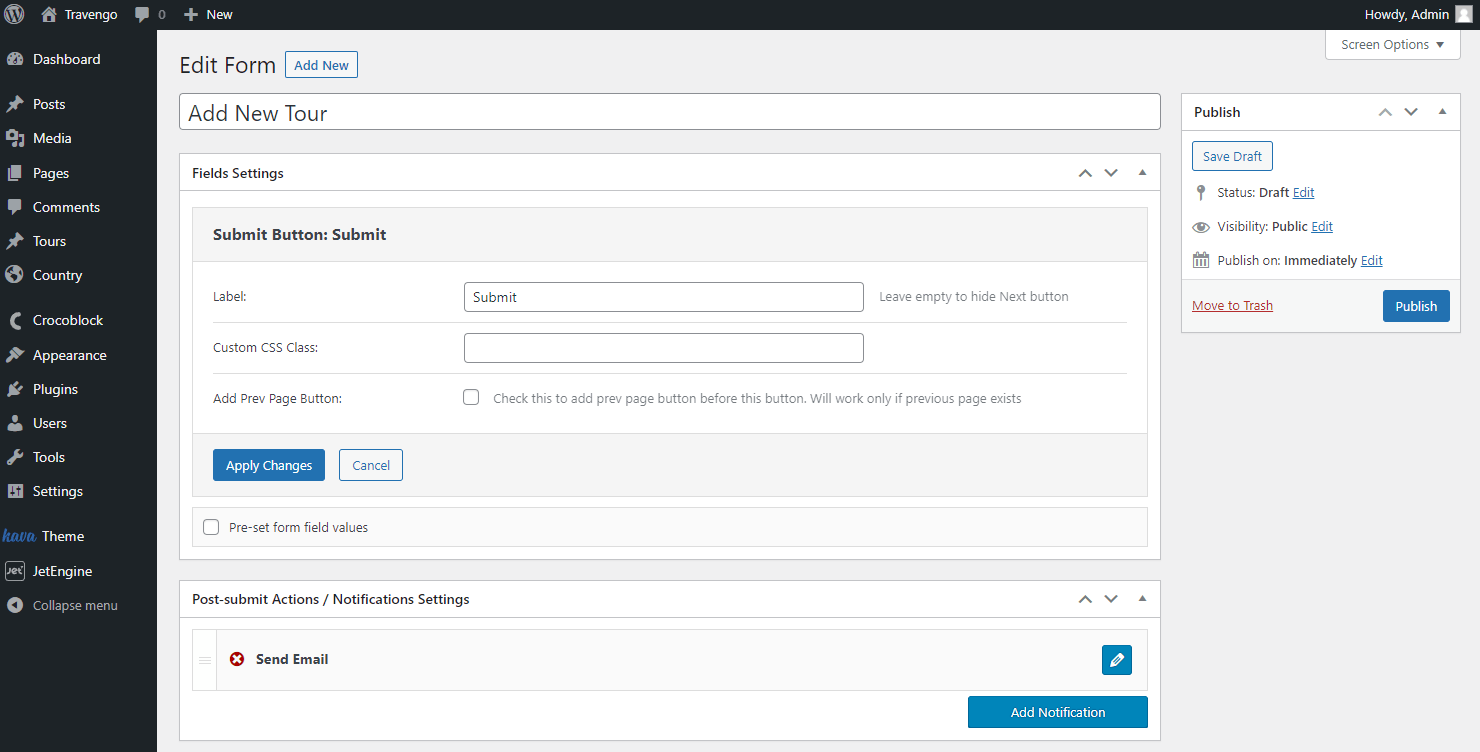
Also, mind adding a Submit Button at the end of the form by pressing the “Add Submit Button.”
Move to the Post-submit Actions / Notifications Settings to set the actions for the current form.
The Send Email action is added by default. Though let’s change it into the action we need. Press the pencil-shaped button to open the editor.
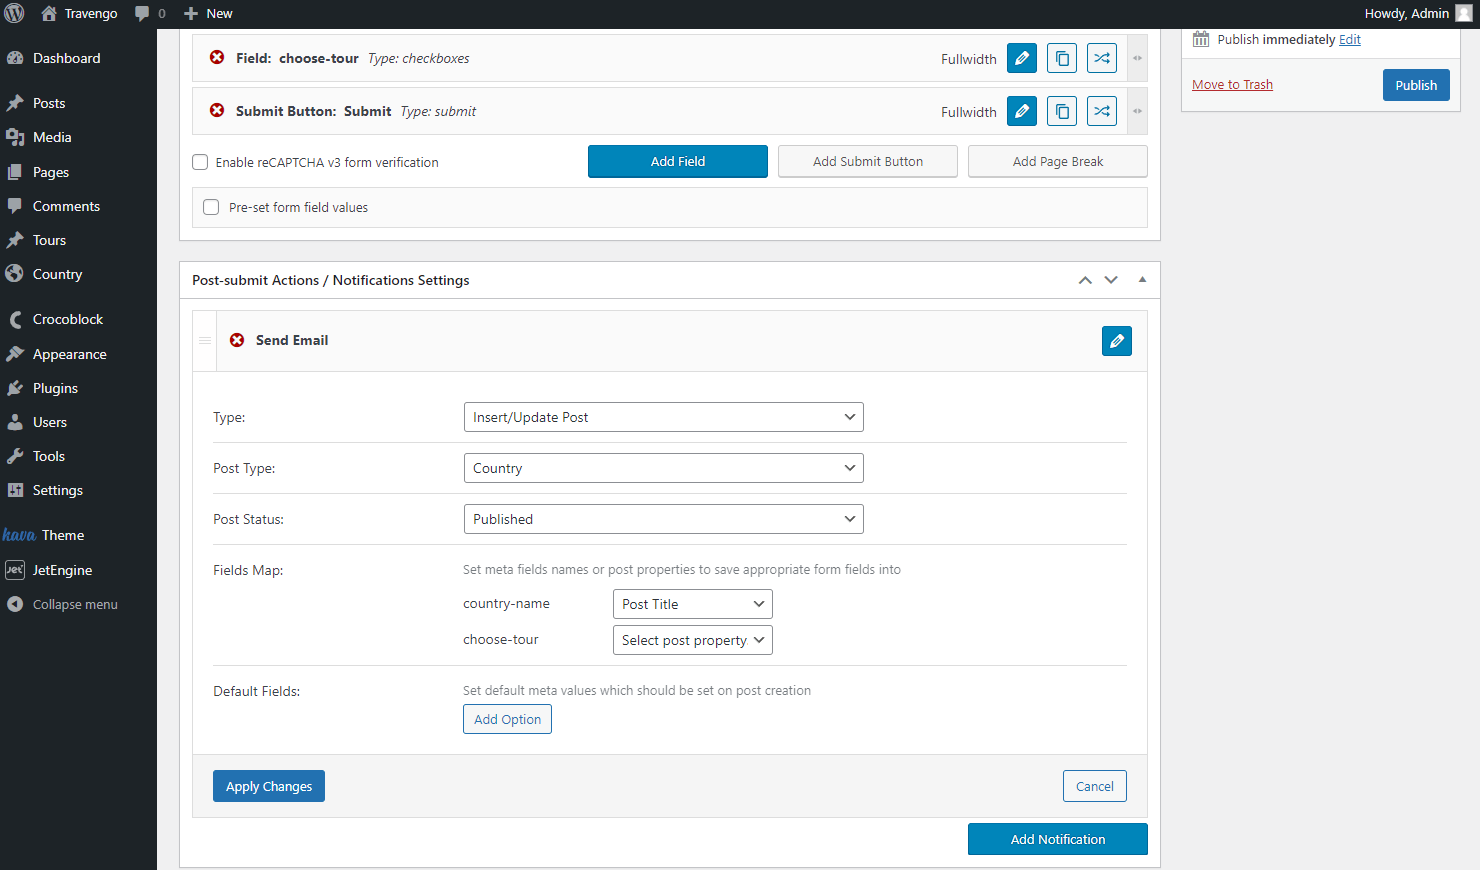
Among all the options in the Type selector, choose the “Insert/Update Post” option.
Pick the child post type in the Post Type menu and select the “Published” Post Status.
In the Fields Map, we define the ‘tour-name’ Text Field as a “Post Title” and leave the default “Select post property” in the ‘choose-country’ field.
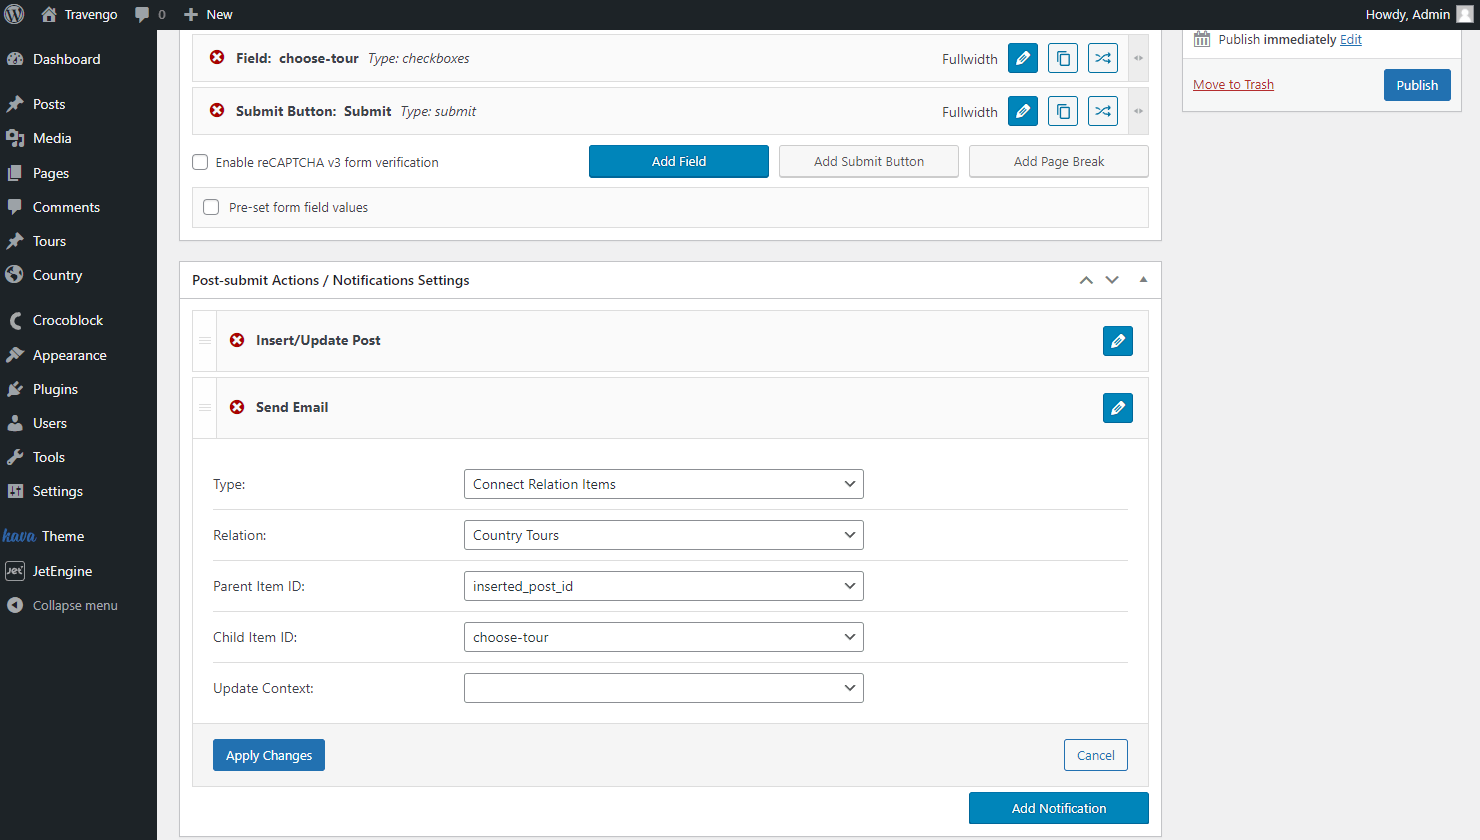
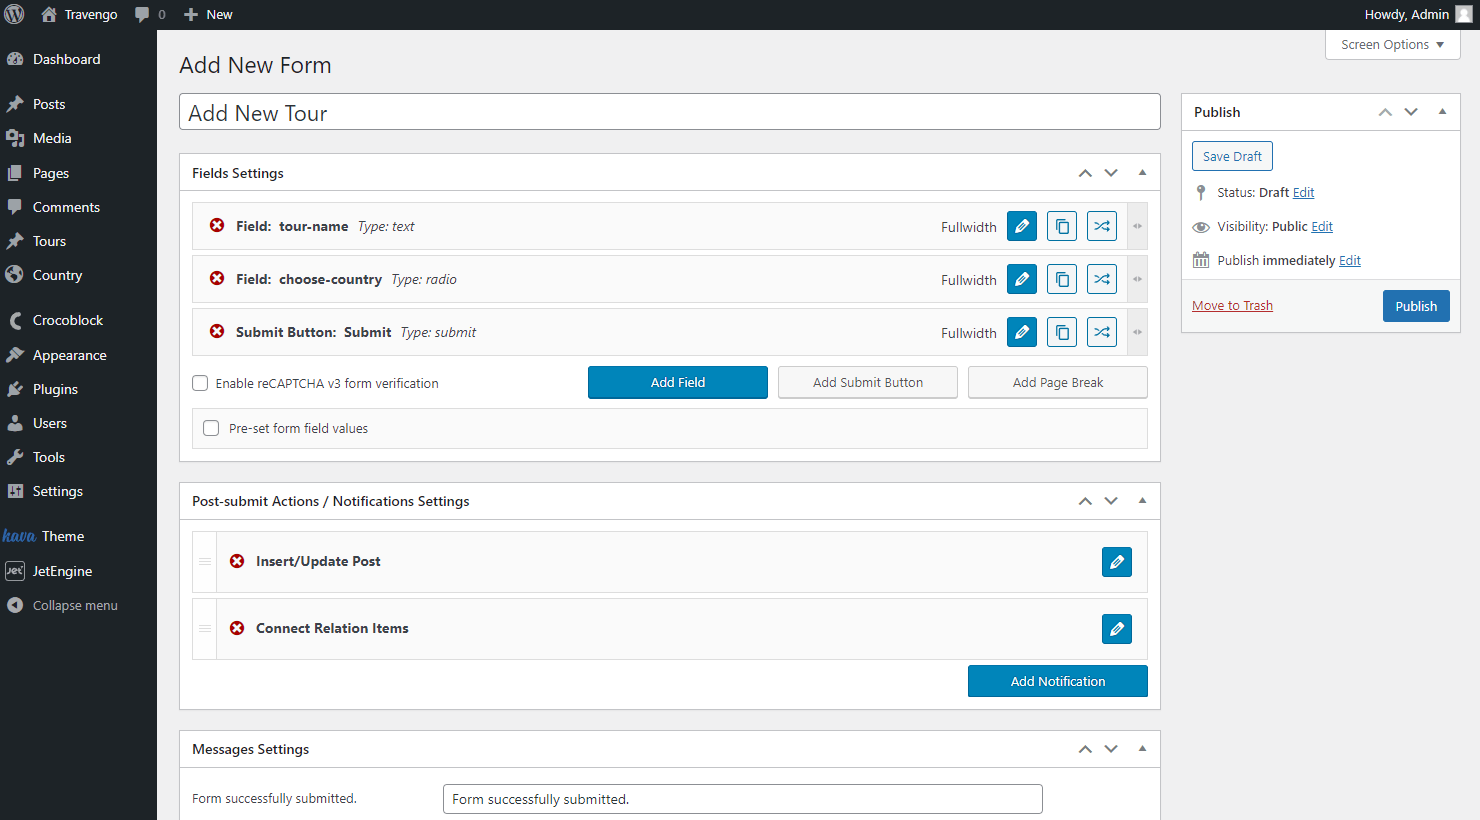
Click on the “Apply Changes” button to save the result, and let’s add one more vital post-submit action by pressing the “Add Notification” button.

Define the Type by selecting the “Connect Relation Items” option and find the needed relation in the samely-named selector.
Pay attention to the following Parent Item ID and Child Item ID fields. As the country is the parent to which we attach the child tour, we pick the ‘choose-country’ field in the first selector, and the second refers to the ‘inserted_post_id’ option.
The following Update Context field should be left empty, so hit the “Apply Changes” button.

The form is ready, so mind pressing the “Publish” button.
Go to the page you want to place the form. For instance, it can be a standard WordPress page.
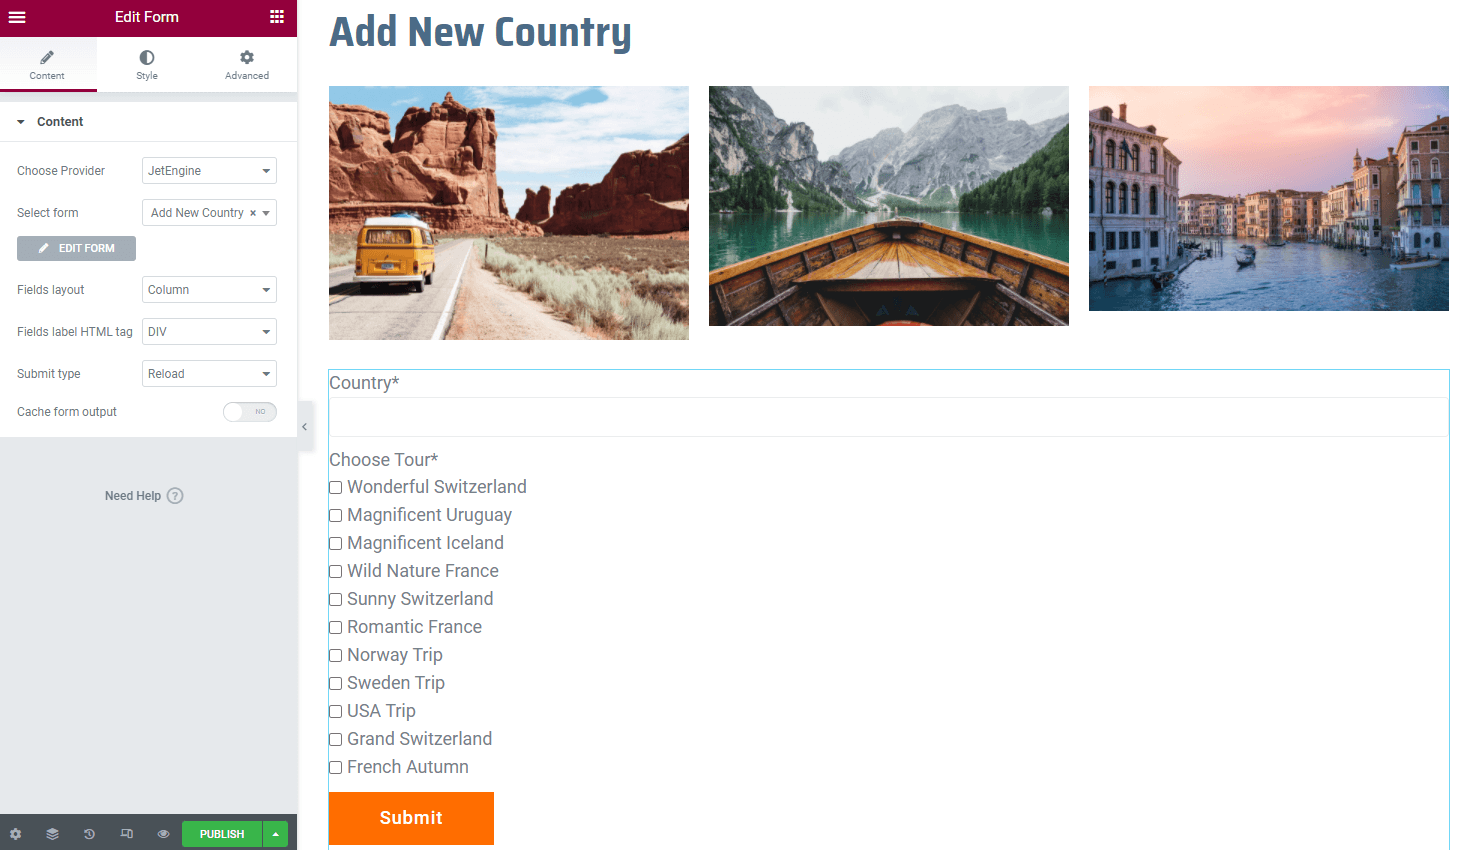
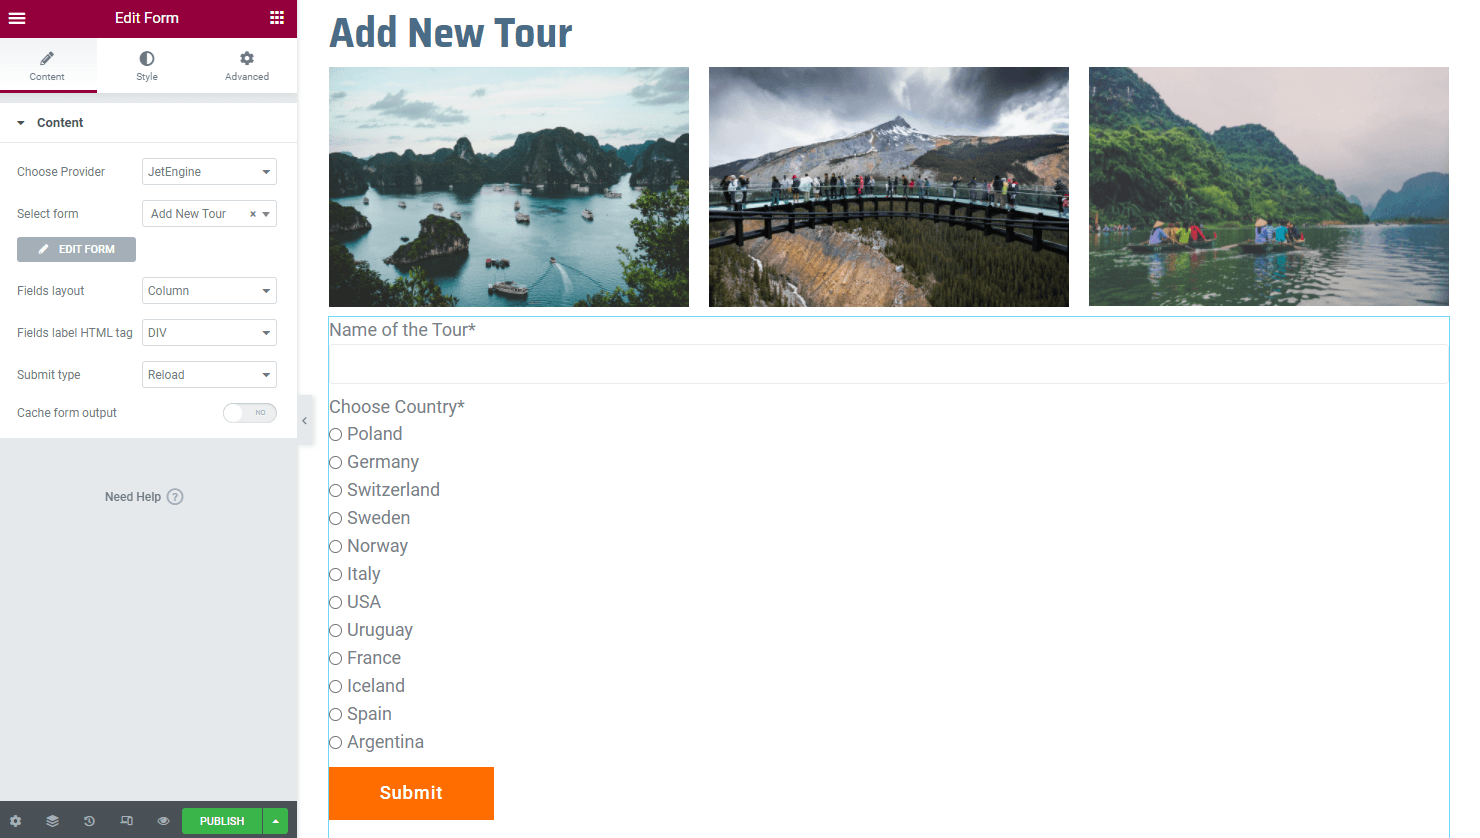
Place the Form onto the page editor. Select the “JetEngine” as the Choose Provider option and pick a new form in the corresponding drop-down list.
Work on the other fields and apply style settings if you wish. Ultimately, press the “Update/Publish” button and go to the front end to check the final result.
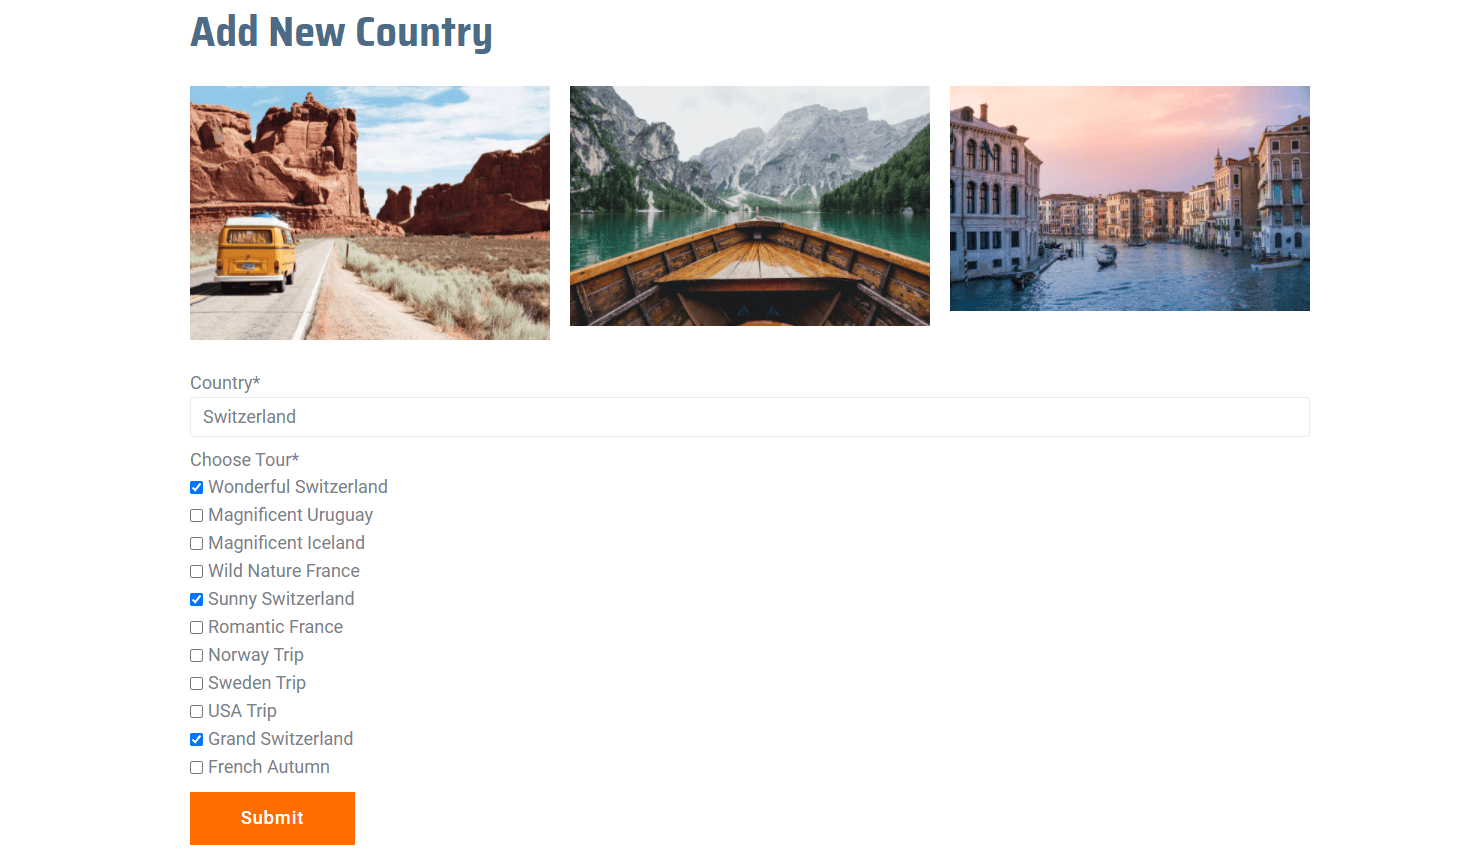
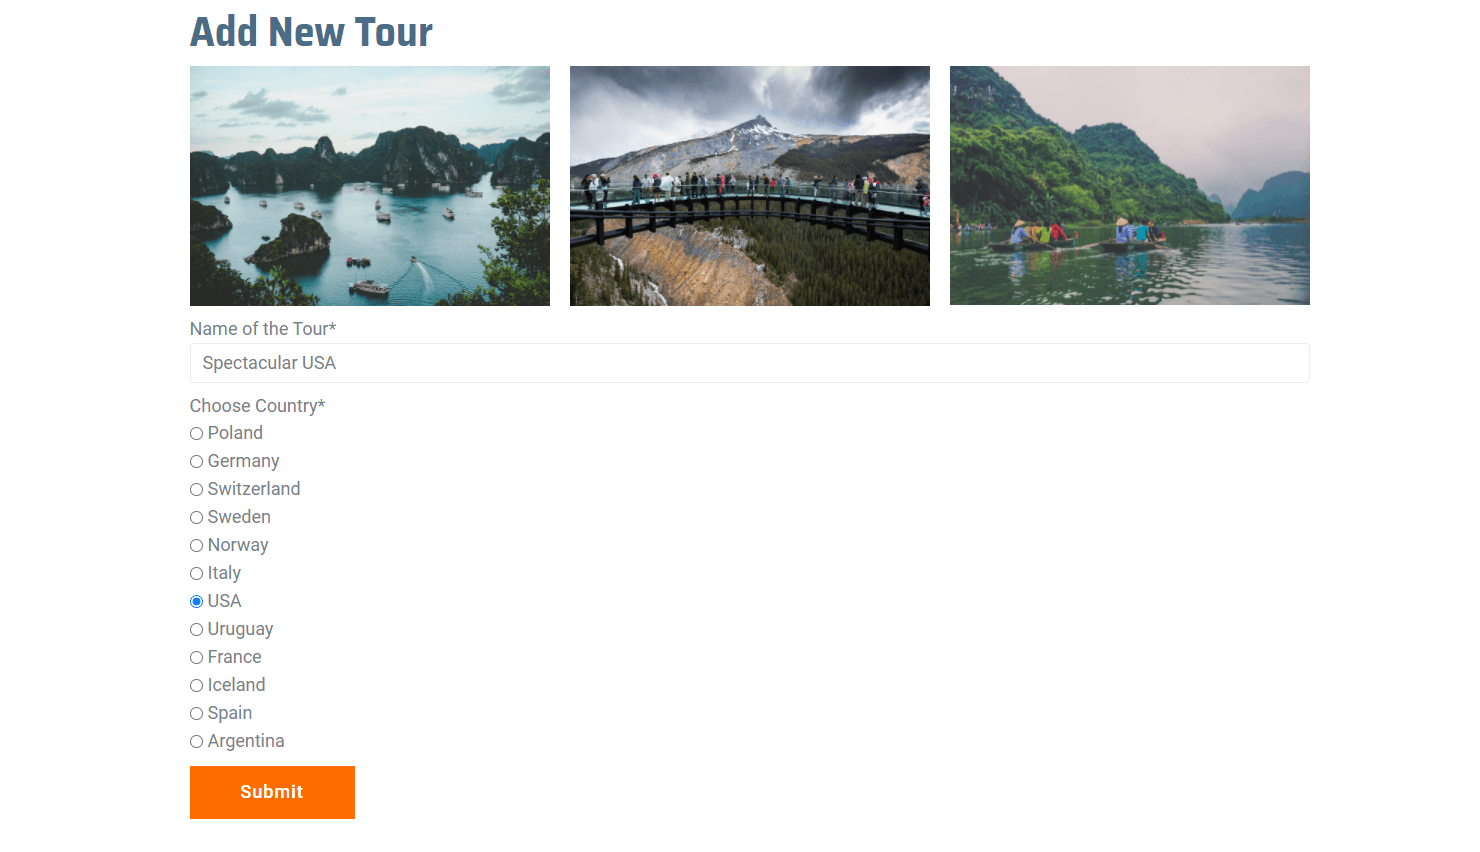
Now you can complete the form with the title and related parent. Click the “Submit” button to save the post and add a related item to it.
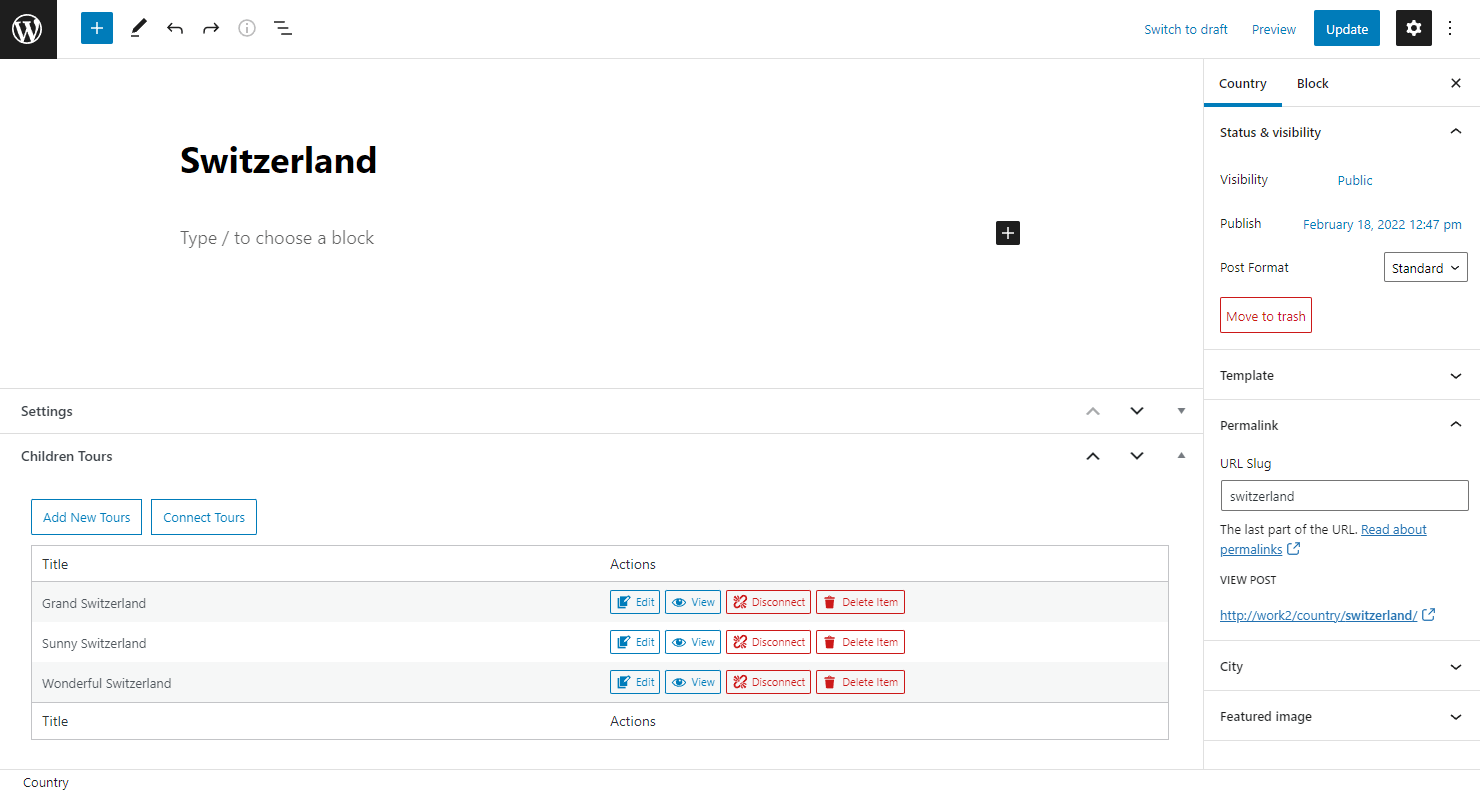
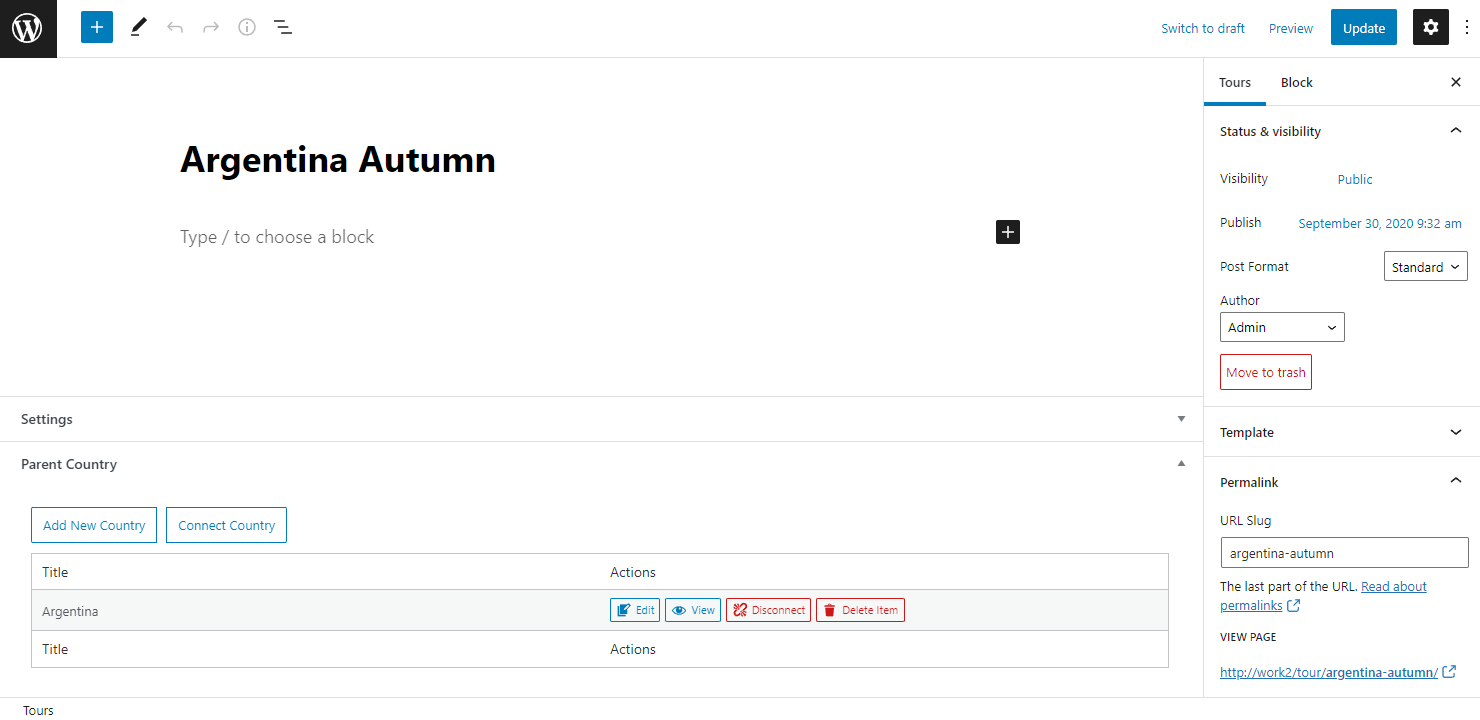
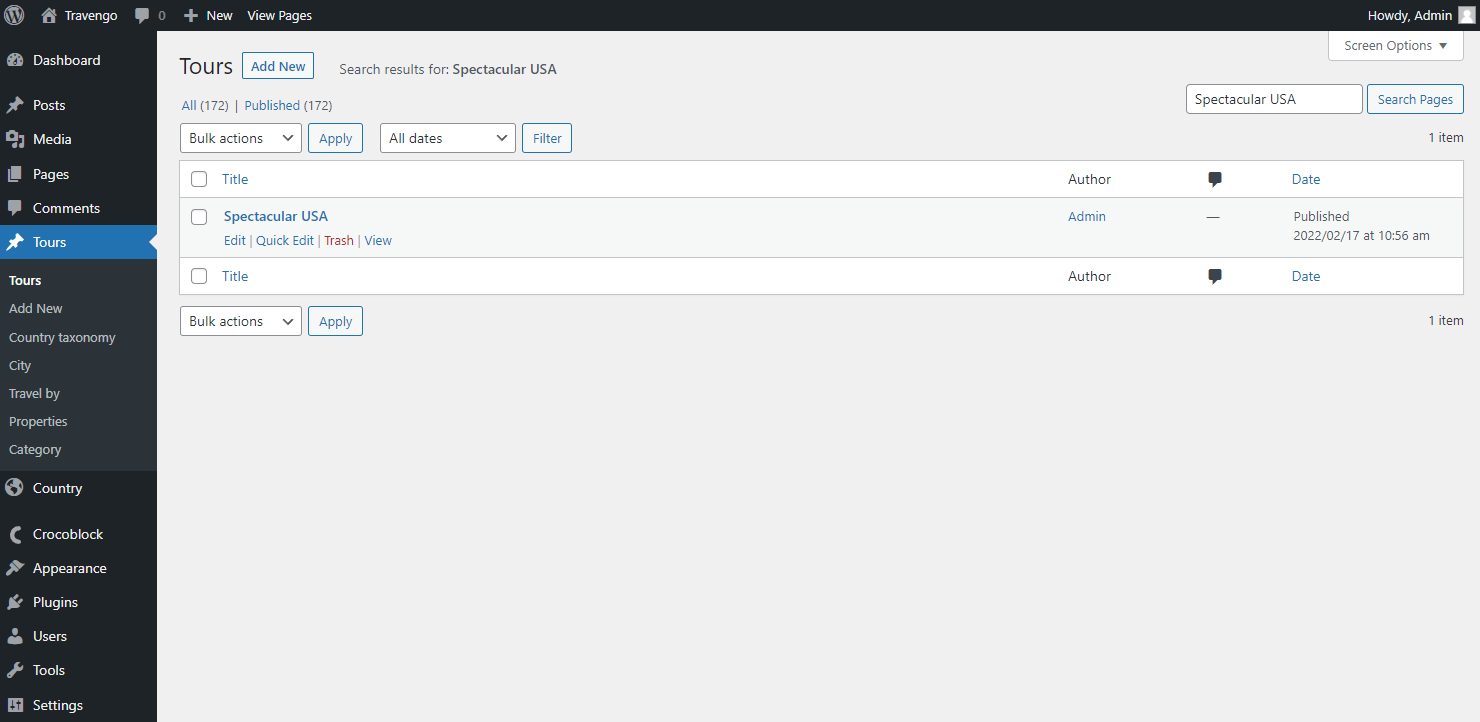
Let’s check if the new tour was added to the child post type. Head to the child post type and search for the new post. For instance, you can type in a post title in the search bar.
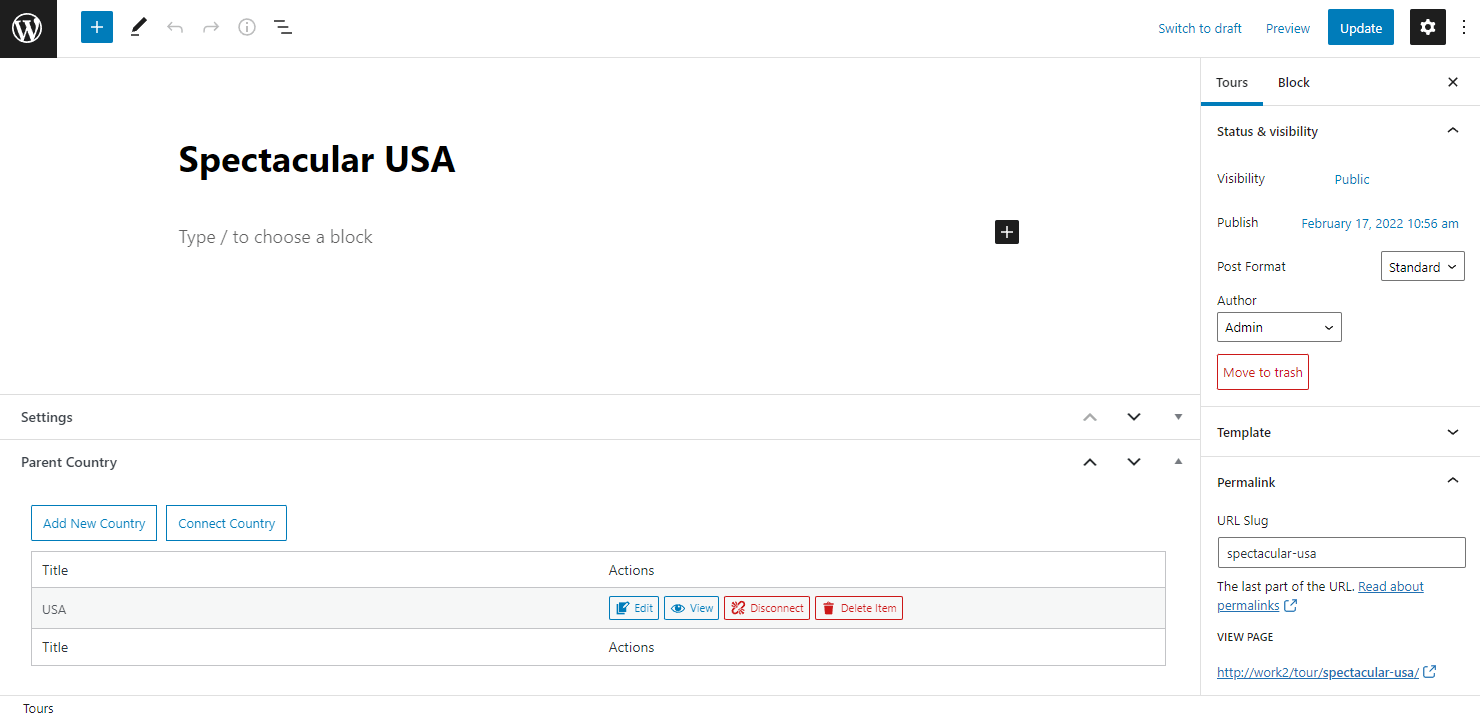
Once the post is opened, scroll down to the Related… tab. The parent post is now successfully connected.
This is it. Now you know how to connect relation items via JetEngine forms and its post-submit actions.