How to Send Favorite Posts via Email
In this tutorial, we will dive into how to send favorite posts via email using the functionalities of JetEngine.
Data Store created with the JetEngine plugin is a handy and practical tool to organize convenient and good-looking pages like “Favorites” or “Wishlist.”
Creating Data Store
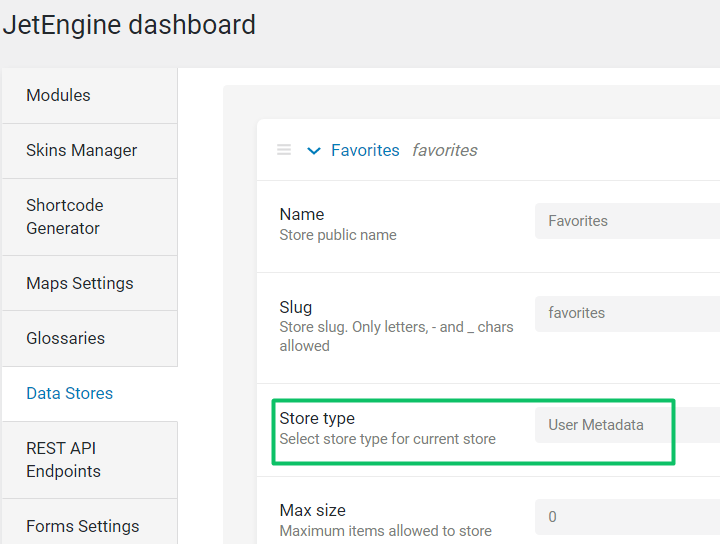
Go to the admin control panel, open JetEngine > JetEngine dashboard > Data Stores, and hit the “New Store” button. Choose the name, store type, and other options. When you are done, hit the “Save” button. Please note that this tutorial works only if the Store type is “User Metadata”.
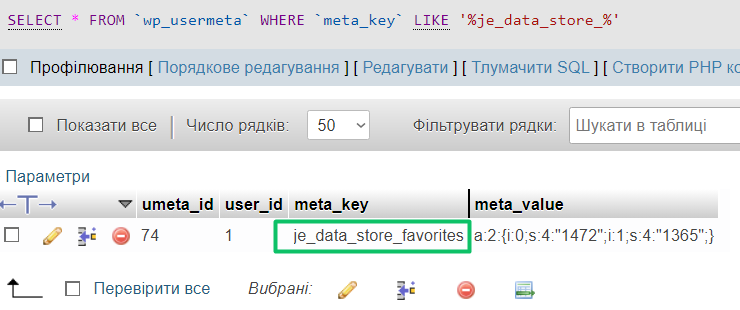
After choosing this Store type, you can see the new meta field in the _usermeta table if the item goes to the Data Store. The meta in this field is stored as an array of items. You do not need to go to the database to change something. The meta key is formed from two parts: je_data_store_ + [your_data_store_name]. Example: Our Store Name is “Favorites,” and the meta key is je_data_store_favorites.
Creating a Form
Log into your website’s WordPress dashboard and go to JetFormBuilder > Add New.
Click the “Add block” button with a plus-shaped icon in the left upper corner of the window and scroll the list of blocks to the Jet Form Fields section. You can add any fields that you need. For our case, we just add one Text field for the email – the address we want to send the email to.
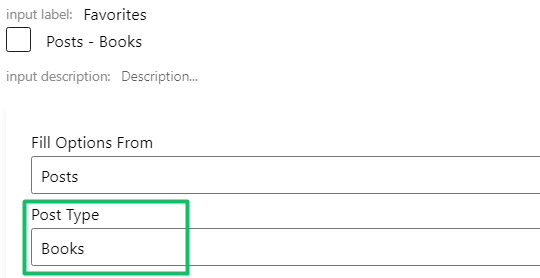
Then add a new Checkbox Field with the Source “Posts” and select the Post Type you use for the Data Store. By default, the list of options will be formed from the IDs of the posts of the chosen Post Type.
Setting up the Preset
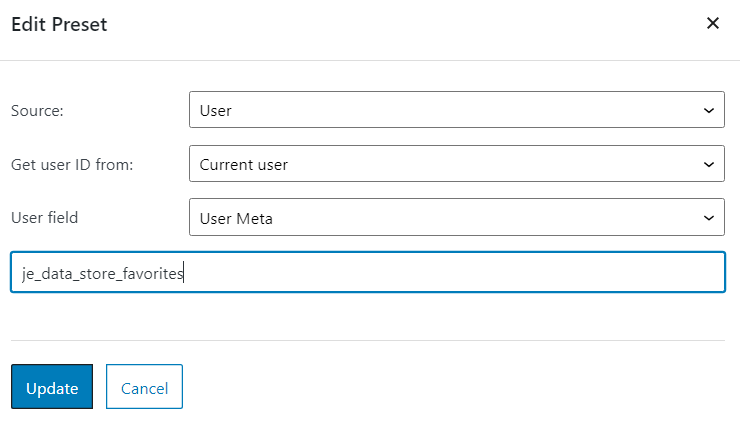
Go to the General section of the Checkbox field. Define the default value, which will be pre-chosen from the start.
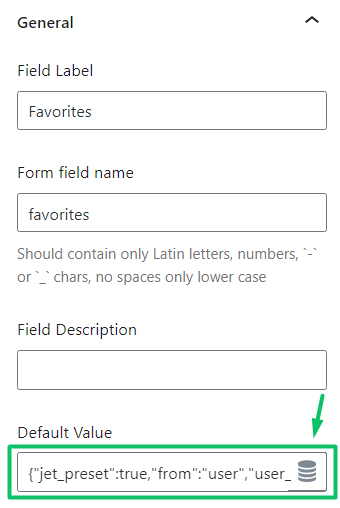
For our case, these values from the Data Store allow having the posts prechecked – precisely the ones already in the Data Store. Values are stored in the database, as in the screenshot we showed you at the beginning.
Note, if you want to hide the checkbox field from the form, here is what you should do:
- Place the Checkbox Field in a separate column
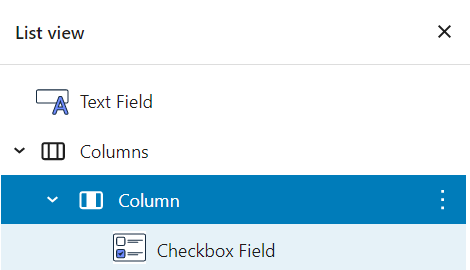
2. Specify the CSS class for the column
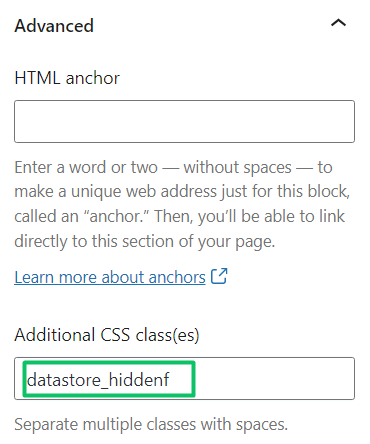
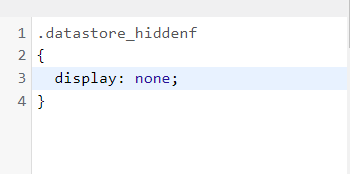
3. Then you need to add the following CSS code in Appearance > Customize > Additional CSS:
.datastore_hiddenf
{
	display: none;
}
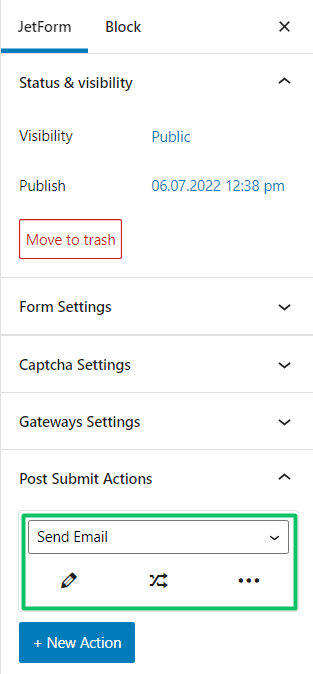
Setting up the Post Submit Action
When the form fields are ready, go to the Post Submit Actions settings section, press “New Action,” and choose the “Send Email” option. Then press the pencil-shaped button to edit the action.
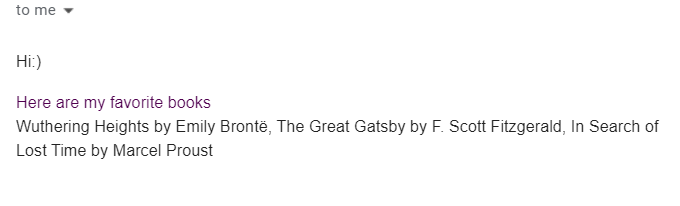
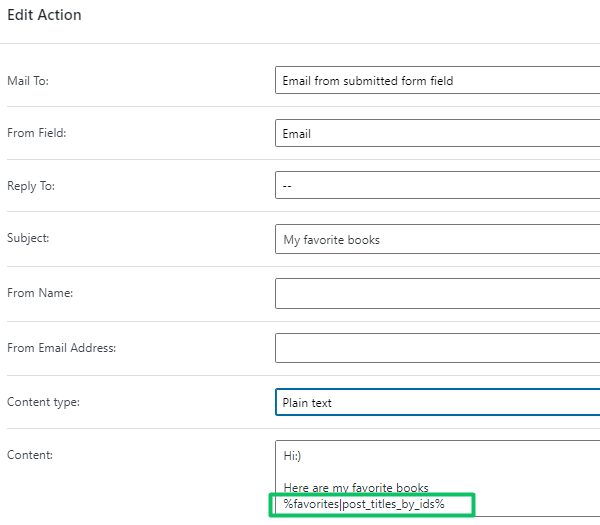
Insert the text or HTML code into the text area Content field. Use this macro post_titles_by_ids to get the name of posts; it will take data from the field that contains several posts. For example, the %favorites|post_titles_by_ids% where favorites is the name of the form field you want to pull the data from.
Don’t forget to click the “Update” and “Publish” buttons when you finish editing.
Place the form on any page, fill it in, and hit the “Submit” button. Check out your mailbox.