
JetFormBuilder: How to Add the Form to the Page
From this tutorial, you will learn how to apply the previously created form to the page using Gutenberg Editor tools and the JetFormBuilder plugin features.
After creating a form, you receive a ready-made block that can be inserted into any part of the page. Now it is time to locate and customize it, and this guide will lead you through all the necessary steps.
1 Step— Add the Form block
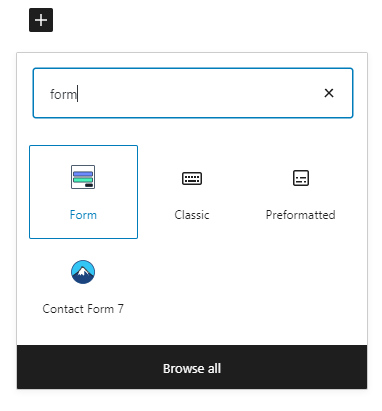
Login to your website’s WP dashboard and open the page where you would like to add the form in the Gutenberg Editor. Hit the “Add block” button, find the Form block and click on it to insert it into the page.
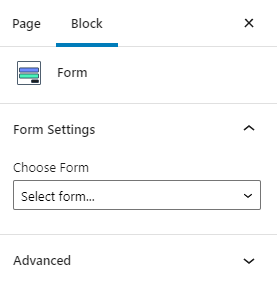
In the right-side menu, unfold the Form Settings section and choose the form you created in the Choose Form drop-down menu.
2 Step— Deal with the settings
When the form appears on the page, additional settings will pop out in the Form Settings section as well.
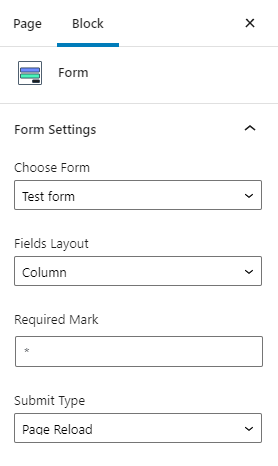
- Fields Layout. Here you can choose the positioning of the labels for the whole form. If you choose the Column option, the labels will be shown over the bars. The Row option will place them on the left side of the bars;
- Required Mark. The symbol you type into this bar will be used as a mark for the fields users can’t ignore;
- Submit Type. You can decide what happens after the form submission – whether the page will be reloaded (Page Reload option) or not (AJAX option).
3 Step— Go through the Style settings
If you have installed the JetStyleManager plugin, you can customize the form’s appearance according to your needs. Click on the “Block Style” button in the right upper corner of the window. Every part of the form has its own set of design changing tools. Play with the settings to achieve the necessary result.
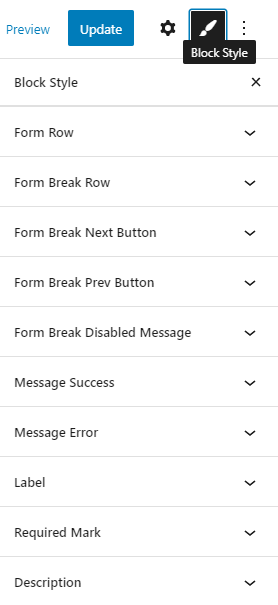
Pay attention that the Form Break styling fields are here and not in the form creation window.
When you are done with all the settings, don’t forget to hit the “Update” button to save the changes.
That’s all, the form is now on your website’s page. You can go to the frontend and check how it looks. With the help of JetFormBuilder, you can create attractive forms in the Gutenberg Editor. Enjoy!