
JetFormBuilder: Post Submit Actions Overview
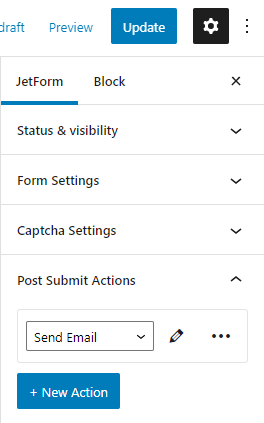
When a user fills in all the form fields and clicks the “Submit” button, the website performs some actions with that form. Those actions are set in the Post Submit Actions menu settings section. Here you can choose what happens once the user submits the form. Not only you can save the data the user puts into the form but also send him/her an email, redirect the user to some other page, or create a new user account.
Every form can have as many Post Submit Actions as you want. You can add them by clicking the “New Action” button. The three-dots button contains the option to move the action upwards and downwards, as well as delete it.
Let’s go through all the available actions and see how you can use them.
Send Email
When the user hits the “Submit” button, this action sends an email to some address you choose in the settings. To do the customization, click the “Edit Action” button with a pencil-shaped icon on it. This will open a settings window.
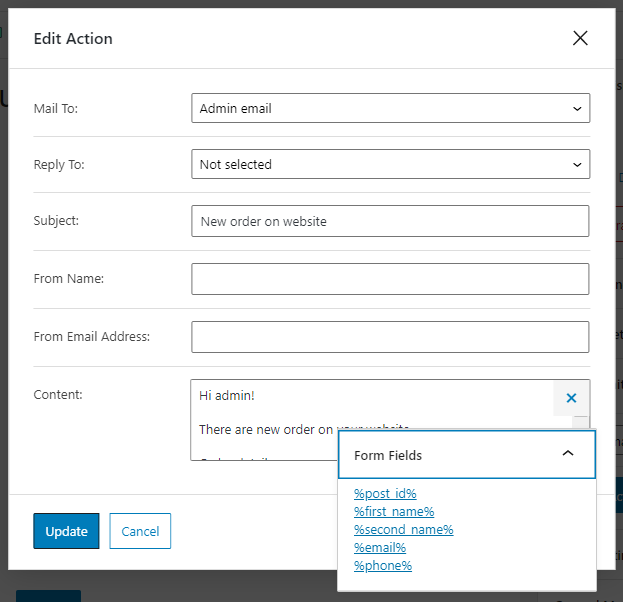
- Mail To. This is where the email notification will be sent. If you choose the Admin email option, the notification will be sent to the admin’s address. After choosing the Email from submitted form field option, you will be able to choose the necessary field in the From field drop-down menu. Lastly, you can select the Custom email option and type the address in the Email Address field;
- Reply To. Here you can set the address, which users will be able to reply to. You can choose not to add such an email at all, select an address from the submitted field, or type in a custom email;
- Subject. Type in the subject of the letter here;
- From Name. This is the field for the name of the person or company that sends a notification letter;
- From Email Address. The email you will type in this field will be visible to the user as the email of the notification sender;
- Content. This is a text area for the content of the notification letter. You can use macro codes that pull the values of the form fields here. You can find the list of available macro codes by clicking the “Insert macros” button in the upper right corner of the text area.
Insert/Update Post
This action allows you to edit the post where you placed the form or add new posts to the existing Post Type. The Post Type can either be default WordPress Posts or created using the JetEngine plugin. You can start defining the settings after clicking the “Edit Action” button.
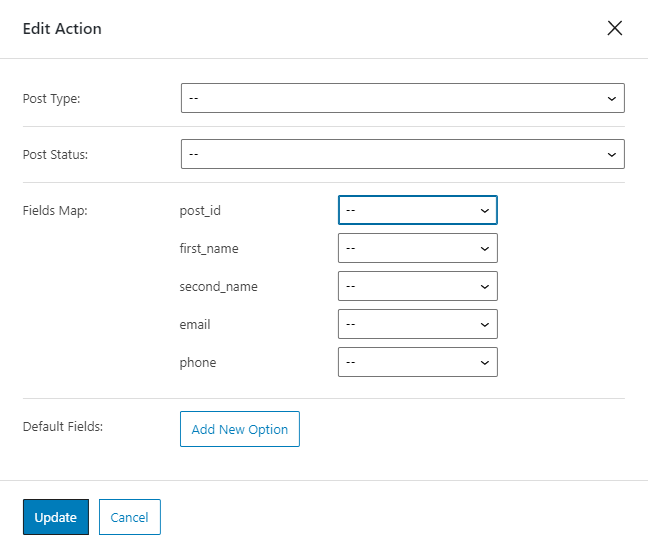
- Post Type. From this drop-down menu, you can choose the type of post that you want to update or insert;
- Post Status. Here you can choose the status of the post that will be added or changed after the user submits the form;
- Fields Map. All the fields that you have added to your form are listed here. In the drop-down menu next to the field’s name, you have to choose the corresponding meta field of the post. Be aware that if you want to edit the post, you have to select the Post ID option in the menu next to the post_id field. If you want to link the form field and the custom meta field, choose the Post Meta option near it. Afterward, type the meta field’s name into the appeared bar;
- Default Fields. This option is for filling the form fields that were left empty by the user. Click the “Add New Option” button, then enter the form field’s name in the Meta Key field and the value you want to add in the Meta Value bar. If the field was left empty by the user, the chosen data will be inserted into that field automatically.
Register User
JetFormBuilder functionality allows you to create subscription forms. After the user submits it, the Register User post submit action creates a new user on your website. Be aware that the created form has to contain fields necessary for user registration like email, login, and password. After hitting the “Edit Action” button you get access to the settings window.
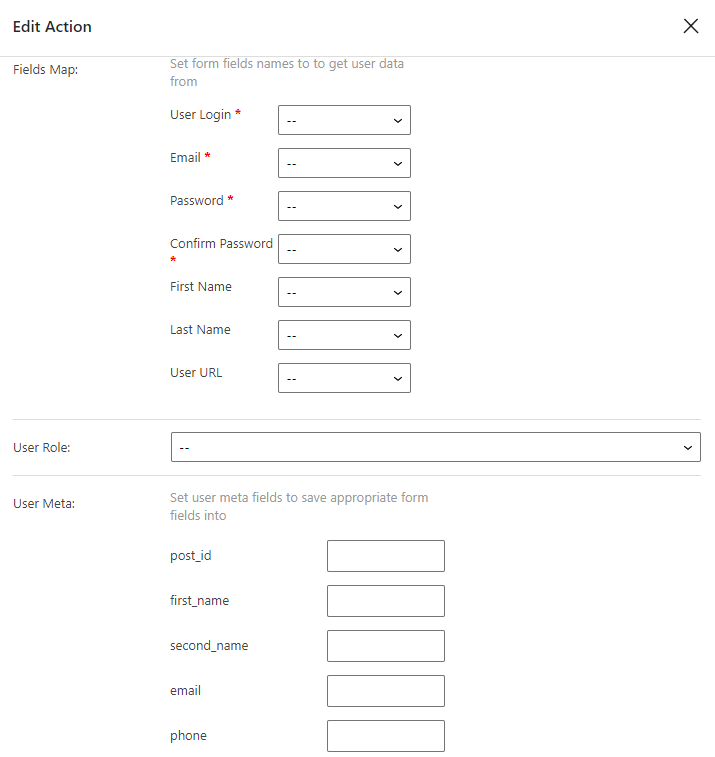
- Fields Map. Here is a list of all the user data that has to be added to the account. In the drop-down menu next to every option, you have to choose the corresponding field of the created form. Options with the red “*” symbol are required, and the others can be ignored;
- User Role. This option defines the rights that will be given to the user and can be registered in the form you are working with. All available variants are listed in the drop-down;
- User Meta. If you have added some custom meta fields to the User accounts, here you can connect the fields of the form with them. Just type the slug of the corresponding field into the bar next to the form field title;
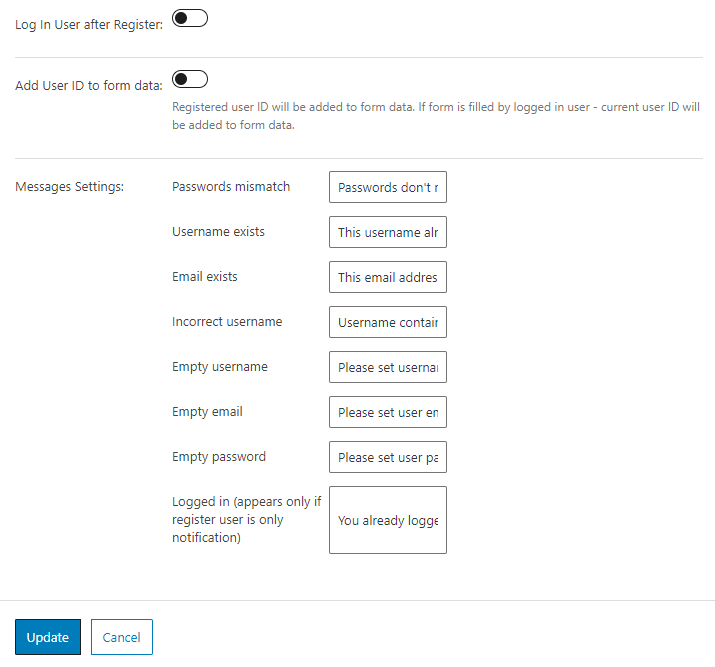
- Log In User after Register. Enable this toggle if you want to log in users after they submit the form;
- Add User ID to form data. If you want to add the User ID to the form data and use it in the actions that will be performed after the “Register User” action (that goes after it in the actions list), then enable this toggle;
- Messages Settings. Here you can change the notifications that are shown to the user when something goes wrong.
Update User
Besides creating a user account, the JetFormBuilder plugin functionality also allows you to create forms that can edit the data of existing users. The Update User post-submit action replaces the existing data in the user’s account with the values placed in the form fields. Be aware that it will be applied only to the page of the user where the form is placed.
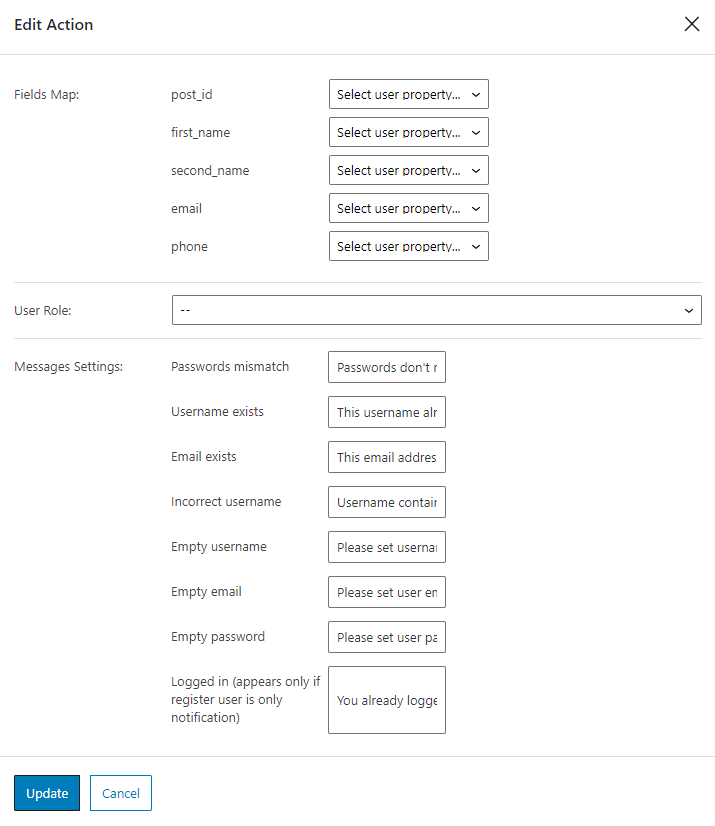
- Fields Map. Once again, as in the Register User action, here you have to create a connection between the form fields and the existing fields of the User account. In the drop-down list next to post_id, choose the User ID option;
- User Role. The role you choose in this drop-down list will be applied to the updated user instead of the one that was already assigned to the account;
- Message Settings. If something goes wrong, the user will get a notification message. Here you can change the default messages to something more unique.
Call Hook
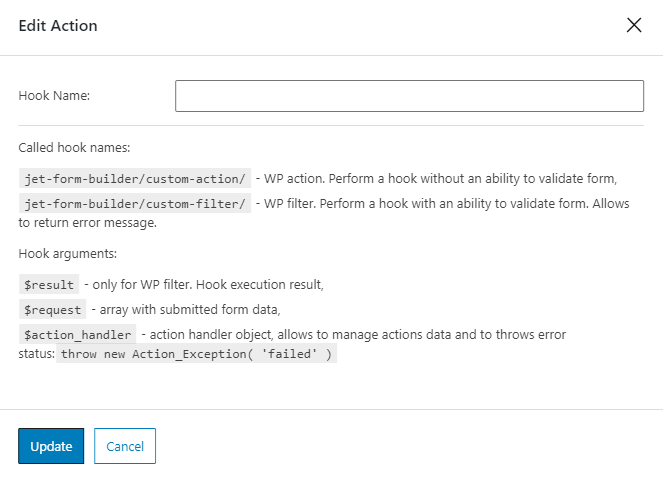
The hook is a little piece of code that is used to do some action with the other part of the website’s code. Therefore, this action calls to some code that you wrote and added to the functions.php file on your computer. More about hooks you can learn by following this link. The settings are pretty simple. After clicking on the “Edit Action” button, you enter the editing window and can type the hook’s title into the Hook Name bar.
Call Webhook
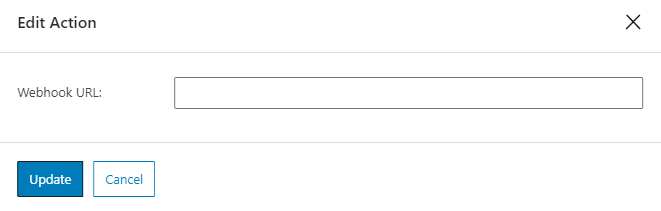
With the help of this action, you can connect your form with some third-party services like Zapier or Make (formerly Integromat). Those services are created to connect different apps and, by getting a webhook from them, you can connect the created form with any other app that the service has a connection with. For example, with Gmail. In the Edit Action window, you just have to paste the obtained webhook to the Webhook URL bar.
Redirect to Page
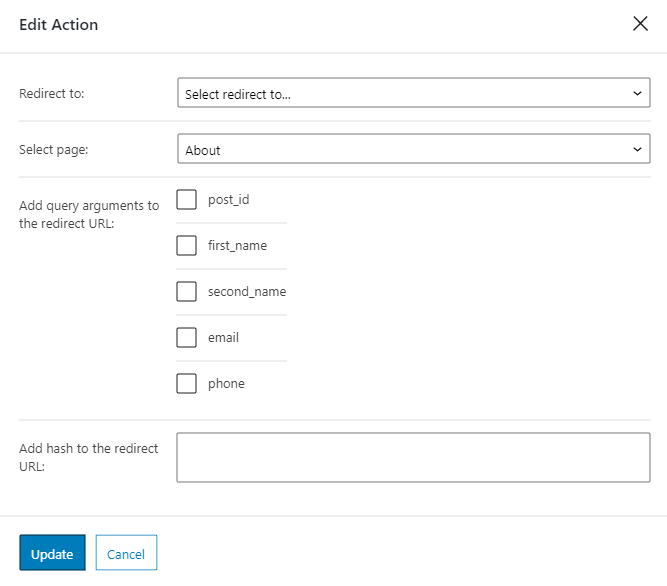
After the user submits the form, you may want to redirect him/her to another page, like checkout or homepage. This action allows you to set such a redirection. After opening the Edit Action window, you have to set the following features:
- Redirect to. In this drop-down menu, you can choose the type of page. If you select the Static Page option, you will be able to pick one of your website’s existing pages from the Select page drop-down list. You can also set the Custom URL and type it into the Redirect URL bar or choose the Current Page;
- Add query arguments to the redirect URL. If the data user puts into one of the fields can be used as a query argument, you can choose it here by tickling the corresponding checkbox;
- Add hash to the redirect URL. Hash is a symbol that is added to the page’s code and works as an anchor. This means that it allows you to open the page not at the beginning but on a specific part. Just type the anchor into this bar.
MailChimp
If you use the MailChimp service and want to collect the data from the created form to the app, you can use this action. Be aware that you will need the MailChimp API key but it is quite easy to obtain it if you use the service and have a registered account. Afterward, paste the key to the API Key bar and hit the “Update” button.

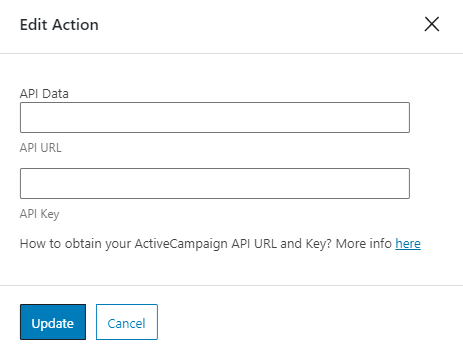
GetResponse & ActiveCampain

The same situation as with the MailChimp here. If you use one of these services and want to link the form with it, get the GetResponse API key or ActiveCampaign API and URL keys and insert either one to the Edit Action window fields.
That’s all. Those are all the Post Submit Actions that you can use with the form.