
How to Create a Custom Taxonomy Hierarchical Filter with Select Filter Type
From this tutorial, you will learn how to create a hierarchical select filter to filter posts by the taxonomies created with JetEngine.
Before you start, check the tutorial requirements:
- Elementor (Free version), Block editor (Gutenberg) or Bricks builder
- JetSmartFilters plugin installed and activated
- JetEngine plugin installed and activated with Custom Post Type added
Create Taxonomies for Custom Posts
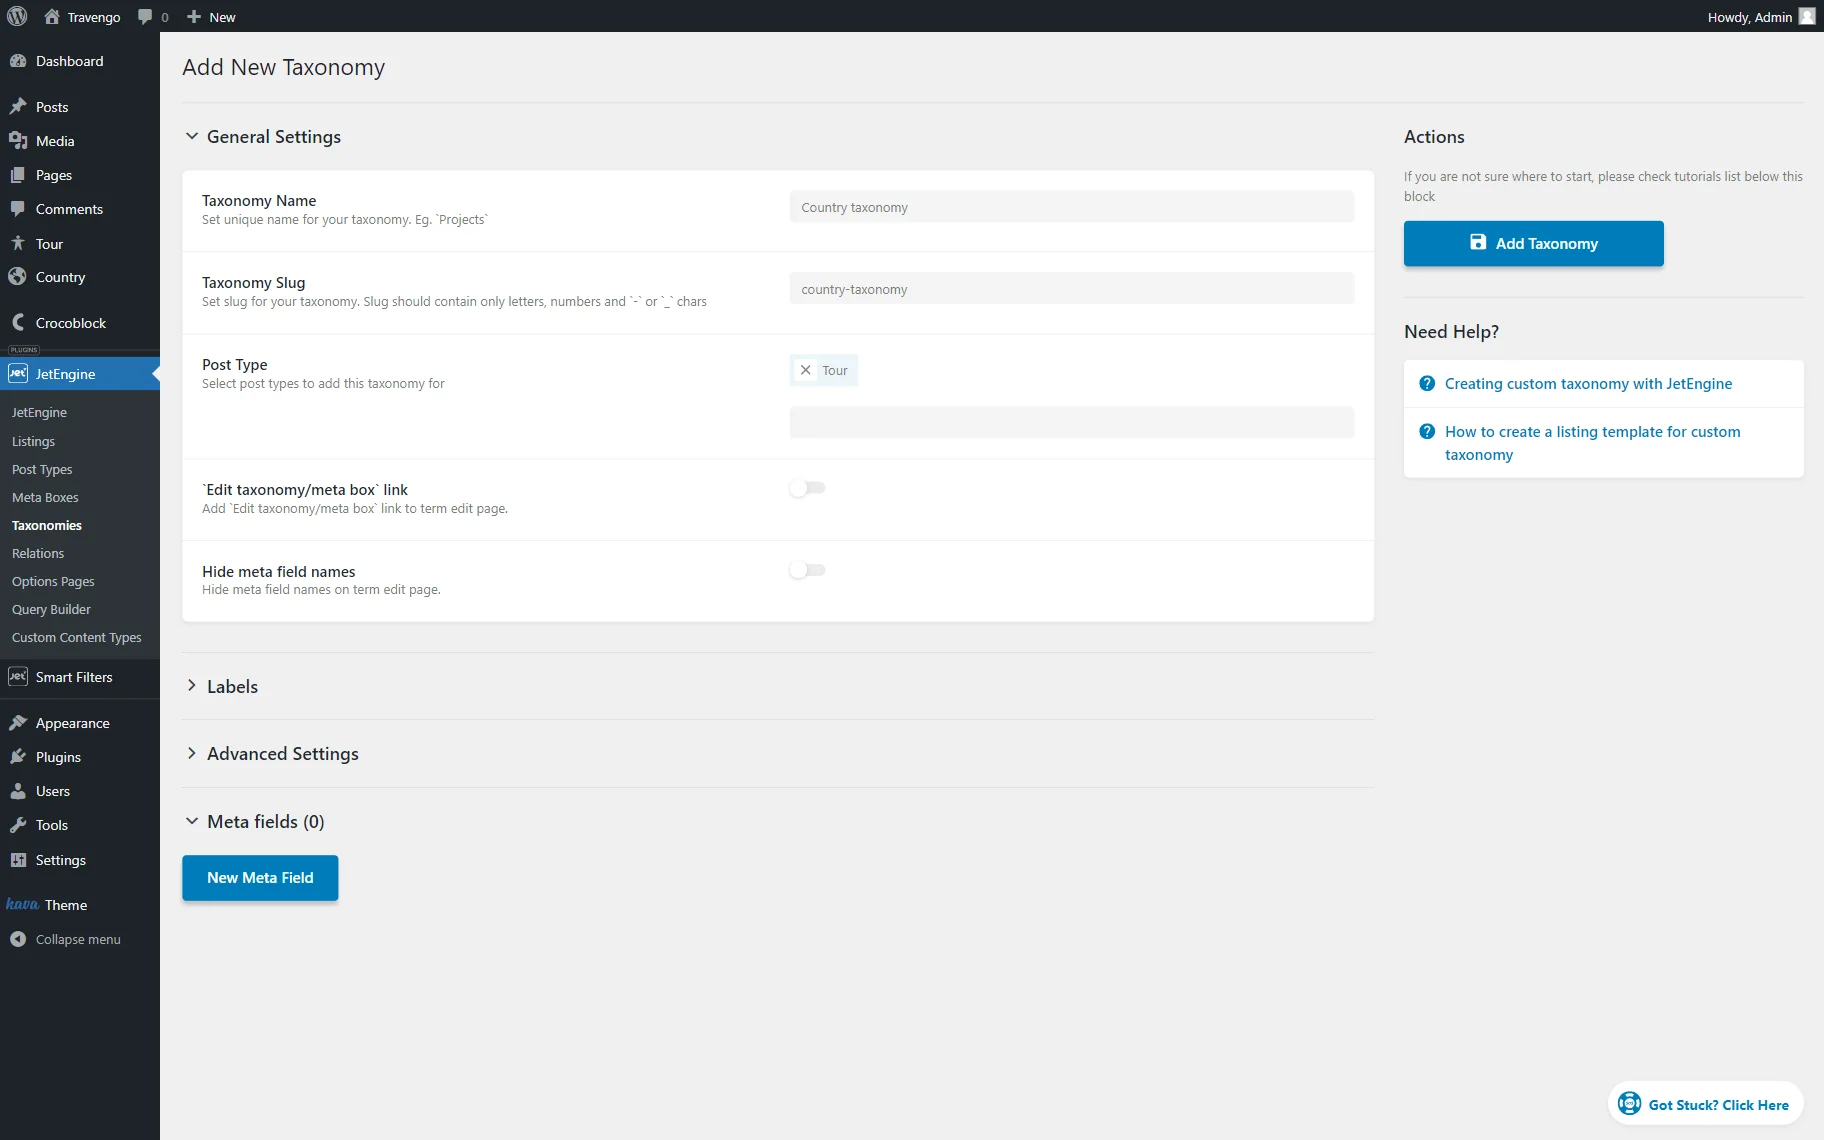
Firstly, you should create taxonomies for your custom posts. To do this, navigate to WordPress Dashboard > JetEngine > Taxonomies and click the “Add New” button.
Add the Taxonomy Name and TaxonomySlug, and select Post Type to add this taxonomy to (one or several).
After that, go to Advanced Settings and enable the Hierarchical option.
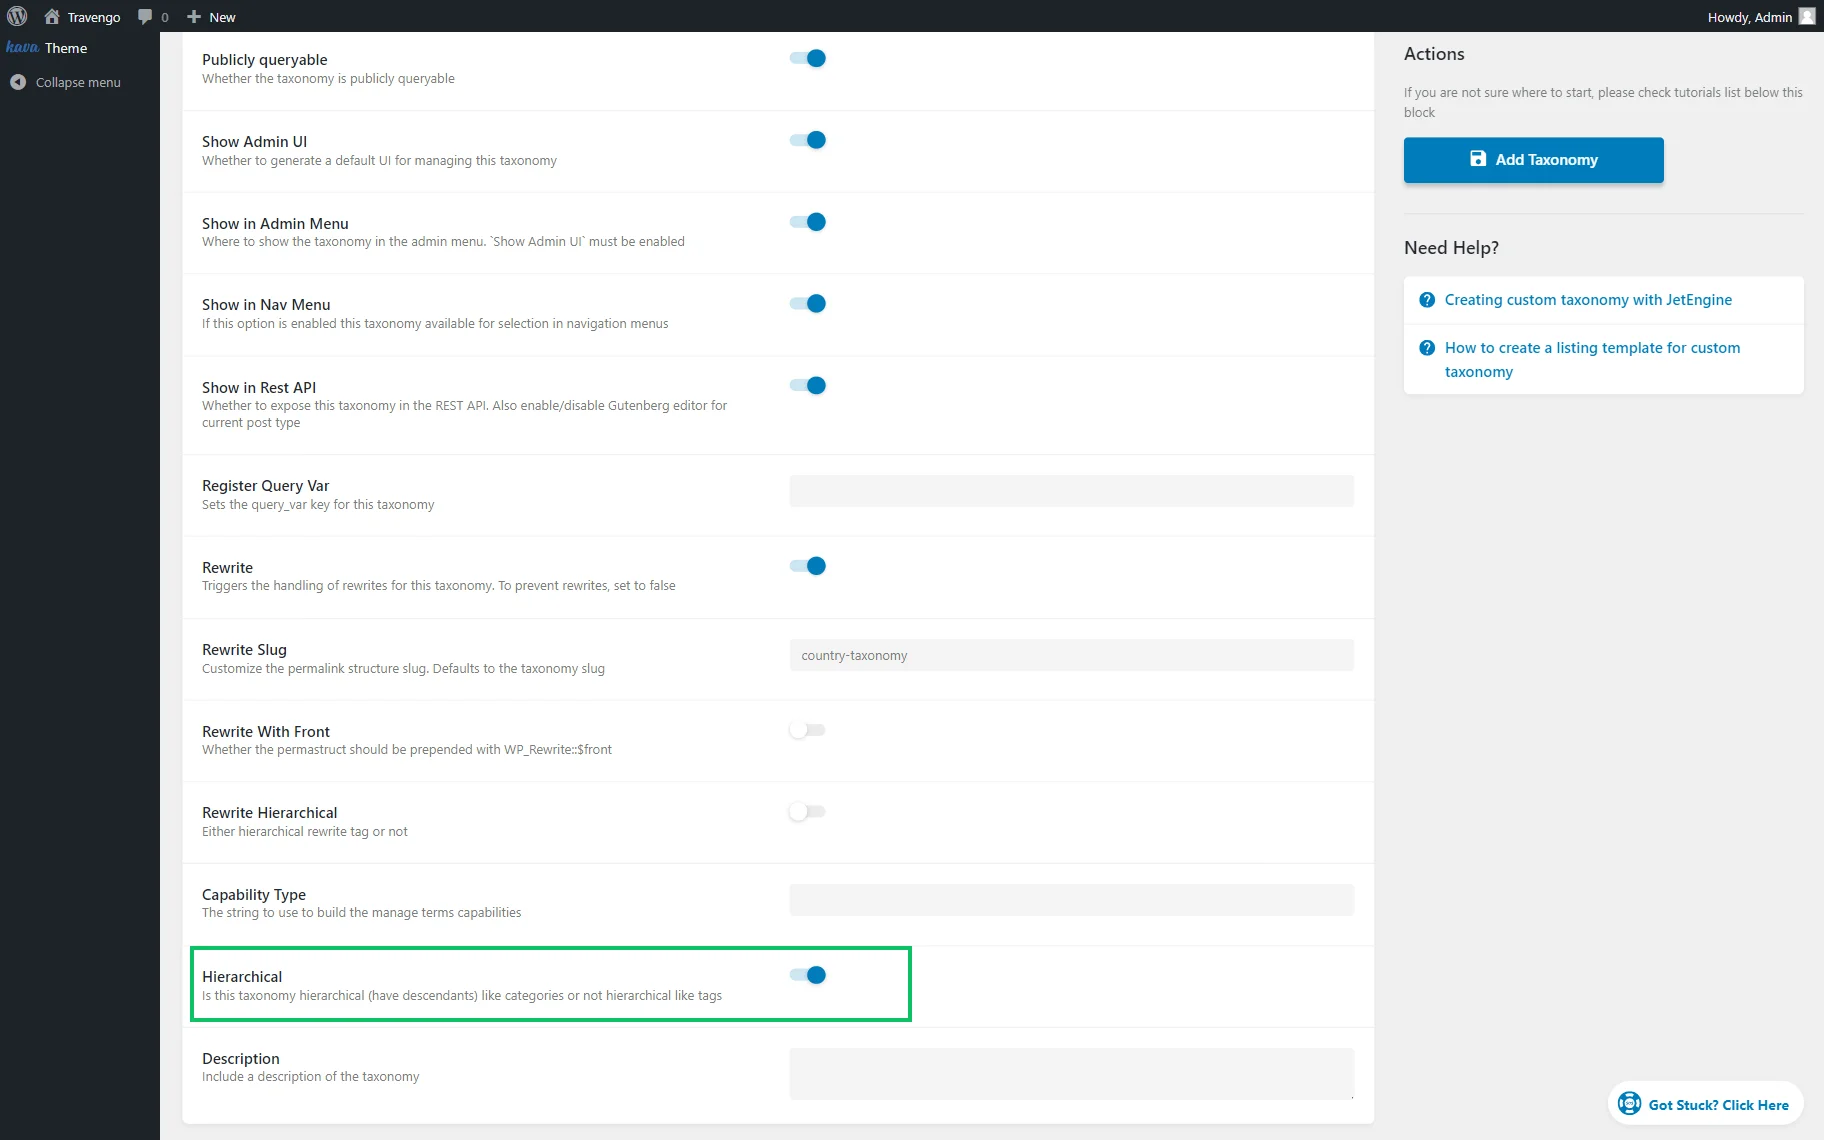
When you’re done, don’t forget to save the changes by pressing the “Add Taxonomy” button.
Create as many taxonomies as needed. In this case, we have created two different taxonomies for posts, so now we’ll be able to filter posts by two criteria, such as “Country” and “City.”
Add Categories for Custom Posts
The next step is to navigate to your custom posts, open the needed taxonomy you’ve created, and add categories to it. For example, we opened the “Country” taxonomy and added all the needed countries to it.
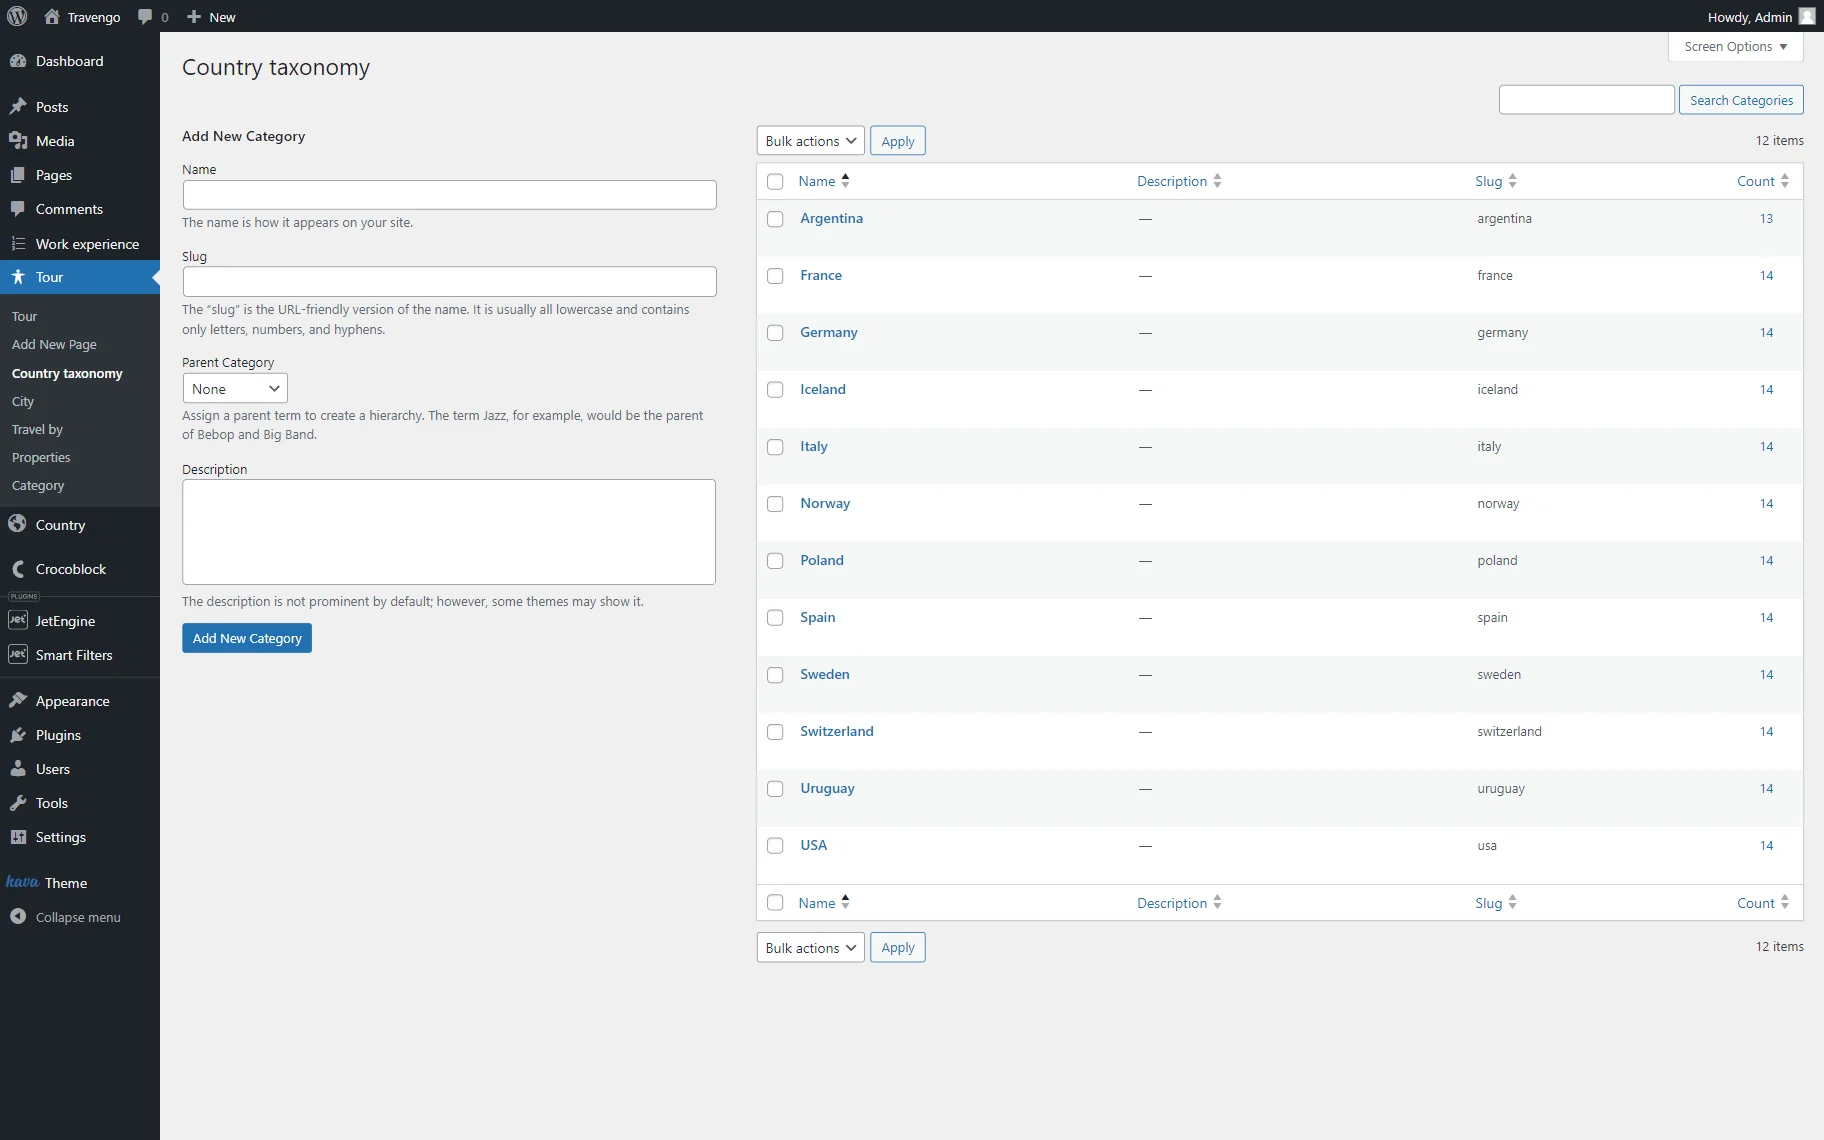
Repeat the same actions for other taxonomies.
Attach Categories to Posts
Then, you need to open your custom posts, select the needed post, click on the “Quick Edit” button, and choose taxonomy options for this post.
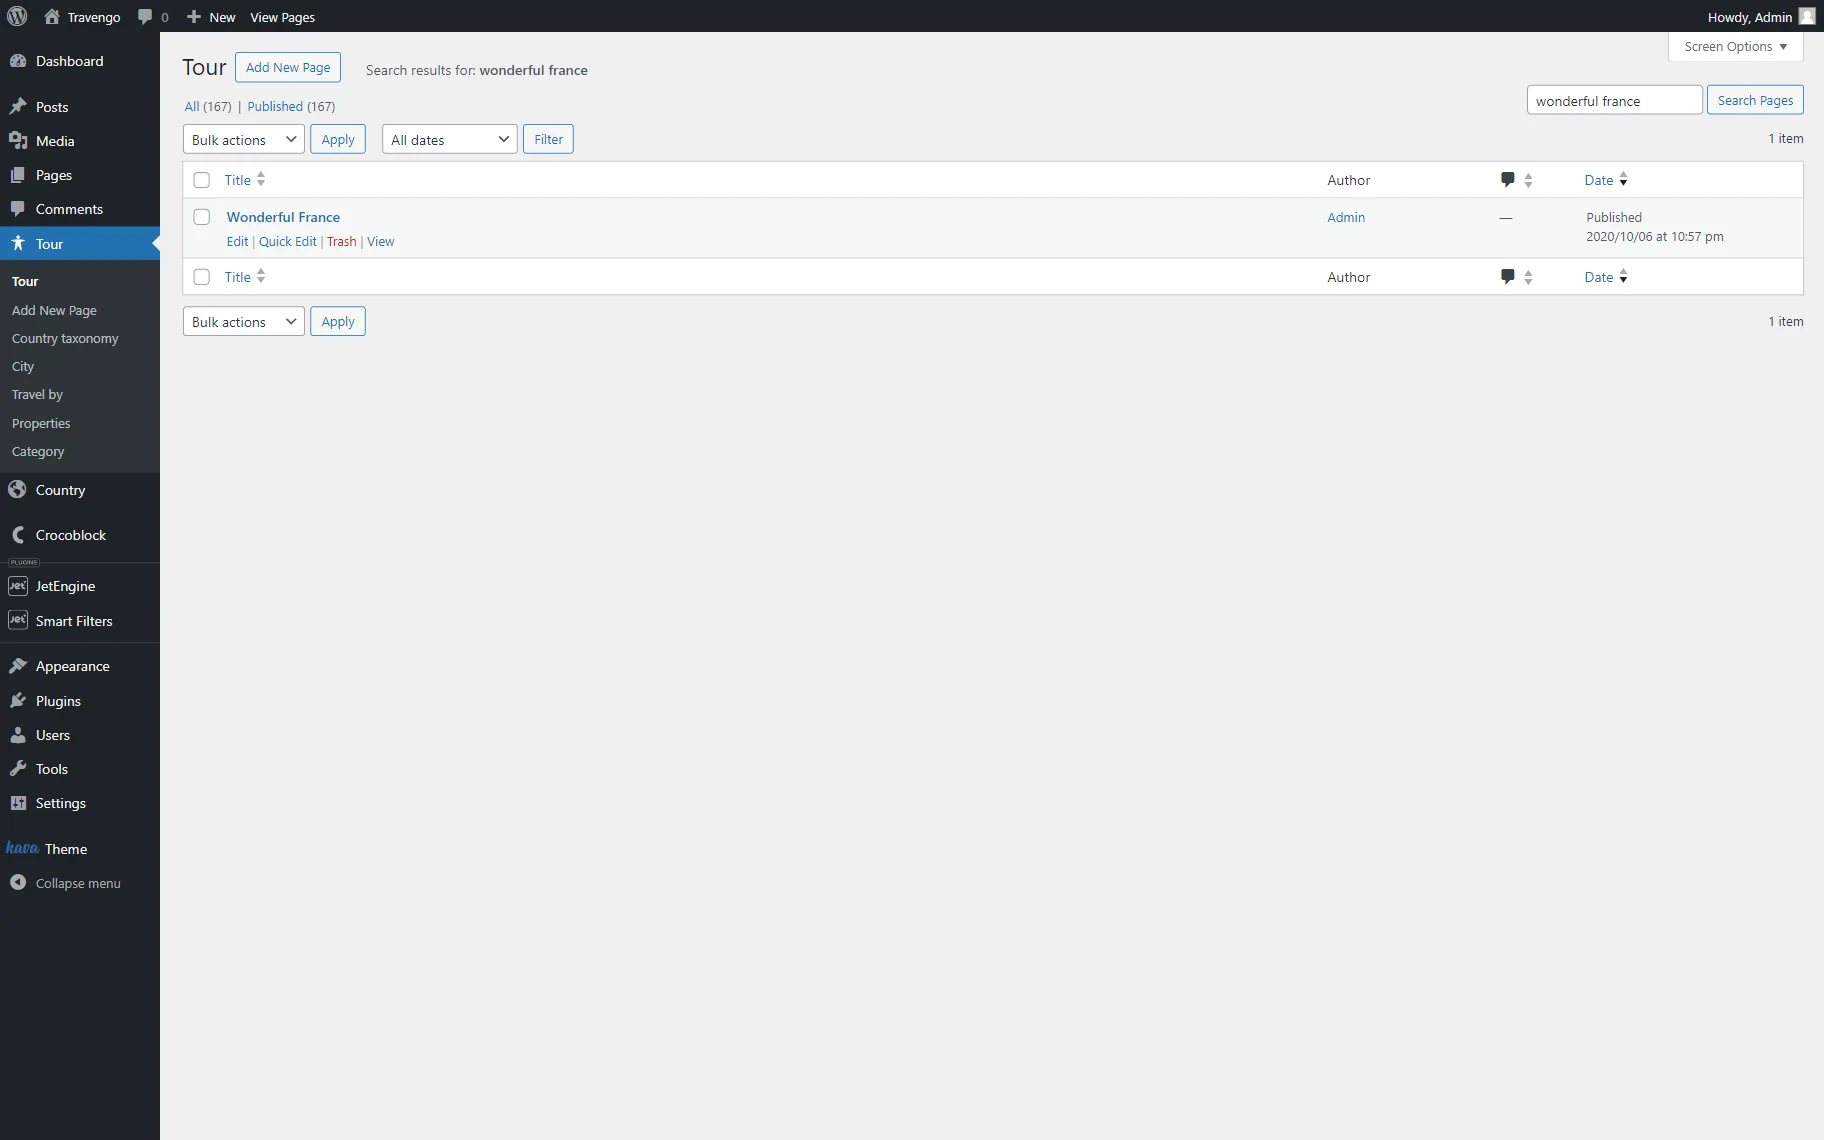
For instance, we attach the “Wonderful France” both to “France” and “Paris” options from the “Country” and “City” taxonomies correspondingly.
To save the changes, press the “Update” button.

When you’ve attached the needed taxonomies for all your posts, you can create a hierarchical filter for them.
Build a Hierarchical Filter
Navigate to WordPress Dashboard > SmartFilters > Add New.
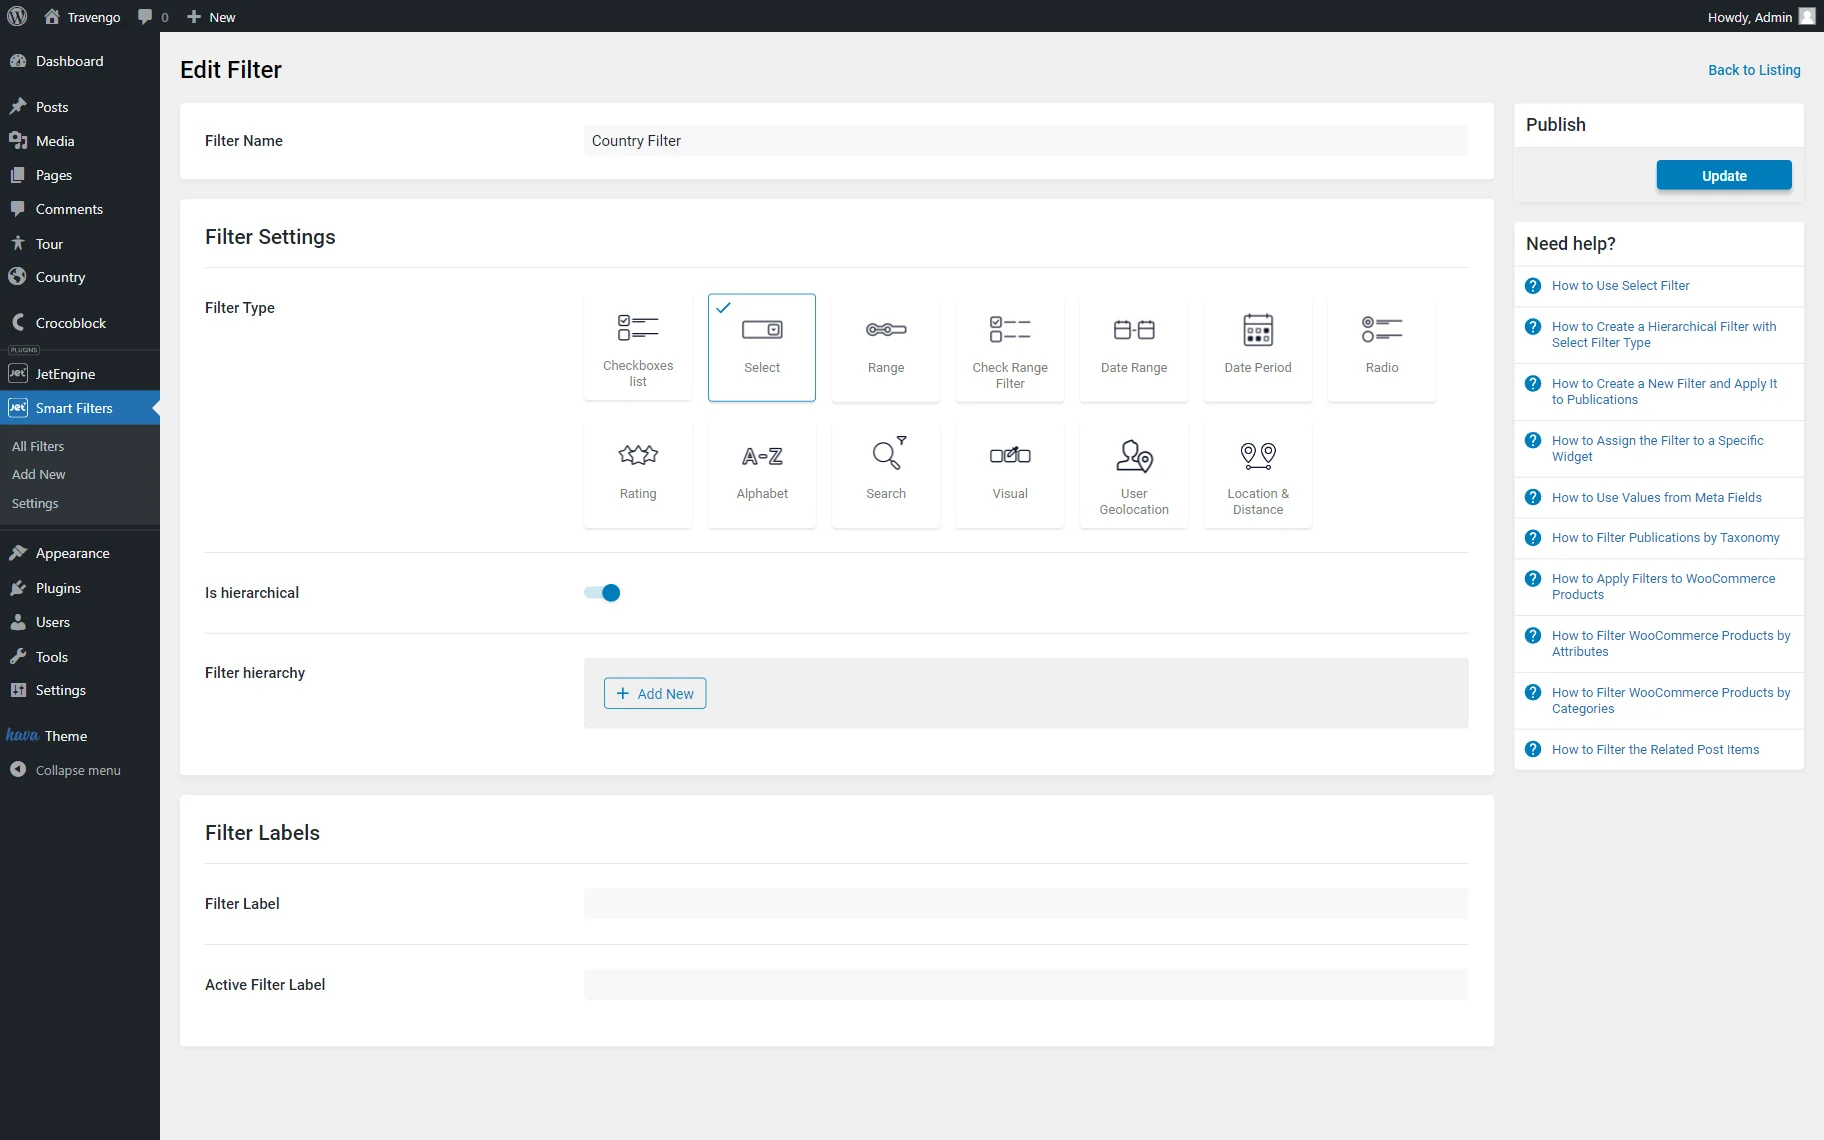
Complete a Filter Name field. Then, choose the “Select” FilterType and enable the Is hierarchical toggle.
Click on the “Add New” button next to the Filter hierarchy label.
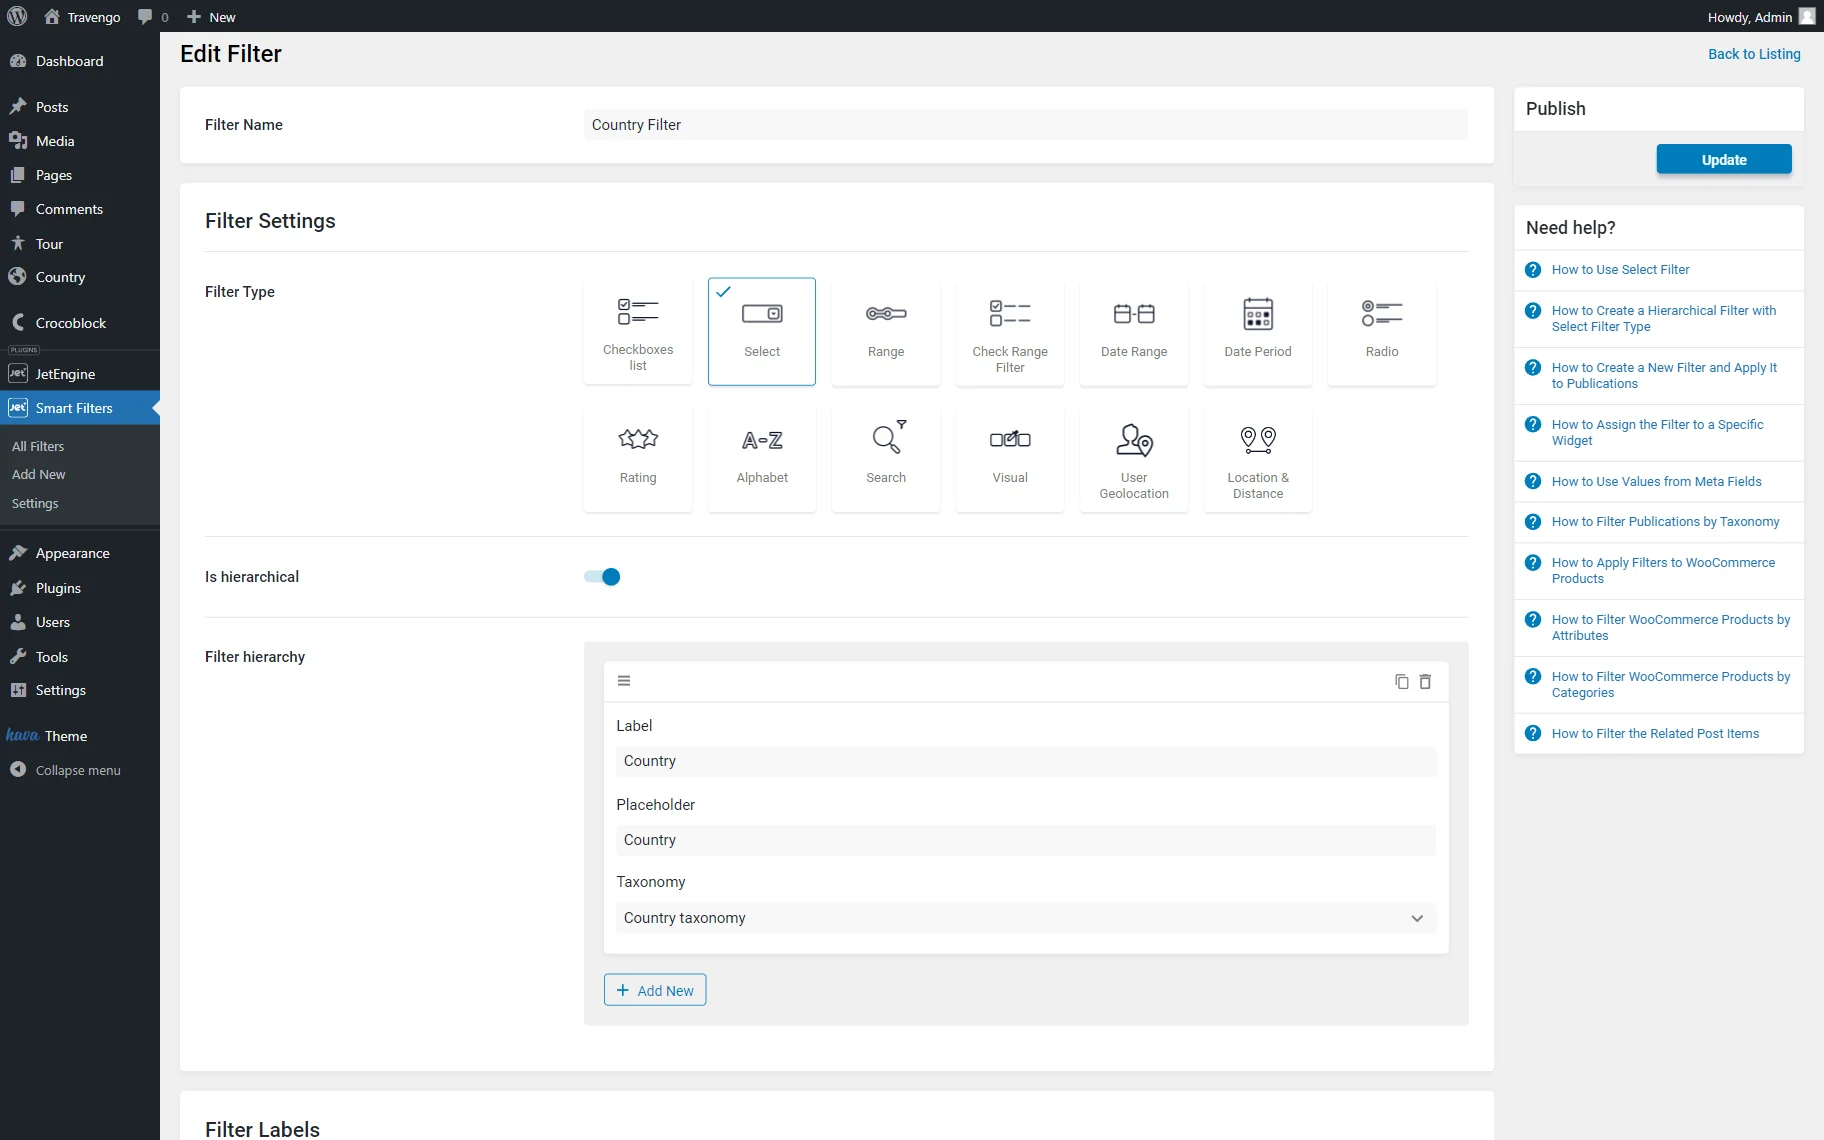
Add a Label and Placeholder, and select the Taxonomy you’ve created with the help of the JetEngine plugin.
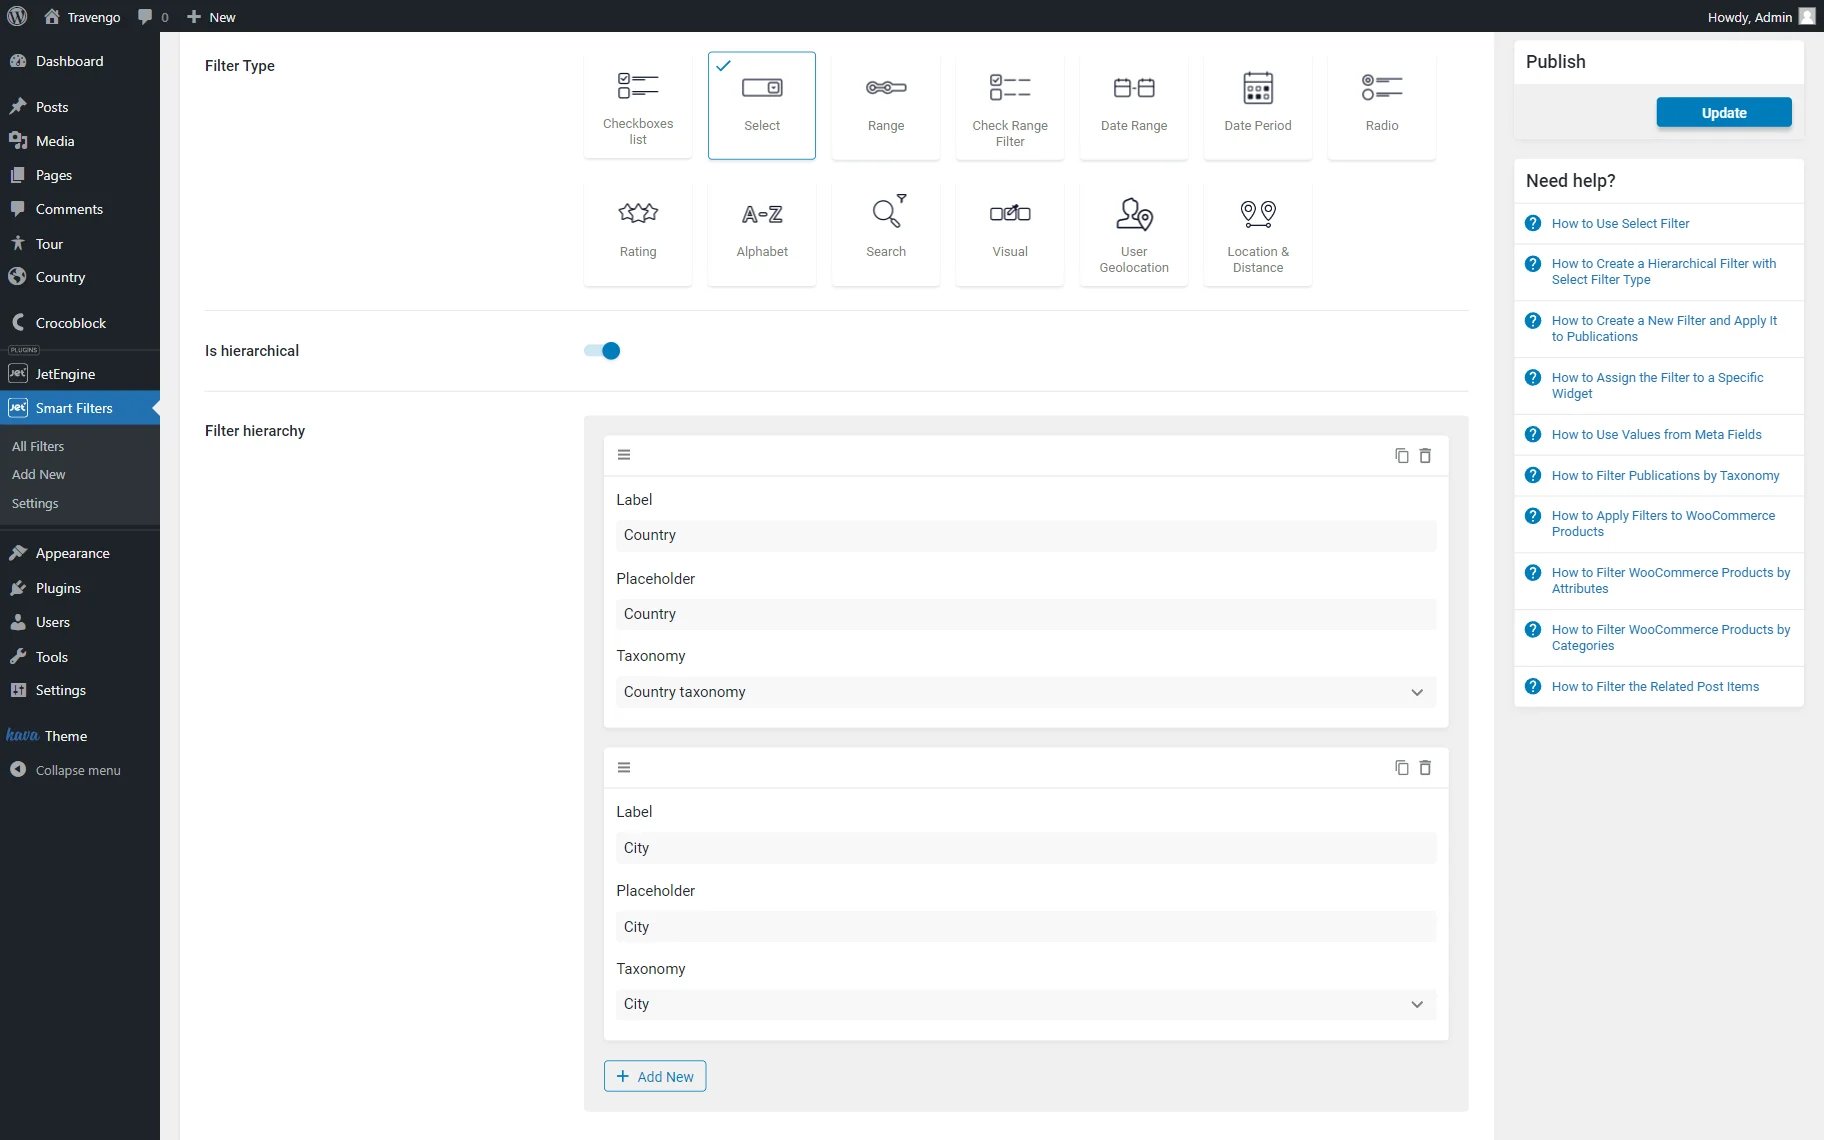
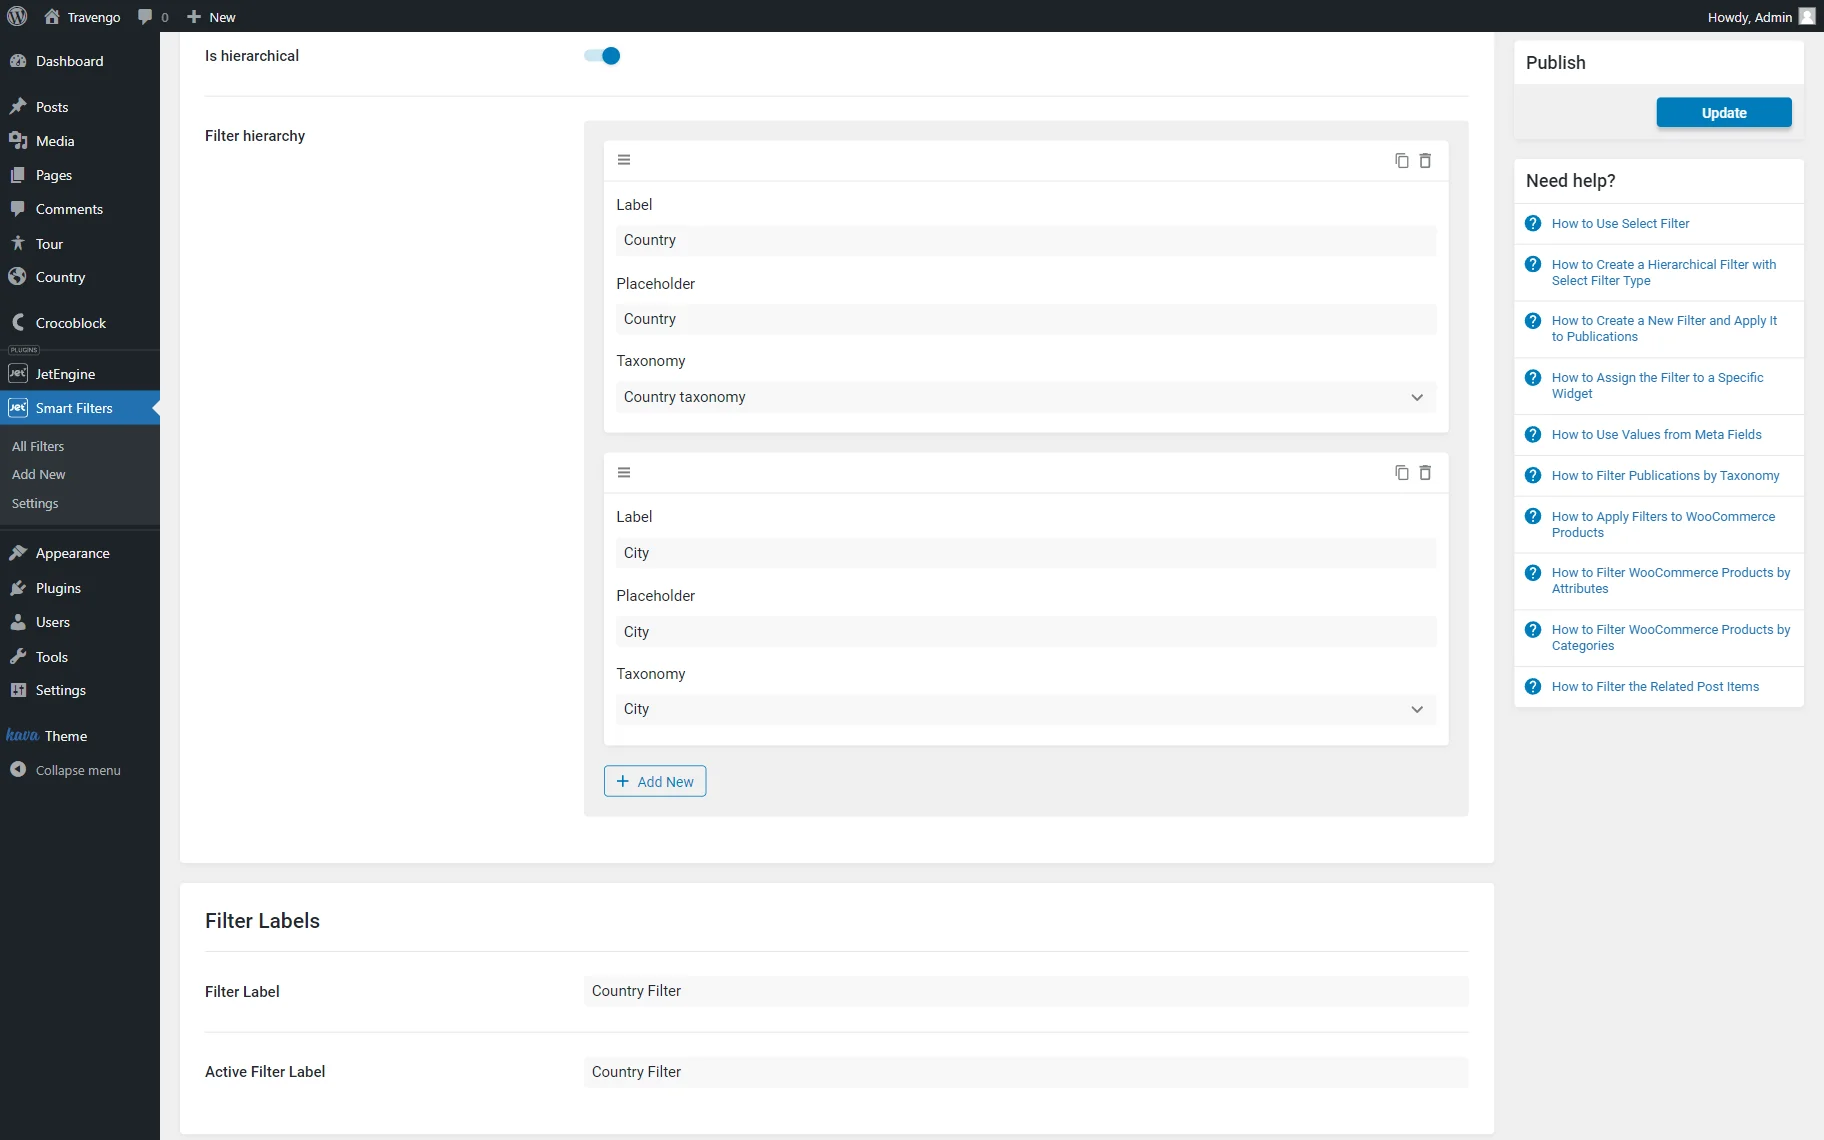
This way, we add two taxonomies to the Filter hierarchy list. However, feel free to attach as many taxonomies as needed.
Depending on the order you set, the taxonomies will be located in the filter, making the first taxonomy main, the second dependent on the first selected option, and so on.
Also, we set labels of the filter in the Filters Labels section and then push the “Update” button.
Place Hierarchical Filter on the Page
Now you need to open the page editor (either Gutenberg, Elementor, or Bricks) where you’ve displayed your posts with the Listing Grid block/widget/element and add the Select Filter block/widget/element to the needed section.
In the filter settings, choose the filter you’ve selected before and apply it to “JetEngine” with the This filter for drop-down list.
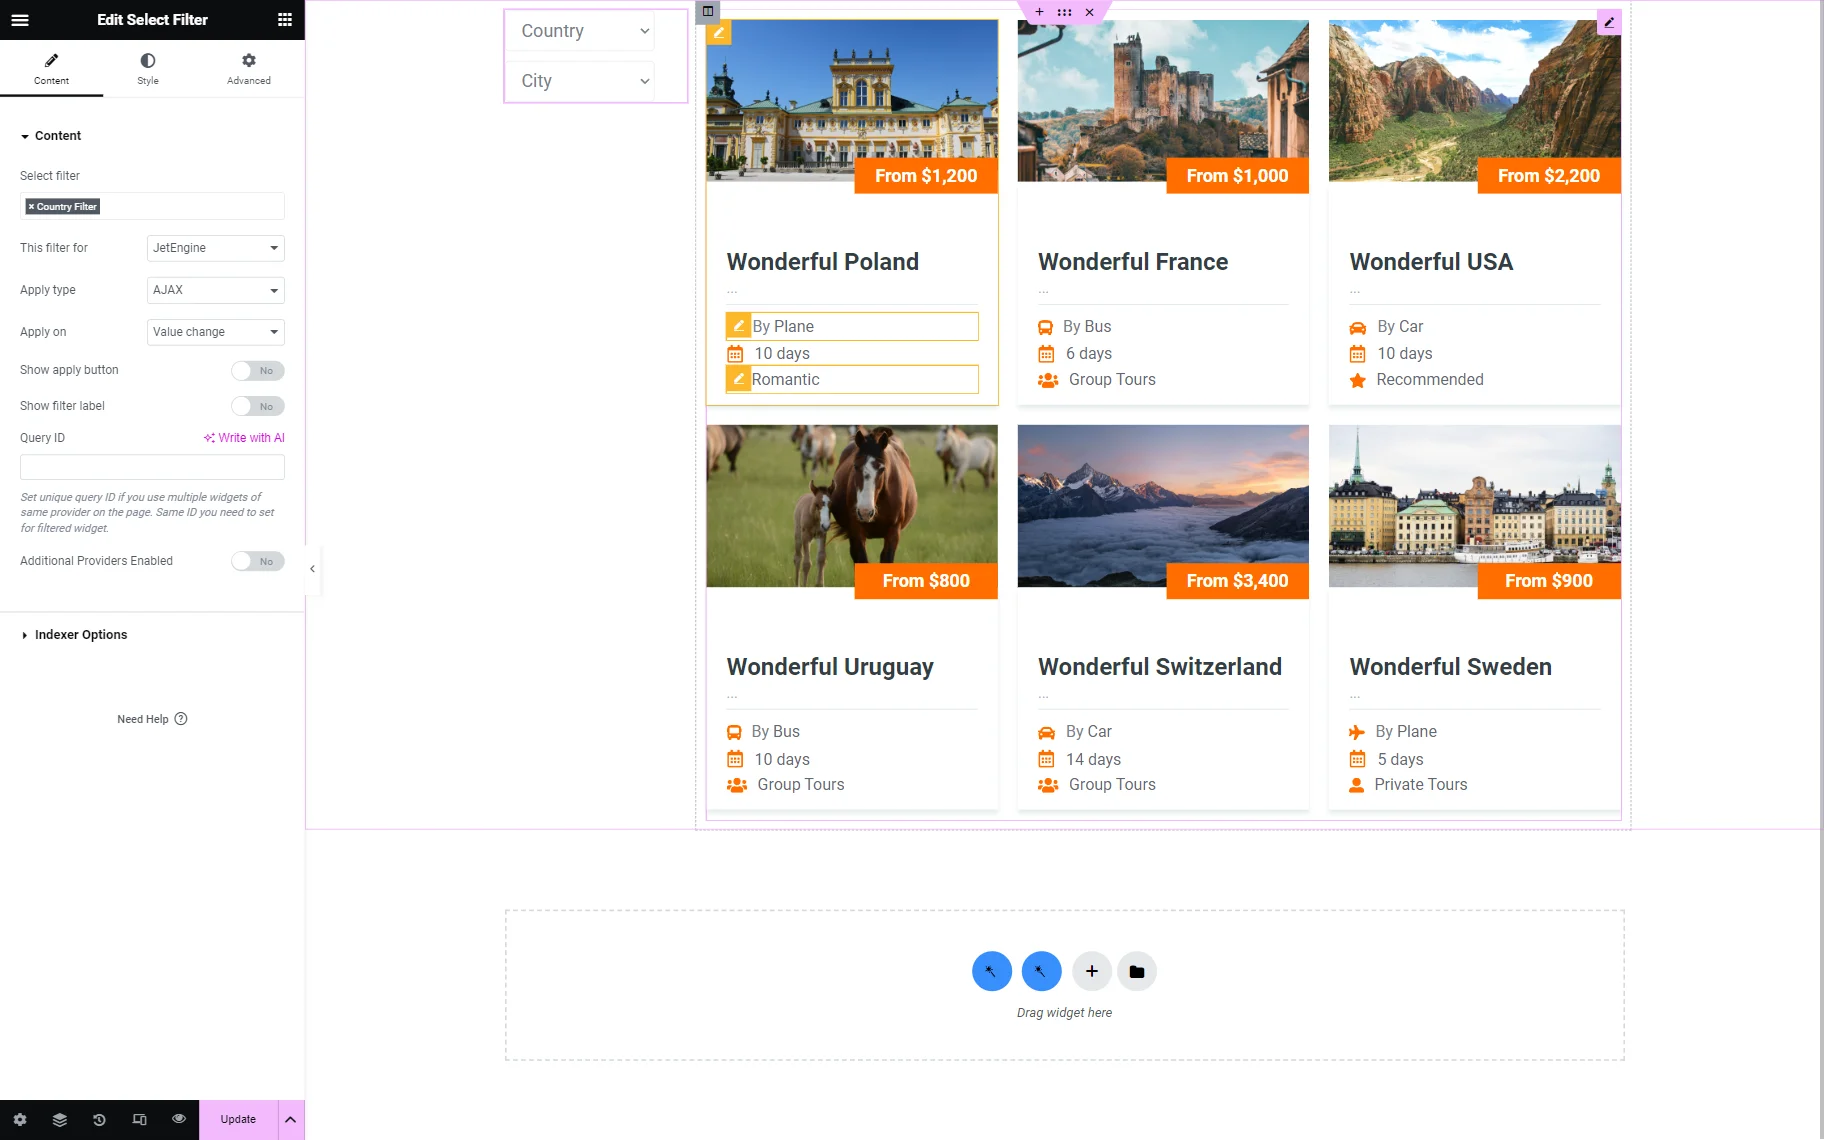
You can also enable the Indexer feature in the Indexer Options tab. You can learn more about the Indexer option from this tutorial.
Once the desired customizations are made, push the “Publish/Update” button to save the result.
Filter Posts with the Hierarchical Filter
When you’re done with all settings, you can save the changes and open the page to see how the filter works.
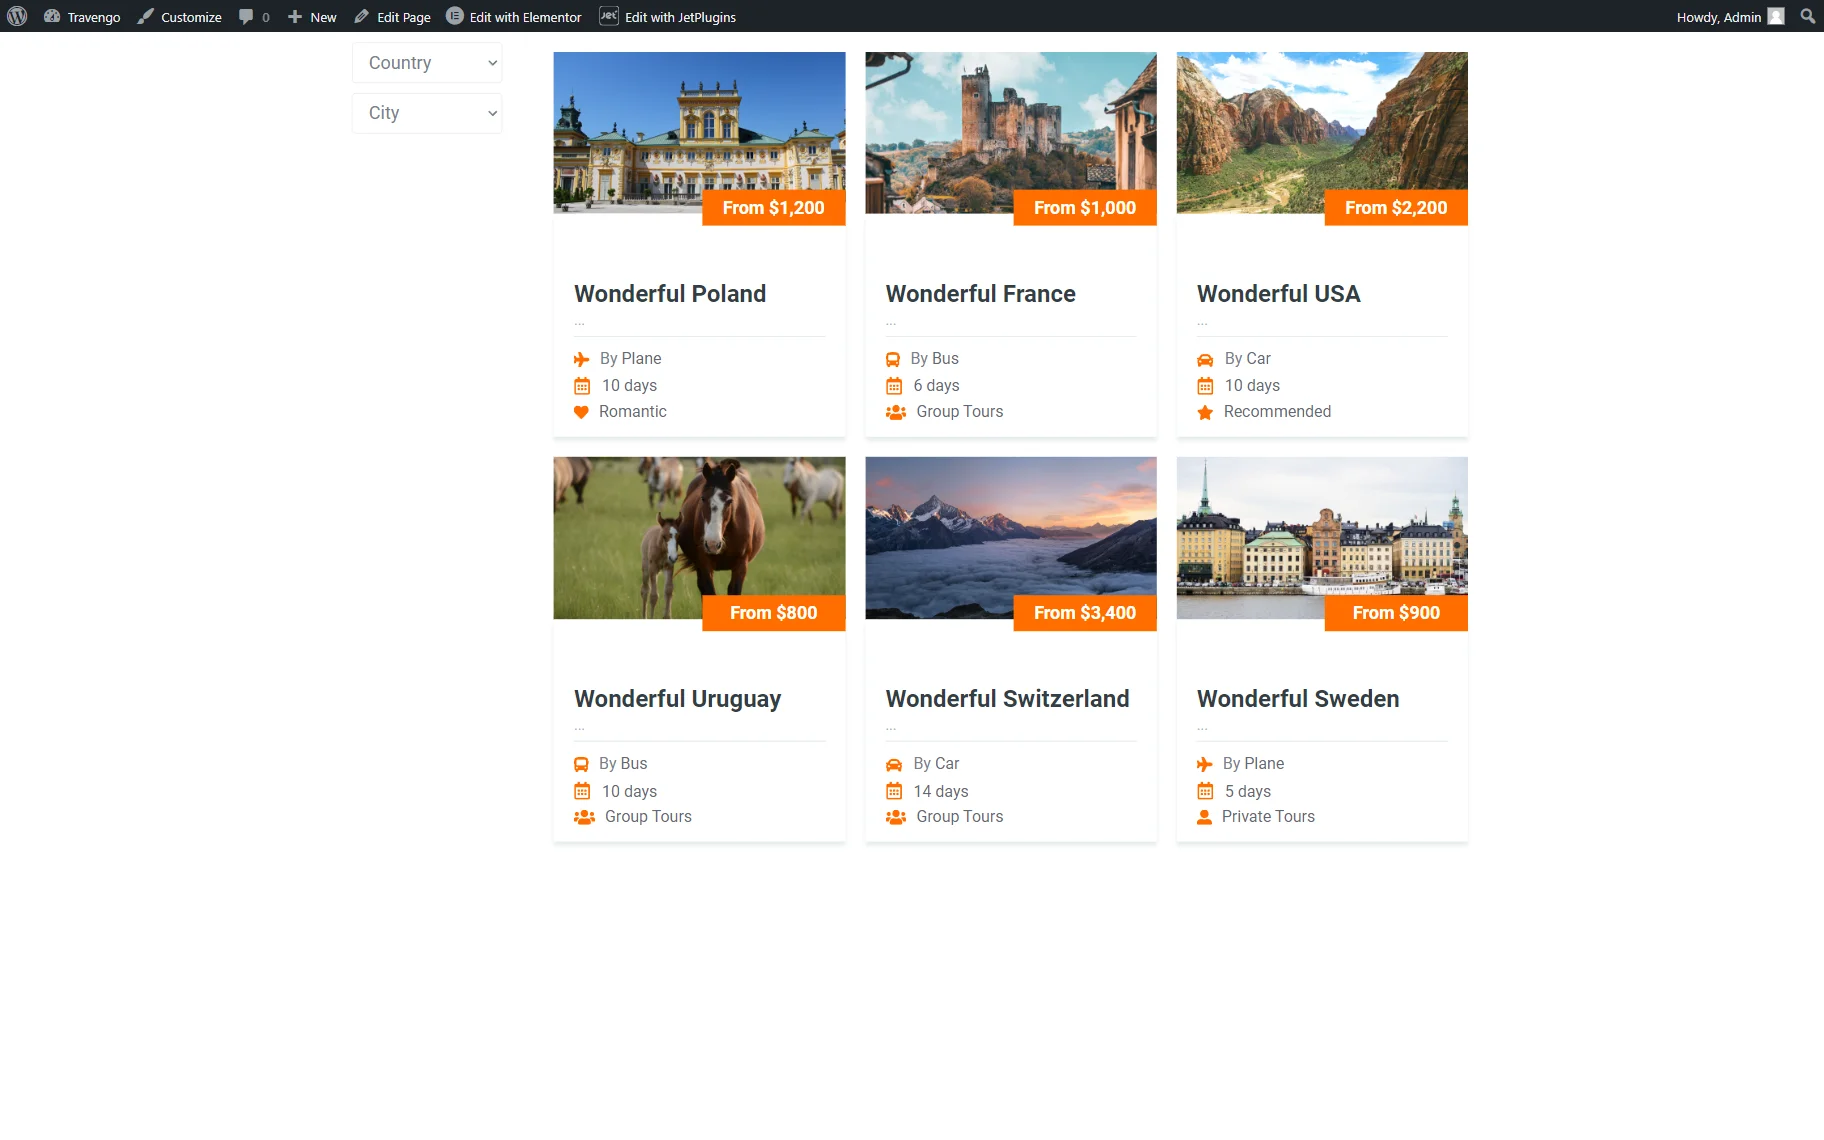
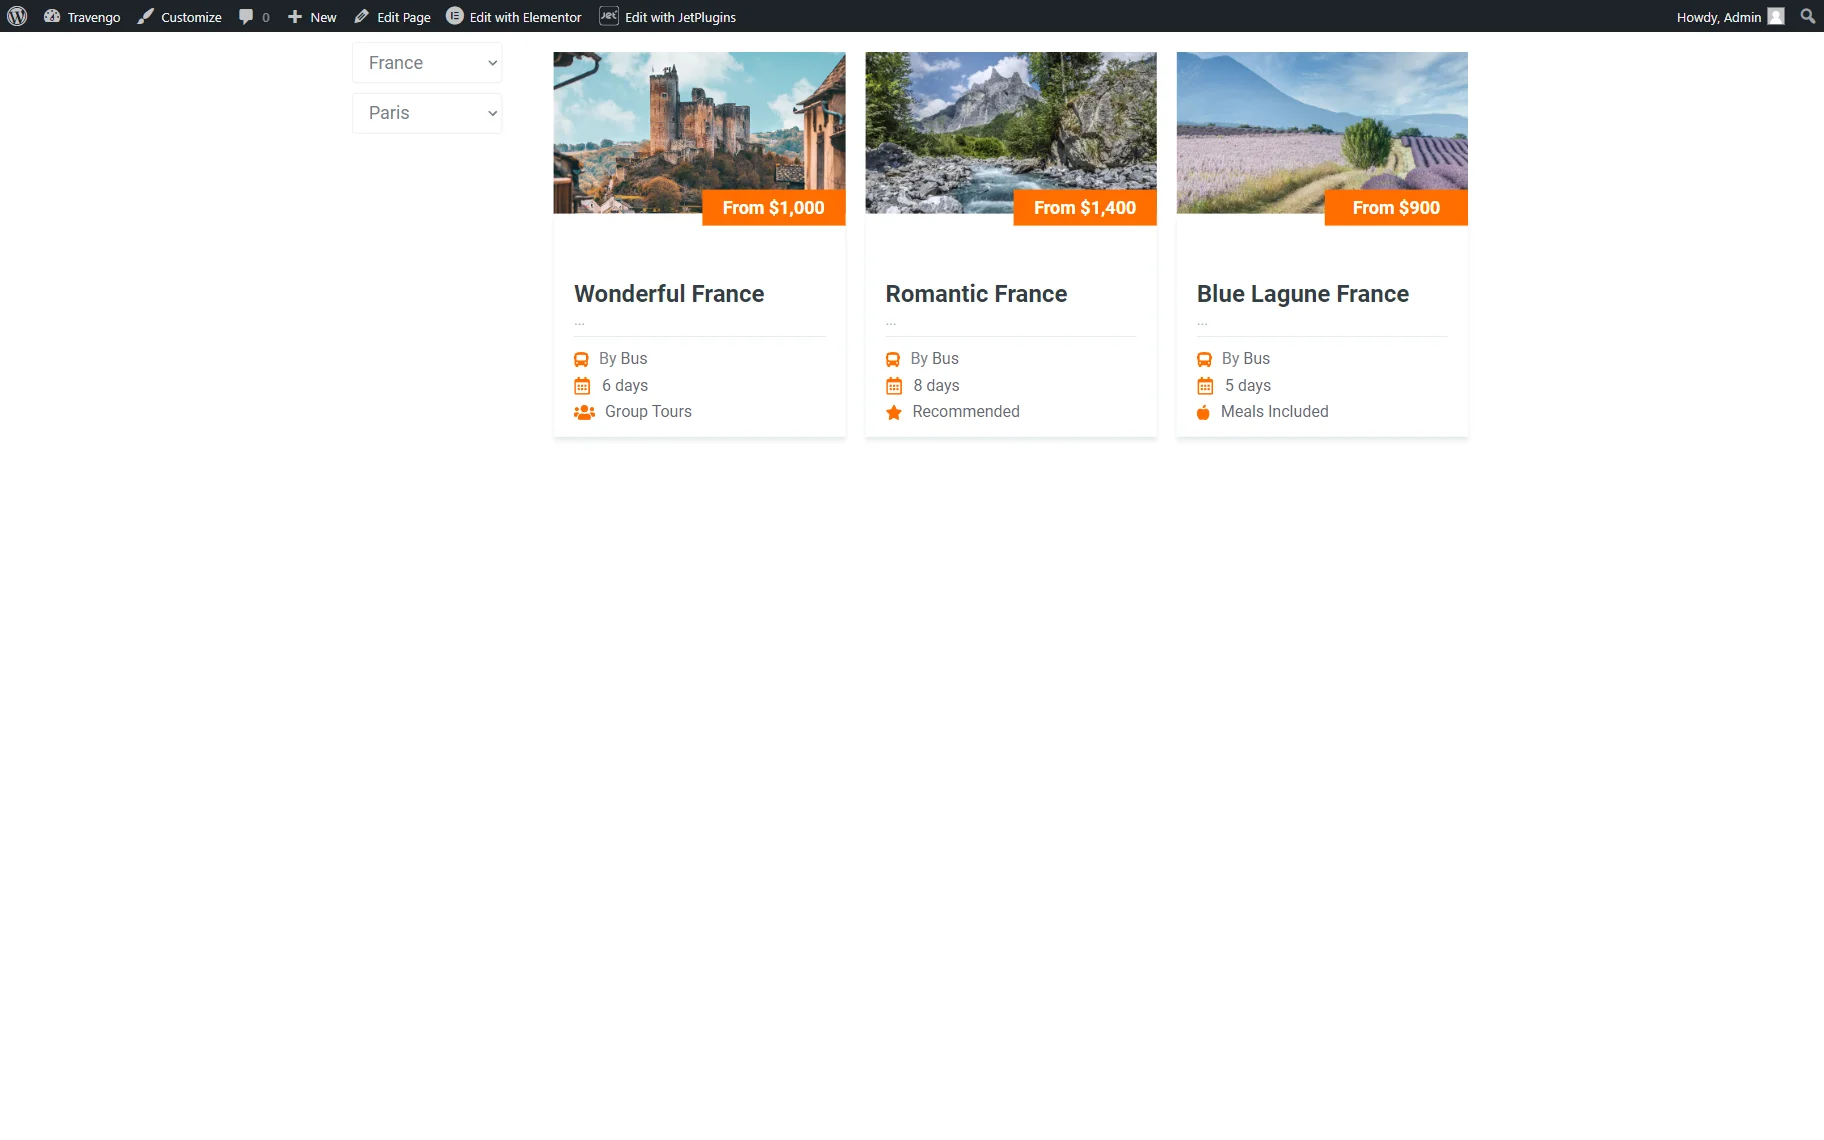
Pick the option in the first selector. Then, open the second selector to view only those options associated with the item selected in the first selector.
For instance, if we pick “France” as a country, the second selector of cities will contain only options defined as French cities. This is because all the posts with the French cities categories are assigned to the “France” category as well.
Now you know how to create a hierarchical filter to filter your custom posts created with the JetEngine plugin.