
How to Create a Filter with the Taxonomies Data Source
From this tutorial, you will learn how to create filters with Taxonomies Data Source using the Checkboxes list filter of the JetSmartFilters plugin.
All the widgets of the JetSmartFilters plugin give the users an opportunity to create filters based on different sources. You can choose those sources in the Settings tab of the JetReviews Dashboard. In this tutorial, we will create a Checkboxes filter with the Taxonomies Data Source and give you detailed explanations on its features.
Creating a Taxonomy
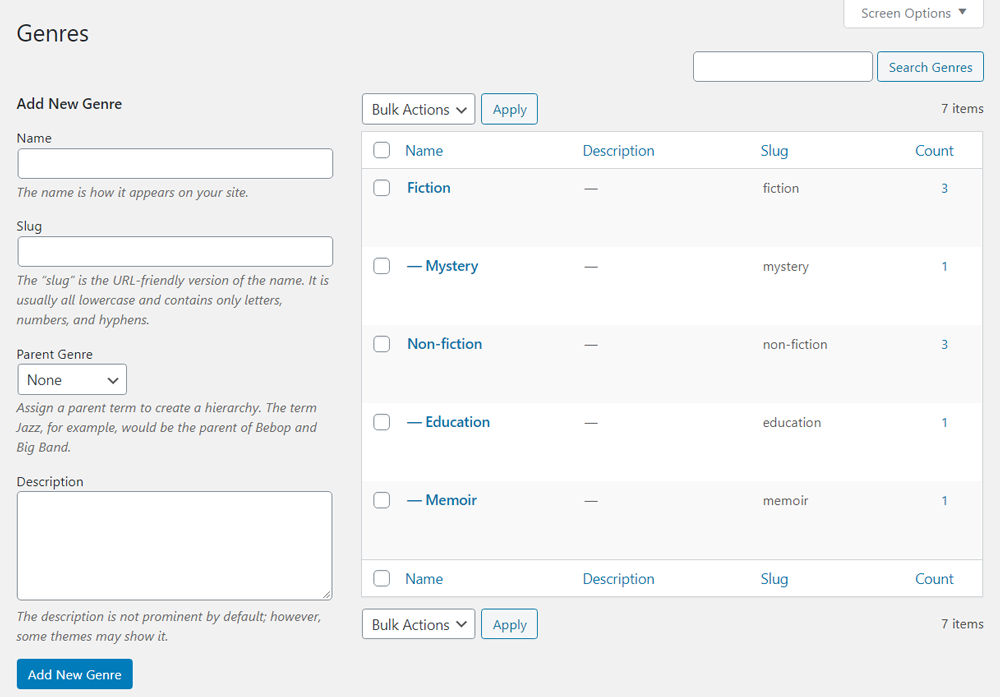
Before creating a filter, you should add a Custom Post Type with the help of the JetEngine plugin. If you need a hint, go through our CPT creation tutorial. Add a few posts of that custom post type. When the posts are ready – create a taxonomy with both parent and child categories and add them to your posts. To learn how taxonomies are created – check out this tutorial. In this example, we created the taxonomy for book genres.
Then, you should display custom terms in the Listing Grid you would like to filter. The details about how it could be done you will find in our Custom Term displaying tutorial.
How to Create Checkboxes Filter
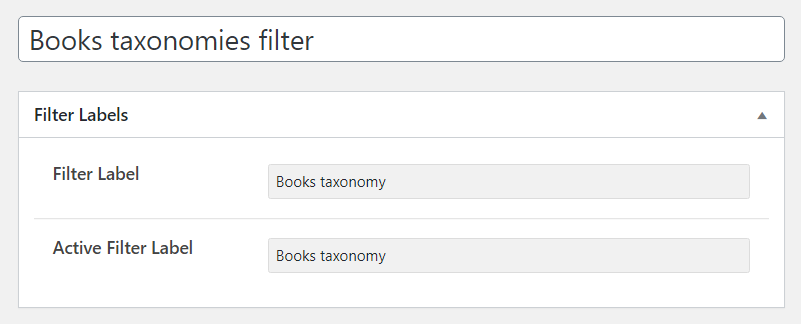
Proceed to the Smart Filters tab in the WP Dashboard. Click the “Add New” filter and choose the Title, Filter Label, and Active Filter Label.
In the Filter Type drop-down menu, choose the “Checkboxes list” option. In the Data Source dropdown menu, you should choose the “Taxonomies” variant.
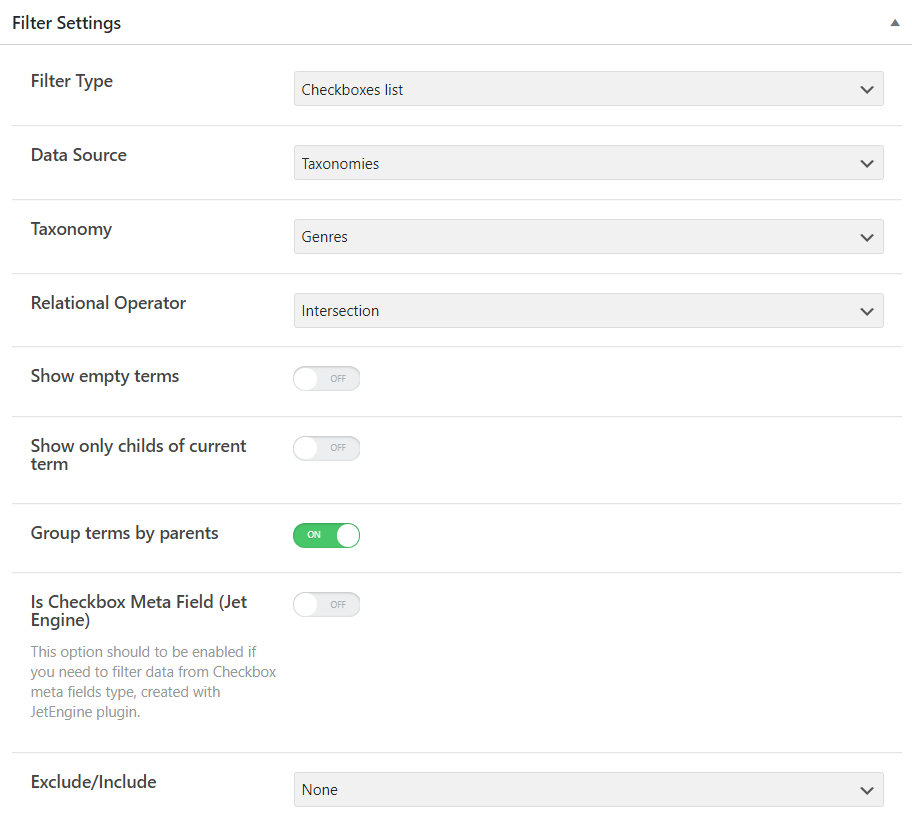
Let’s go through all the features.
- Taxonomy. In this drop-down menu, you have to choose the type of taxonomy that you have previously created;
- Relation Operator. This feature has two available options. When you choose the Union option – only the unique items will be displayed in the list. If there are similar items, they won’t be visible. For the Intersection option, the result is vice versa. Only similar items of taxonomies will be shown;
- Show empty terms. If you will turn this toggle on, the empty terms that have no items assigned to them will also be shown on the list;
- Show only childs of current term. This toggle, when enabled, will make the child terms be shown under the parent ones but without intents that would mark the hierarchy;
- Group terms by parents. If you want to save the hierarchical structure where child terms are assigned to parent ones, you should turn on this option;
- Is Checkbox Meta Field (Jet Engine). It was created especially for the data from the meta fields. Turn it on only if you would like to filter the data of the meta fields;
- Exclude/Include. Here you can choose to include or exclude some of the terms, so they will be or won’t be shown in the Checkboxes list.
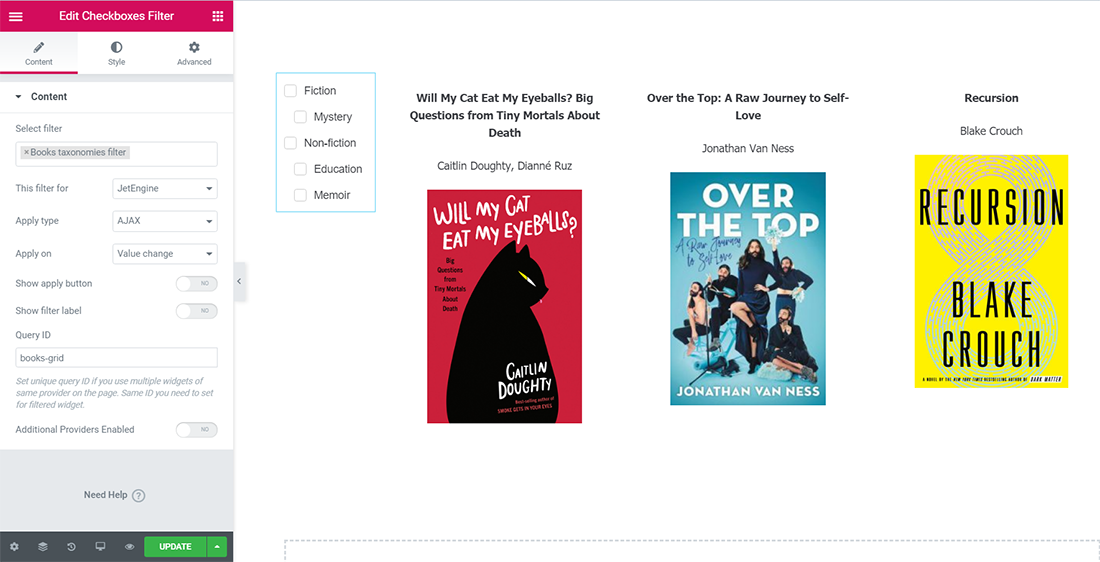
When you are done with the settings – proceed to the page you want to add the filter to and open it in Elementor page builder. Drag and drop the Checkboxes Filter widget to the page, open the Content settings tab, and choose the filter you created in the Select filter drop-down menu. If you need more details about placing the filter on the page – read this detailed guide.
Now you know how to filter items by taxonomy using the JetSmartFilters plugin functionalities.