
JetWooBuilder Dashboard Overview
From this tutorial, you will learn everything about JetWooBuilder settings, stored in the WooCommerce and JetPlugins dashboard menu tabs.
The JetWooBuilder plugin has lots of additional features that can be enabled or disabled in the settings menu. However, those settings are stored not only in the JetPlugins menu tab but also in the WooCommerce Settings submenu. This guide will lead you through all the features of the JetWooBuilder plugin and help you get along with the options it offers.
WooCommerce JetWooBuilder settings
To find this list of settings, open your WP dashboard and go to WooCommerce > Settings. In the appeared table, select the Jet Woo Builder tab. Let’s take a look at each block of the feature.
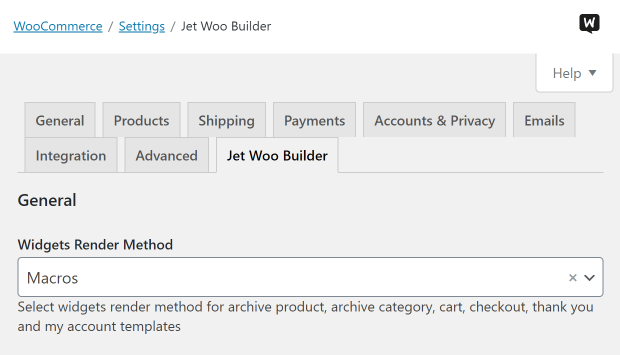
General
There’s only one feature here, the Widget’s Render Method drop-down menu. Here you can choose how the JetWooBuilder widgets will be rendered – by the Macros or the Elementor Default tools. The Macros option will guarantee that all Woo widgets work perfectly. The Elementor Default option will render the widgets with the tools of Elementor but will demand more resources for its work, which could result in lower page download speed.
Shop Page
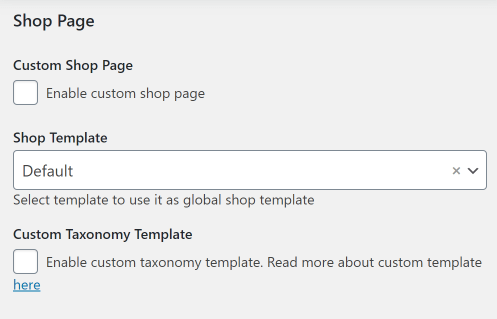
The title speaks for itself; this settings section allows you to define the features of a shop page. By ticking the Custom Shop Page checkbox, you enable the custom shop page template usage. In the Shop Template drop-down list, you can select the template for the shop that you created. Besides that, you can also enable the Custom Taxonomy Template usage by ticking the corresponding checkbox.
Archive Product
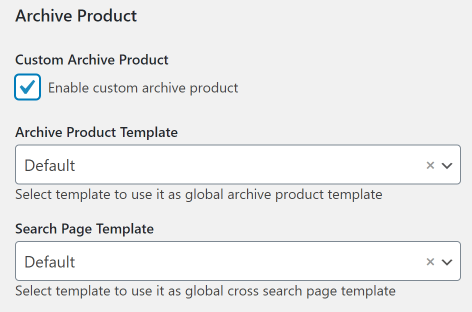
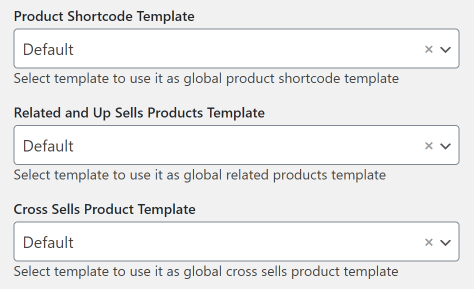
In this block, you can enable the Custom Archive Product usage. It is especially necessary if you are going to add the layout switcher to your shop or products gallery page. In the drop-down menus, you will also be able to choose templates for Archive Product, Search Page, Product Shortcut, Related, Up Sells, and Cross Sells products.
Archive Category
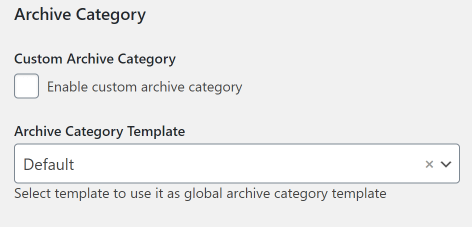
If you have created some separate archive category and template for its page, here you can enable that template usage and assign it in the Archive Category Template drop-down list.
Cart
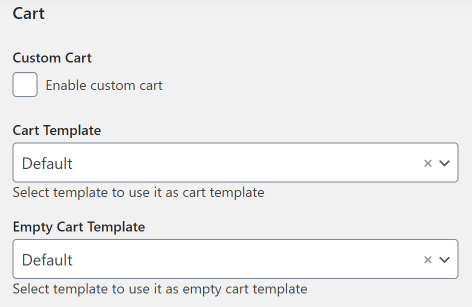
By ticking the Custom Cart checkbox, you enable the usage of cart templates that you create with the help of the JetWooBuilder plugin. You can choose the Cart Template drop-down menu, as well as a template of a page when the cart is empty.
Checkout
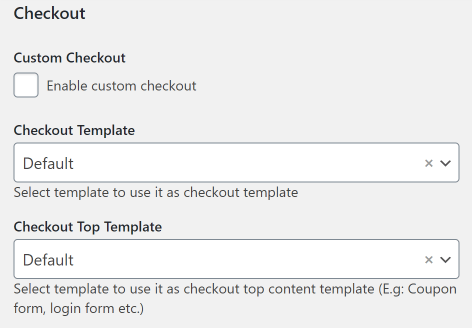
After you enable the Custom Checkout checkbox, you can choose a template to be used for the checkout. In fact, the checkout page is a page that consists of one big form. All the checkout widgets except the Checkout Coupon Form and Checkout Login Form are the parts of that one big checkout page form. That’s why the coupon form and login form widgets, as well as all the other form widgets, won’t work on it – you can’t place a form to a form. Additionally, that is why there is an option to add a Top Checkout template that will be shown above the main checkout form. You can put any widgets you want to the Top Checkout page template.
Thank You Page
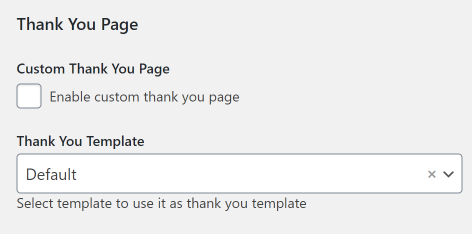
The users see this page after they finished filling the checkout form and pressed a submit button. If you want to create a custom page for that, you can enable and assign it in this menu section.
My Account Page
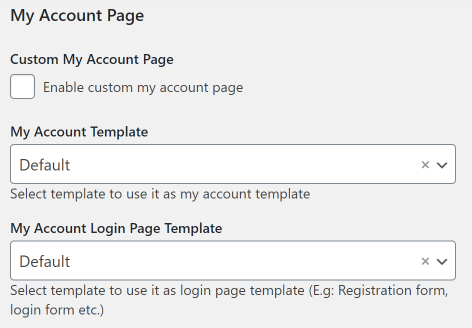
The same situation here; you can enable the custom account page template usage and choose templates for the account page and account login page.
Other Options
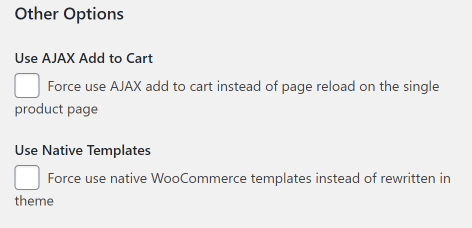
When you enable Use AJAX Add to Cart checkbox option, the products will be added to the cart without page reloading. If you tick the Use Native Templates checkbox, the Woo products will be shown in the native Woo templates instead of the ones created for the website theme. The last three fields allow you to define how many of the related, upsells, and cross-sells products will be shown in the specialized fields on the page.

JetPlugins JetWooBuilder Settings
To access these settings, you have to open the JetPlugins > JetWooBuilder Settings submenu. There are three tabs here, let’s go through each of them.
Available Widgets
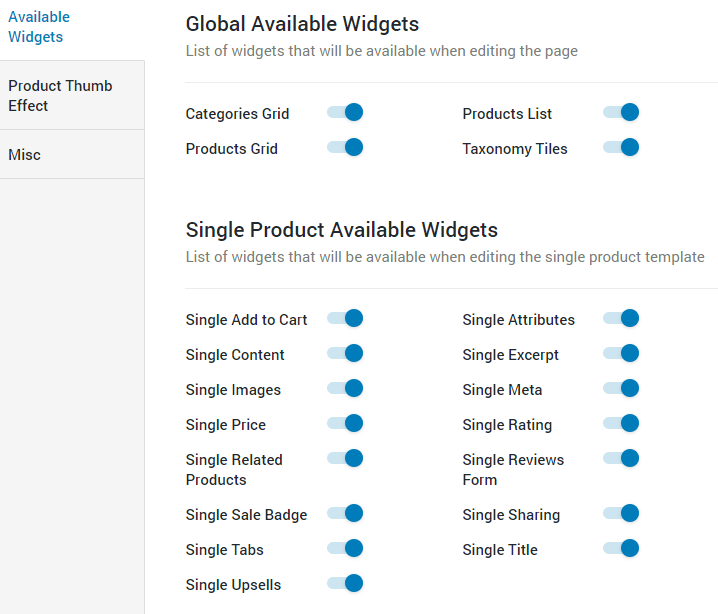
The title speaks for itself; this tab allows you to enable or disable widgets offered by the JetWooBuilder plugin. All the widget toggles are sorted into blocks and turned on by default. The extensions of every block will be visible only in the appropriate part builder. For example, the widgets from the Cart Available block will be visible only when you create a cart template. The only exception is the widgets of the Global Available Widgets block – they will be visible in every JetWooBuilder Elementor submenu. If you think that you won’t need some of the widgets, you can easily turn them off. The changes will be saved automatically.
Product Thumb Effect
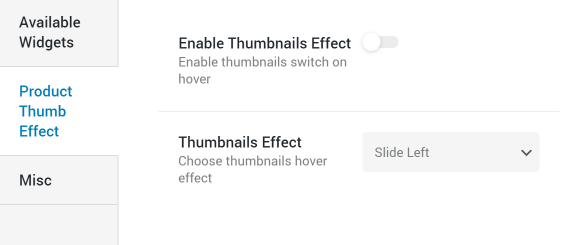
On this tab, you will find the features for customizing the thumbnail effect. When the user hovers over the product picture, it changes to another image of the same product. To add it, turn on the Enable Thumbnails Effect toggle and choose the animation type in the Thumbnails Effect drop-down menu.
Misc
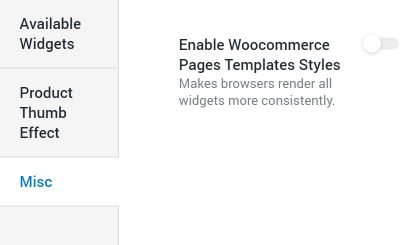
The only toggle in this tab enables the template styles of WooCommerce pages. This means that the widgets will be rendered more consistently, which – once again – can somehow decrease the page download speed, so use it wisely.
JetPlugins Jet Woo Templates
Actually, this is not a settings tab but a table where the created templates are stored. To open it, go to JetPlugins > Jet Woo Templates. The Type column in this table matches the type of the created template that could be one of 8: Single, Archive, Category, Shop, Cart, Checkout, Thank You, or My Account. The Active Condition column shows if it is assigned to the products or not.
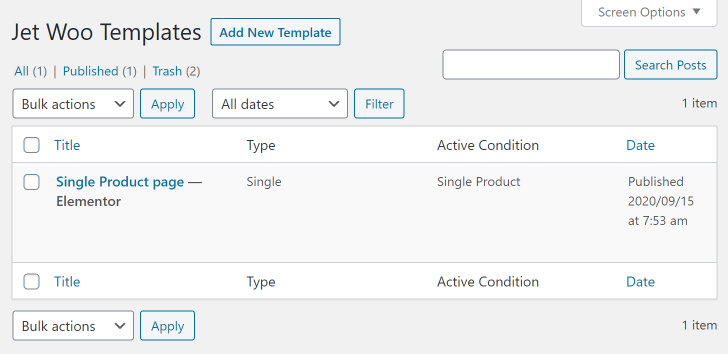
Here in this tab you can create new page templates, edit and delete the created ones.
That is all about the settings of the JetWooBuilder plugin. You now know where to find and how to use them. Enjoy the functionalities and create a really efficient website!