
Taxonomy Tiles Widget Overview
This tutorial uncovers the way of displaying WooCommerce categories in a tiles layout with the help of the Taxonomy Tiles widget.
With the Taxonomy Tiles widget from the JetWooBuilder plugin, you can display WooCommerce product categories and tags in the form of tiles and customize them according to your vision. This tutorial will help you create a Taxonomy Tiles layout for your shop easily.
Add Tags
Open your WordPress Dashboard and navigate to the Products > Tags. Here you’ll see existing tags (if you have some) with Name, Description, Slug, and Count.
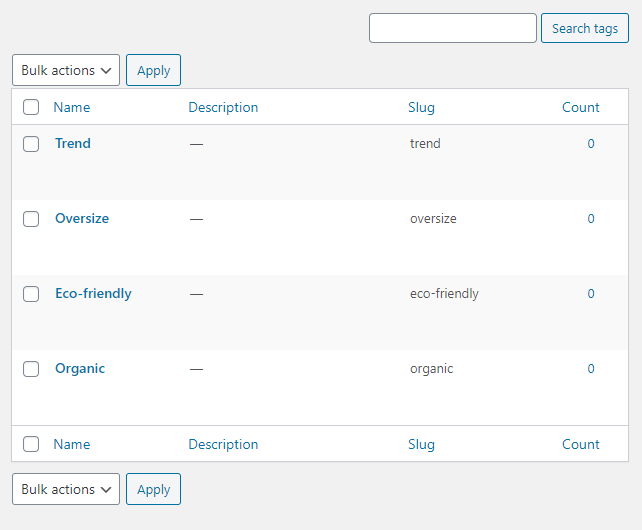
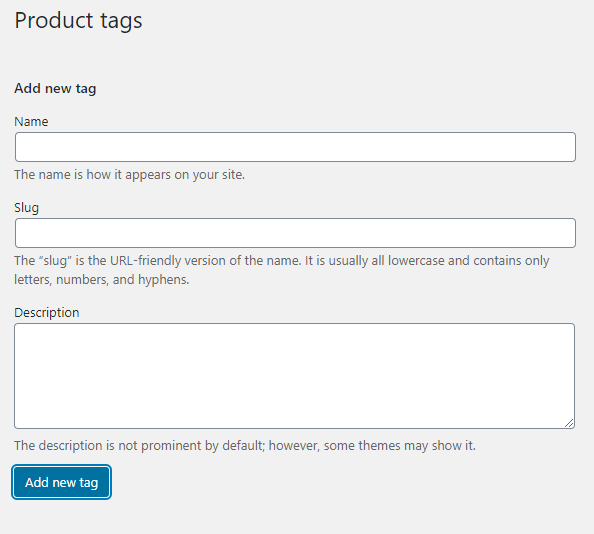
Also, you can Add a new tag here.
Add as many tags as you need for the store and let’s move to the next step.
Add Taxonomy Tiles Widget
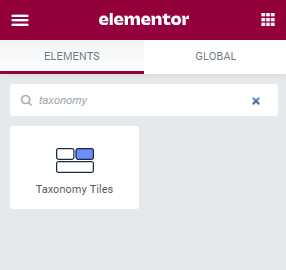
Open the page to which you want to add the Taxonomy Tiles widget in the Elementor page builder and drag the widget to the needed section.
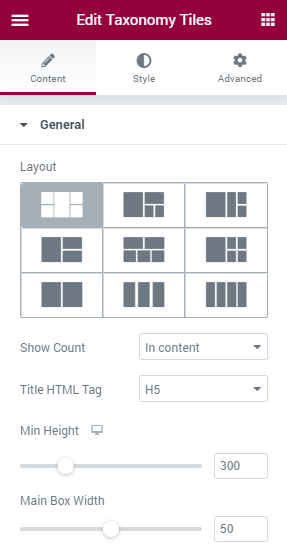
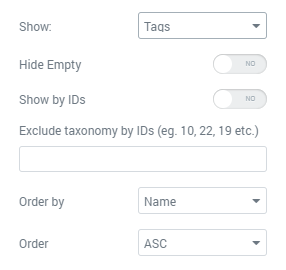
Also, there’s an option to choose whether you want to Show Tags or Categories. You’re able to Hide Empty tags, Show products by IDs, Exclude taxonomy from the tiles grid, and choose how to order the tiles.
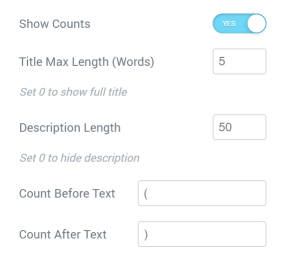
The next thing you can do here is to Show Counts, choose the Title Max Length (Words), Description Length, and what to put before and after the text.
When you are done with the Content settings – navigate to the Style tab and change the appearance of the Taxonomy Tiles according to your preferences.
The last thing you need to do is to click on the “Publish” button and preview the result.
These easy steps are all you have to do to showcase your products with the Taxonomy Tiles widget.