
How to Display Relations Custom Fields in Elementor
This tutorial describes how to create meta fields, set metadata for the relations, and display metadata with the WordPress JetEngine Dynamic widgets and Dynamic tags.
The JetEngine’s relations feature allows you to connect, create, and edit related items just on the editing page of posts, CCT items, users, and taxonomies.
Also, you can add meta fields to the relations and set the metadata for every relation.
Dynamic Widgets

Creating a relation
We have created the “Movies” and “Actors” Post Types and set the relation between them.
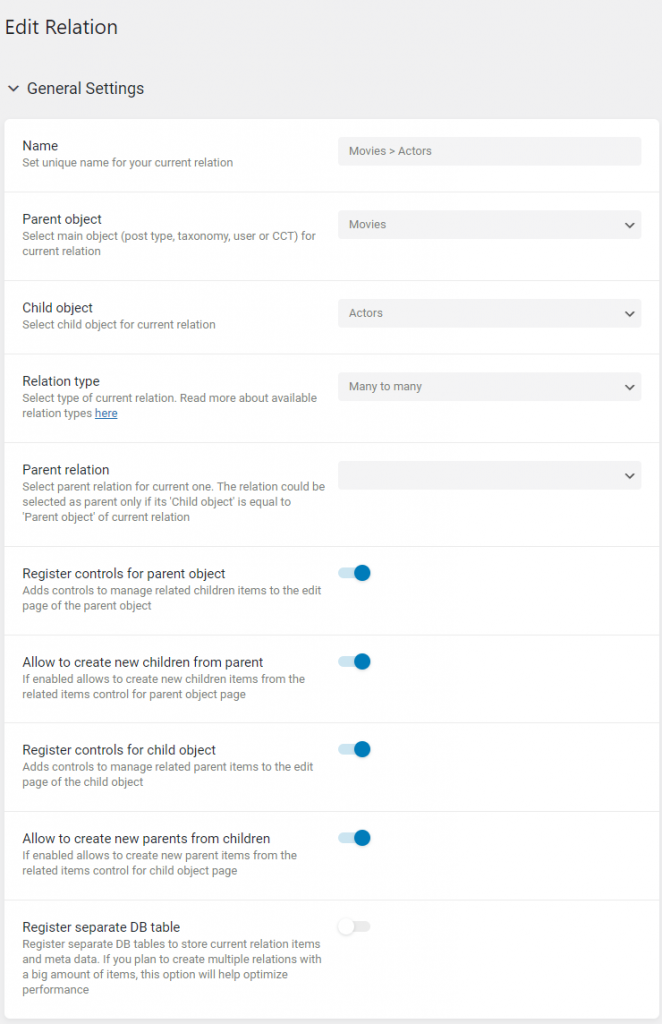
In our case, we have chosen the “Many to many” Relation Type as we want to connect any actor with several movies where they’ve played and any movie with the cast.
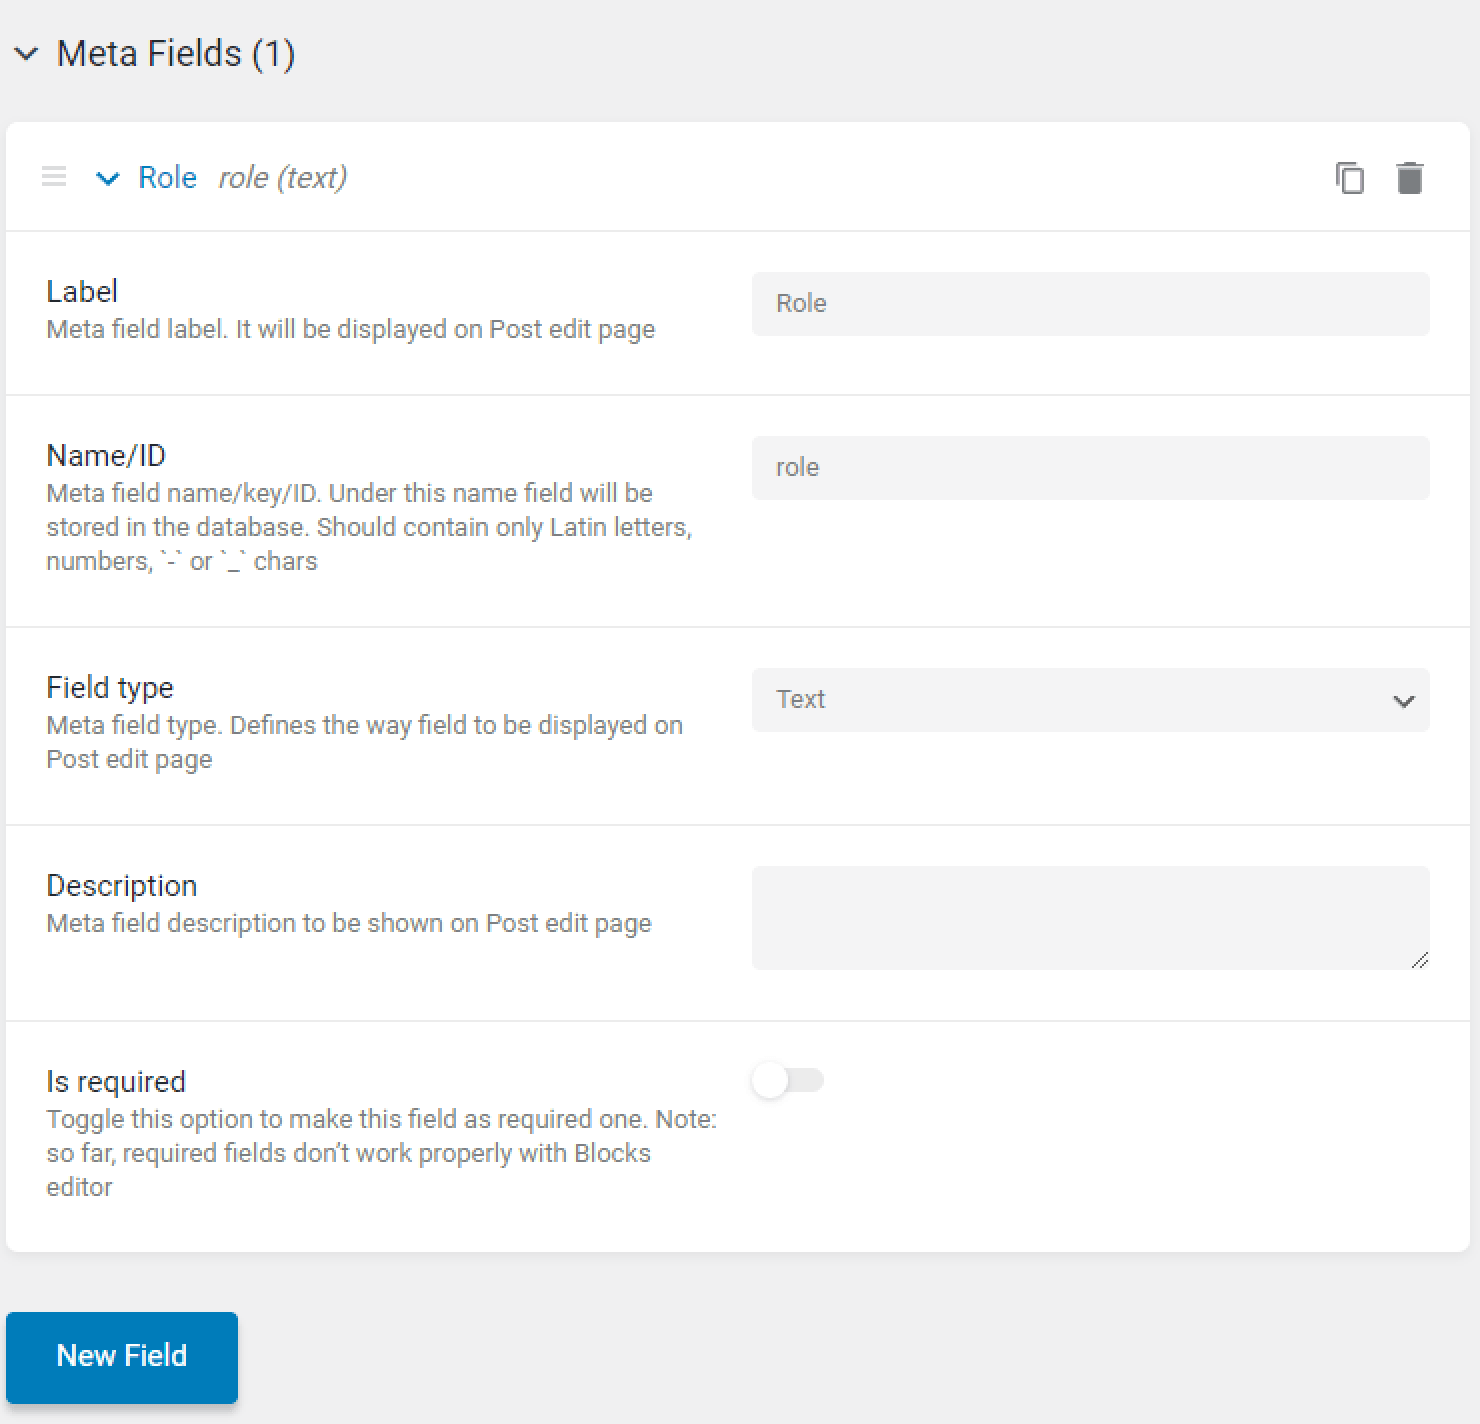
Adding a meta field to the relation
Then, we have added a meta field for the actor’s role that will contain the same information for the “Actors” and “Movies” Post Types, so it’s convenient to create it once in relation than adding two separate fields to each CPT.
Connecting the related items and adding the metadata
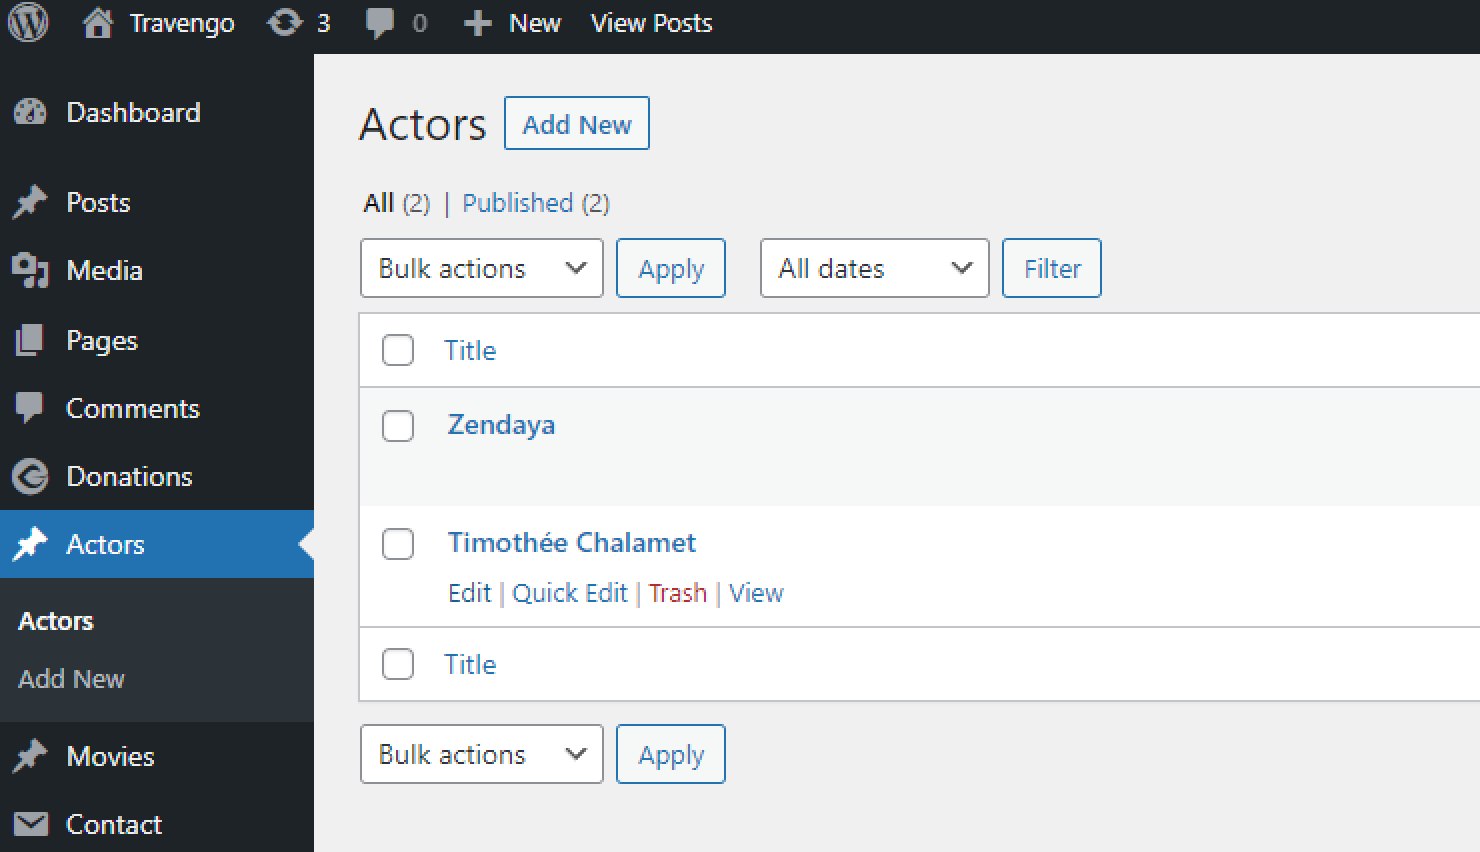
After hitting the “Update” button, we’ve proceeded to the “Actors” tab on the WordPress Dashboard and pressed to edit one of the posts.
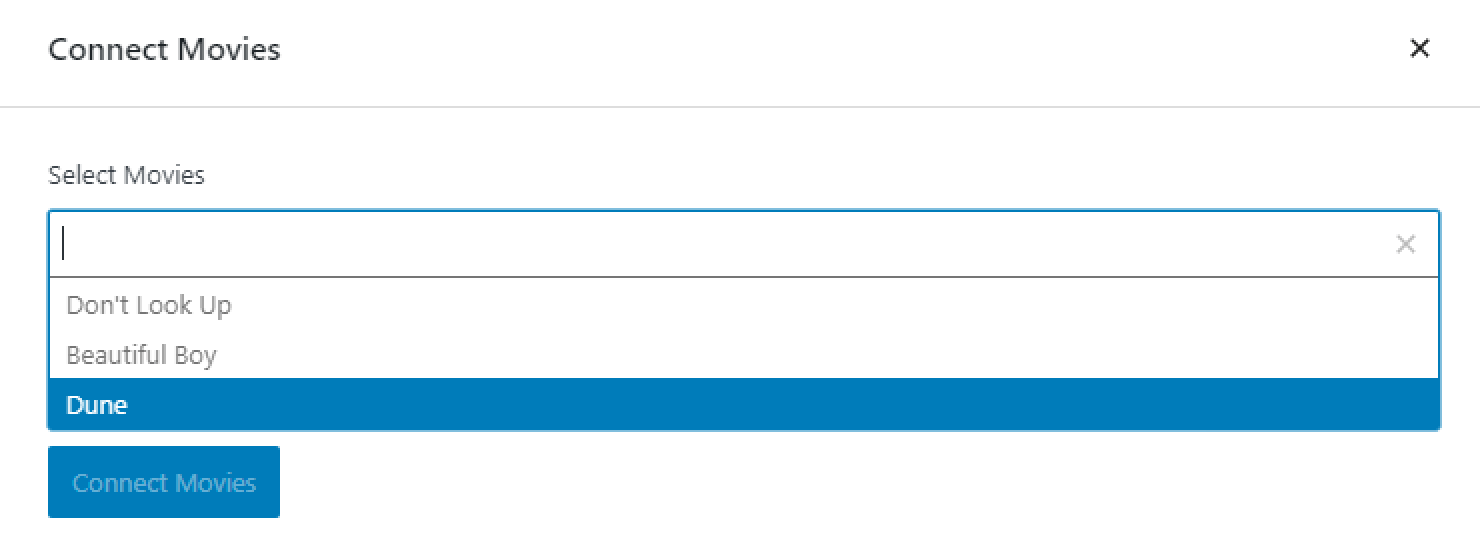
We’ve moved to the end of the post-editing page and ticked the “Connect Movies” button to set the relationship between the actor and the movies where he’s performed.
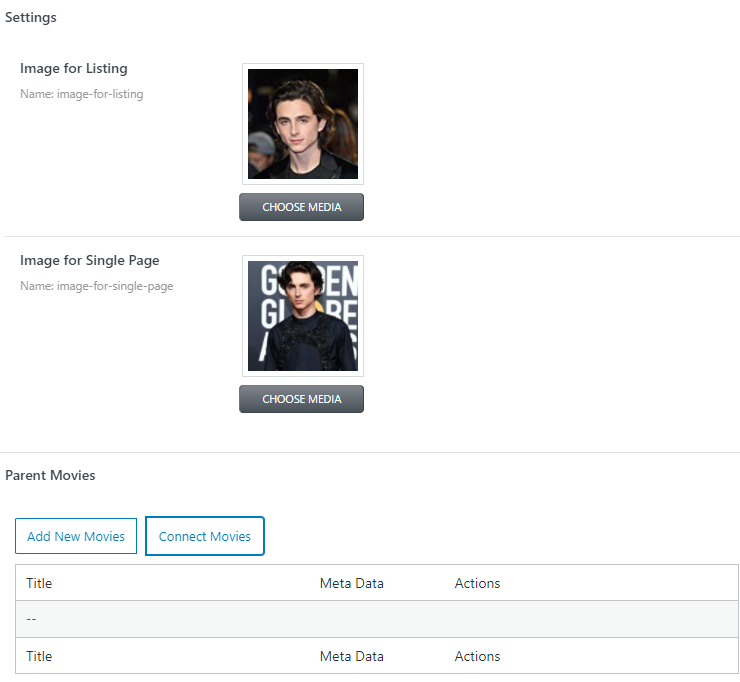
We’ve chosen the needed movie in the drop-down menu and clicked on the “Connect Movies” button to save the result.
In the following pop-up, it’s possible to fill the meta fields. We’ve entered the actor’s role, hit the “Save Meta Data” button, and updated the post.

Then, we’ve connected other movies to this actor and repeated the same procedure for other actors’ CPTs.
Creating a Custom Query
If we need to display only the related items in the Listing Grid on the Single Page, it’s required to set the query. If you want to display all posts with the Listing Grid widget, related and non-related together, miss the query creation step.
We’ve navigated to JetEngine > Query Builder on the WordPress Dashboard and clicked on the “Add New” button.
We need to create two queries for each post type, so let’s begin with the “Movies” Post Type query.
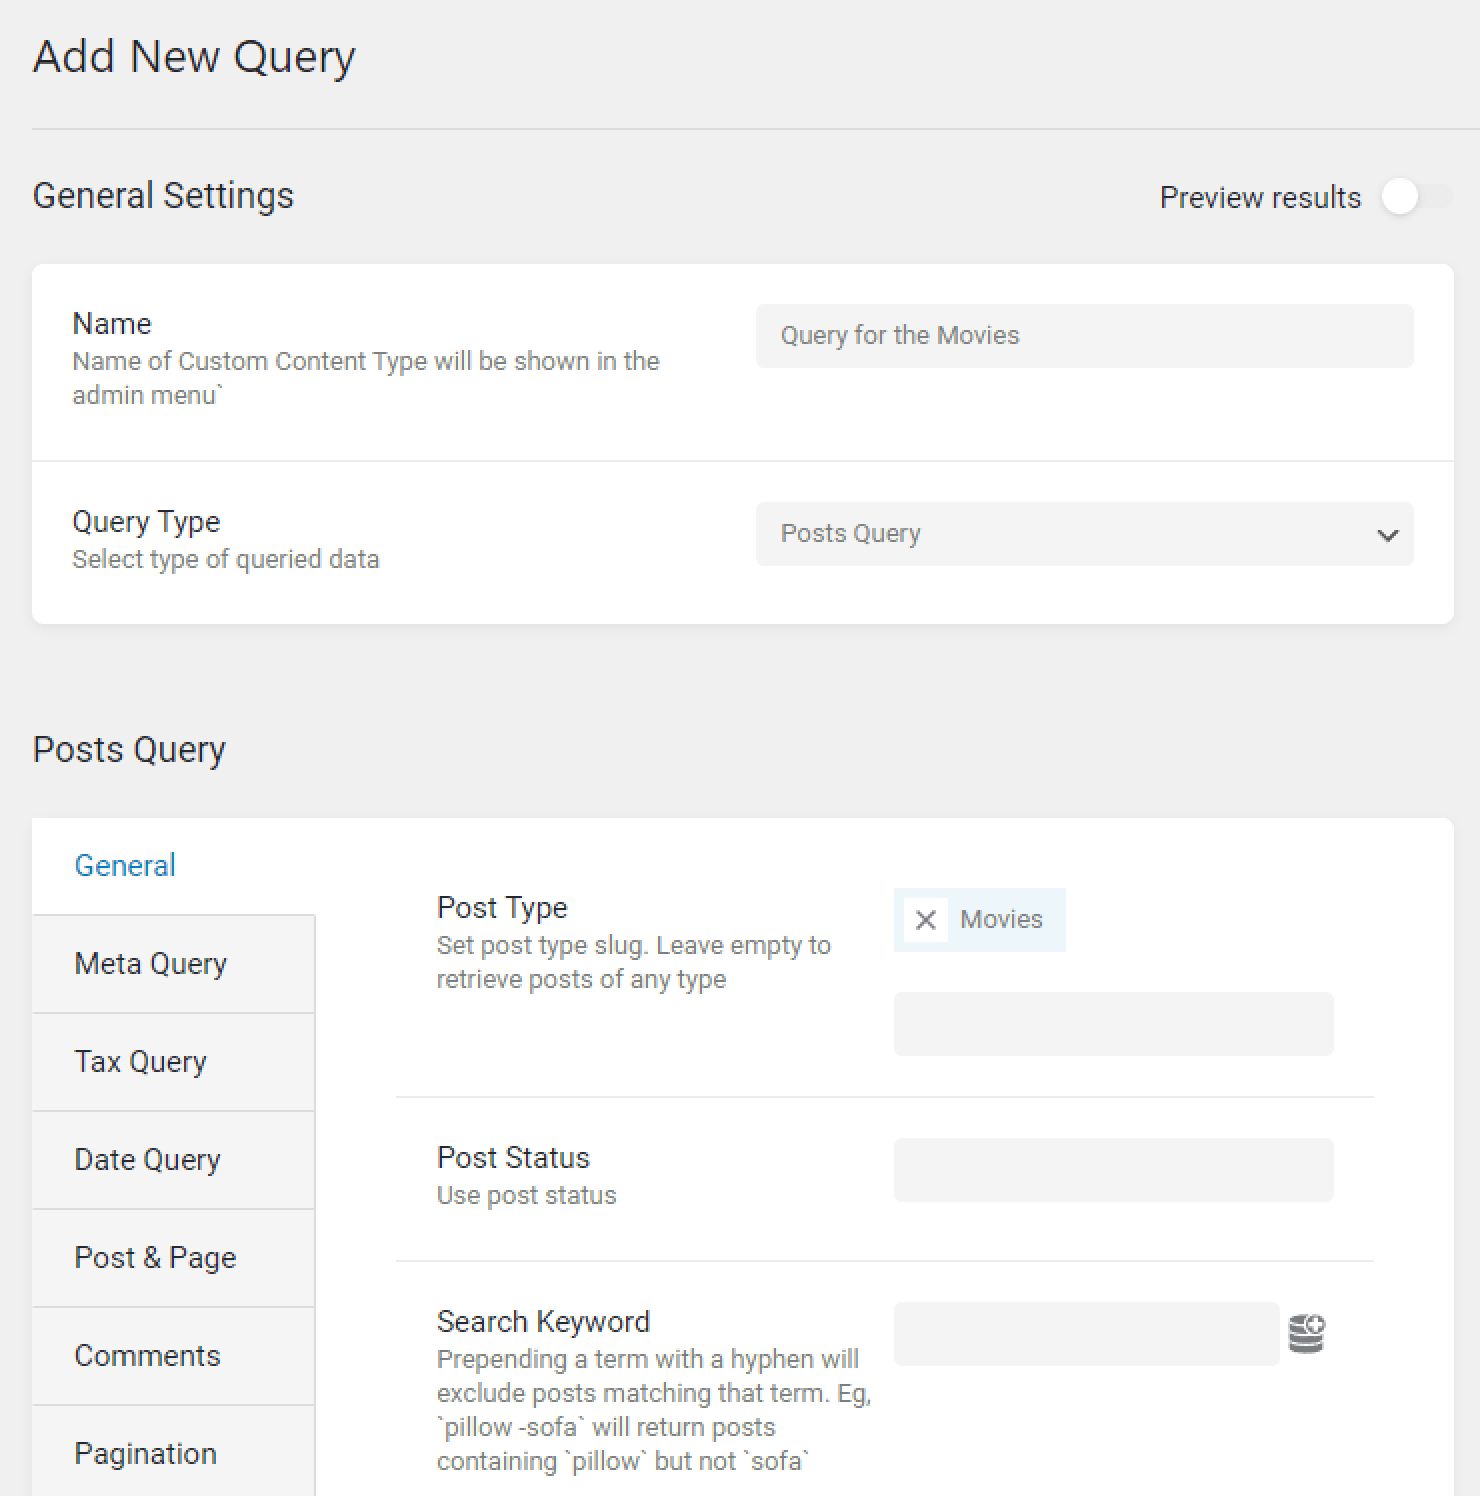
We’ve named the query and selected the “Post Query” Query Type in the General Settings. In the Post Query General tab, we’ve picked the “Movies” Post Type.
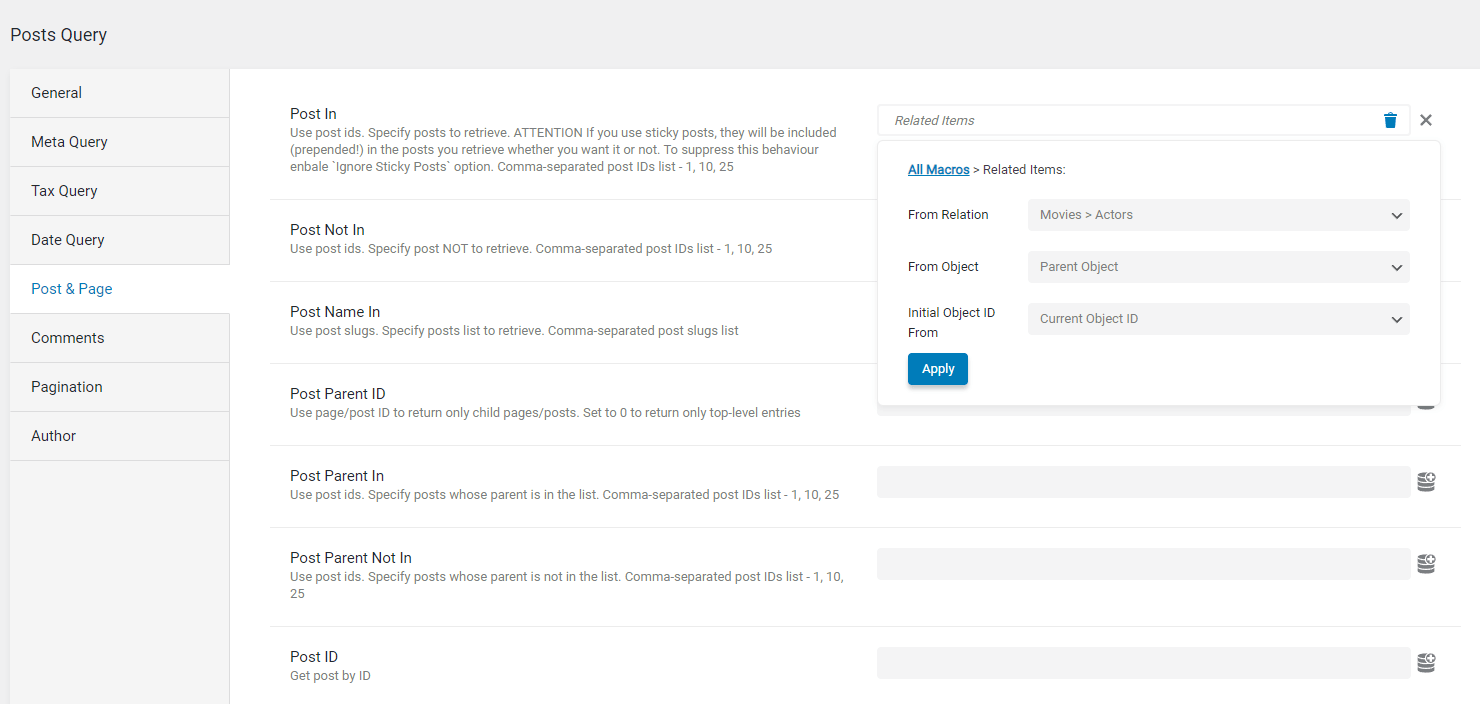
We’ve opened the Post & Page tab, clicked on the macros icon near the Post In field, and selected the “Related Items” option. We’ve picked the needed Relation, the “Parent Object” option (as it’s a query for movies that is the parent post type in our relationship), and “Current Object ID” (as we want to display the “Movies” Listing Grid on the “Actors” Single Page so that query will identify the post and show the related posts).
We’ve hit the “Apply” and “Add Query” buttons and created the familiar query for the “Actors” post type.
Creating a Listing Item, displaying the metadata with the Dynamic widget, and specifying the Context
Now, we need two Listings for two post types. Initially, we’ve created one for the “Actors” posts and wish to display the metadata with the Dynamic Field widget.
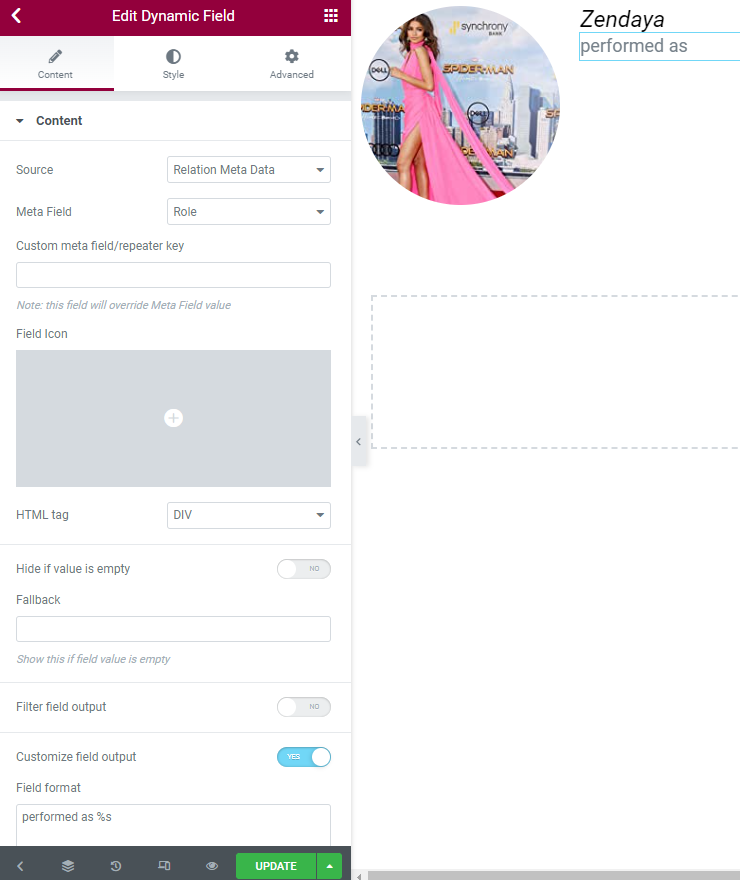
We’ve drag-n-dropped the Dynamic Field widget. We’ve selected the “Relation Meta Data” as the Source and chosen the name of our Meta Field for the relationship.
We’ve proceeded to the end of the widget to set the Context.
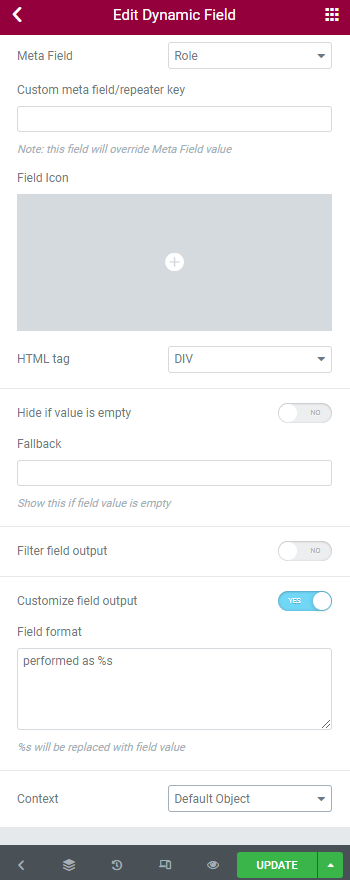
We’ve picked the “Default Object” Context as we will use a query.
Then, we’ve updated the Listing Item and created the similar one for the “Movies” post type.
Adding the Listing Grid on the Single Page
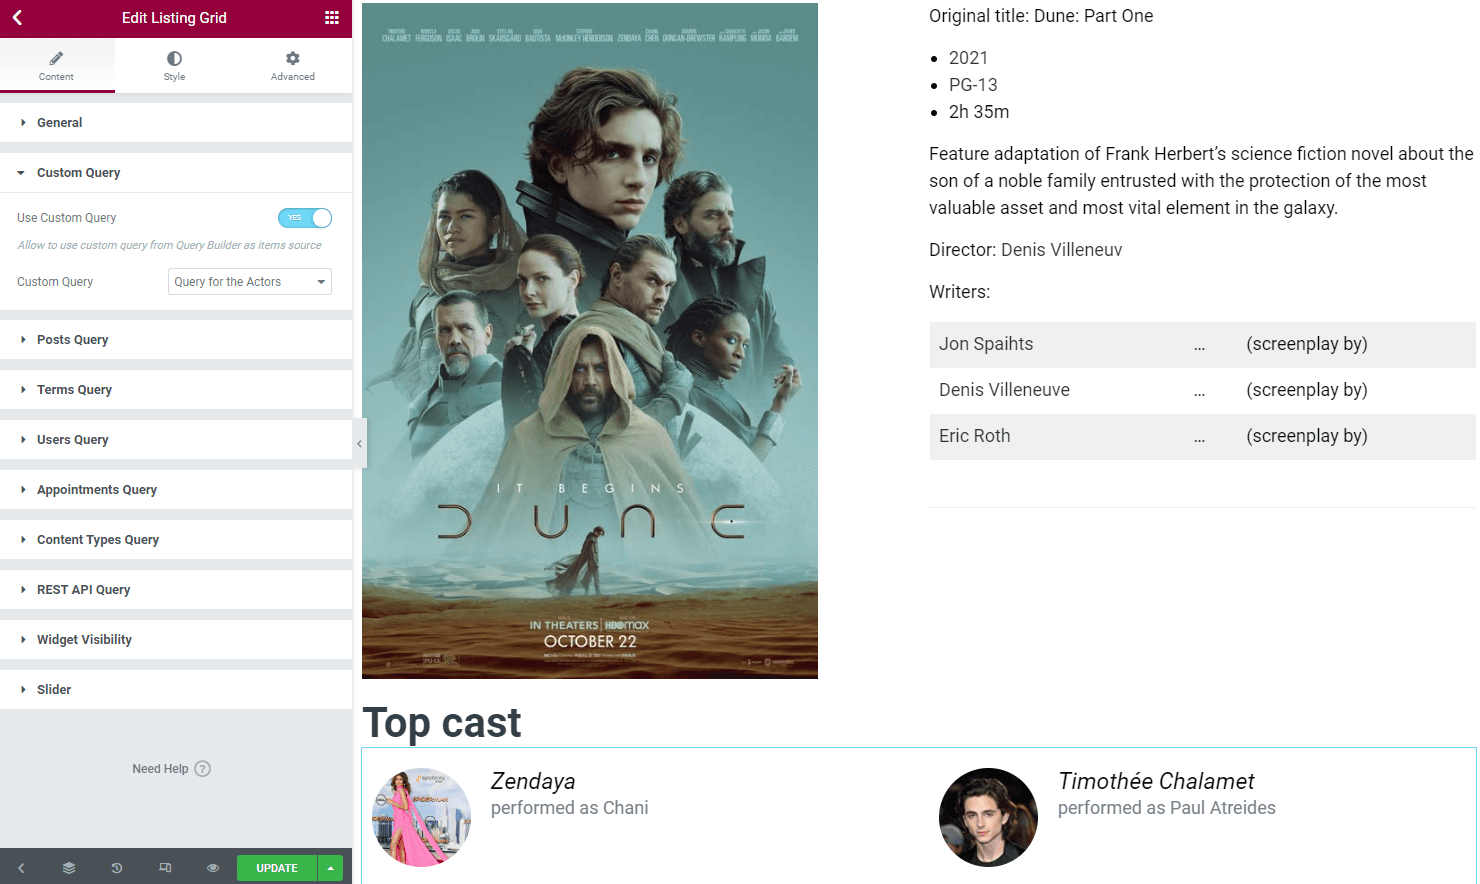
We’ve navigated to the “Movies” Single Page, where the general information about a movie is, and drag-n-dropped the Listing Grid widget here to display the cast. In the General settings, we’ve selected the Listing Item for the actors post type. Then, we’ve opened the Custom Query tab, enabled the toggle, and picked the query for the actors.
We’ve completed the same for the “Actors” Single Page.

That’s one of the examples. You can display the metadata with any JetEngine Dynamic widgets.
Related Items Count Dynamic Tag
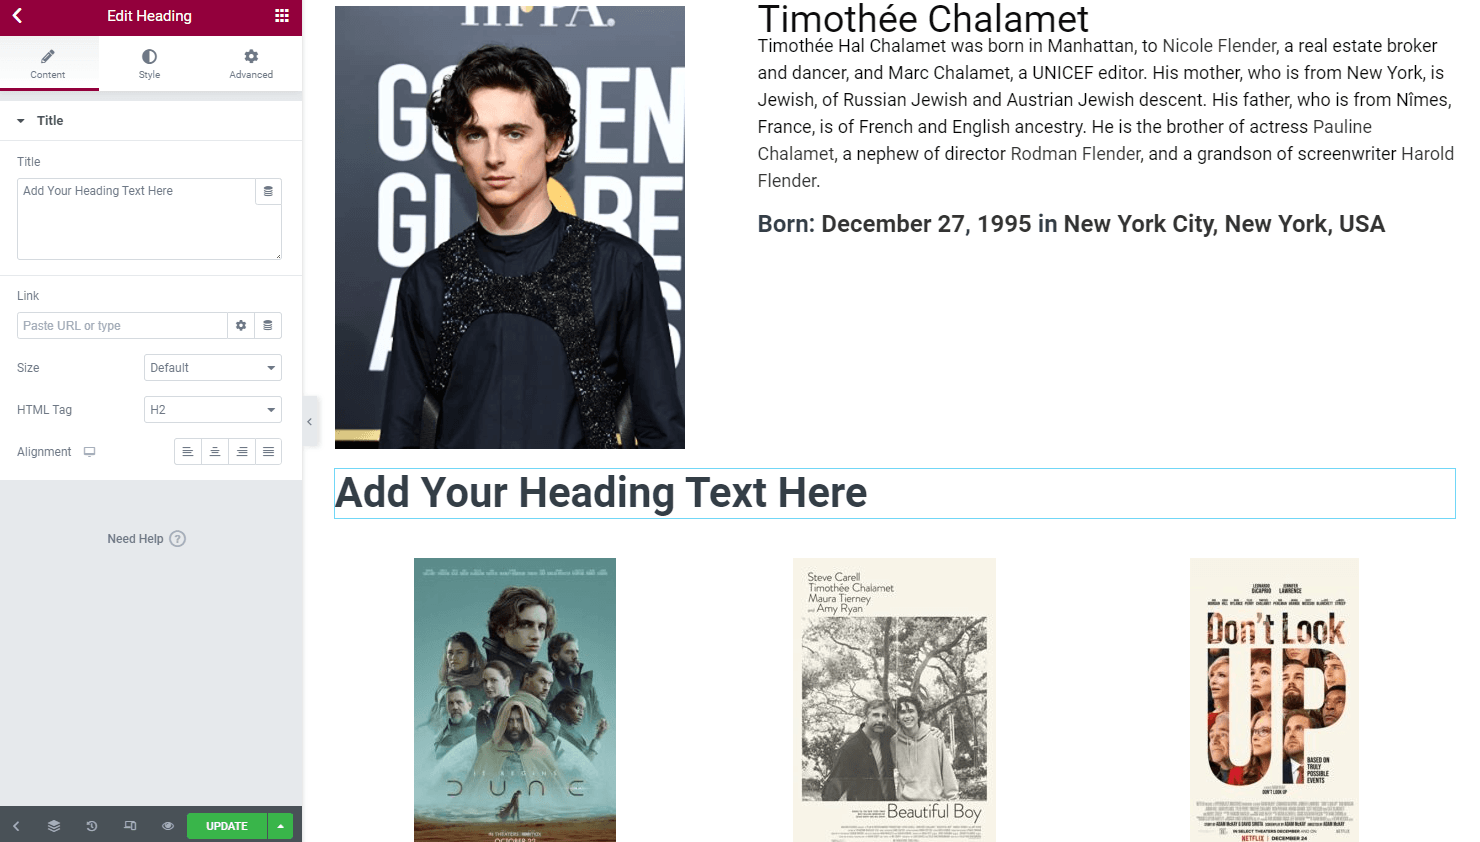
To display the related items count, proceed to the Single Page of the related object and drag-n-drop the Header widget here.
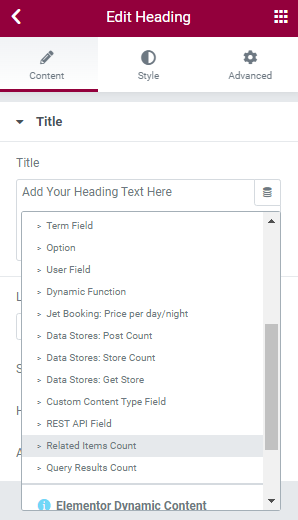
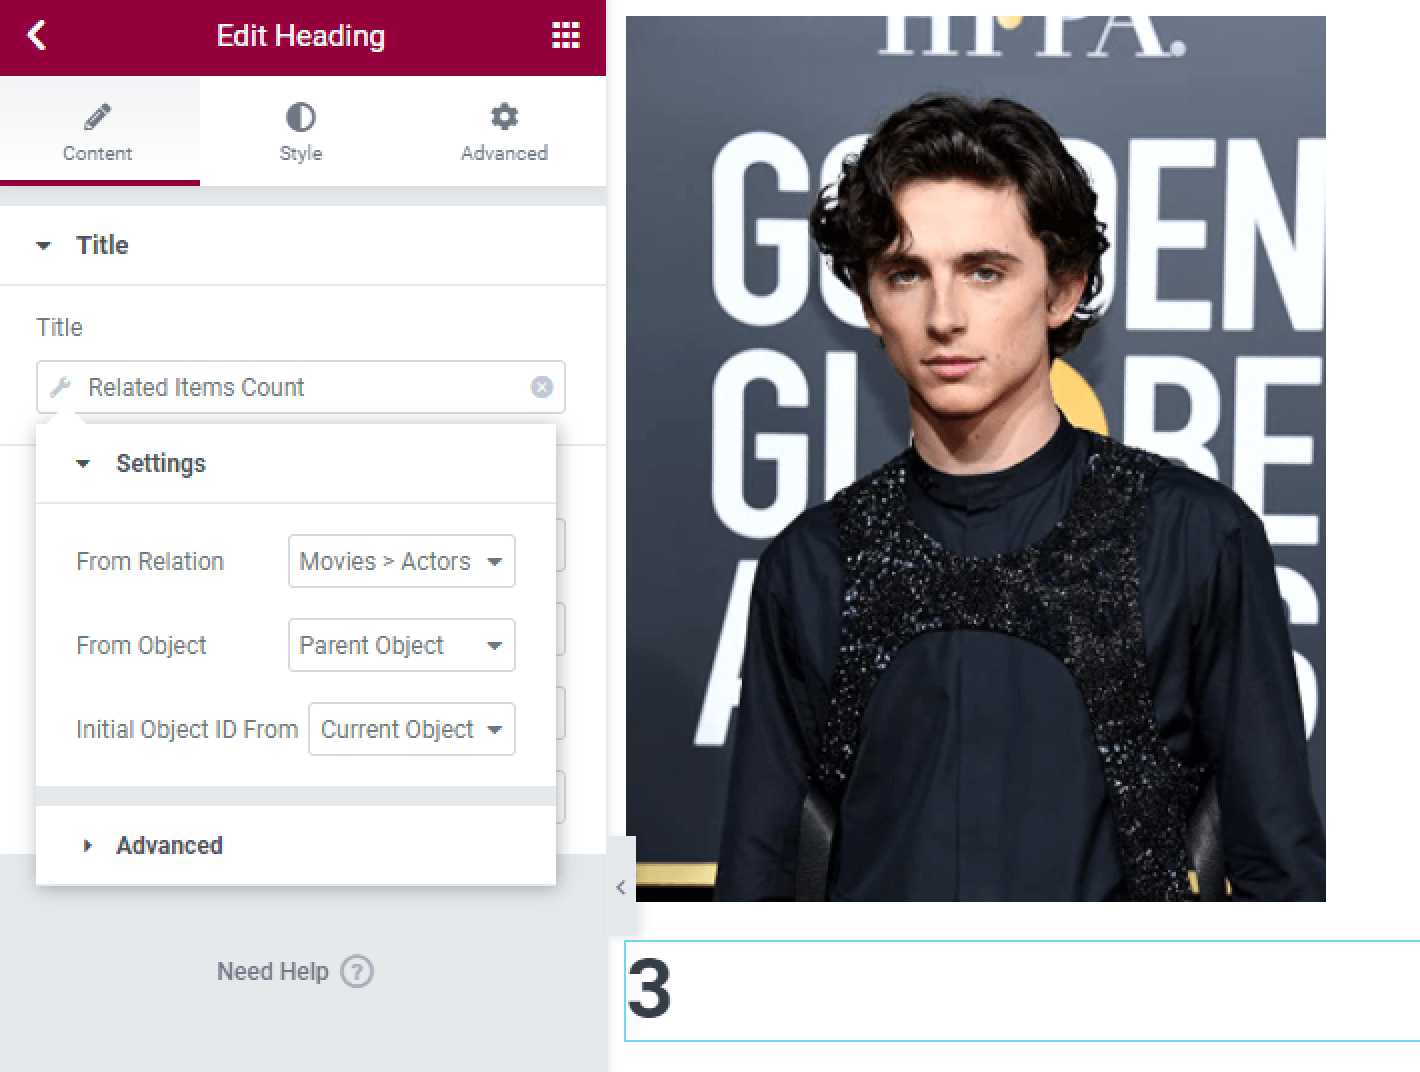
Click on the “Dynamic Tags” button and select the “Related Items Count” dynamic tag.
There are such Settings of the Related Items Count dynamic tag:
- From Relation. Specify the relation from where you want to get the number of parent or children items;
- From Object. Specify if you want to display the number of children (Child Object option) or parent (Parent Object option) items (e.g., we want to get the number of the related movies from the parent post type for the actor from the child post type, so we’ve selected the “Parent Object” option);
- Initial Object ID From. Indicate where the dynamic tag will get the object ID from to display the number of related items:
- Current Object ID. Shows the number of related items of the current post on the Single Page (as in our example), of the current active listing item, and so on;
- Current User ID. Shows the number of related items of the currently logged-in user;
- Queried User ID. Indicates the number of related items of the selected user, e.g., on the User Page in the Profile Builder;
- Query Variable. Shows the number of related items from the global request or WordPress request variables. If you select this option, the fourth Variable Name will appear;
- Current Object Variable. Shows the number of related items from the object defined as current by JetEngine. If you select this option, the fourth Variable Name will appear;
- Default WordPress Object (for current page). Always shows the number of related items of a current global object for the current page defined by WordPress, as opposed to the “From Relation” option. For instance, on a single page/single post, it will always be the current post, even if you go to the listing added to this page.
- Variable Name. This field appears if you select the “Query Variable” or “Current Object Variable” options. This option allows setting the variable’s name, which the plugin will search for in the dynamic tag or current object.
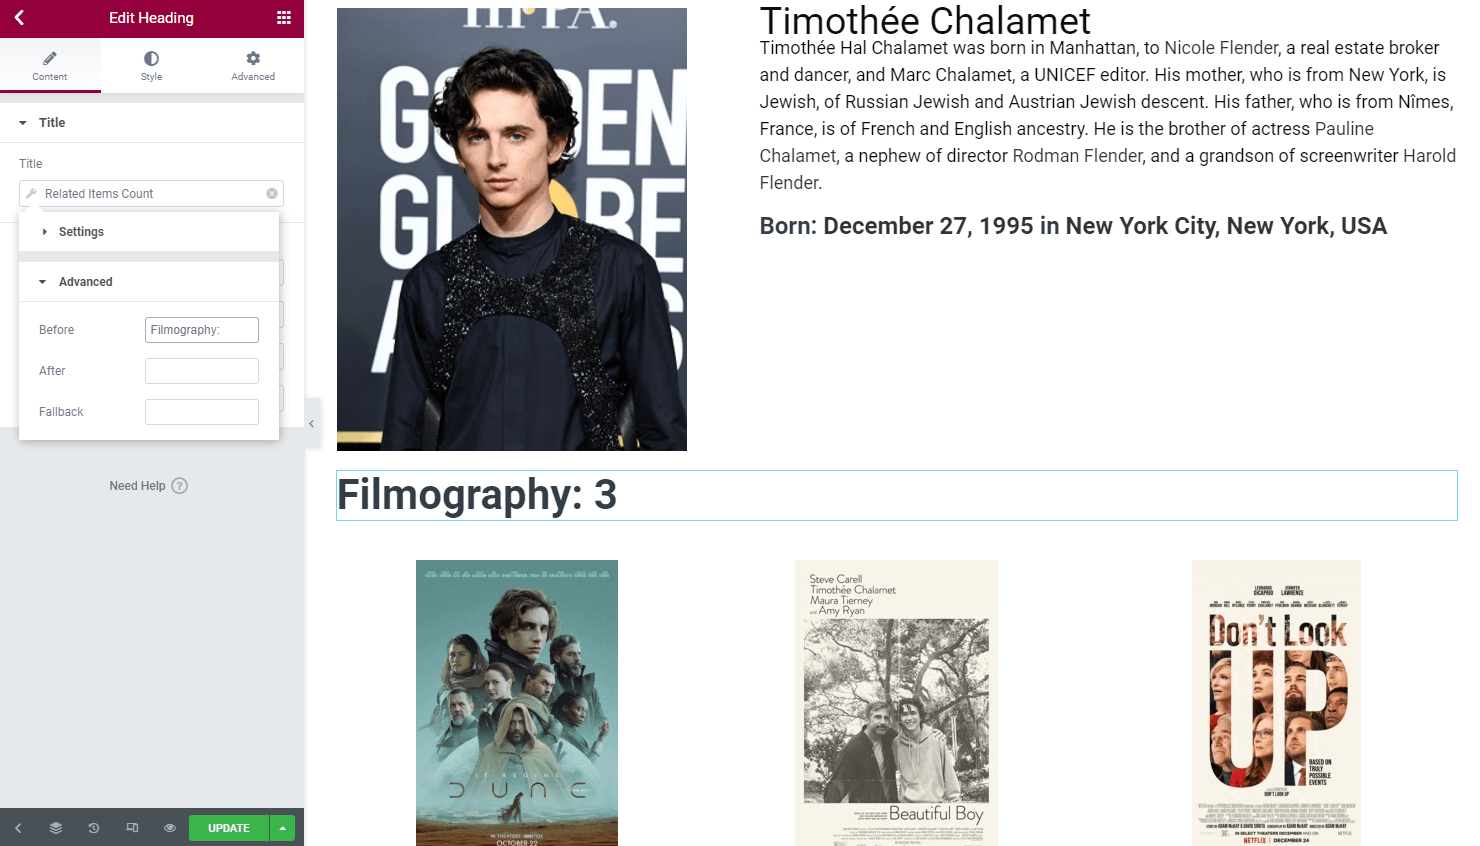
In the Advanced tab, there are such fields:
- Before and After. Here you could enter text before and after the number. In those two fields, you can use indents to separate the number from the text;
- Fallback. Enter the text that will be shown if data fails to be displayed.
Hit the “Update” button after you finish working with the dynamic tag and the Single Page.
That’s it. You know now how to display the relation metadata with the WordPress JetEngine Dynamic widgets and Dynamic tags.