Writing blog posts in WordPress, then heading to your email service provider to write emails can slow down your workflow. Copy and pasting posts, re-embedding images you’ve already created in WordPress into your email service is really painful.
Find out how to publish newsletters inside WordPress with the Newsletter Glue plugin.
- Who Should Publish Newsletters in WordPress?
- How to Send Newsletters with Newsletter Glue Plugin?
- Tips to Create Newsletters in WordPress
Newsletter Glue is a premium WordPress newsletter plugin that connects WordPress websites to email service providers via API. This plugin has 2 pricing plans for writers (from $99) and publishers ($169).
Who Should Publish Newsletters in WordPress?
Let’s find out who can benefit from creating newsletters in block editor first.
- Bloggers with weekly roundups
In the past, bloggers would write posts in WordPress and then hop over to their email service provider to transfer headlines, images, and content before sending them over.
With Newsletter Glue, bloggers can write posts in WordPress, then stay in WordPress to build and send weekly roundups. This makes your experience more flawless. There’s even a post embed block to easily add and style multiple posts in the newsletter.
You’ll find blog post embed block to style multiple posts in the newsletter.
- Editorial teams
Most editorial teams use Google docs to write newsletters, then copy into the email service provider and reformat each element.
Instead, with Newsletter Glue, they can create newsletters directly in WordPress. This saves a lot of time because the block editor makes it really easy to copy/paste from Google docs.
They can even use callout cards to bring attention to special offers in their newsletter. Pair Newsletter Glue with content restriction plugins like JetEngine to create a members-only newsletter archive., Newsletter Glue allows showing newsletters only to paying subscribers.
- Agencies
If you are a website development agency and need to teach clients how to create newsletters.
Using this WordPress newsletter plugin helps create email templates, so your clients can simply add the content and send newsletters from WordPress.No more worrying about teaching your client about WordPress and Mailchimp.
How to Send Newsletters with Newsletter Glue Plugin?
Newsletter Glue connects to a dozen email service providers like Mailchimp, MailerLite, Sendinblue, and ActiveCampaign.
Once connected, you can build newsletters like blog posts. After purchasing the plugin, you’ll need to download and install the plugin.
Step 1. Connect your email service provider
To start with, you need to connect API key and set email default settings.
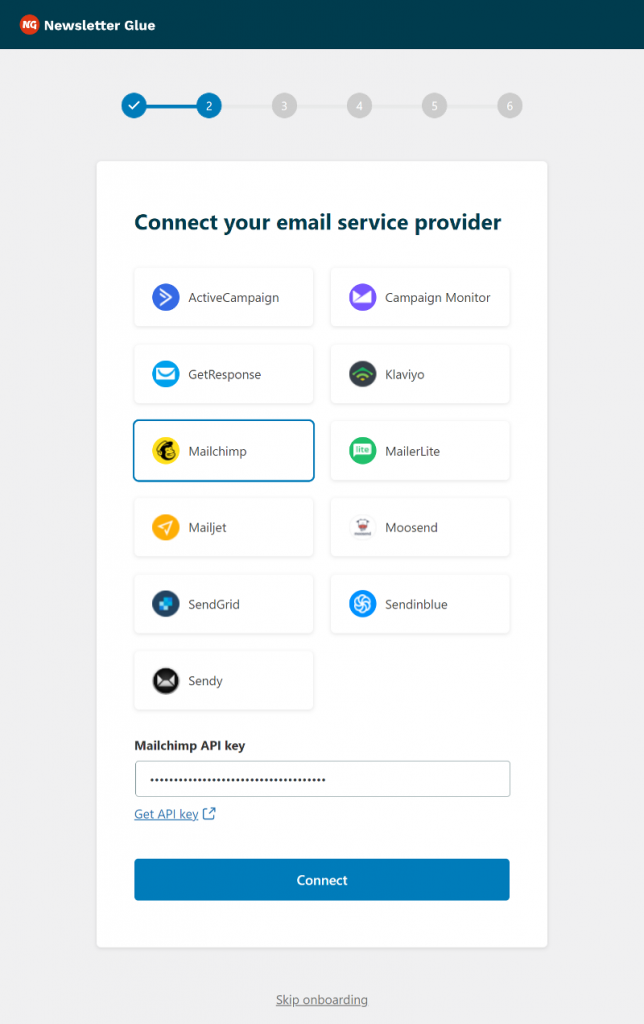
When you are done with the connection, you’ll see an email sample, which you need to send.
Step 2. Send as newsletter
Scroll over the end of the post to set up Send as newsletter features.
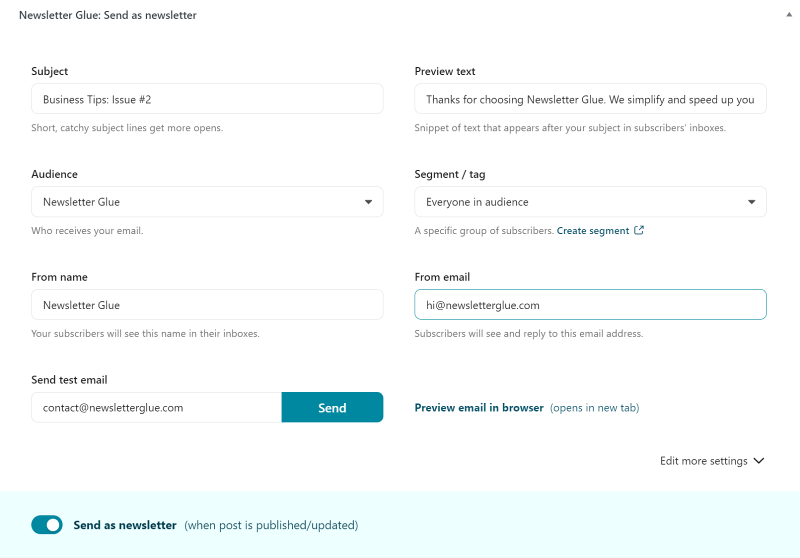
Step 3. Send your first test email
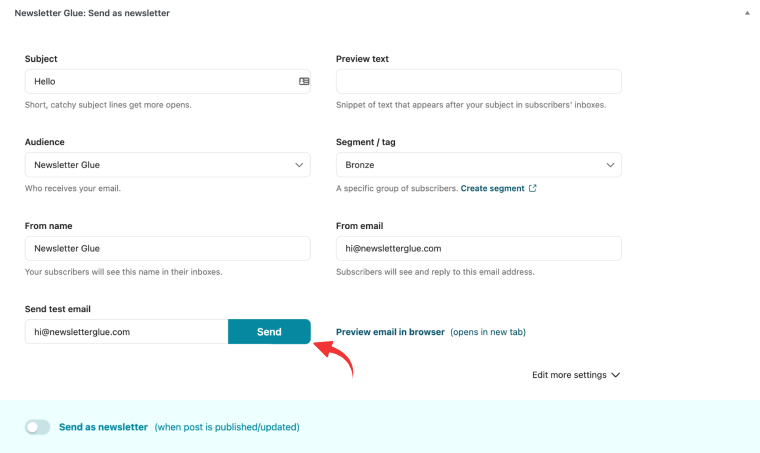
You’ll see pre-filled fields based on your default settings. Hit Send to send your first test email.
Step 4. Publish and send a newsletter
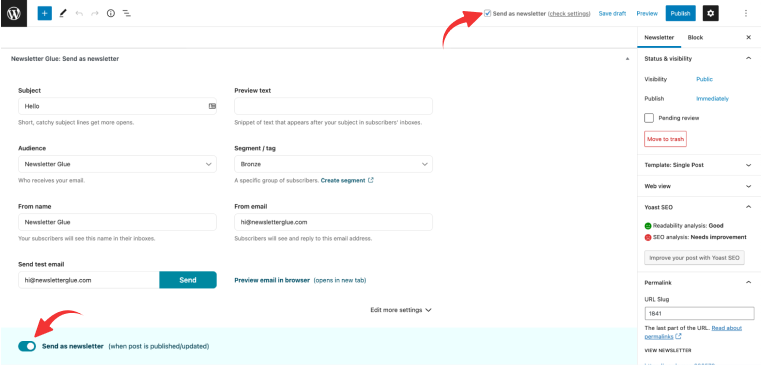
When you are ready to send, just toggle on Send as newsletter. Then you’ll see the checkbox to confirm newsletter sending.
Thus, when the blog post is published, you’ll get a “Your newsletter is on its way!” notification message.
WordPress newsletter is sent via API to email service provider (ESP) and then, delivers newsletter to your subscribers.
Tips to Create Newsletters in WordPress
Here are a few newsletter tips to help you create your first newsletter roundup.
#1. Show/hide content block

You are able to show or hide anything inside Newsletter Glue blocks from your blog/newsletter.
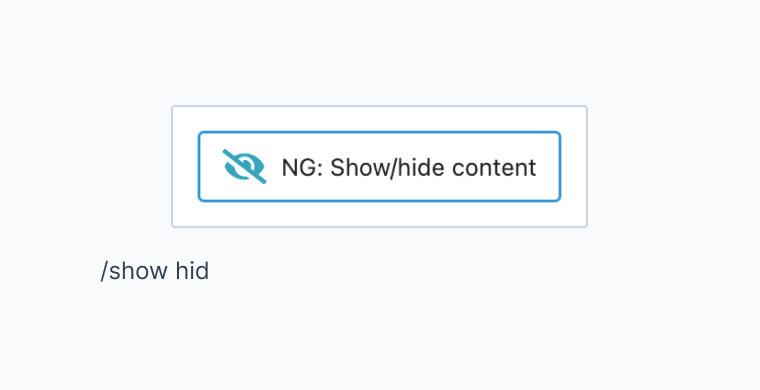
Type /show in Gutenberg editor and choose NG: Show/hide content block that appears (or use /ng as a shortcut).
Show/hide content block use cases:
- Add a read more button and hide part of the blog post from the newsletter;
- Create a footer for the newsletter to hide from blog posts;
- Use a read more button in the newsletter and direct subscribers to the blog.
#2. Table of links in the newsletter
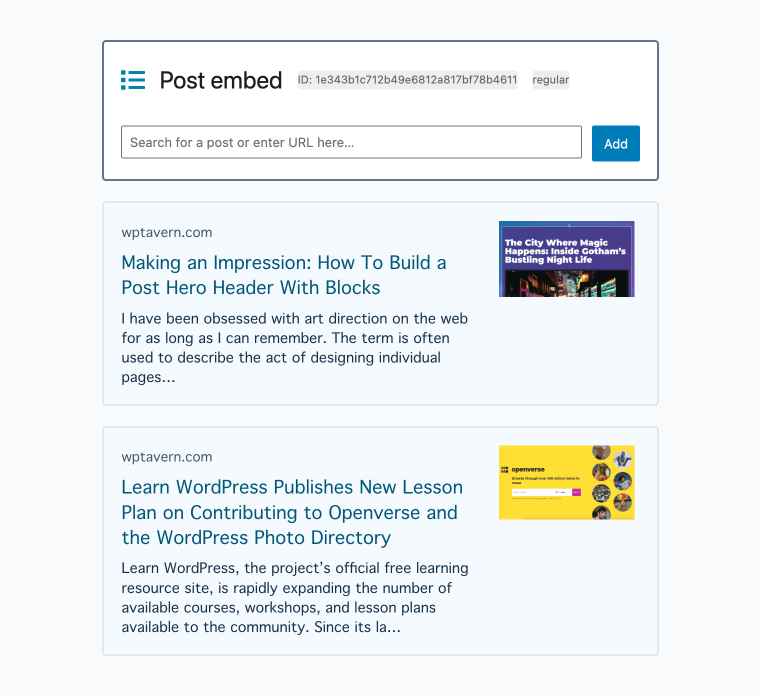
Post Embed block helps smoothly add the list of links from blog posts or another website.
To add blog posts, just type titles or paste external links. Newsletter Glue plugin will add title, excerpt, and featured image automatically. Furthermore, you can style the list or edit the added content as you need.
Sum Up
I hope this quick guide helps to create newsletters directly in Gutenberg block editor from scratch or using the email templates. Furthermore, I’m confident that saves lots of your time.

