How to Use Logo Showcase Widget
From this tutorial, you will learn how to use the ultra-stylish Logo Showcase widget that is included in the JetElements plugin.
Logo showcase is a block that is added almost to any website and displays the brands that are somehow connected to the site’s services. Those can be partners’ or clients’ logos, for example. You can show them the most attractive way possible and add links to them.

1 Step — Add the Logo Showcase widget
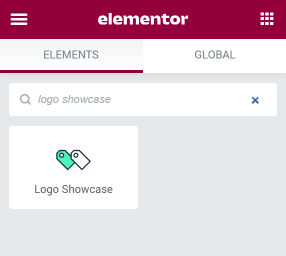
First of all, go to your website’s dashboard and open the page where you want to use the Logo Showcase widget with the Elementor page builder. Find the widget in the left-side menu and drag it to the page.
2 Step — Add brands to the showcase
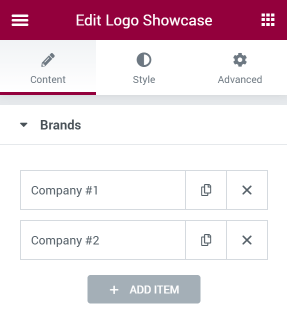
Each brand logo is added to the grid separately. Go to the left-side menu and open the Content > Brands section. Here you will see the brand items. You can add as many items as you need by clicking the “Add Item” button.
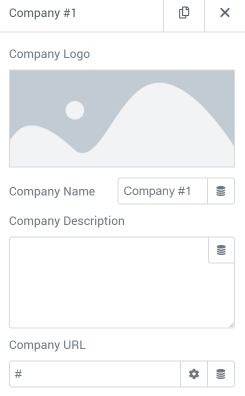
Item contains all the information you can place in the Logo Showcase. Besides the Company Logo, you can also add the Company Name, Company Description, and Company URL. All that data can be filled automatically from the meta fields by using the Dynamic Tags function but for that, you will need a JetEngine or Elementor Pro plugin.
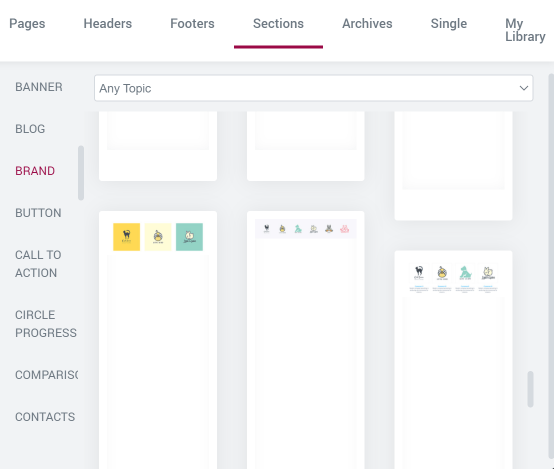
You can also use the Magic Button and find the brand samples in the Sections > Brand tab.
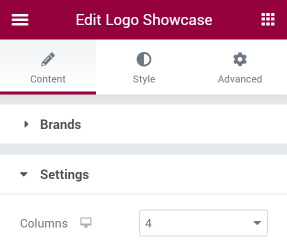
When you are done filling the brands, select the number of Columns in the Content > Settings section. It’s possible to create up to 6 columns this way.
3 Step — Style the showcase up
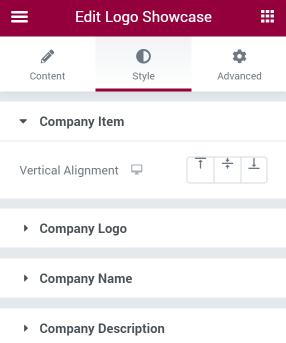
Now you can proceed to the Style section, and personalize the logo showcase block. Play with the settings to achieve the look that will satisfy your taste and fit the design of the other parts of the website.
Finally, click the “Update” button in the bottom-right corner of the page builder.
That’s all, you now know how to use the Logo Showcase widget. Enjoy!