How to Use Images Layout Widget
This tutorial reveals the process of creating the Grid, Masonry, and Justify image layouts using the Images Layout widget.
If you are looking for a way to exhibit the portfolio or to make a gallery of your works, the Images Layout widget of the JetElements plugin is definitely the right tool for you! It’s a great way to showcase the pictures creatively.
This tutorial will take you through the process of creating head-spinning Grid, Masonry, or Justify image layouts using the Images Layout widget.
1 Step — Add the Images Layout widget to the page
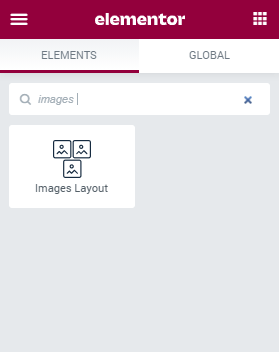
Firstly, log in to your website. Open the page where you want to use the Images Layout widget. Click the “Edit with Elementor” option at the top panel. Find the Images Layout widget and drag and drop it into a new section.
2 Step — Add the content
Move to the Content menu tab and open the Items block. By default, there are six items here. Each item is a picture in the block. You are able to upload as many images as you want. To add a new image click the “Add Item” button.
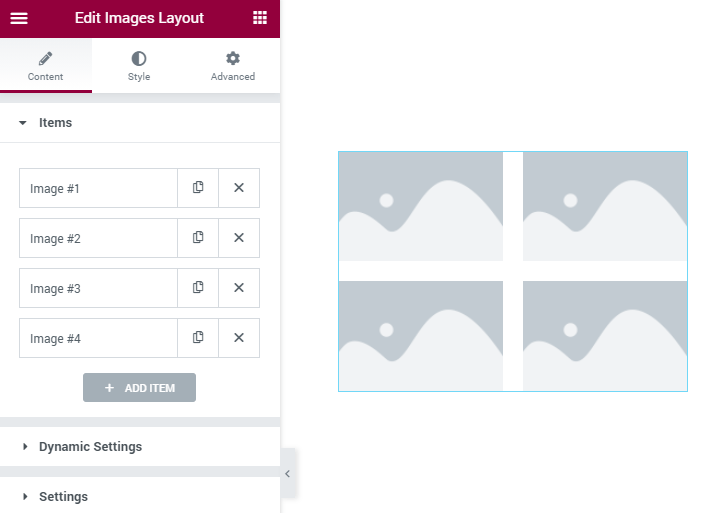
Besides adding the Image and defining the Image Size, you can also include some extra information about each item:
- Icon. You can pick an item, and it will be shown over the picture when the user hovers the pointer over the image. You can either choose the icon from the Icon Library or upload your own SVG file;
- Title and Description. The text you type in here will also be displayed over the picture when the user hovers a pointer over it;
- In the Link type option, you are able to choose what you want to happen to the image on click. The image can either be opened in a Lightbox, or you can be redirected to another website where this picture is displayed or kept if you add an External link.

3 Step — Define the settings
Consequently, proceed to the Content > Settings block. Select the way your pictures will be positioned on a screen in the Layout type option. There are four of them available to use:
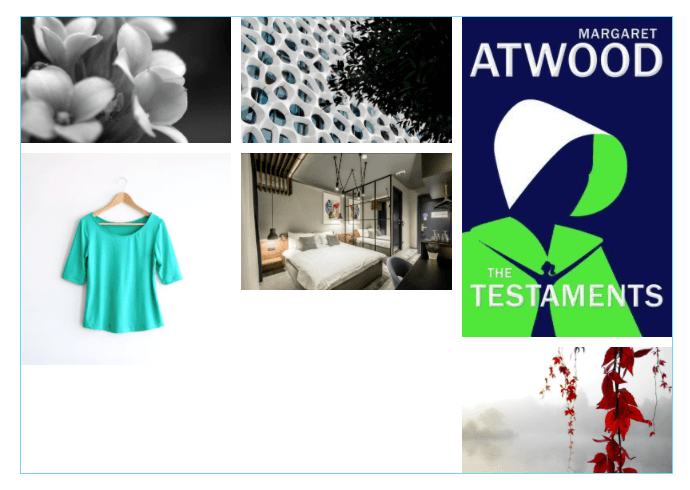
- Masonry. In this type, the images are unified to have the same width, and the height is changed to leave the picture in its original proportions;
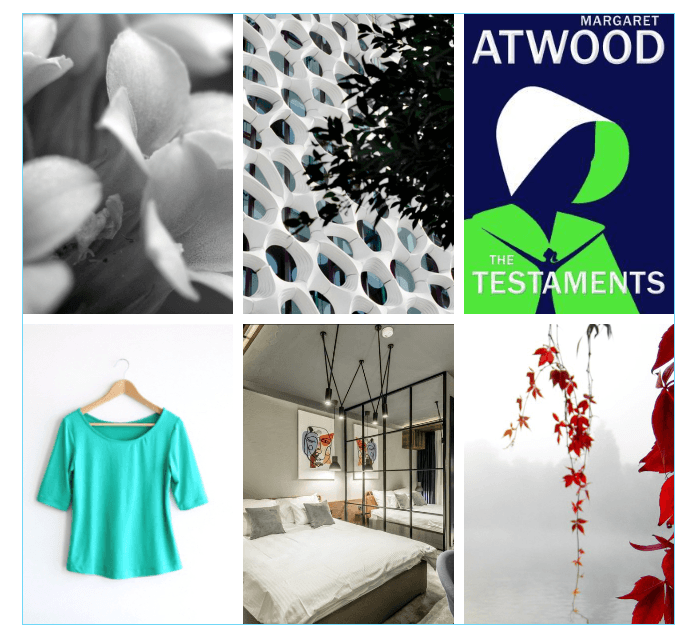
Grid. If you choose this layout, all the pictures will have the same height and width;
Justify. This type of layout will make the height of all the pictures equal, and the width will be changed to save the proportions;
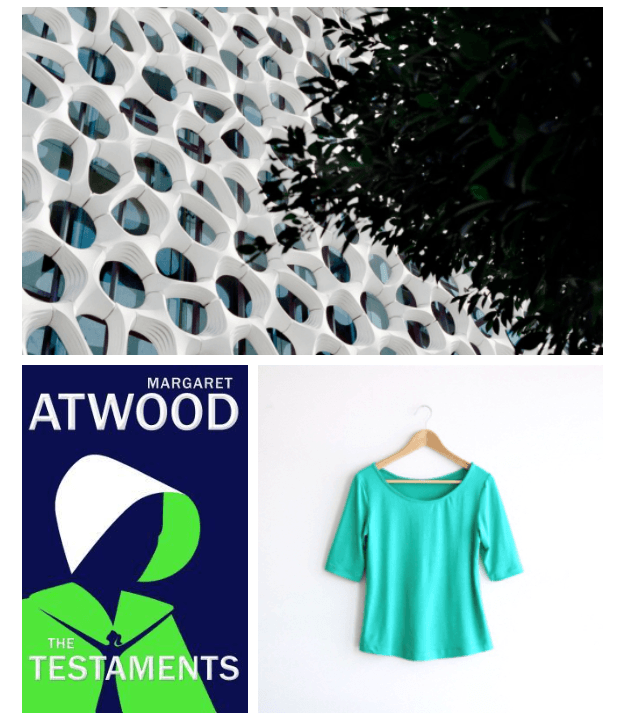
List. In this case, all the pictures will be placed one under another, and their width will depend on the width of the block.
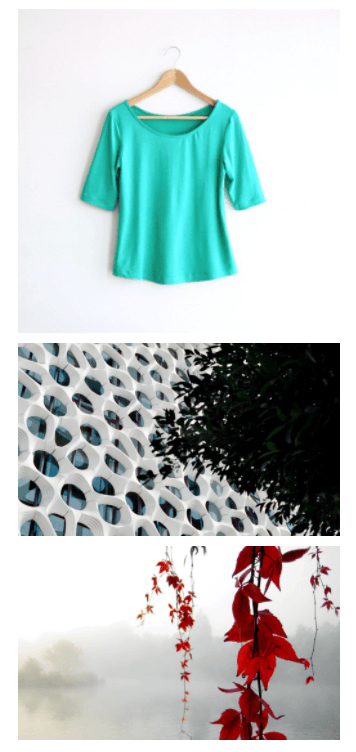
Let’s take a look at the other settings:
- In the Columns drop-down, you can pick the preferable number of columns from 1 to 6;
- Shuffle Images List. if you enable this toggle, the images will be shuffled to change the order you choose in the Items section;
- Items Gap. With the help of this slider, you can change the gap between images in the layout. Besides that, you can also type the preferable value to the field;
- TitleHTML Tag. Here you can choose how big the title you defined in the Items section will be.
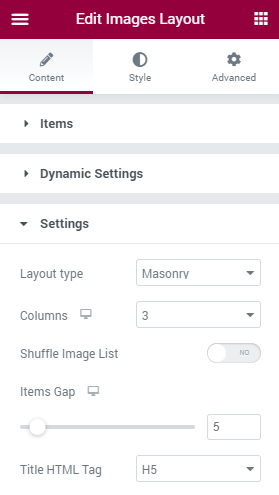
The last step is to get to the Style block. Here you can customize the Icons, the Titles, the Descriptions, and the Overlay. When you are done, click the “Update” button to save the changes.
That’s it. You now know what you can use the Images Layout widget from JetElements plugin for. Enjoy!