How to Create Custom Meta Storage for CPT
Learn how to create custom meta storage for Custom Post Types in a separate table of the site’s database using the JetEngine plugin for WordPress.
Before you start, check the tutorial requirements:
- JetEngine plugin installed and activated with CPT with meta fields created
Adjust the CPT Settings
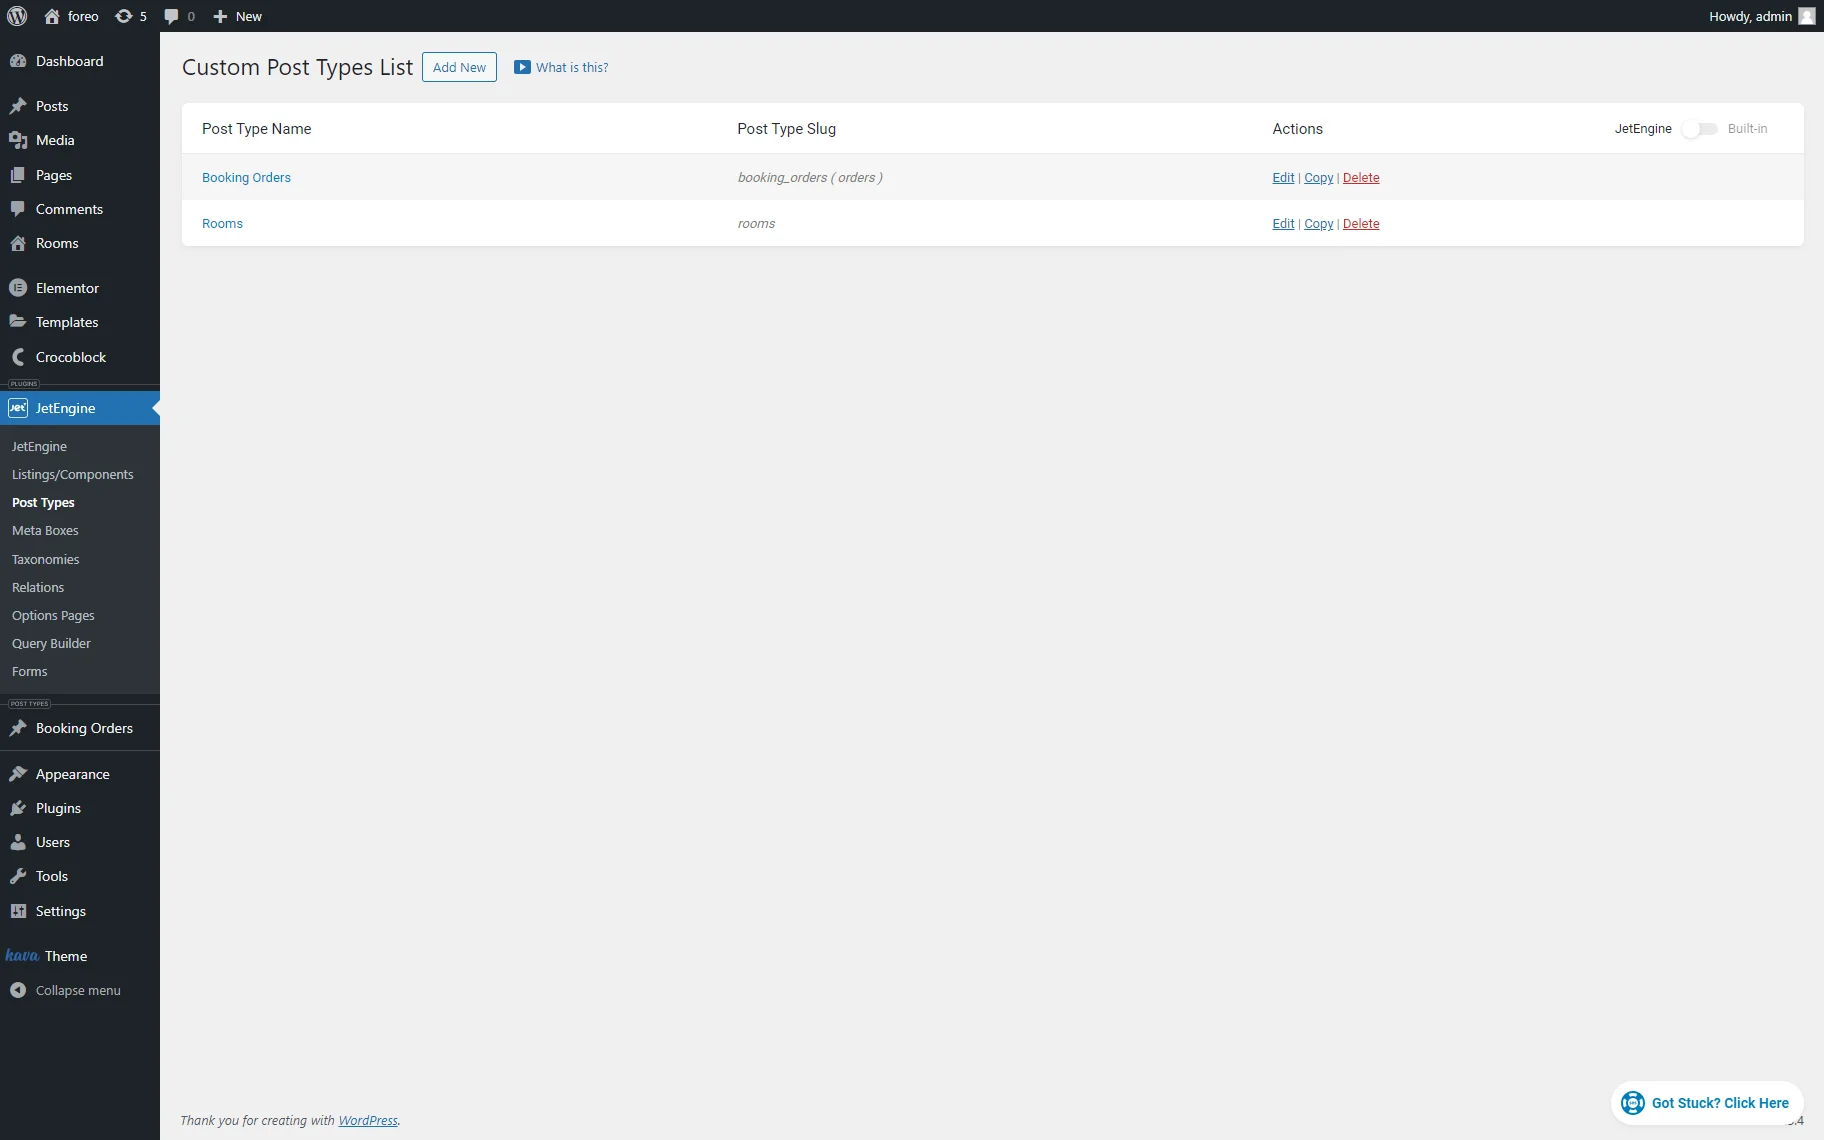
Navigate to the WordPress Dashboard > JetEngine > Post Types and select the needed Custom Post Type among the listed ones in the Custom Post Types List tab.
Press the “Edit” link next to the needed item to open the CPT’s settings.
Move to the General Settings tab and enable the Custom Meta Storage toggle.
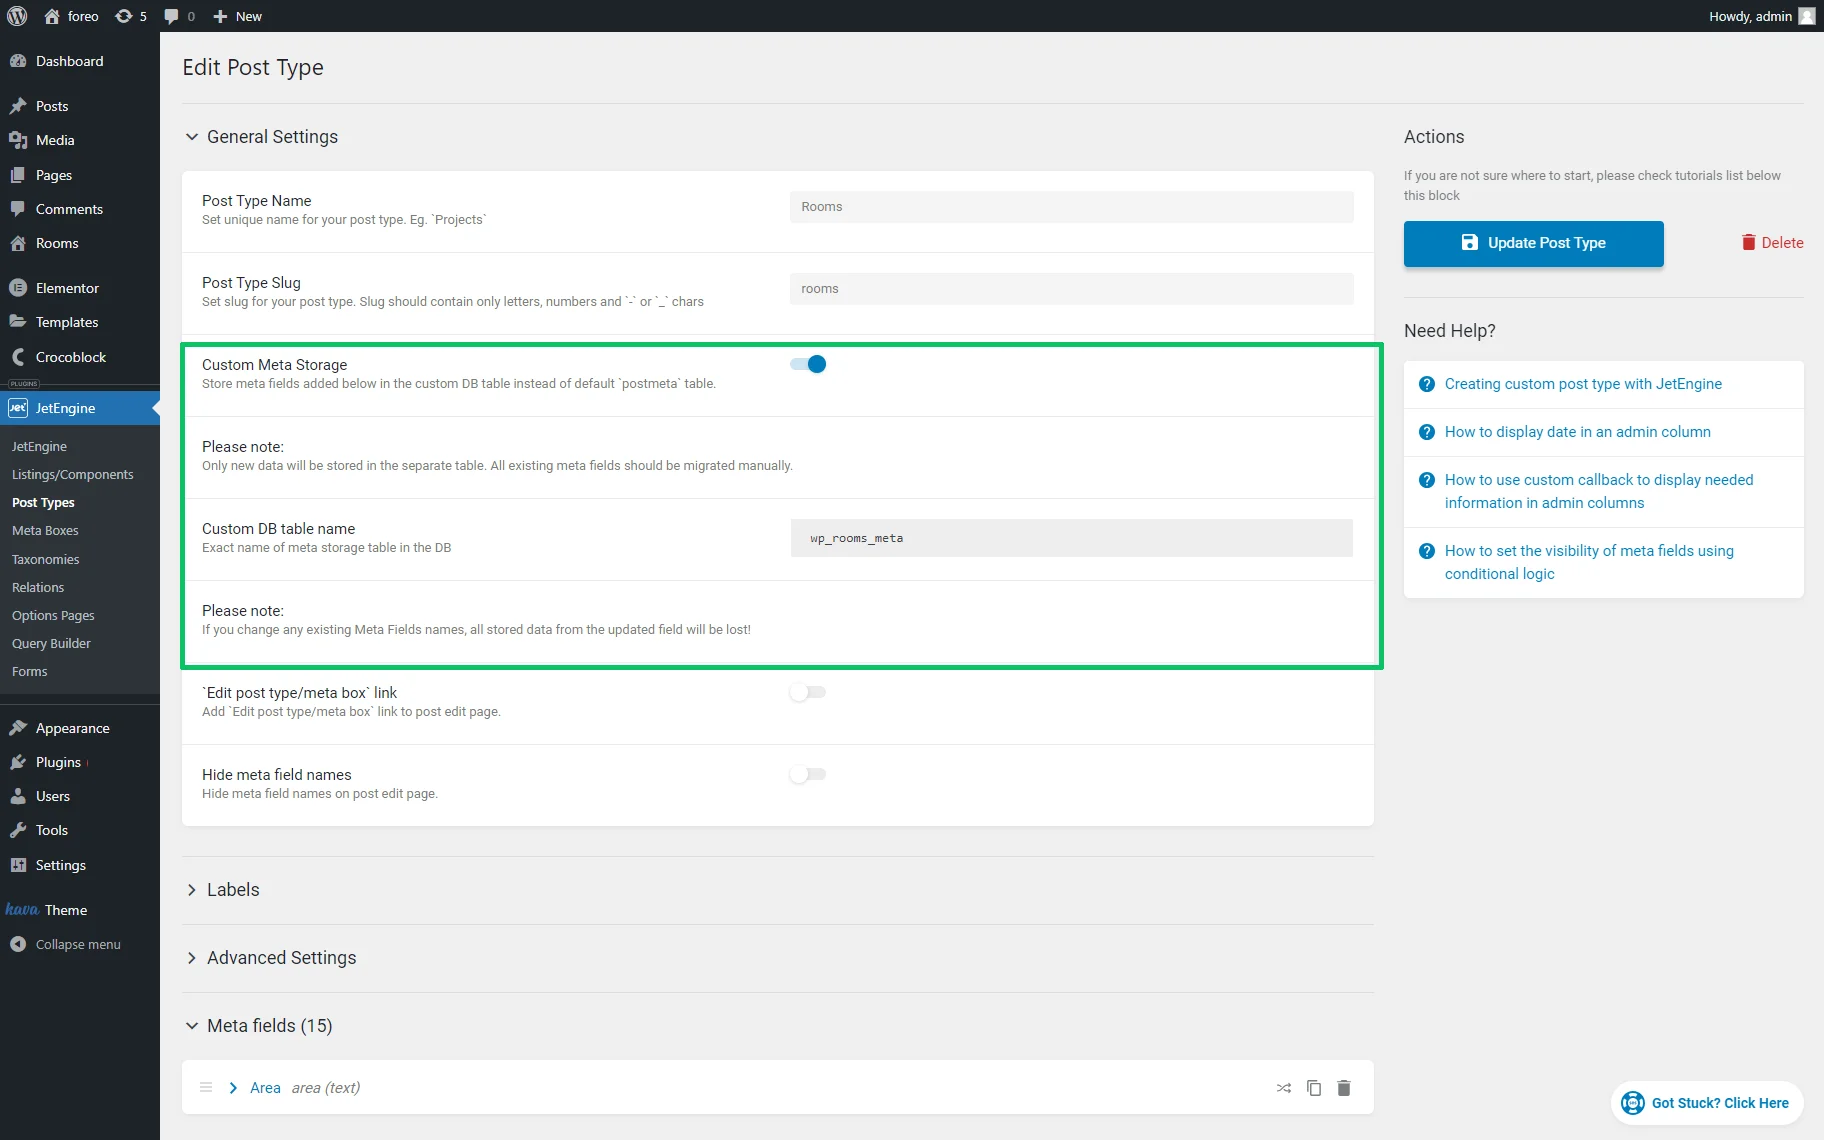
If activated, this toggle turns on the Custom DB table name text field. This field displays the name of the database table, which will be created to store the CPT data. Here, you can type another name of the appropriate table.
Press the “Update Post Type” button to save the changes.
Learn more about Custom Meta Storage functionality from the video overview.
Fill in the CPT Data
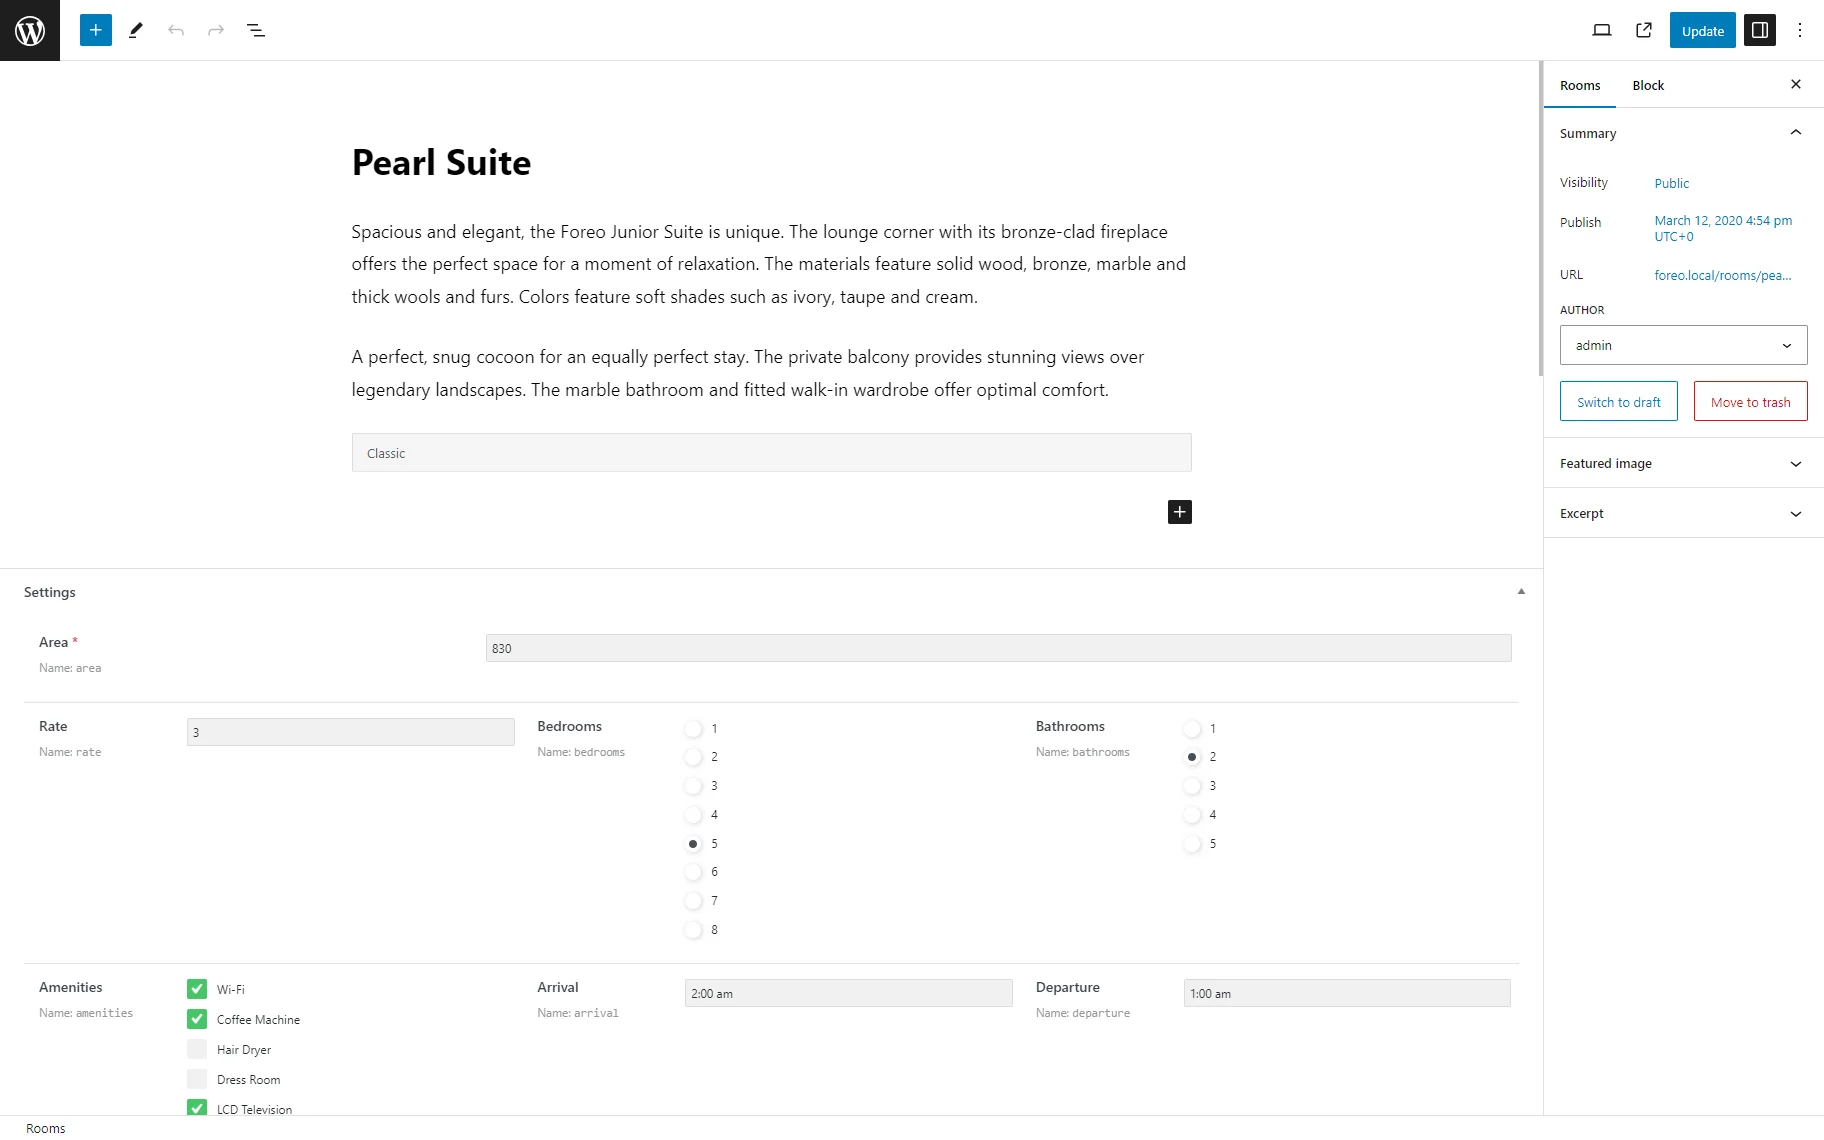
Navigate to the CPT for which you created the new table. Open a desired CPT post and fill it out with new data.
Custom Meta Storage in the Database
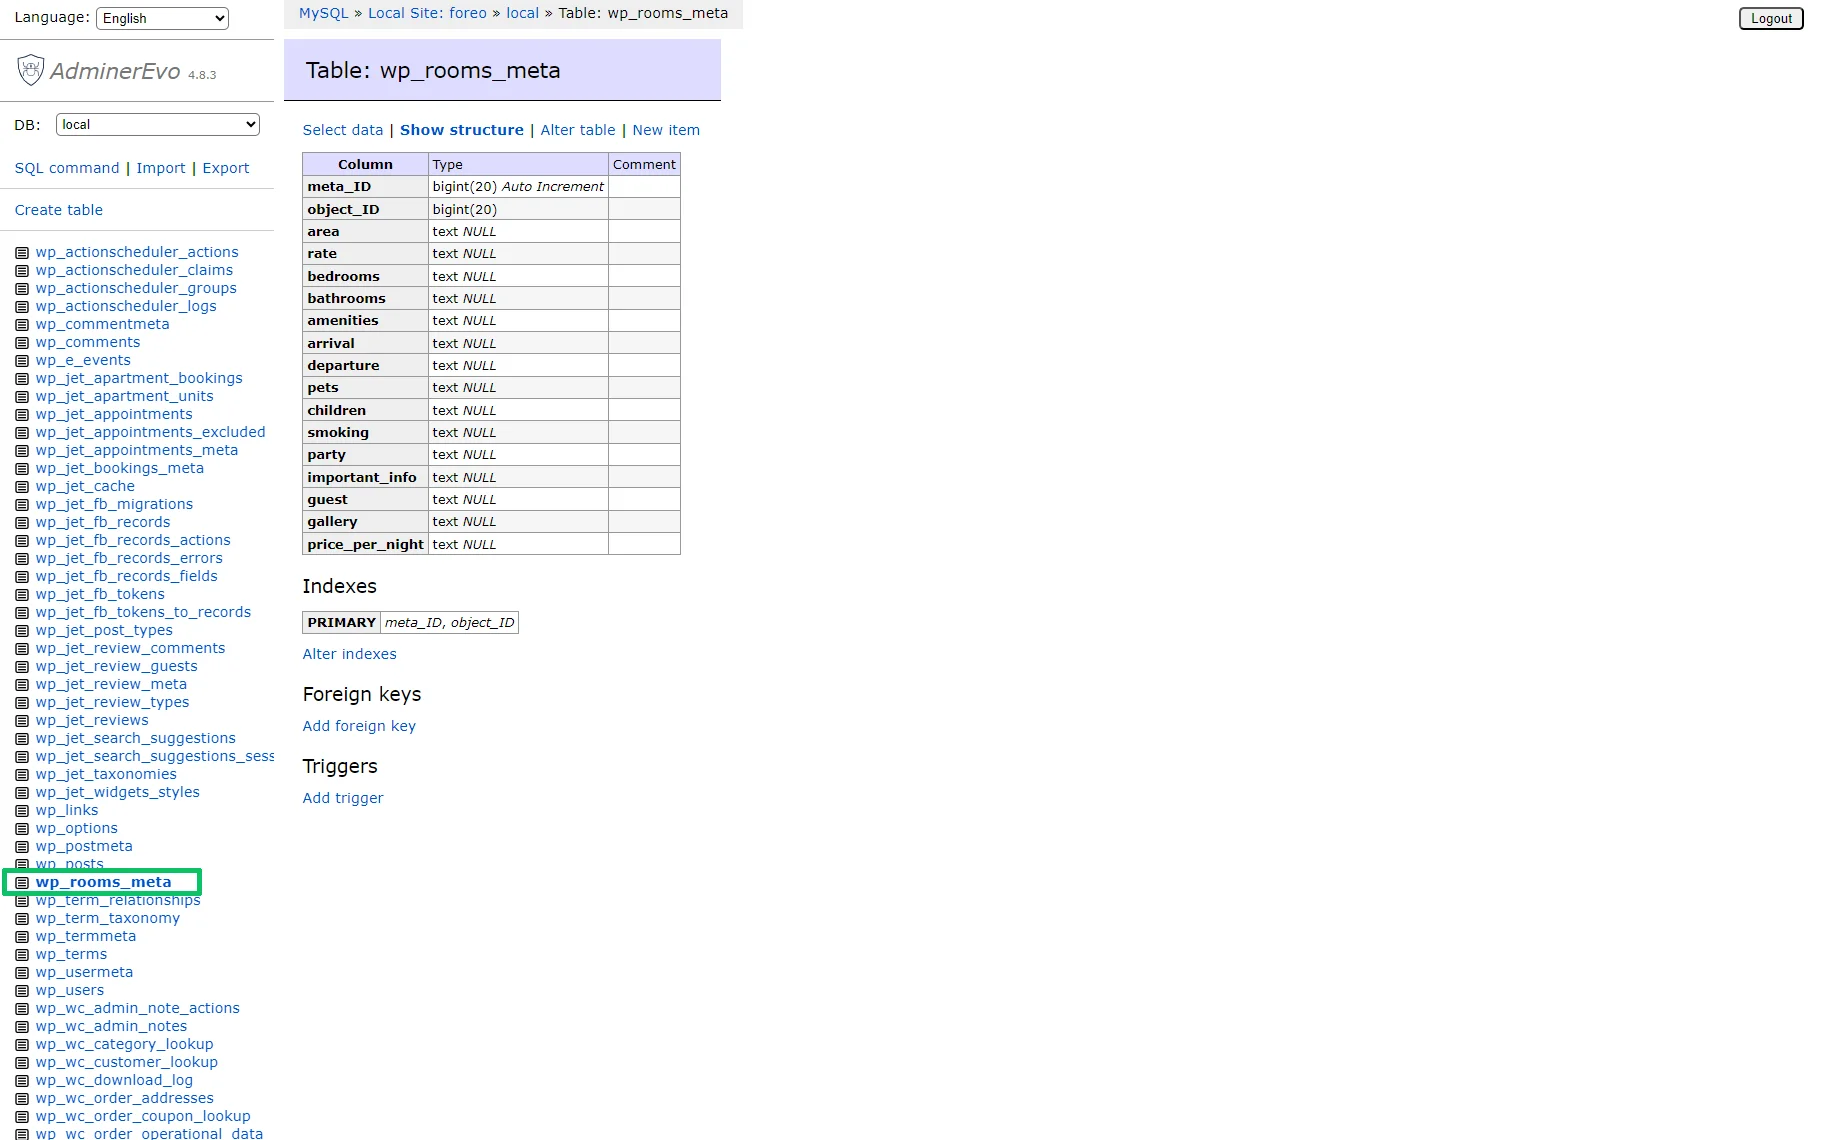
Navigate to the site’s database and find the newly created table. In the described case, it is the “wp_room_meta” table.
That’s it. Now you know how to create custom meta storage for the Custom Post Type in a separate table in the site’s database using the JetEngine plugin for WordPress.