How to Manage Orders in Multivendor Functionality in WooCommerce-Based Mode
In this tutorial, you will find out how to configure JetBooking in “WooCommerce based” mode so that each vendor can manage their posts and booking orders.
Before you start, check the tutorial requirements:
- Elementor (Free version), Block editor (Gutenberg), or Bricks
- WooCommerce plugin installed and activated
- JetBooking plugin installed and activated
with the “WooCommerce based” mode set up
This use case is suitable for multivendor marketplaces where:
- Each vendor can create their own posts;
- Customers can book any vendor’s listings using WooCommerce checkout;
- Vendors see only their booking orders and cannot access other vendors’ data;
- The site administrator can still see all the orders.
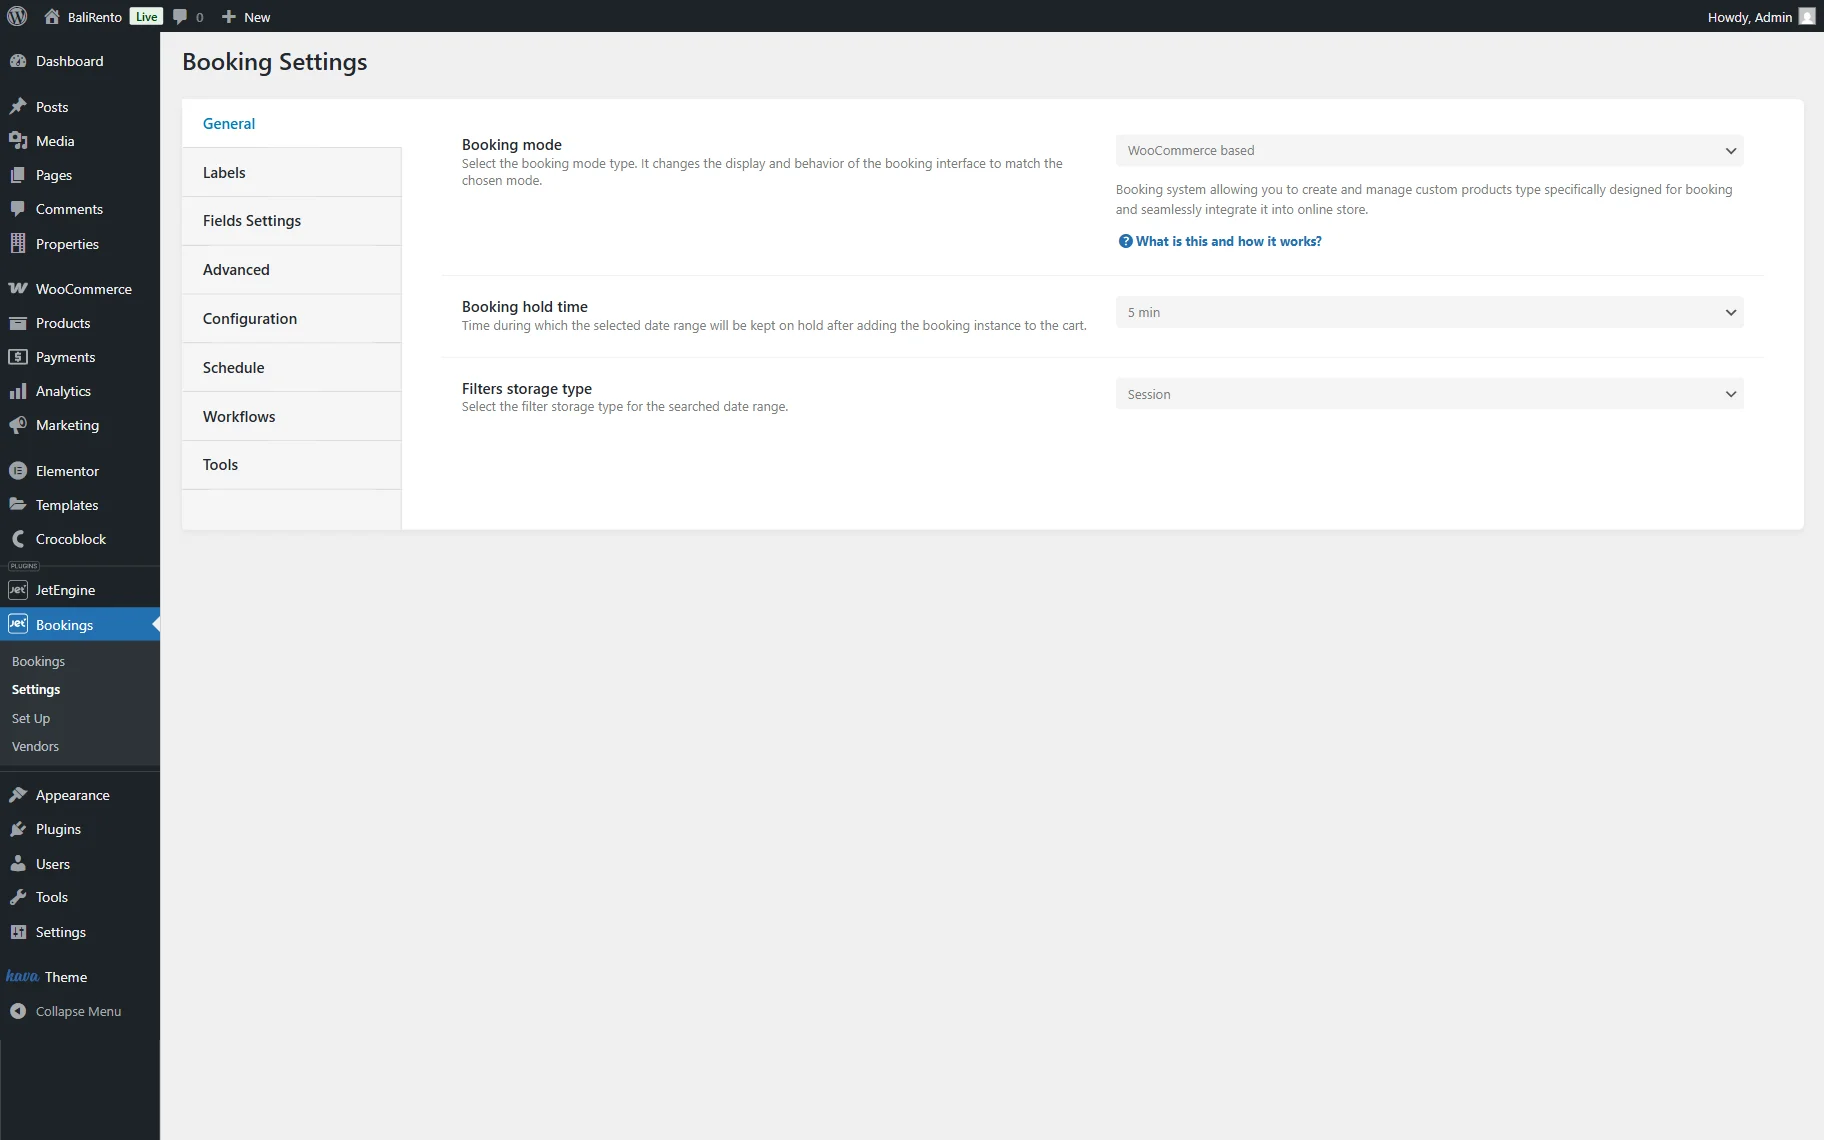
Enable the “WooCommerce based” Mode in the Settings
In “WooCommerce based” mode, bookings are not created until the WooCommerce order is placed. JetBooking waits for checkout, creates the booking after payment, and stores the booking data linked directly to that WooCommerce order.
If you haven’t activated the “WooCommerce based” mode in the settings, you can do it in the WordPress Dashboard > JetBooking > Settings by enabling the “WooCommerce based” Booking mode.
Click the “Save” button.
Also, we recommend checking our How to Use Booking with WooCommerce Based Mode.
Add Vendors
Initially, the website administrator should add vendors. It can be done in the WordPress Dashboard > Bookings > Vendors.
Click the “Add New” button.
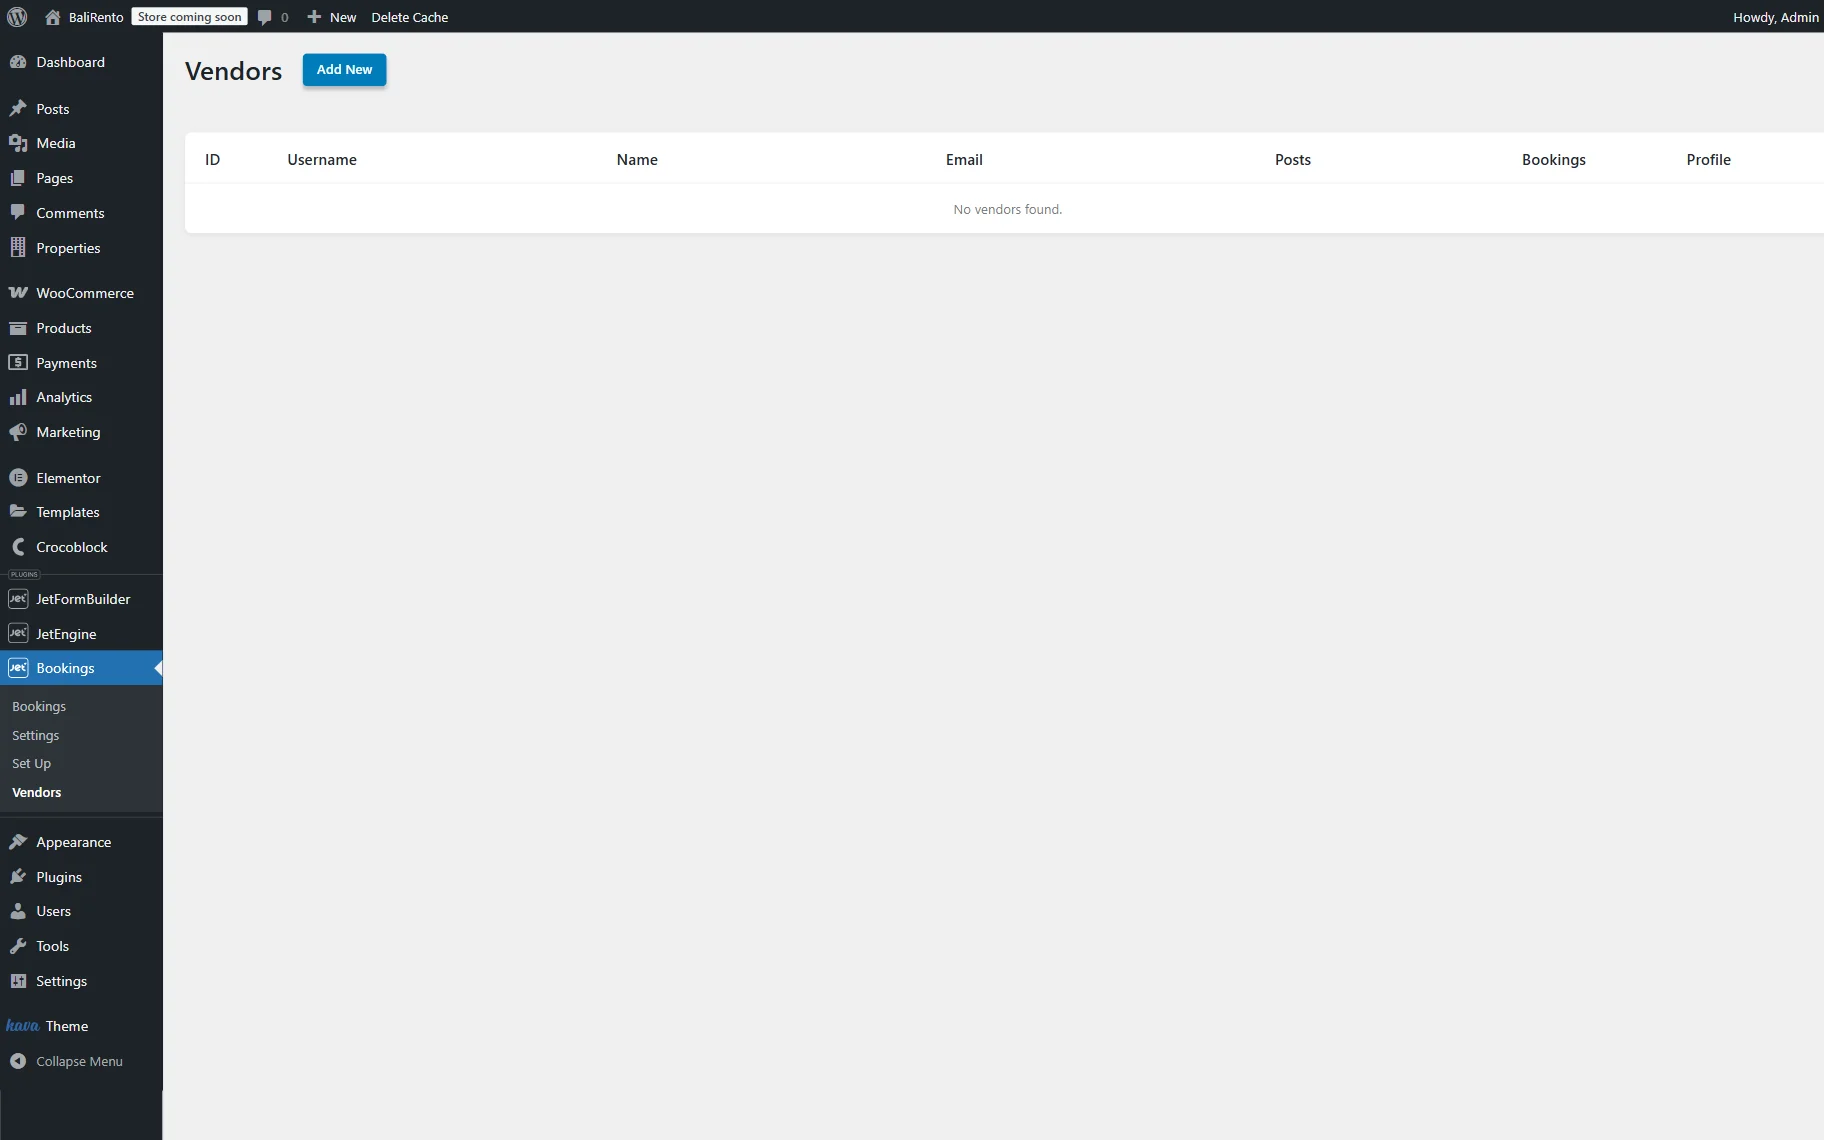
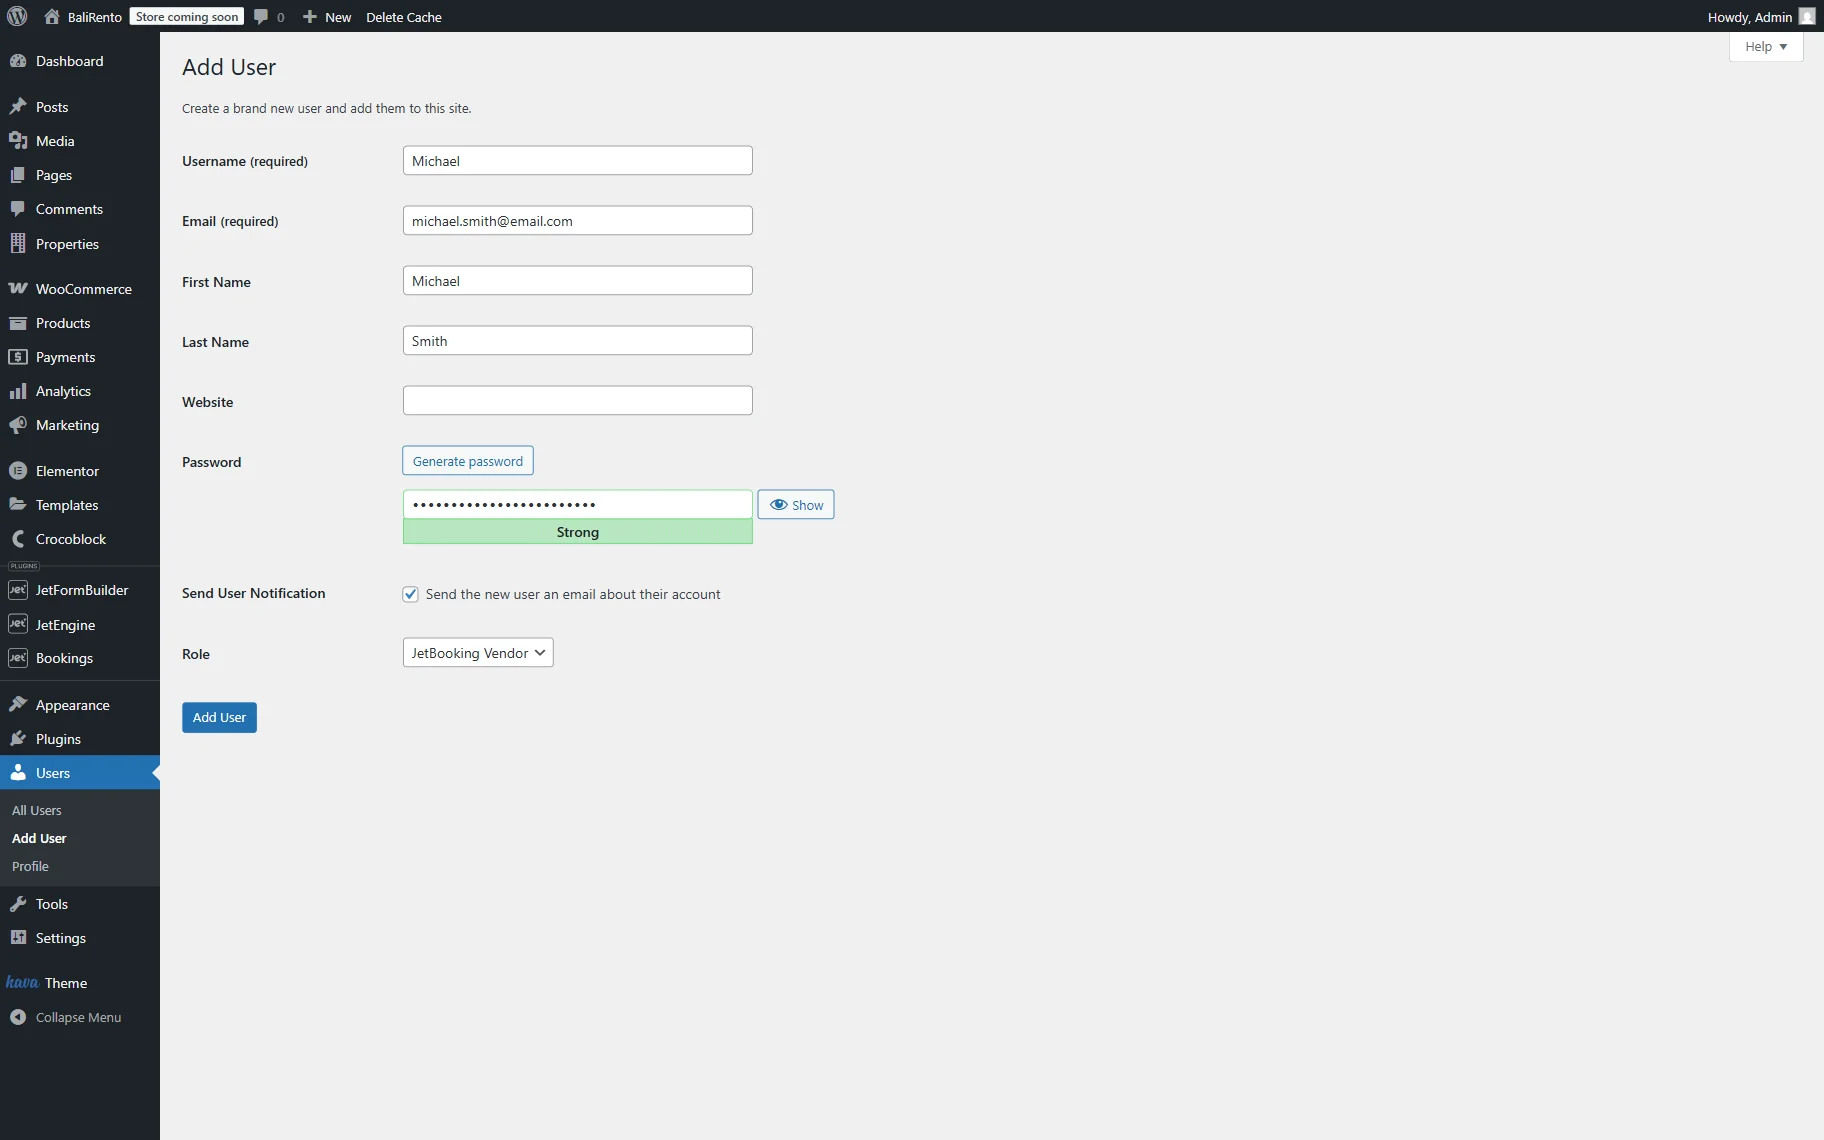
You will be redirected to the Add User screen.
Complete all the required fields, make sure that the “JetBooking Vendor” Role is selected, and press the “Add User” button.
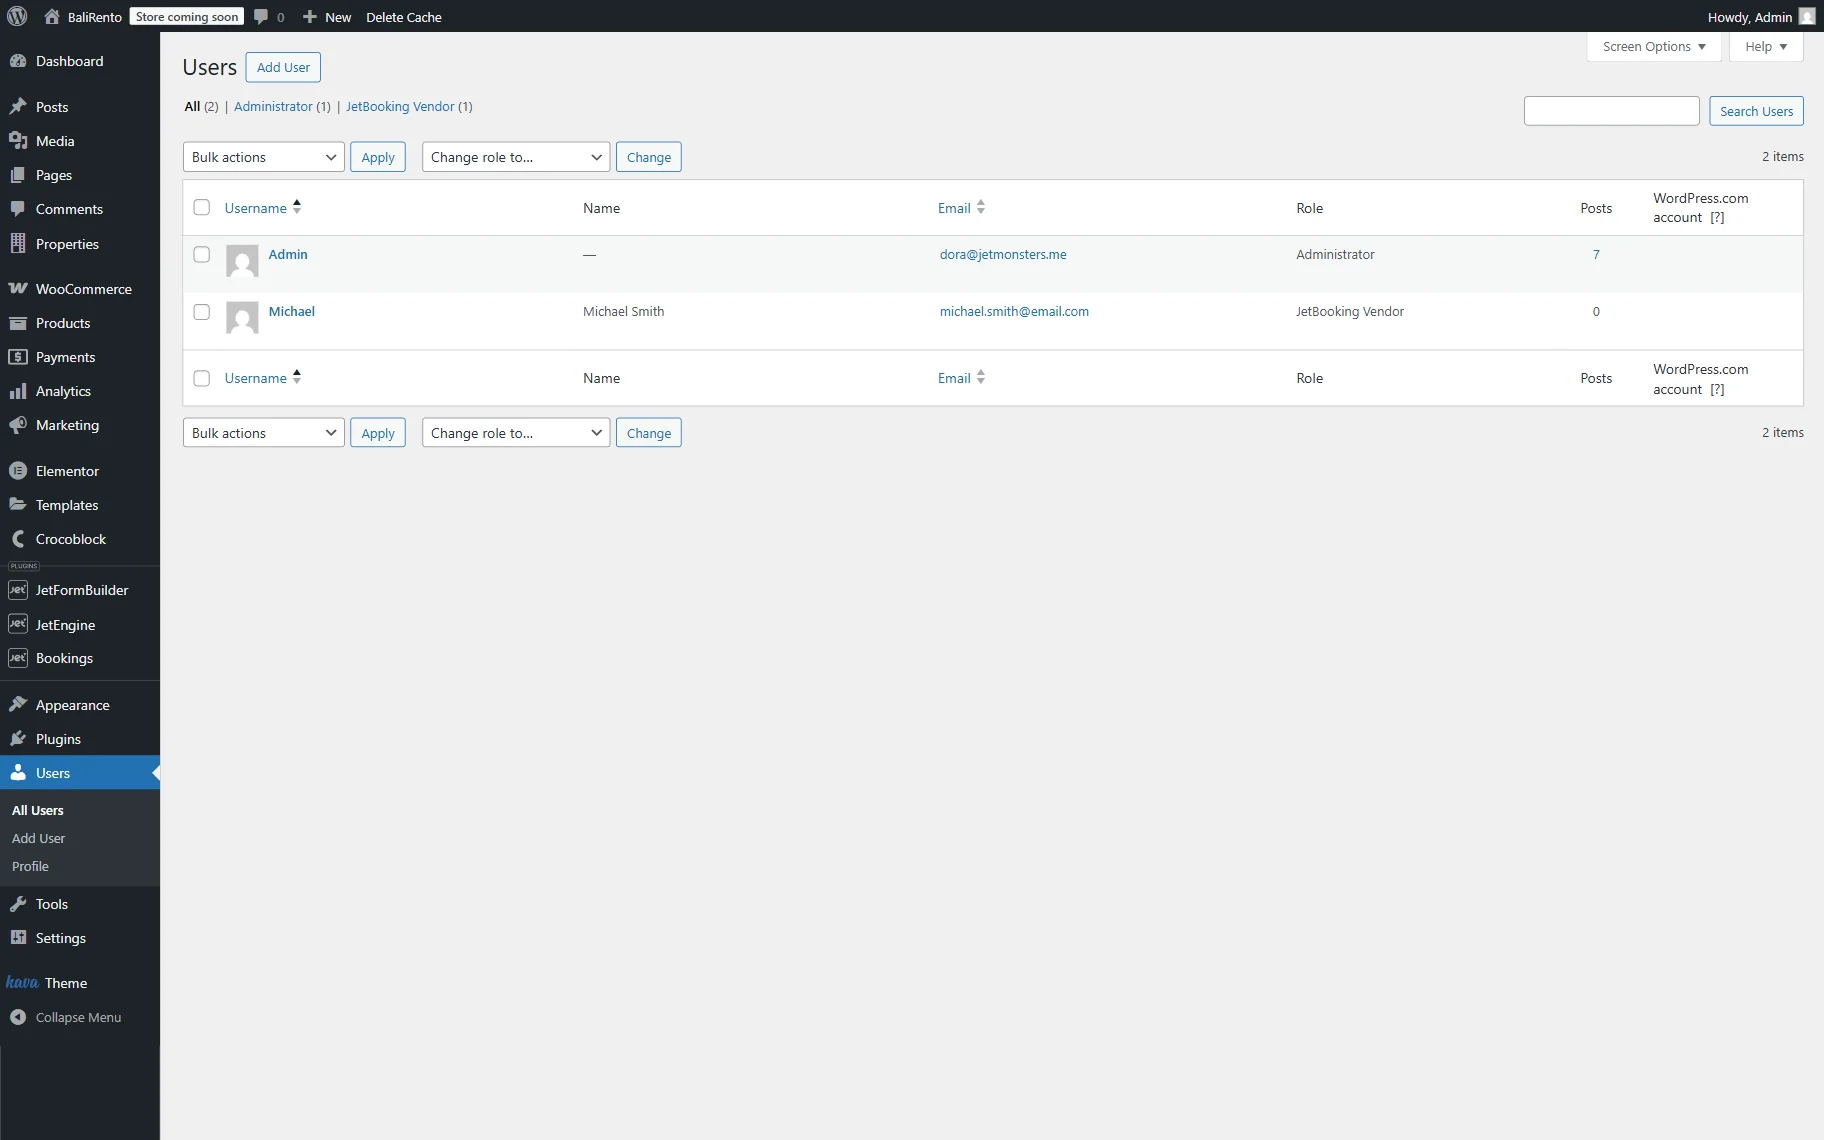
The added user with the “JetBooking Vendor” Role can now be reviewed in the WordPress Dashboard > Users > All Users directory.
This way, as many vendors as needed can be added.
Check Vendors’ Capabilities
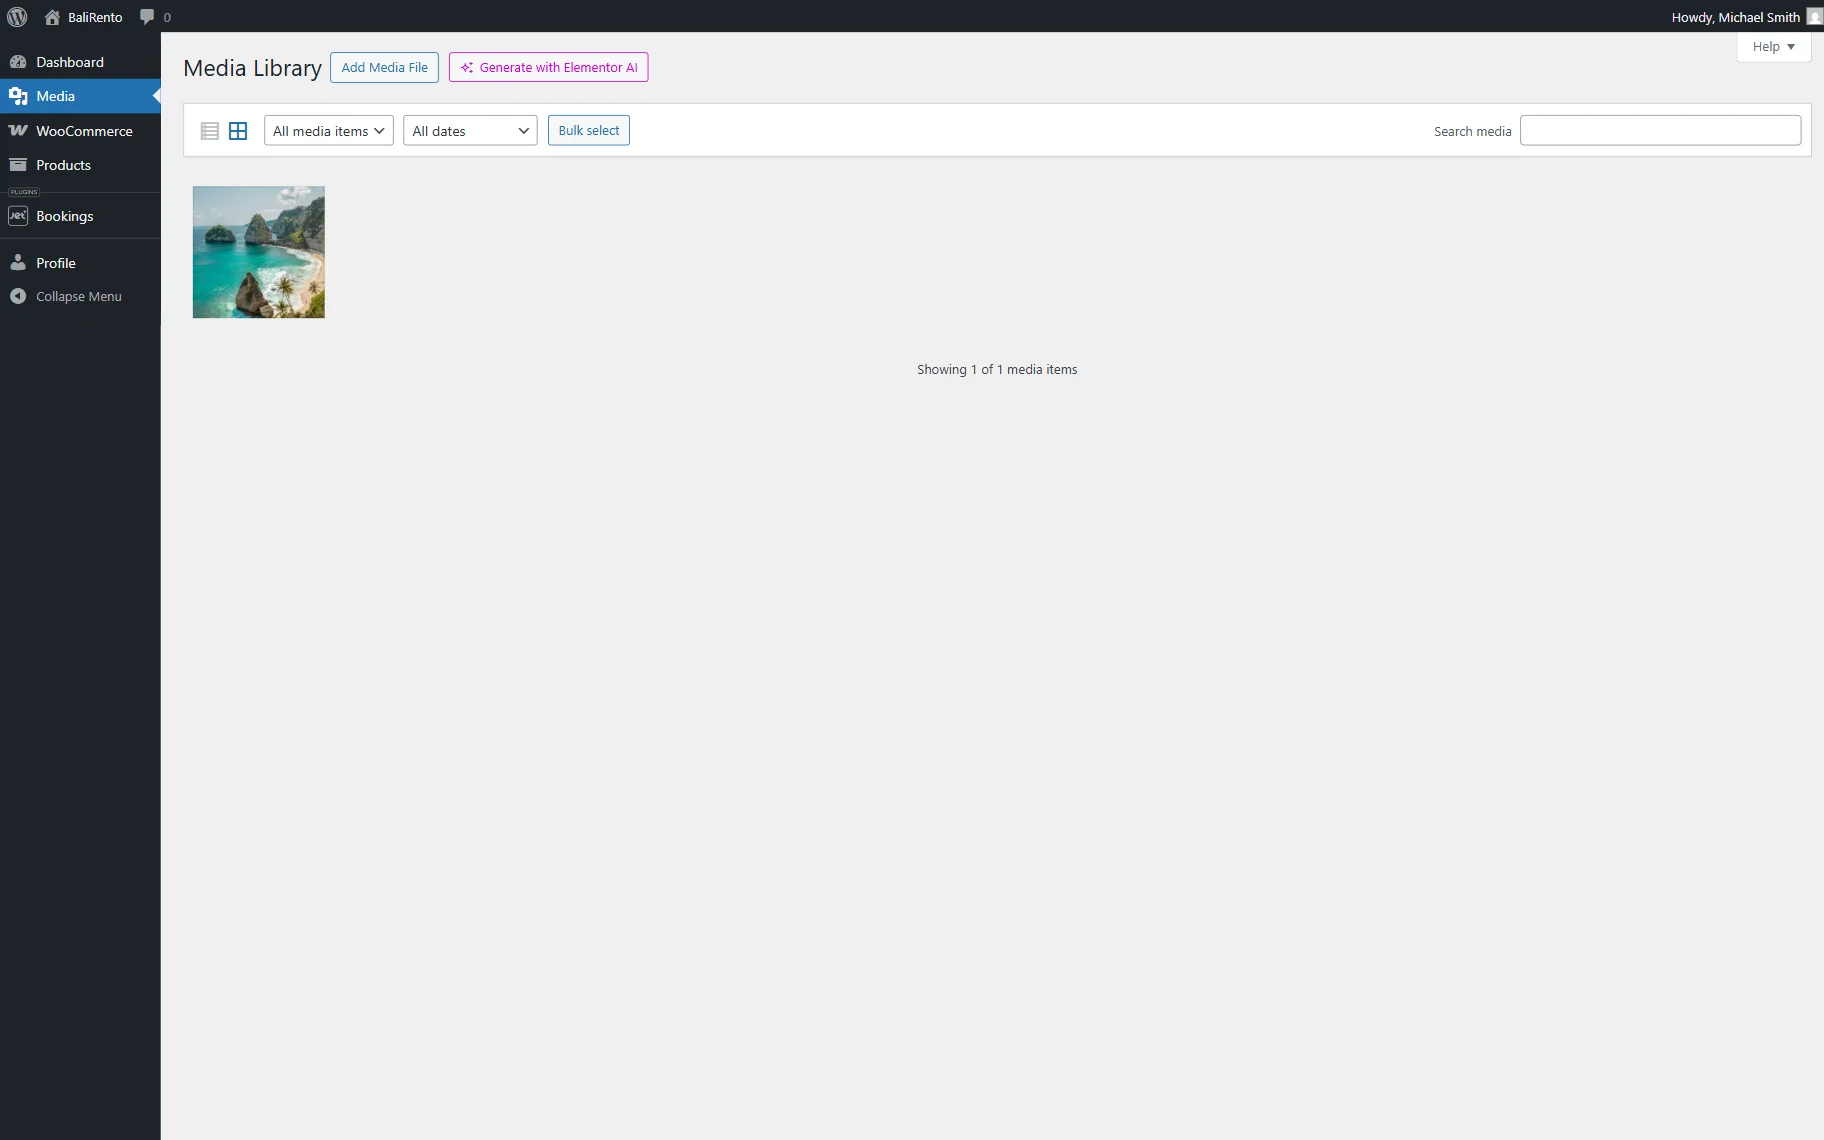
When the vendor logs in to the website, they have restricted access to the dashboard.
Initially, they can proceed to the Media Library but only see the files they uploaded.
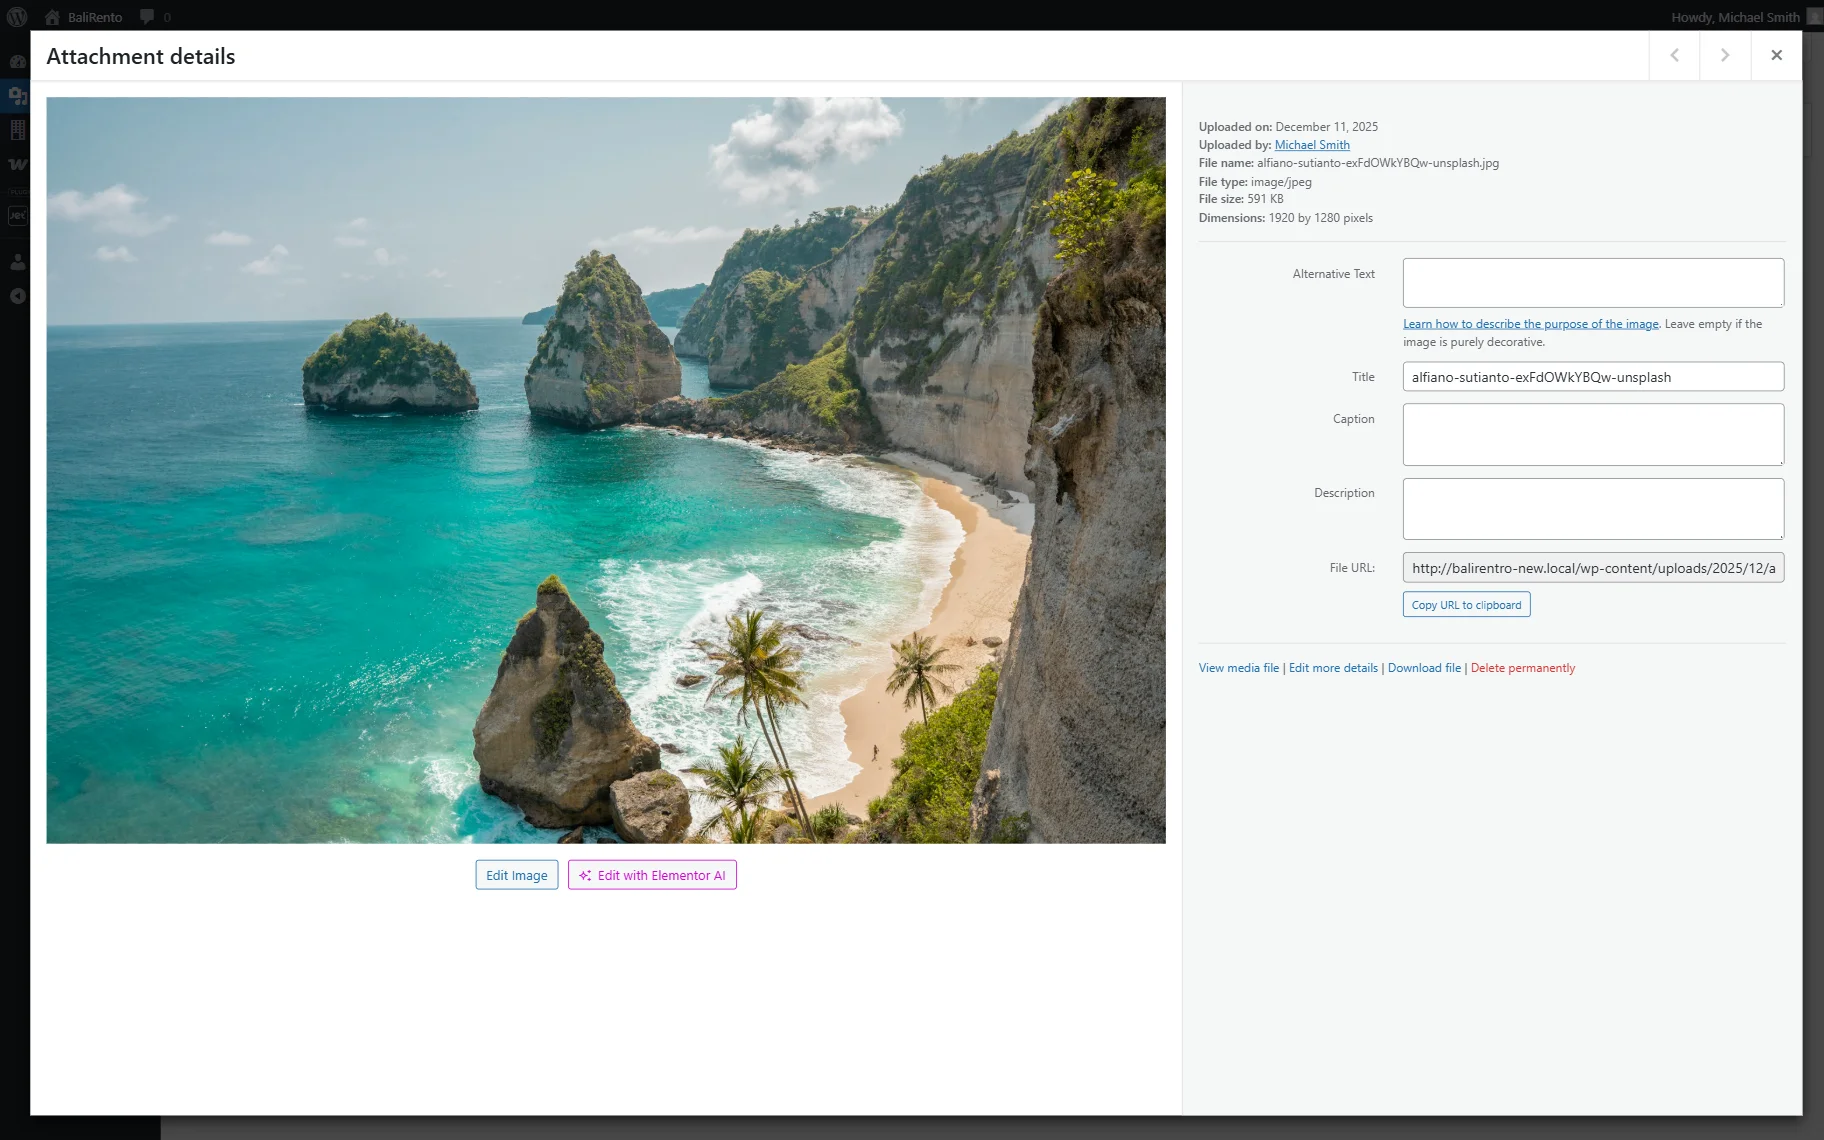
If the vendor clicks on the media, they can make all necessary changes to the image data.
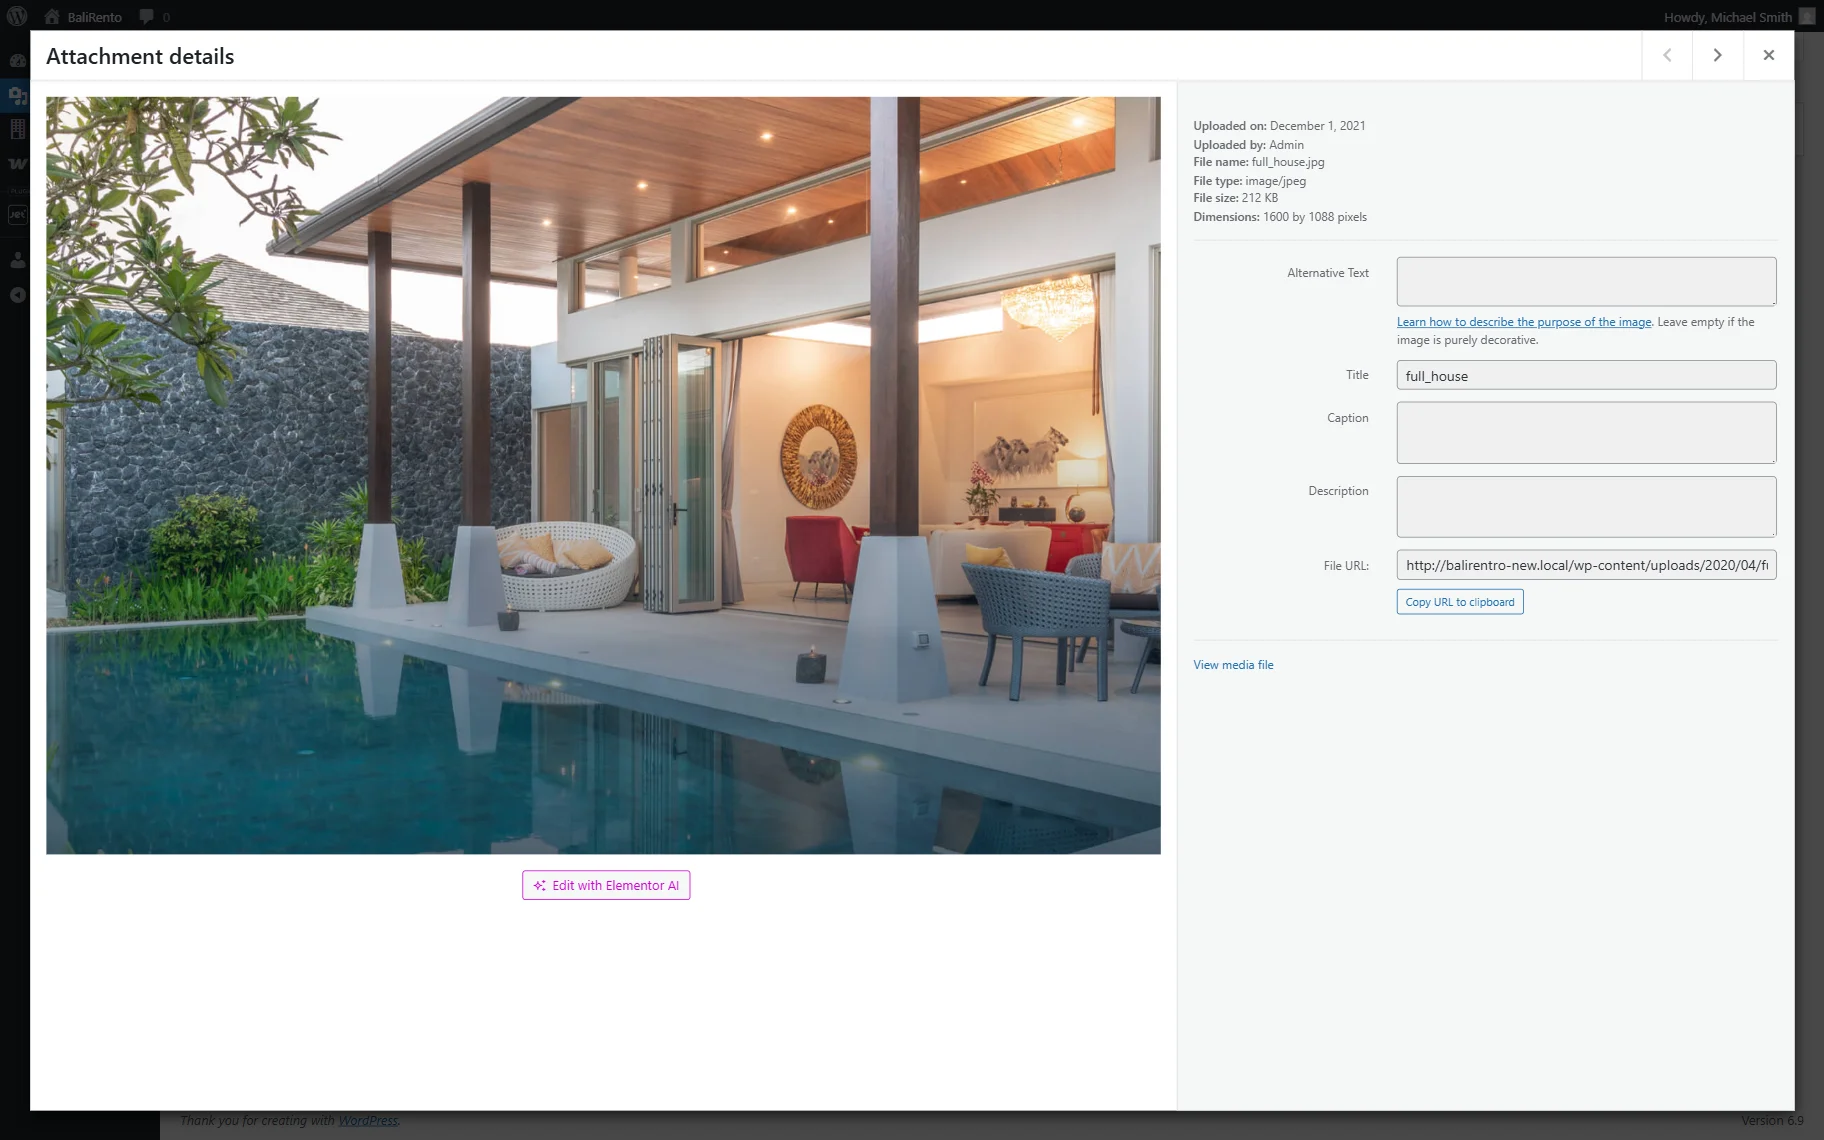
Also, vendors can access the media shared by other users via their links. However, this file has limited capabilities.
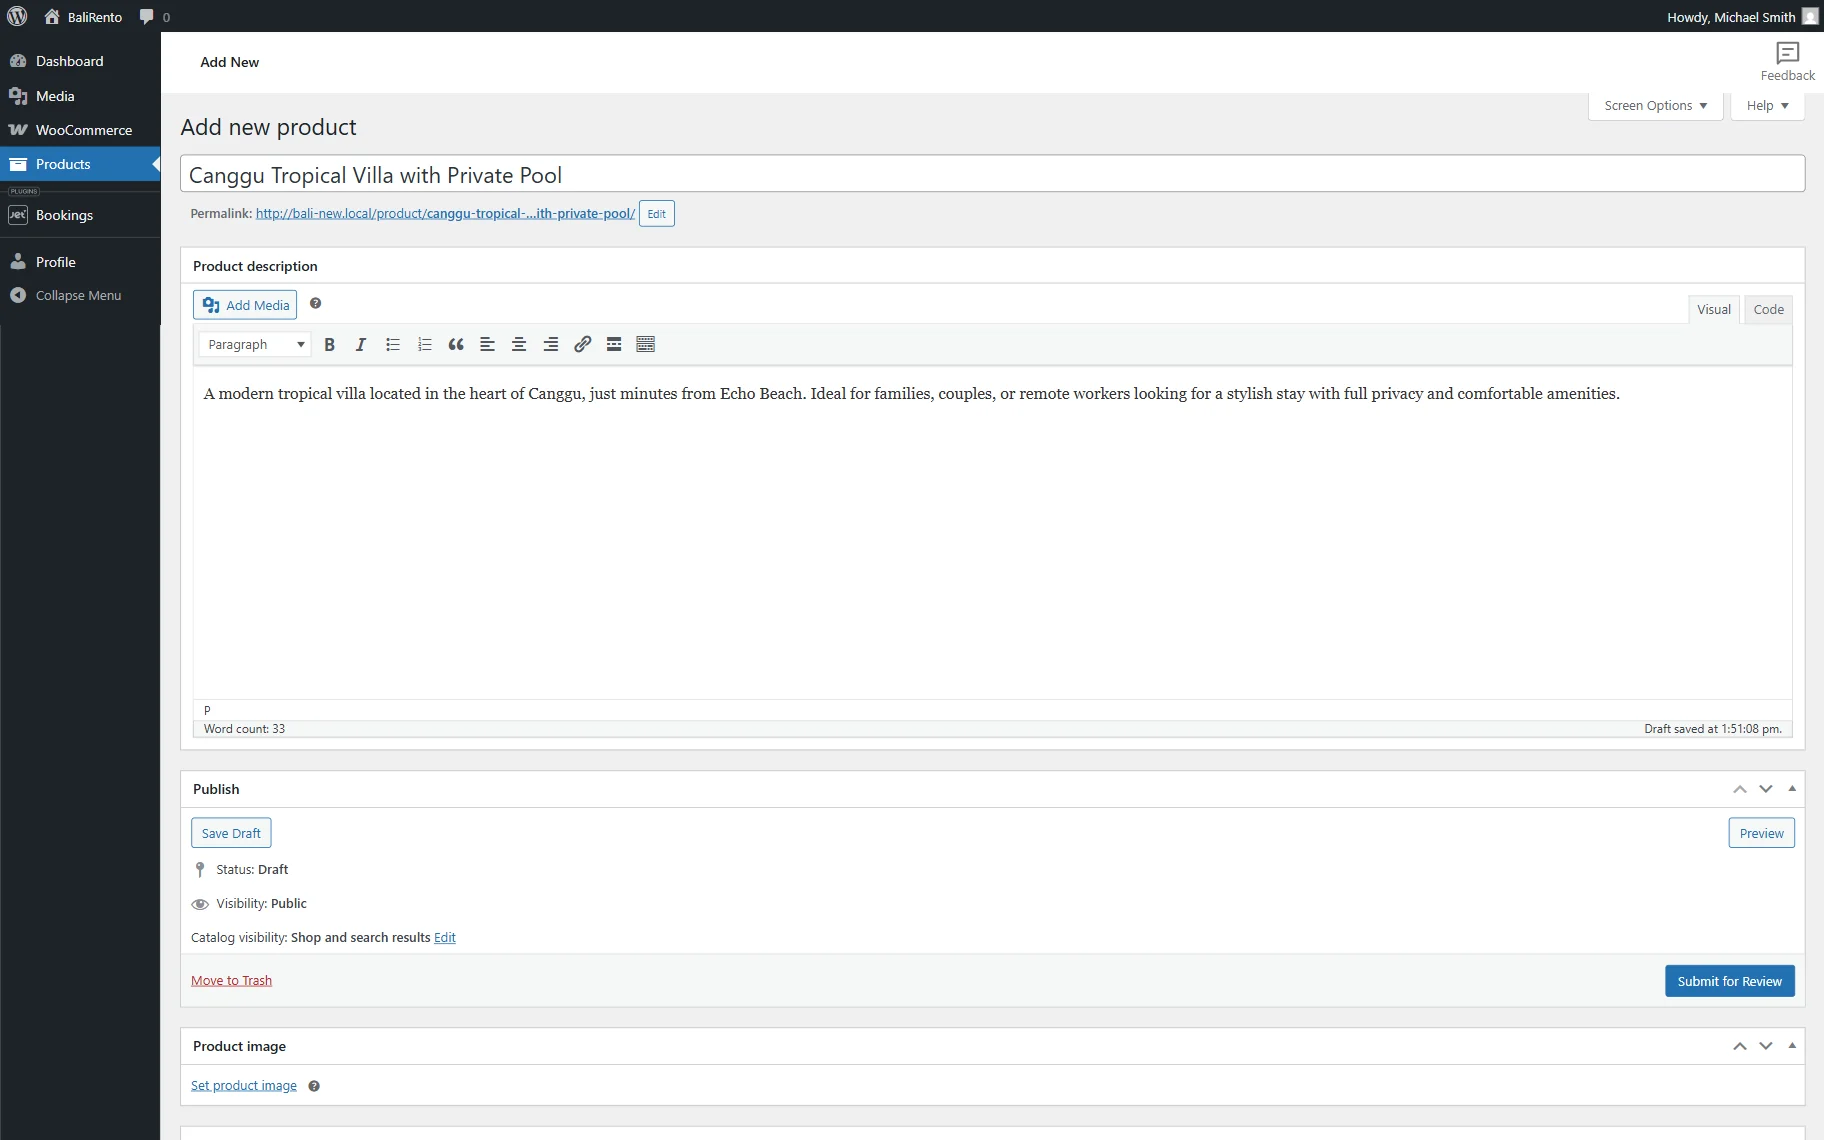
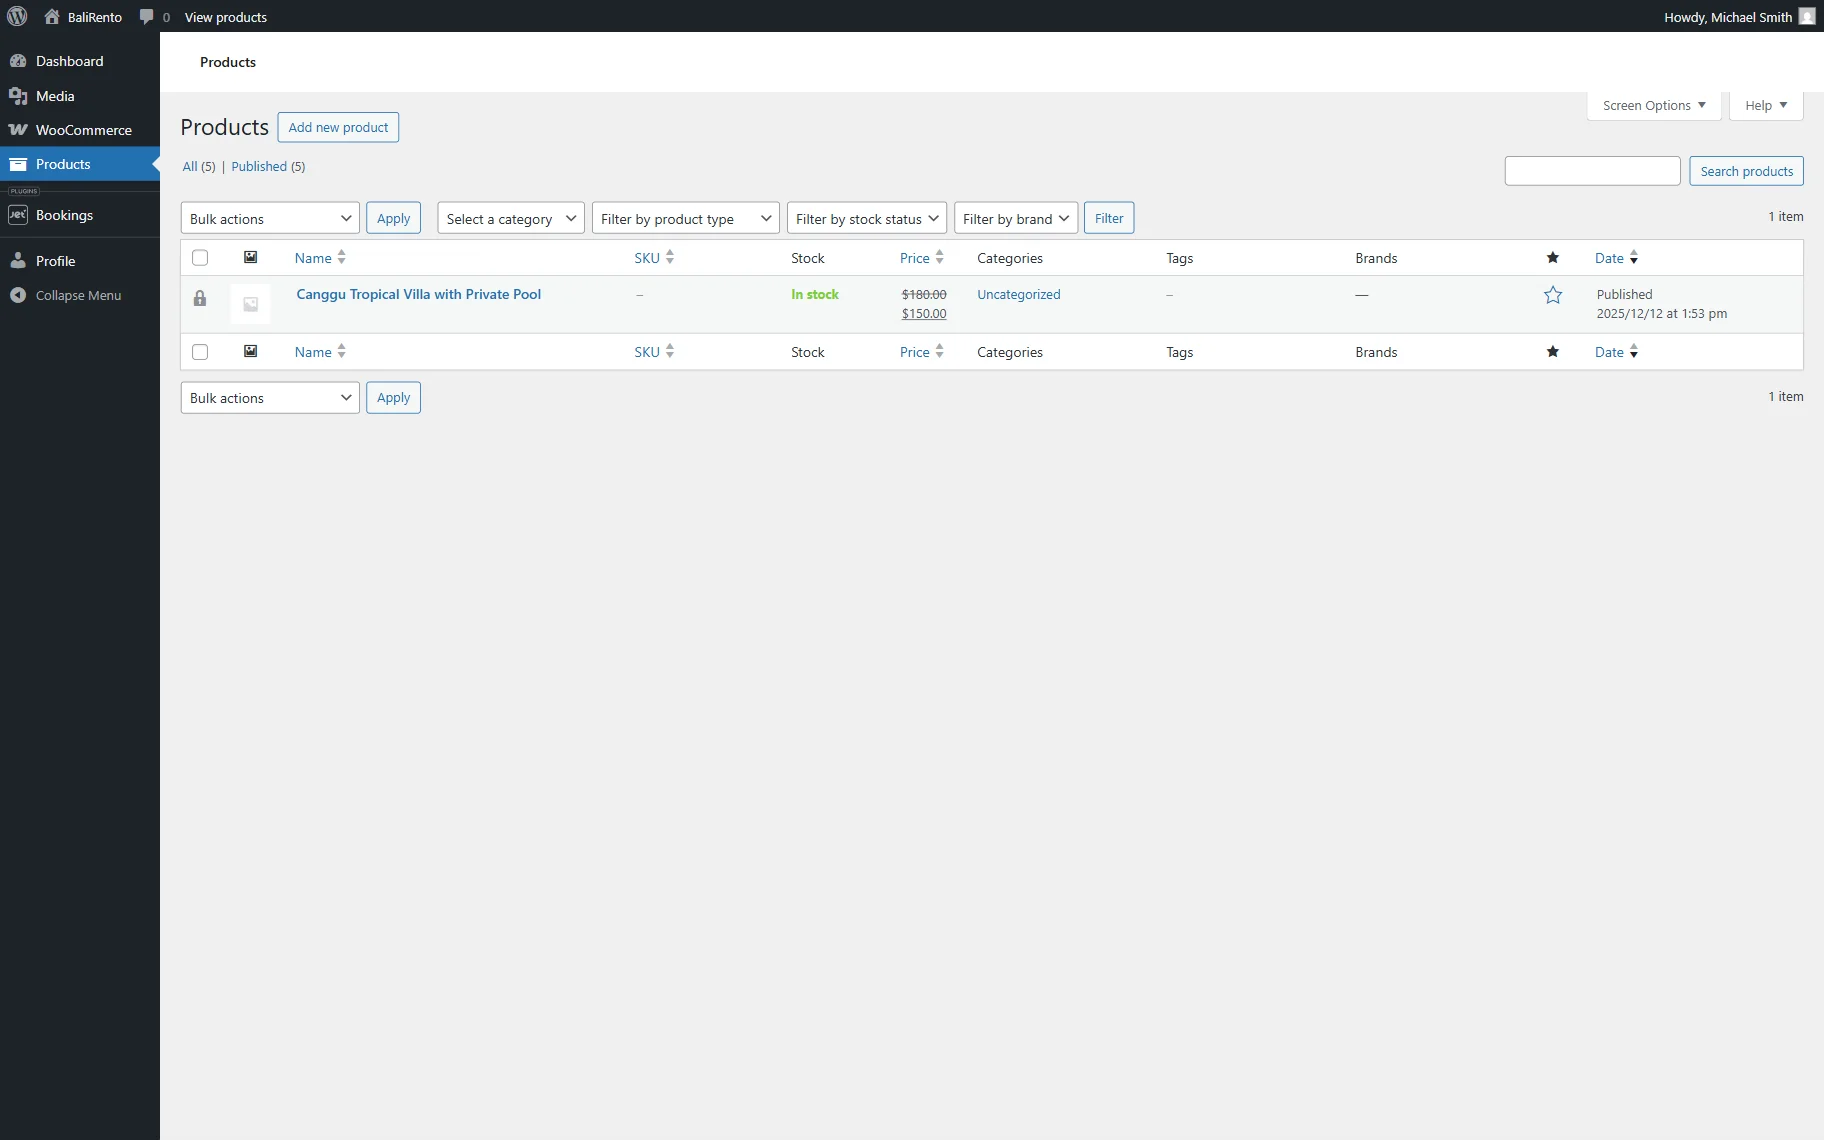
Next, the vendor can add products in the WordPress Dashboard > Products directory.
Once the product is adjusted, the vendor can’t publish it right away. Instead, they can submit the product to the admin’s review.
Once the website’s administrator approves the product and publishes it, the vendor will see that their product’s status has been changed to “Published.”
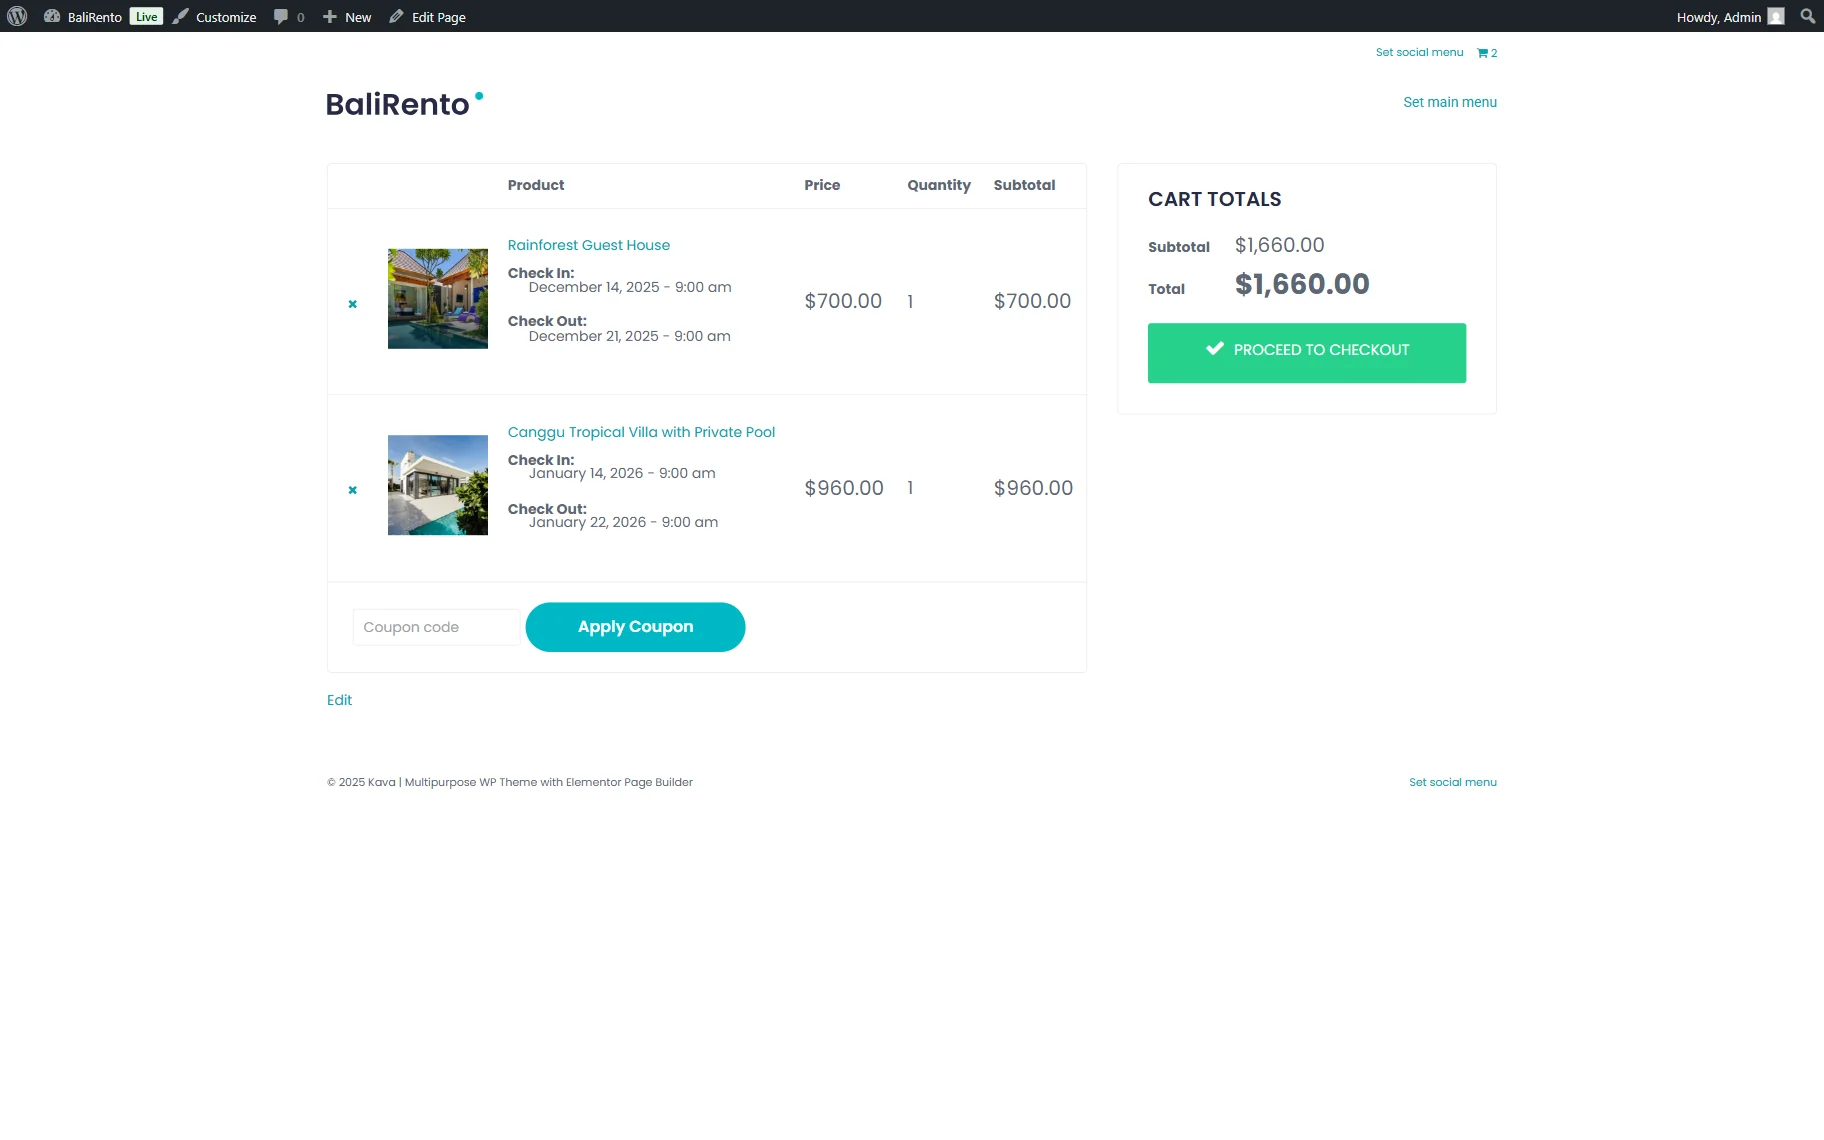
Let’s assume the client adds two products to their cart: one is our vendor’s product, and the second is another vendor’s product.
Then, they confirm their bookings.
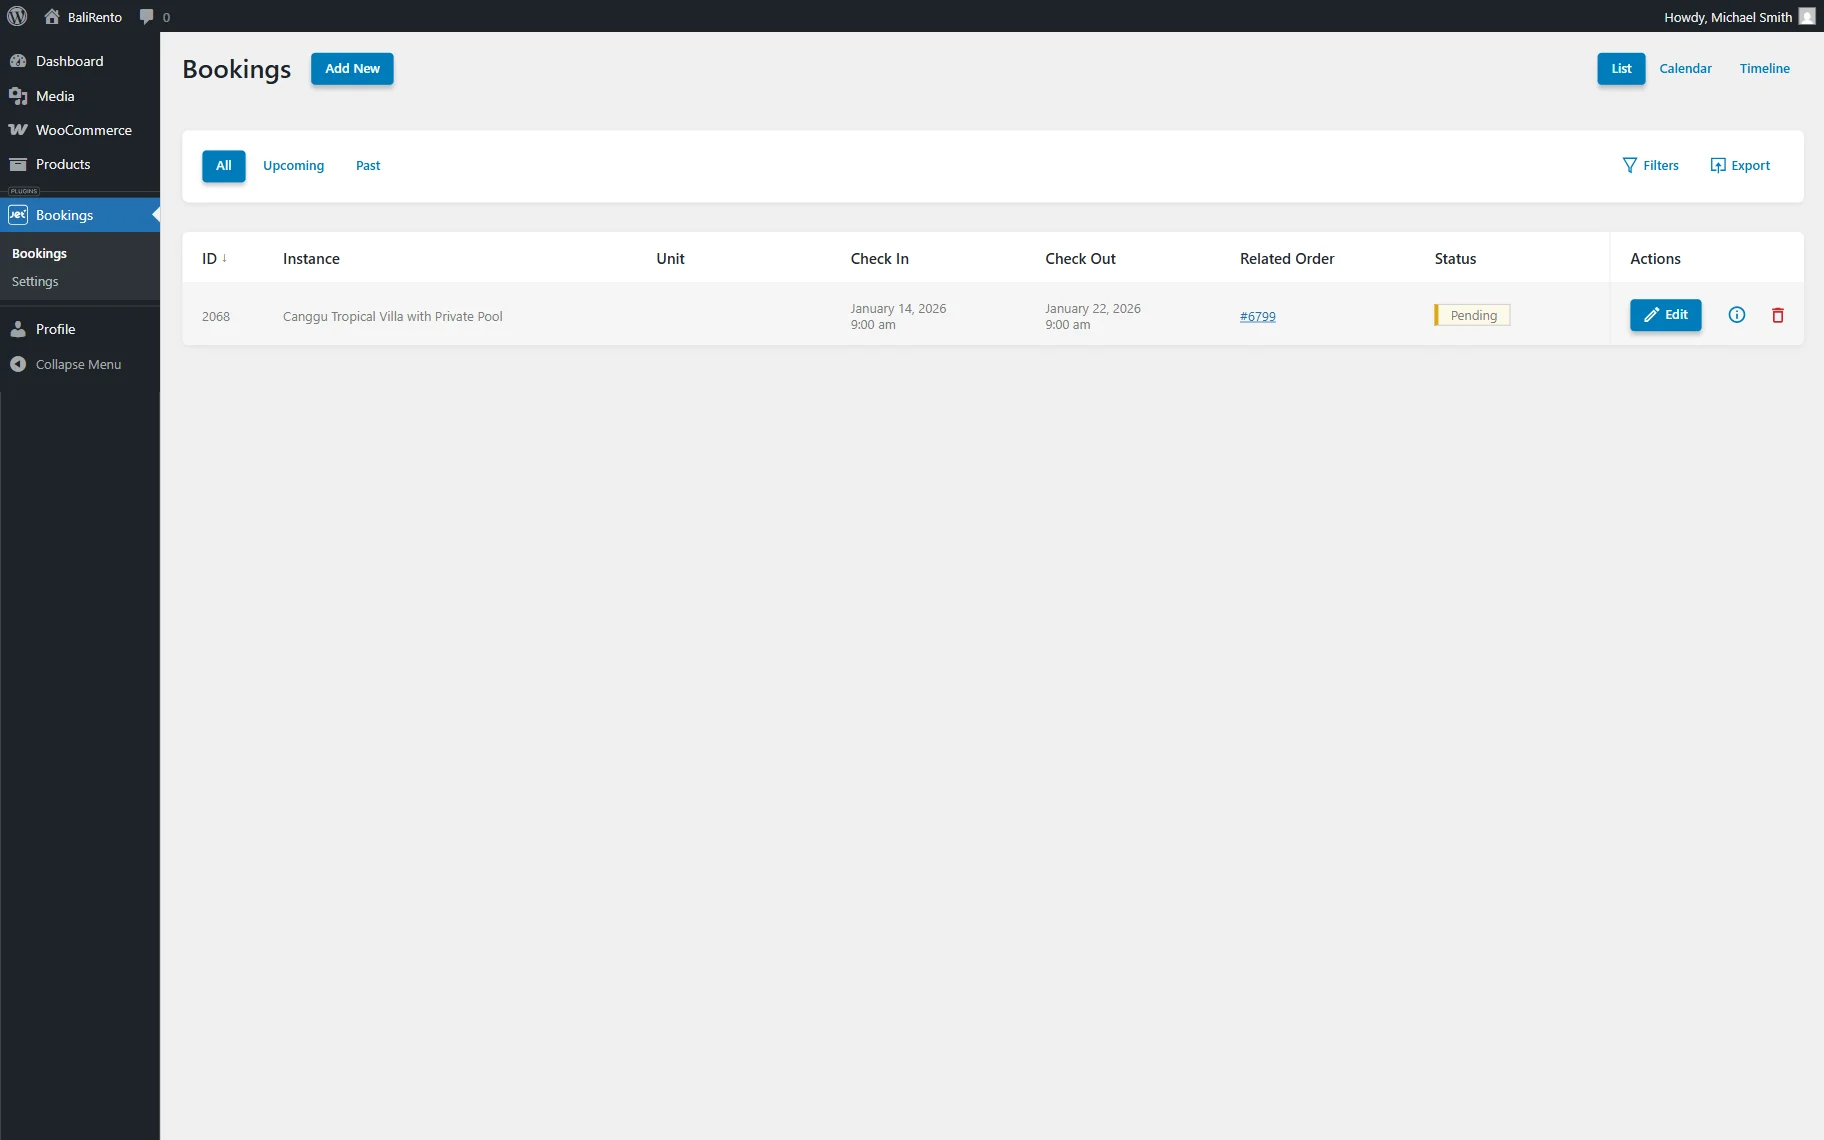
The vendor can manage bookings in the WordPress Dashboard > Bookings dashboard.
Vendors can only see bookings associated with their products. So, the second booking made will not be visible as it has a different vendor.
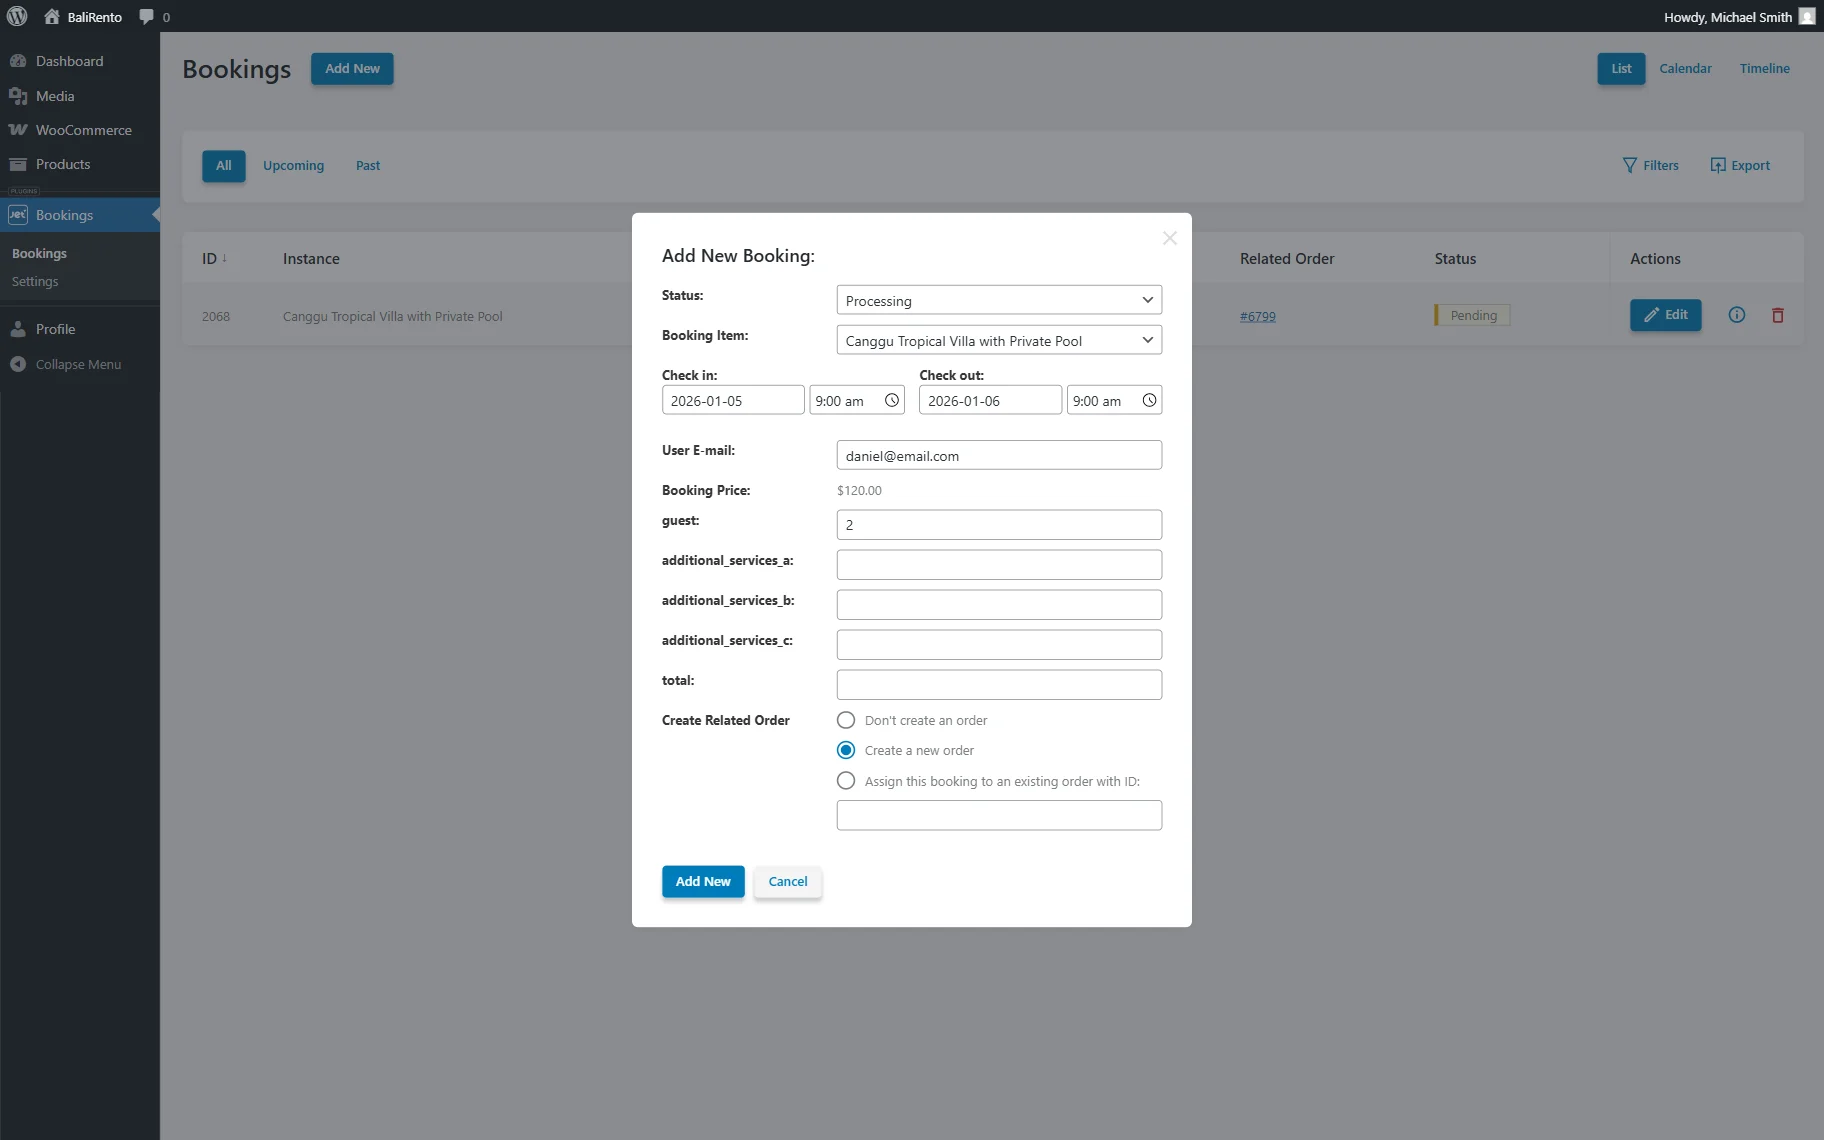
Except for the already created bookings, new bookings can also be added by the vendor themselves by pressing the “Add New” button.
All the changes to the booking can be made in the Add New Booking pop-up. To save them, press the “Add New” button.
The vendor can now see the booking they just added. They can edit the added bookings, check their information, or delete them.
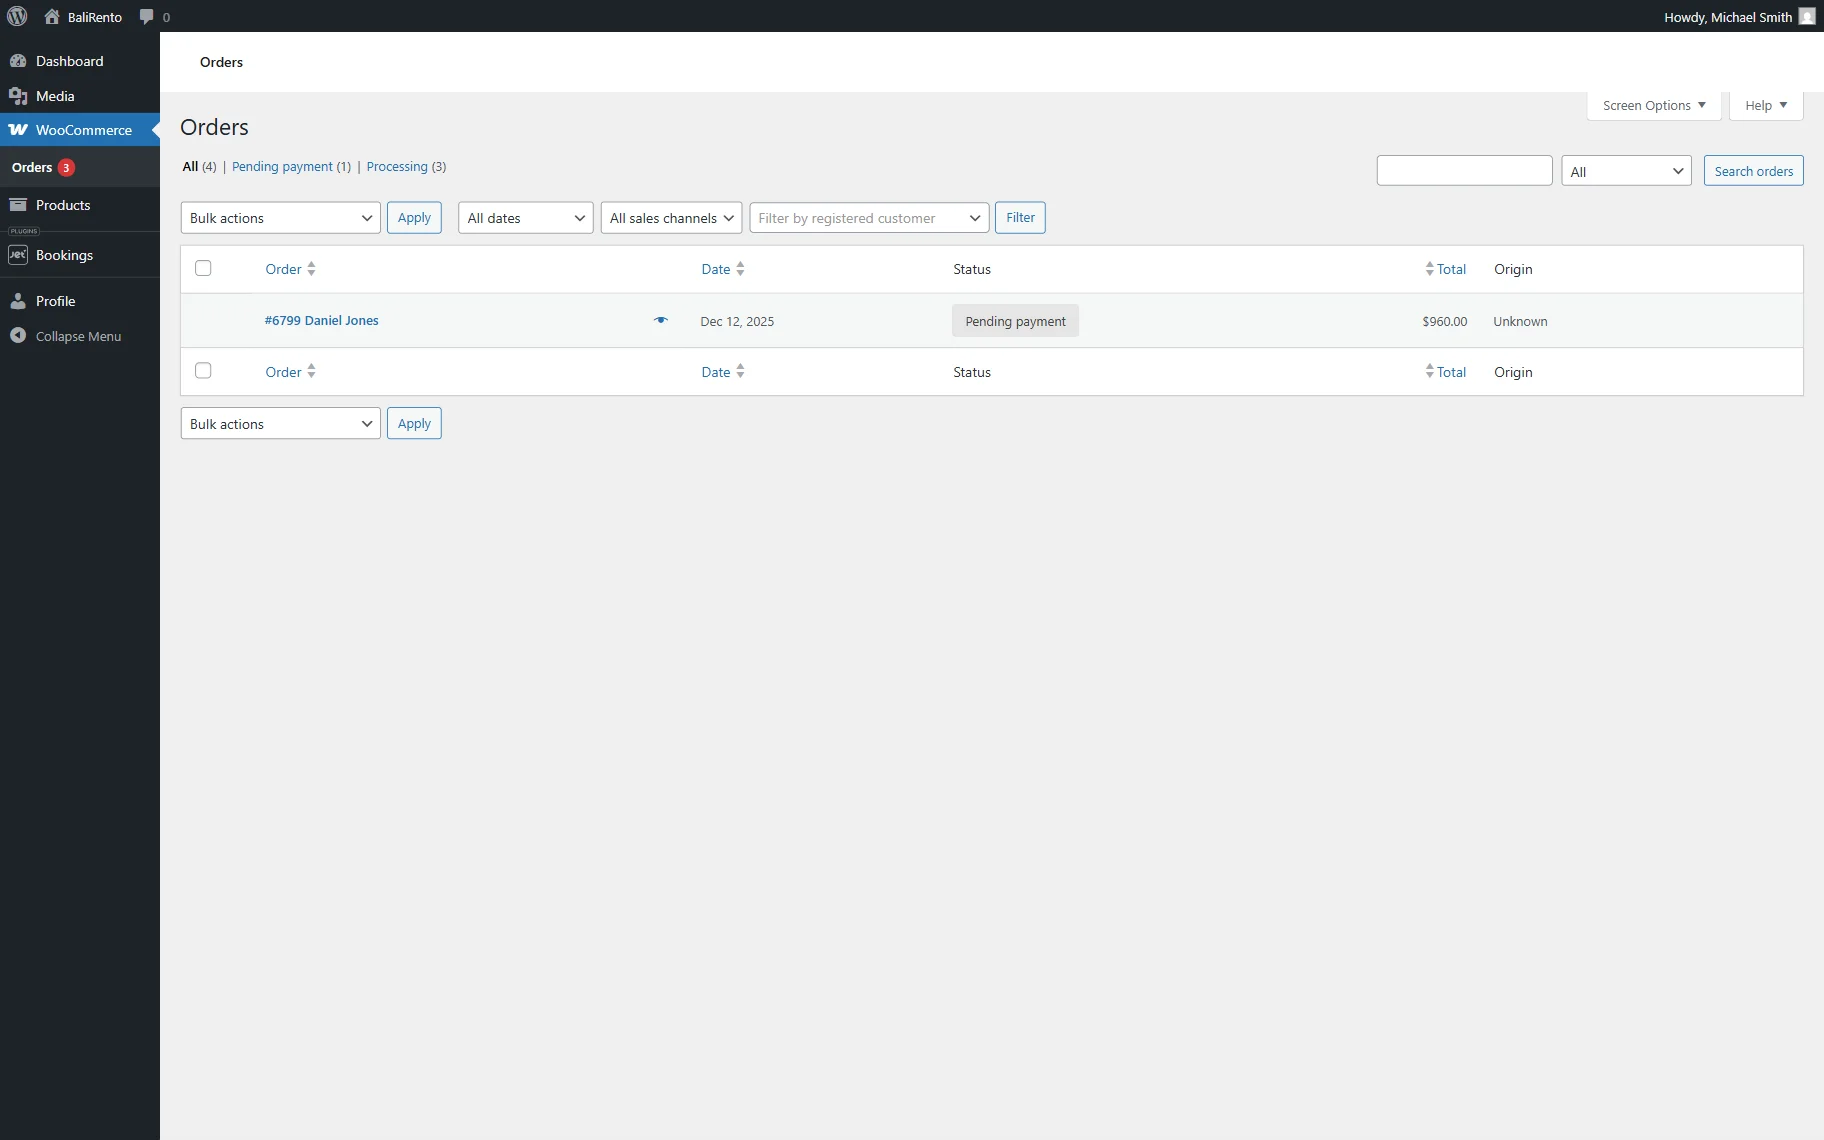
Vendors can also view the orders associated with their posts and bookings in the WordPress Dashboard > WooCommerce > Orders directory.
In our case, the client’s order appears in this list.
That’s all about setting up the multivendor functionality in the “WooCommerce based” mode by using the JetBooking plugin for WordPress websites.