How to Show Featured Products in a Dynamic Table with Query Builder
This guide provides information on creating a query for the Dynamic Table using the Query Builder in the JetEngine plugin.
Before you start, check the tutorial requirements:
- WooCommerce plugin installed and activated
- JetEngine plugin installed and activated
In this tutorial, we will create a table with the JetEngine custom query to display featured WooCommerce products in the Dynamic Table.
Create a Query
Head to WordPress Dashboard > JetEngine > Query Builder. Click “Add New” to build a new query.
First, complete the Name of the query. In our case, it’s “Featured Products Query.”
We want the table to display WooCommerce products, so we select “WC Product Query” as the Query Type.
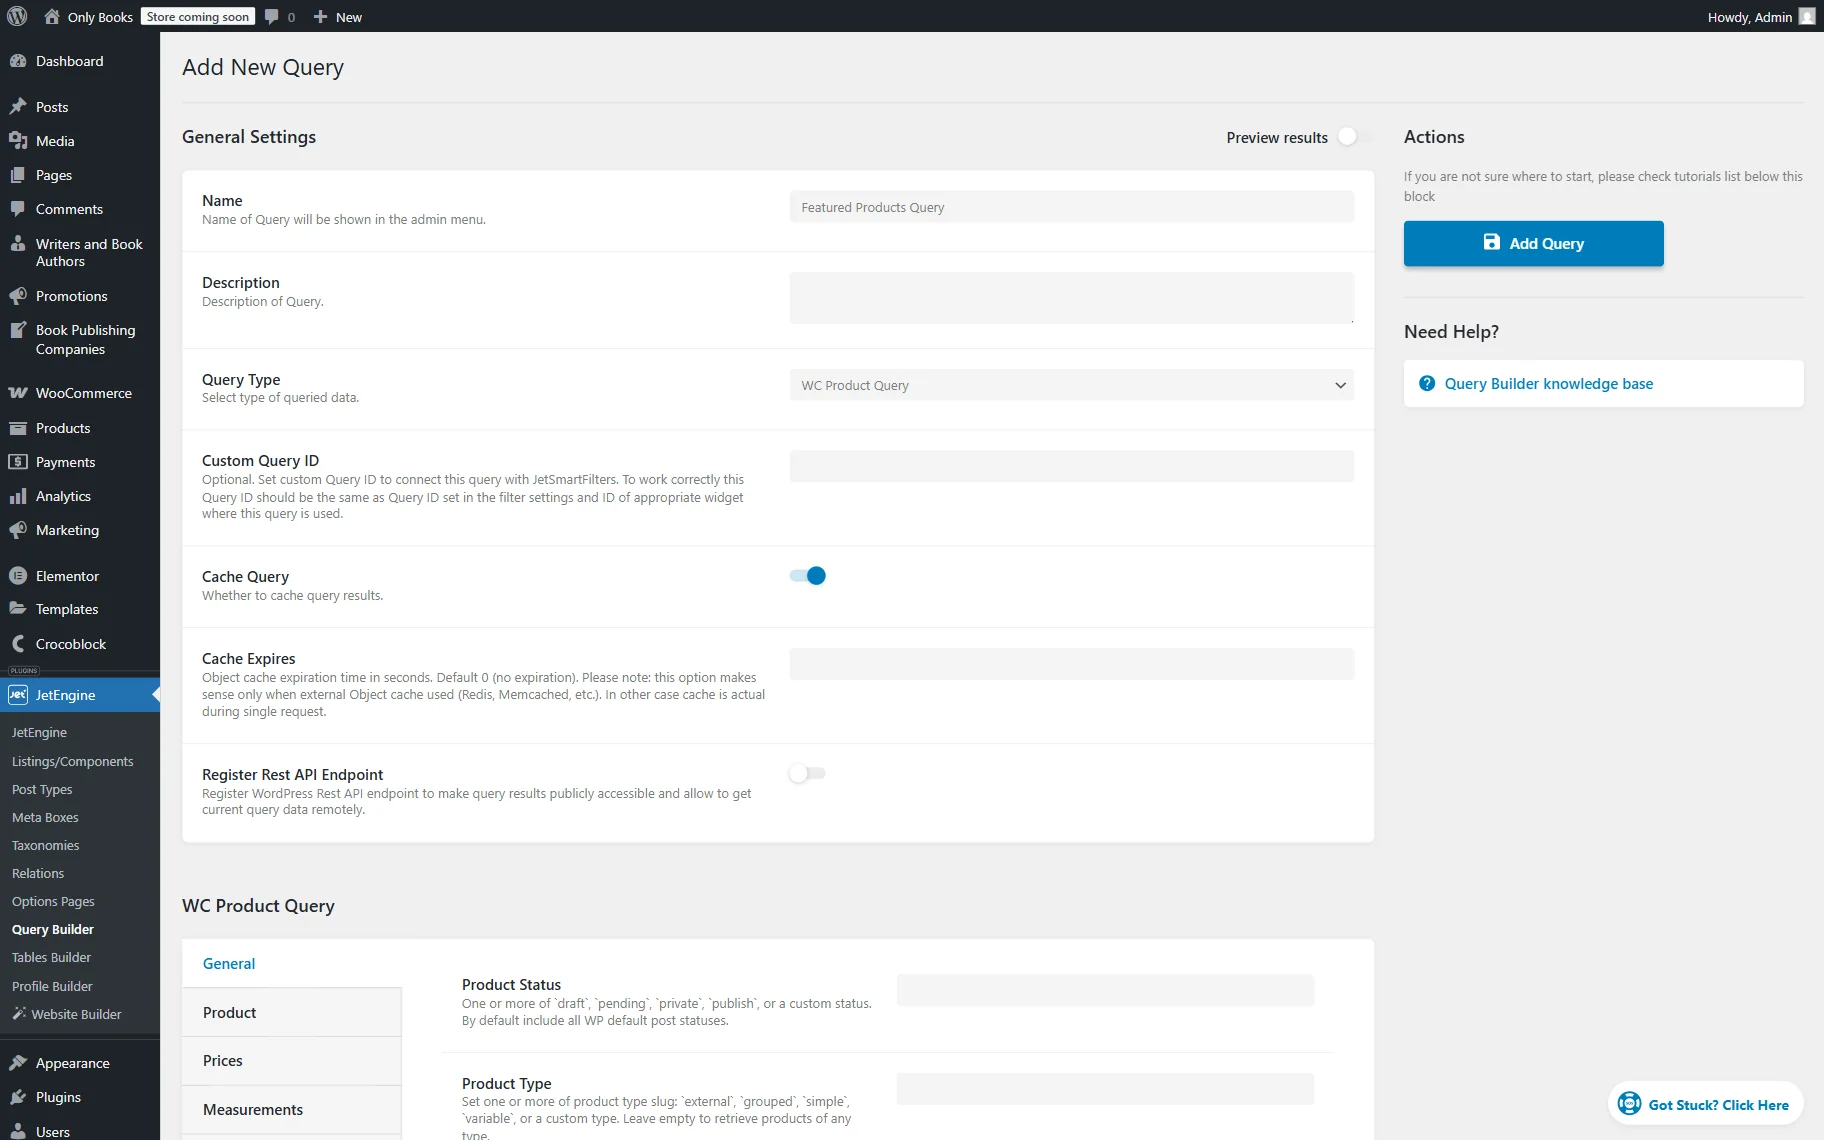
Choose a Product Status in the General tab if it is needed. In the current case, the “Published (publish)” status will be used.
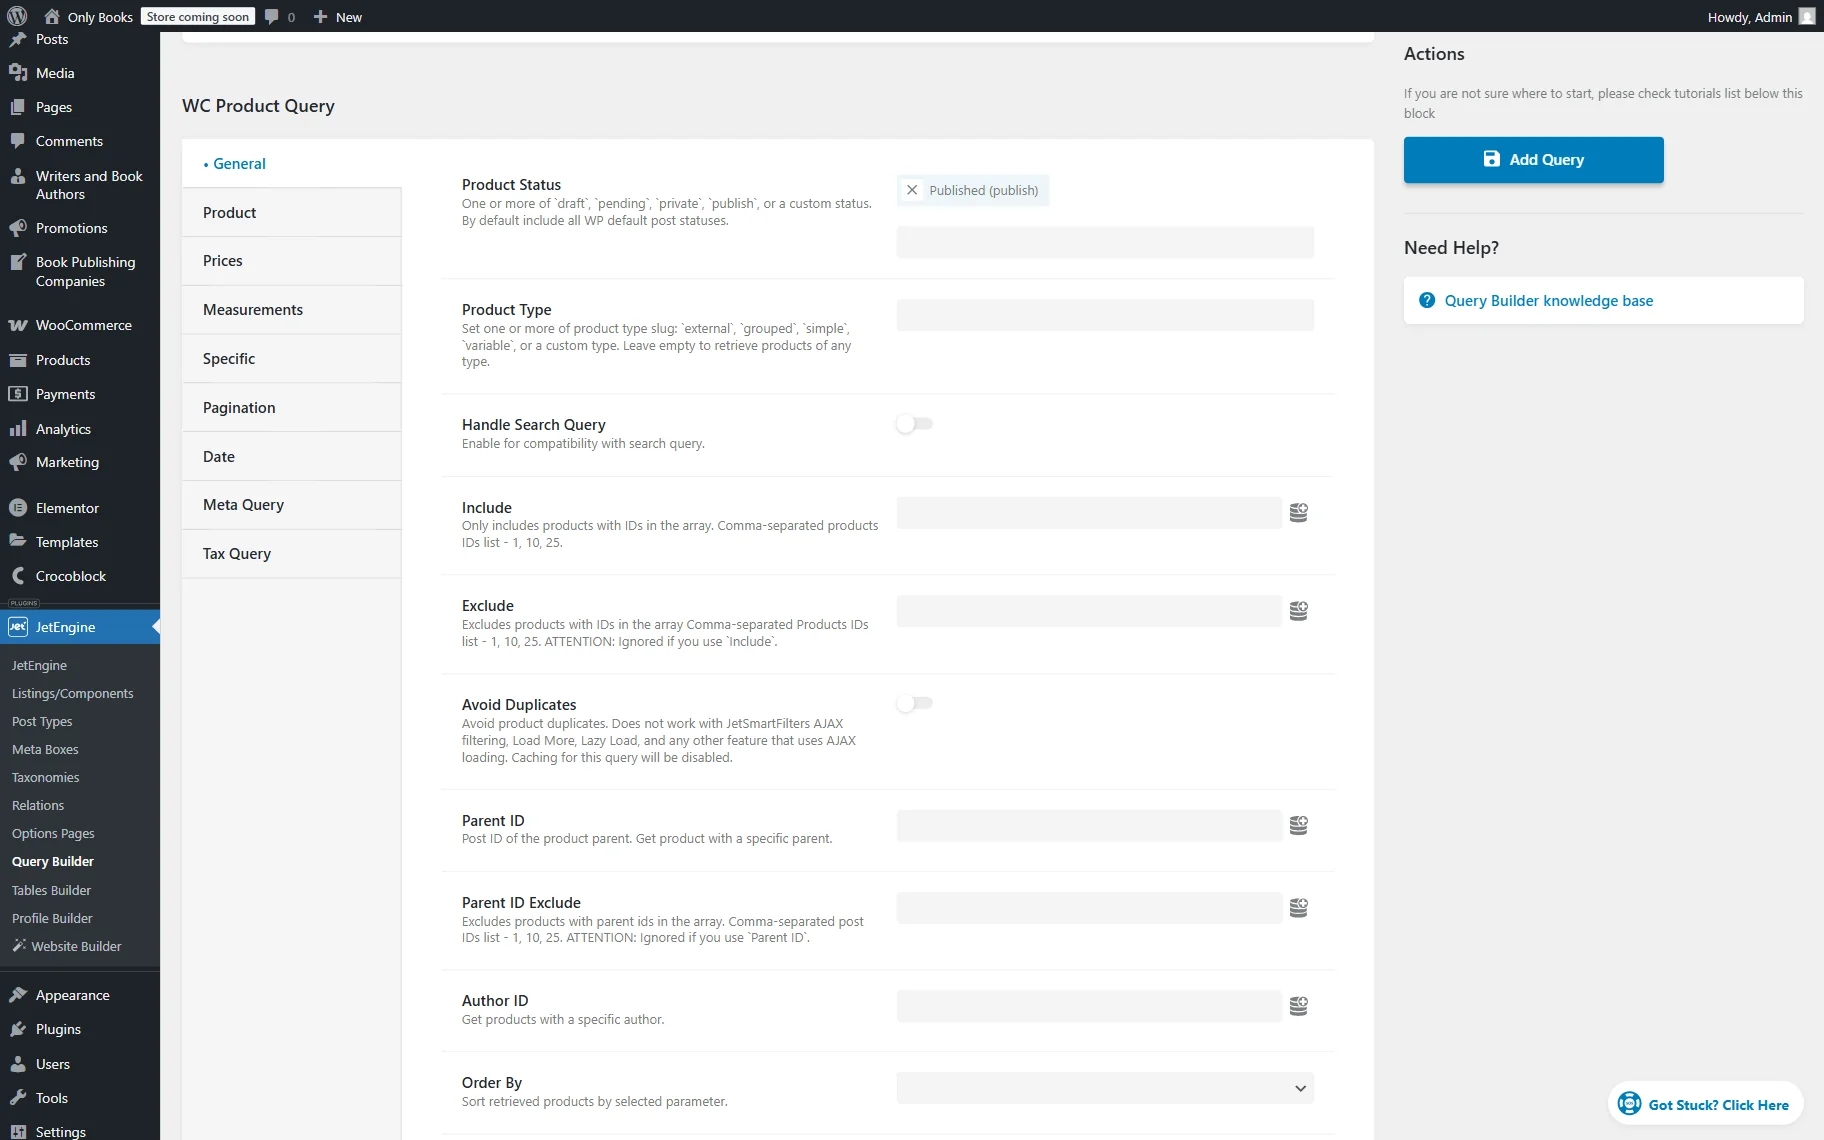
Now, the query needs to be modified to find only featured products. Proceed to the Specific tab and hit “Add new.”
Set the Feature as “Featured” and Status to “True”.
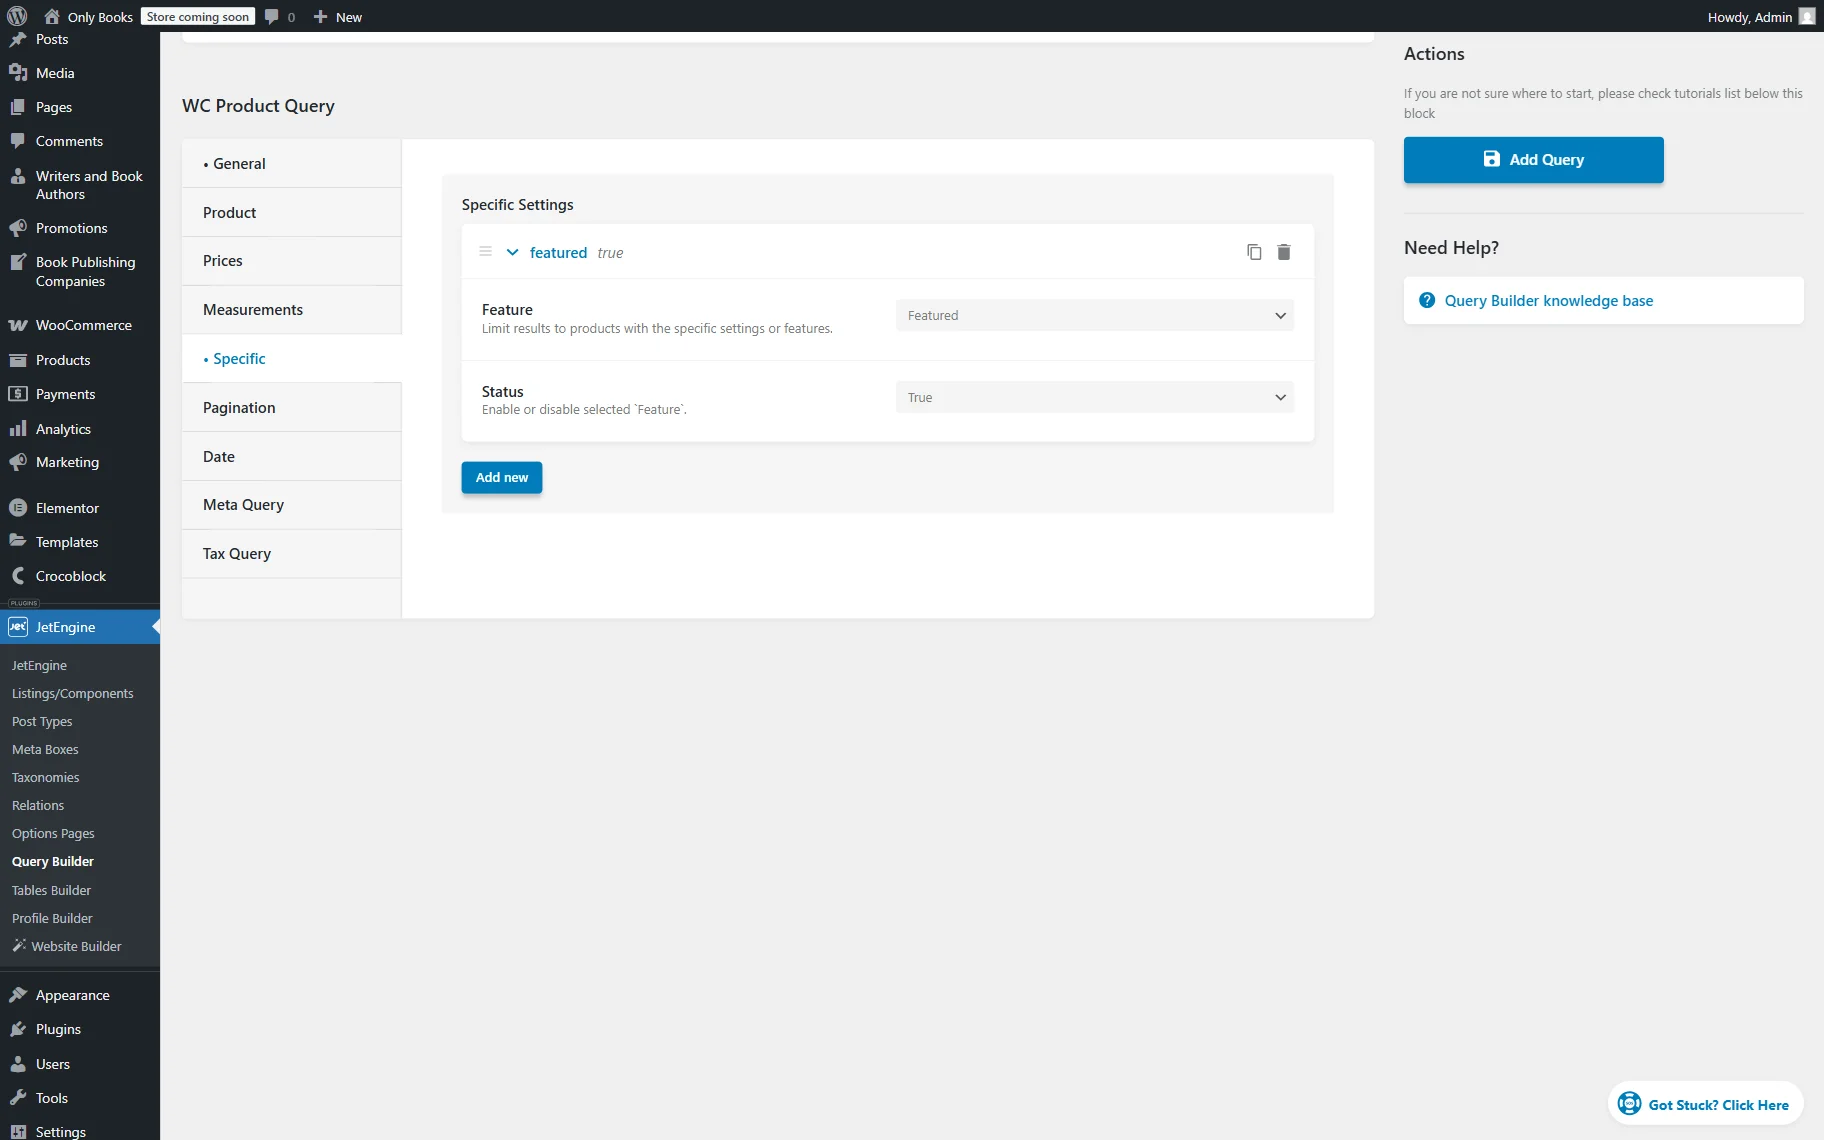
The basic setup for the query is done. Hit the “Add Query” button to save the changes.
Now let’s build a table.
Build a Dynamic Table
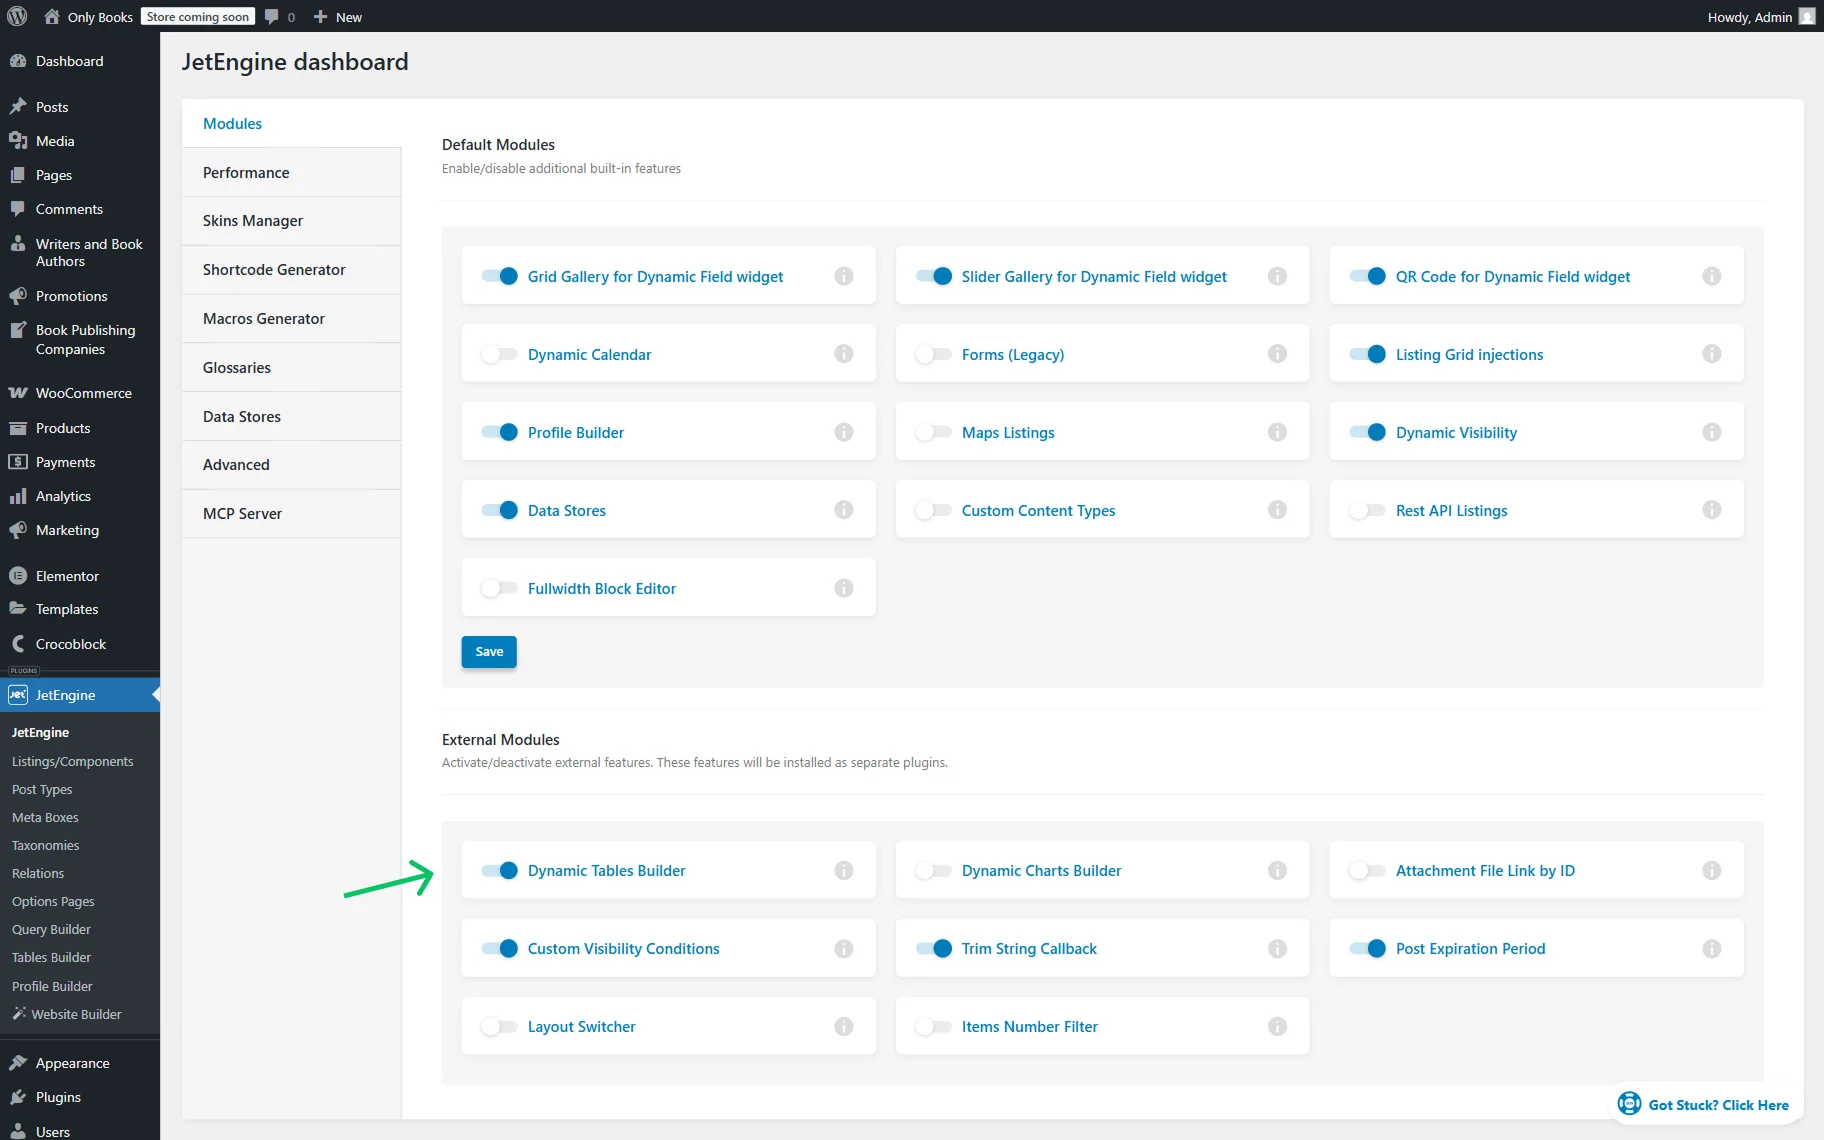
Check whether the Dynamic Tables Builder toggle is activated in the WordPress Dashboard > JetEngine > Modules tab. If not, activate it and wait for the short installation to end.
Click the “Go to Tables Builder” button.
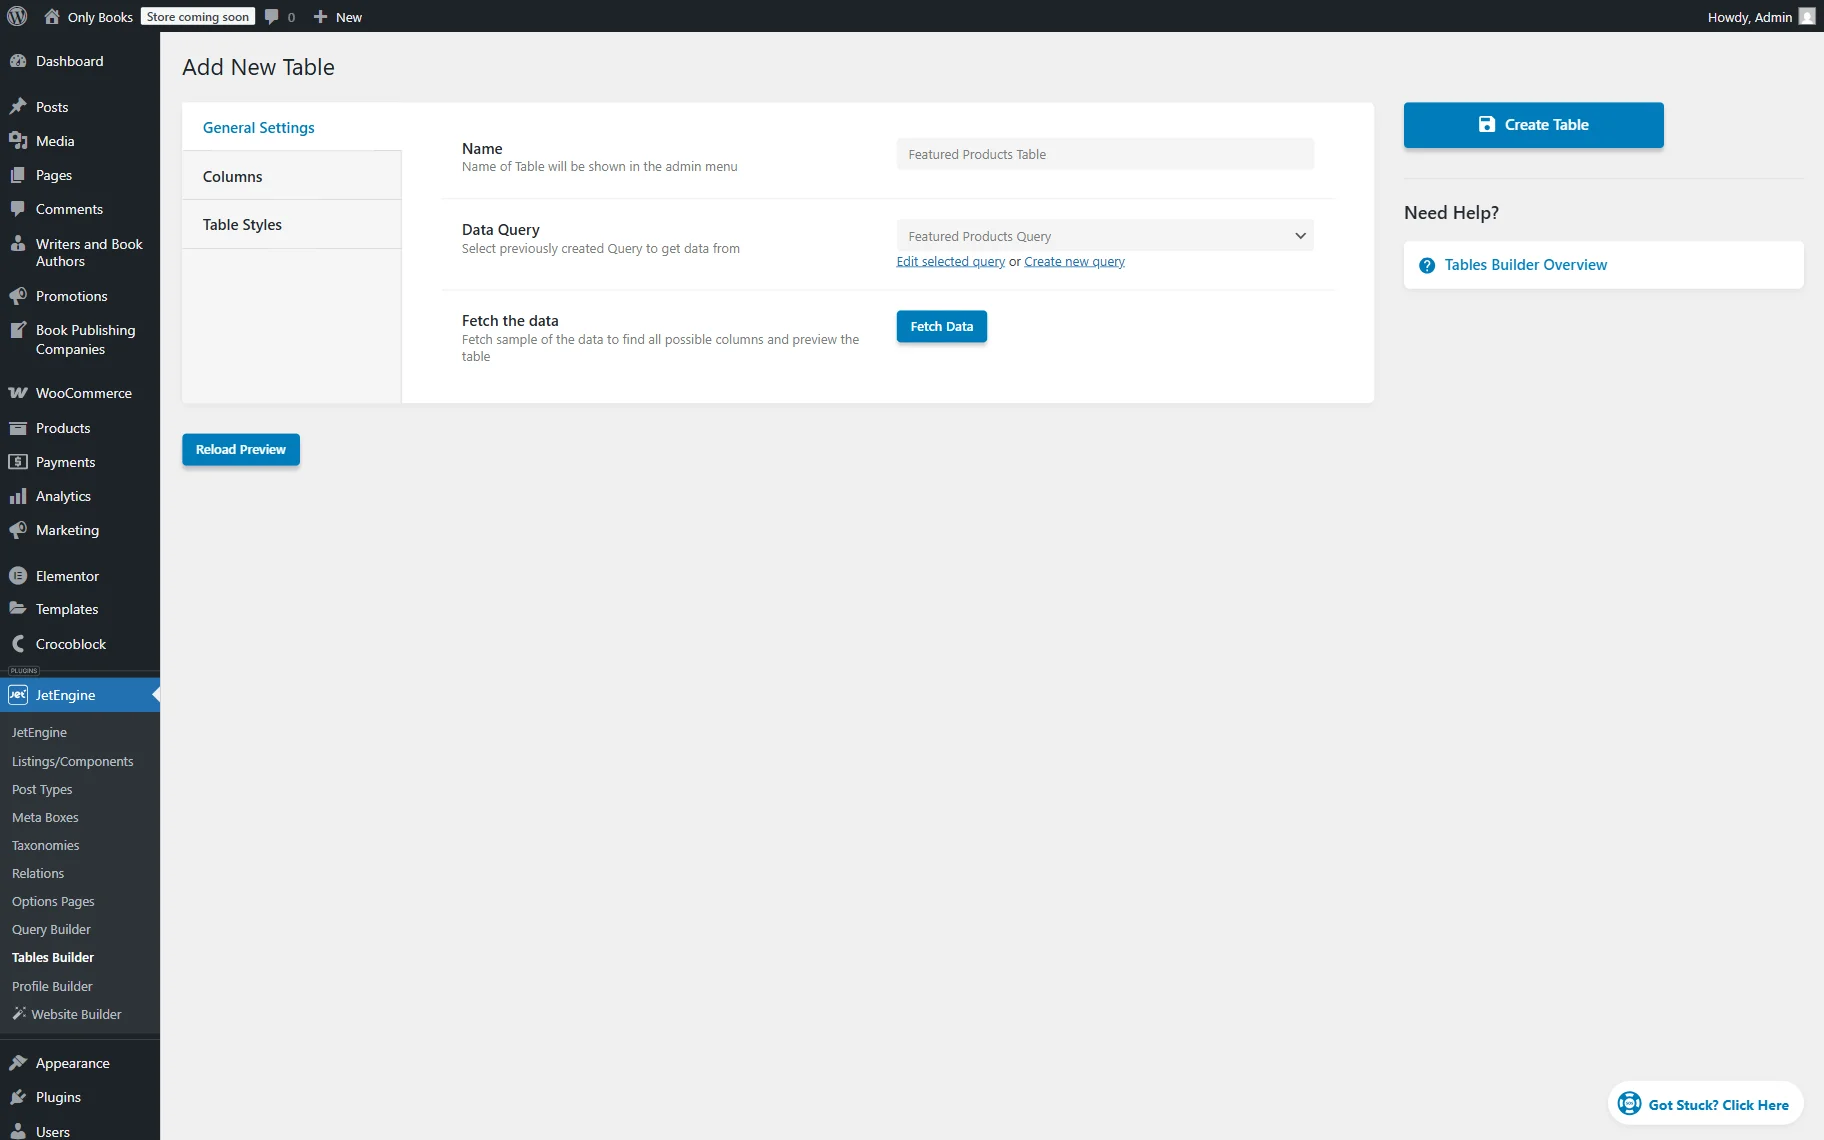
To build a new table, press the “Add new” button.
Complete the table’s Name (here, “Featured Products Table”), select the built query in the Data Query list, and press the “Fetch Data” button in the Fetch the data area.
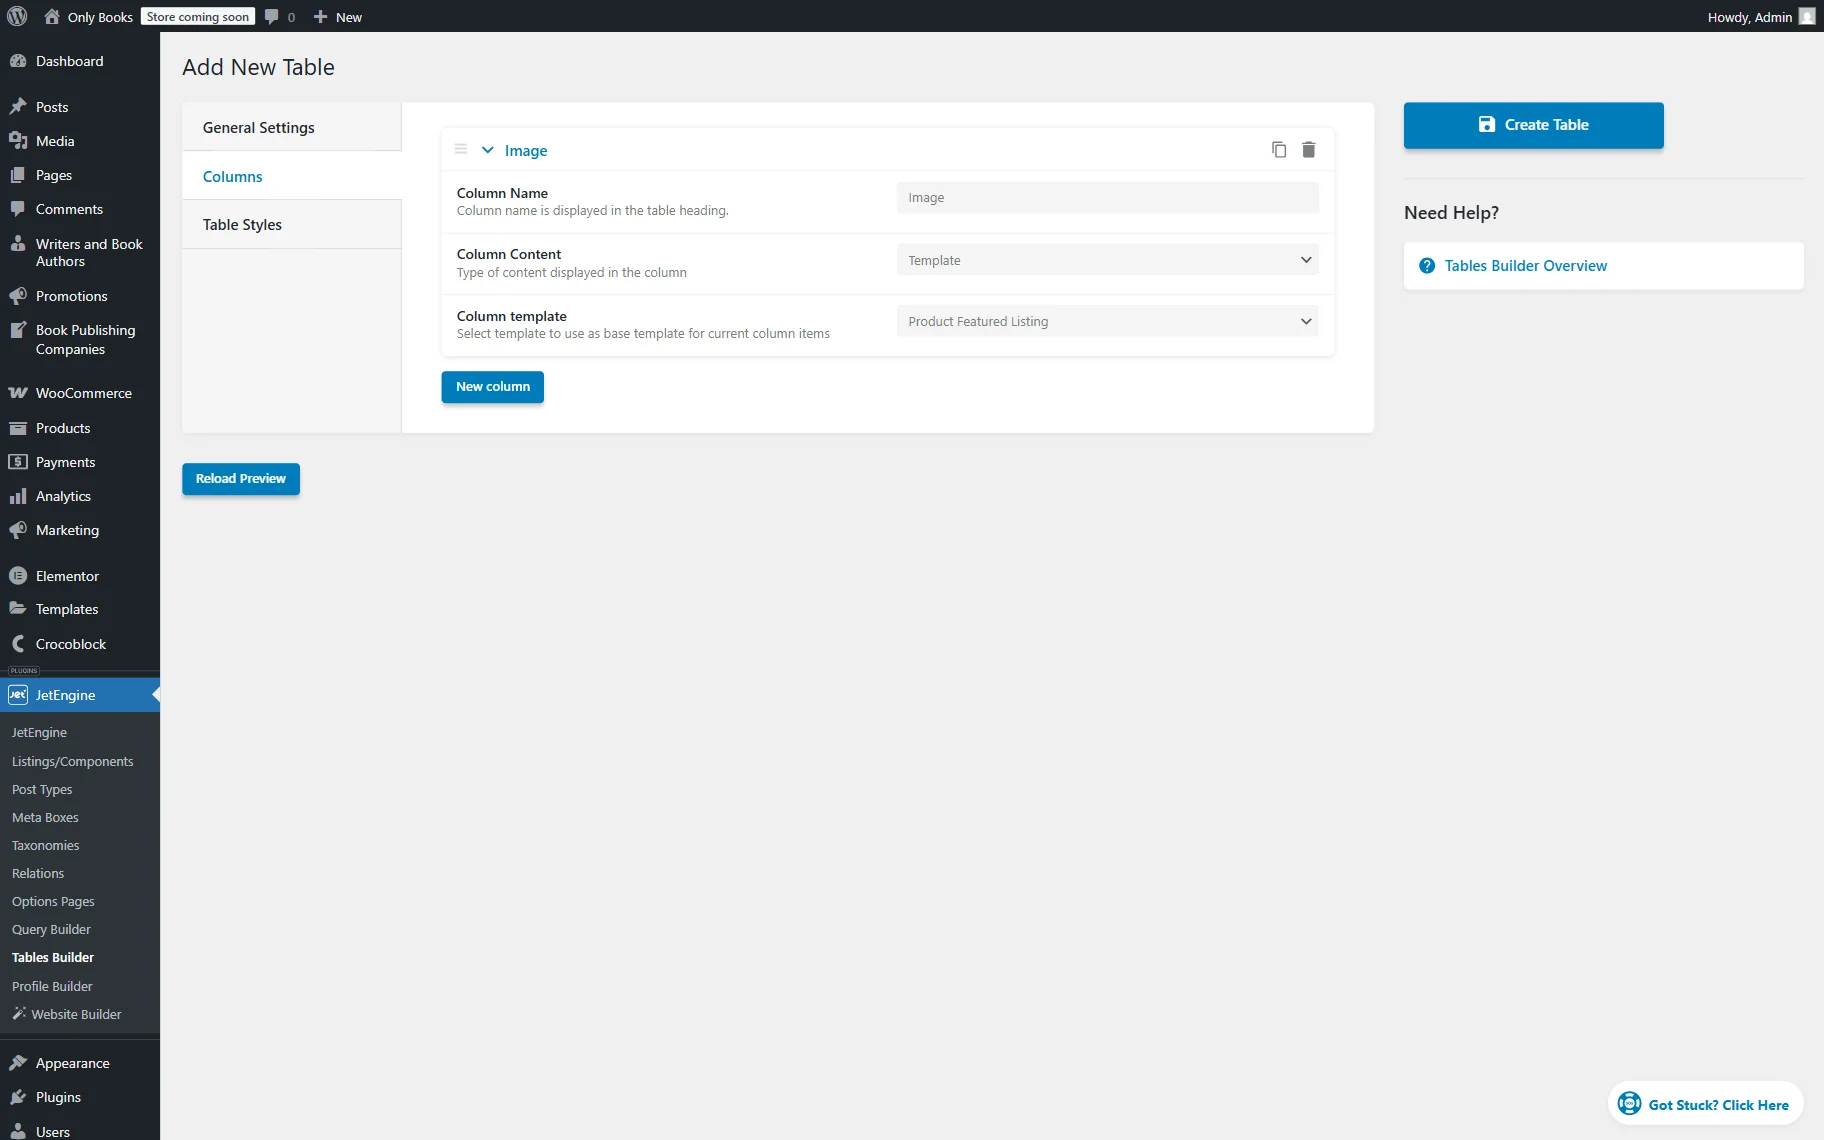
Open the next tab called Columns and press the “New column” button.
Complete the Column Name. For instance, we set it to “Image” because this column will display the book cover.
In the Column Content list, we pick the “Template” option.
We have built a template with a book cover beforehand; now select it from the Custom Template dropdown.
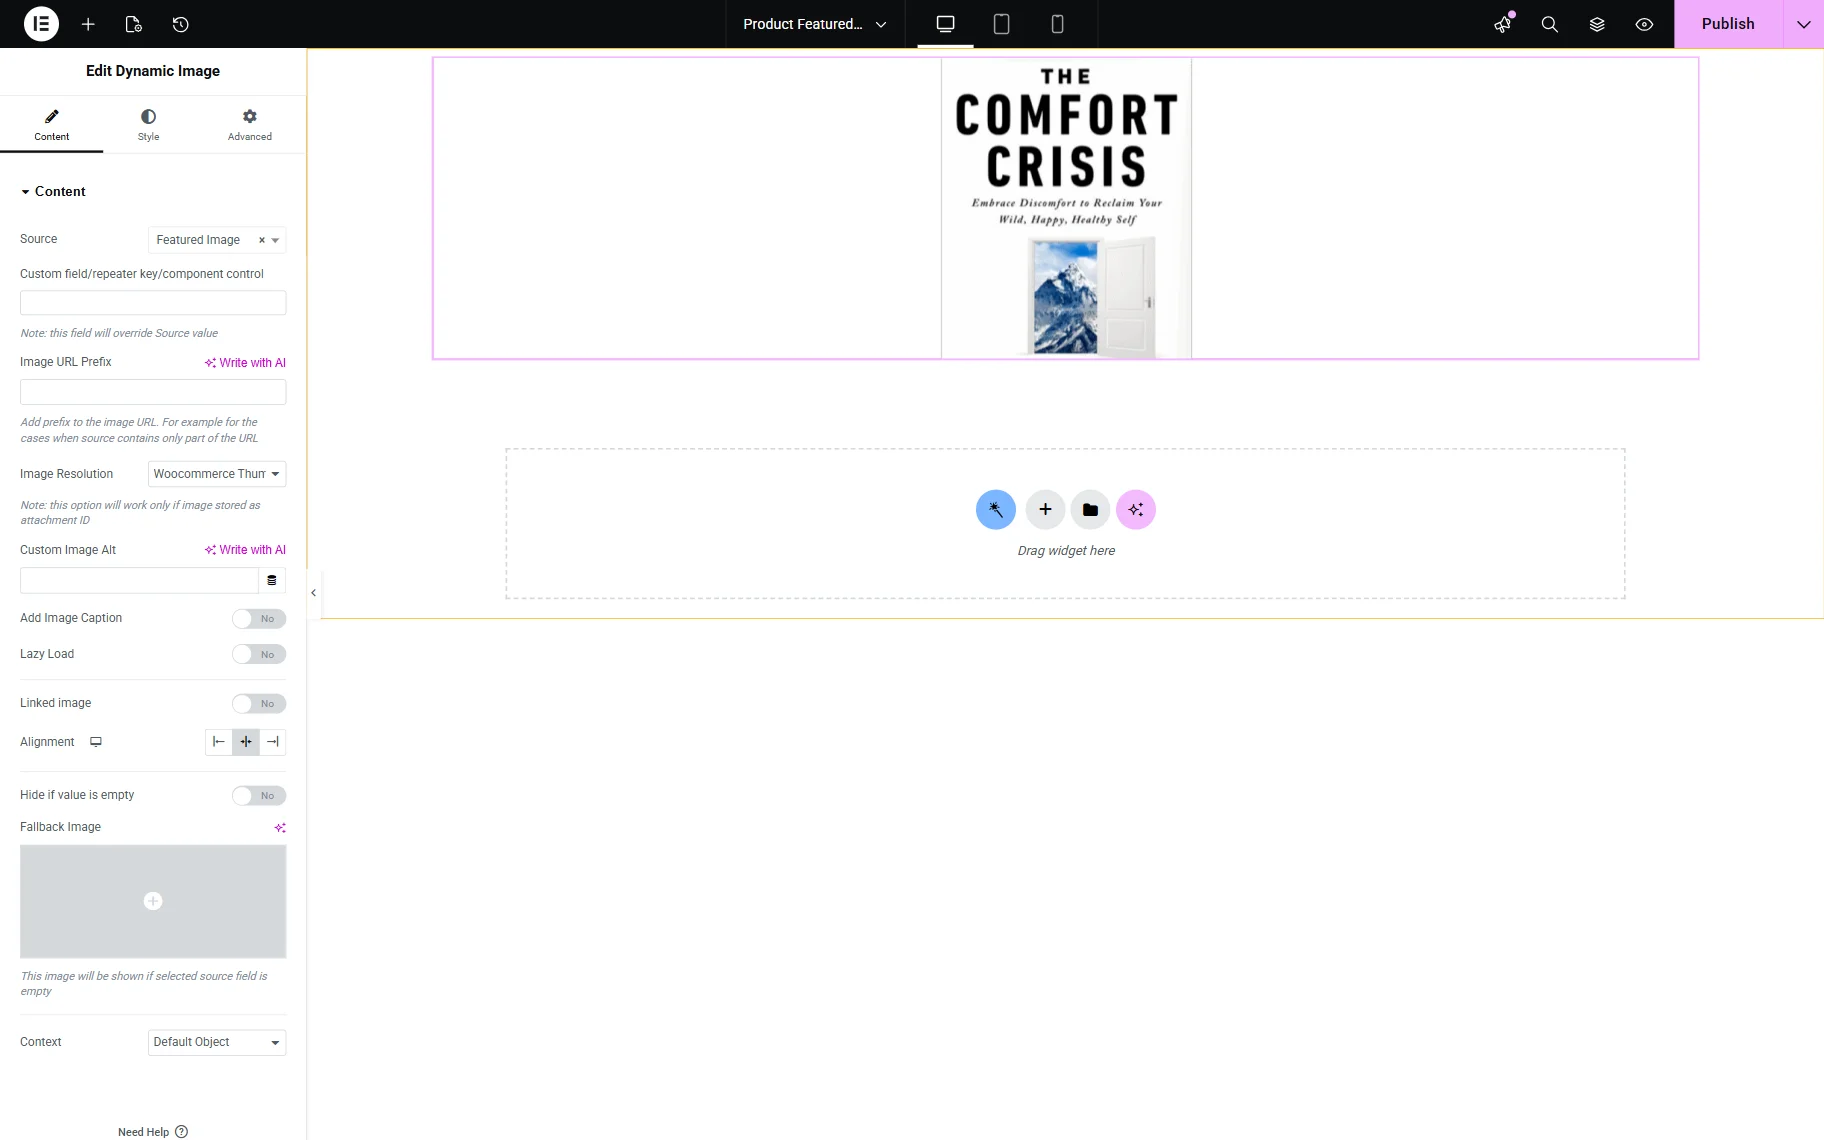
In our Listing template, we added a Dynamic Image widget with the “Featured Image” Source.
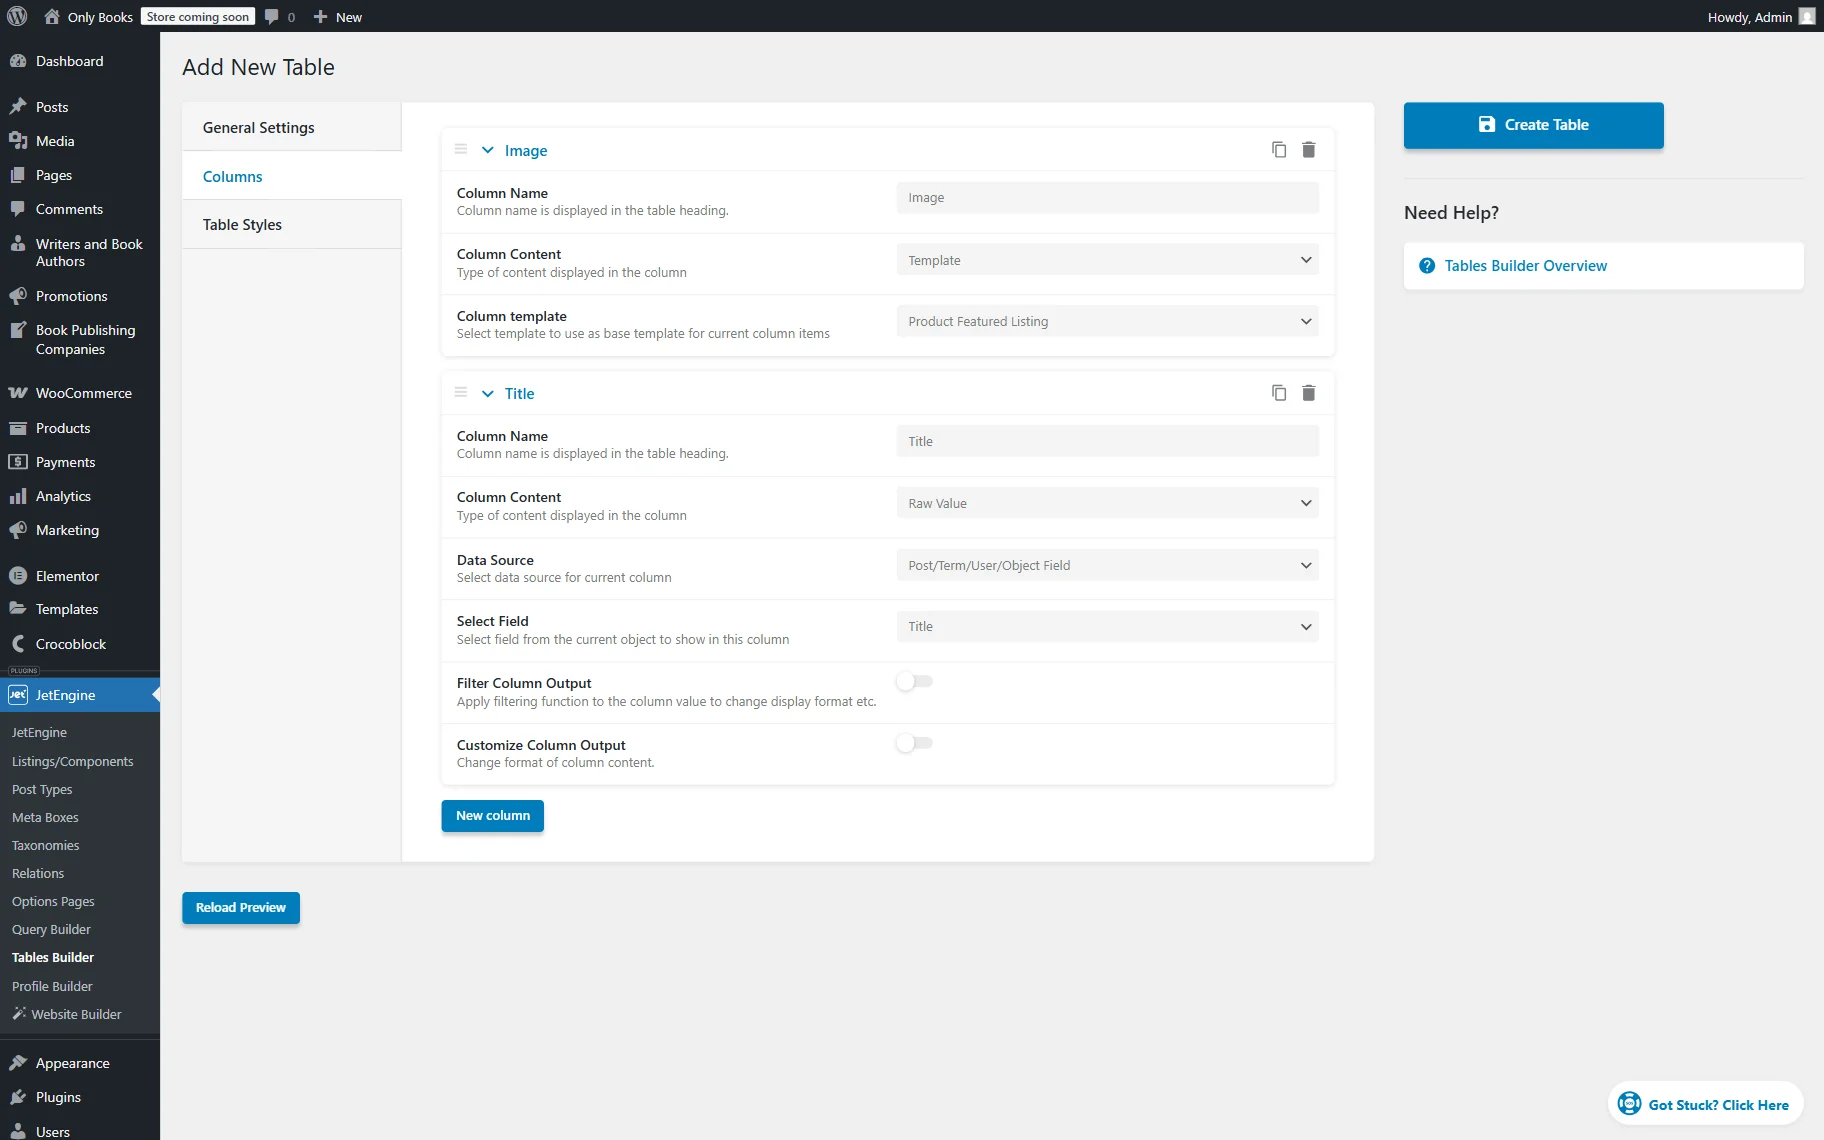
Returning to the Tables Builder, we add another column by pressing the “New column” button.
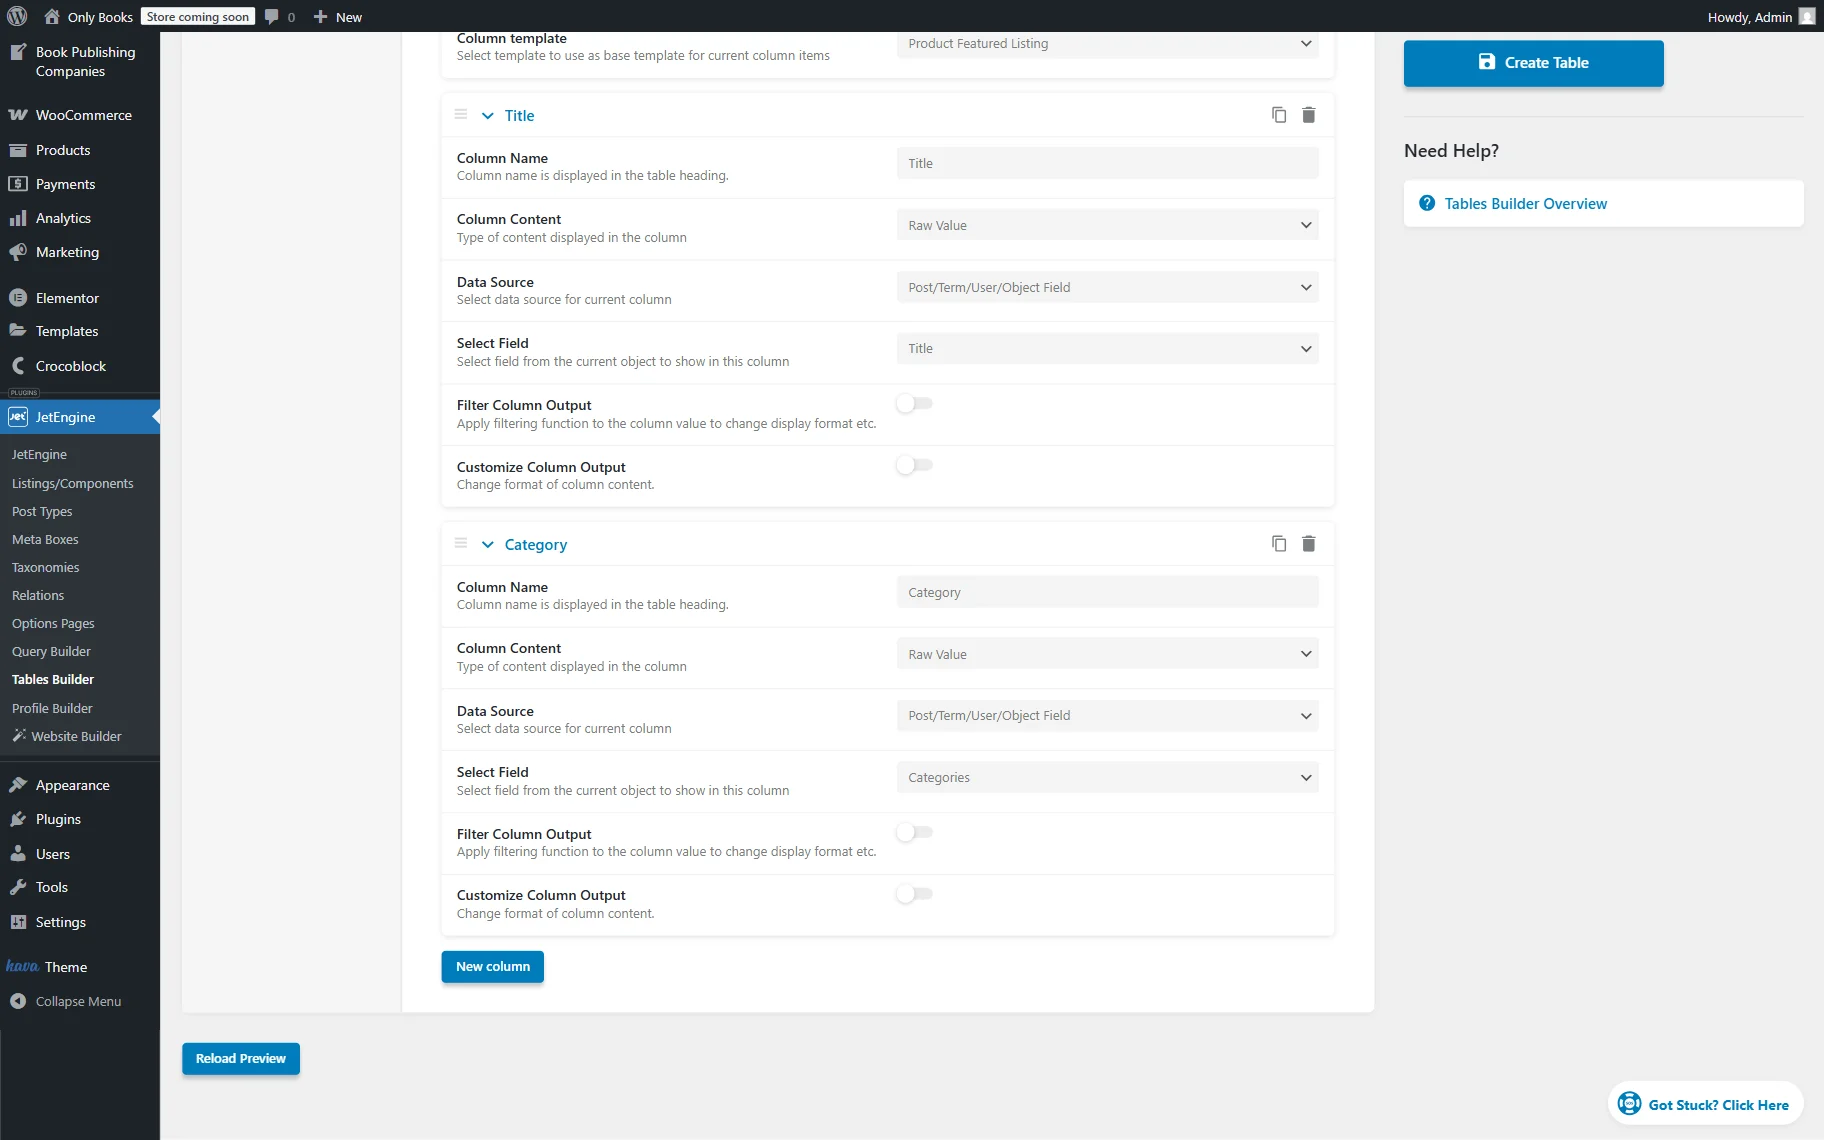
We set the Column Name to “Title,” as this column will display the book title.
In the Column Content list, we pick the “Raw Value” option and set the Data Source to “Post/Term/User/Object Field.”
Next, in the Select Field list, we pick the “Title” option.
In the same way, we add the third column, “Category”.
Its Data Source is set to “Raw Value,” Data Source to “Post/Term/User/Object Field,” and the “Categories” option is selected in the Select Field.
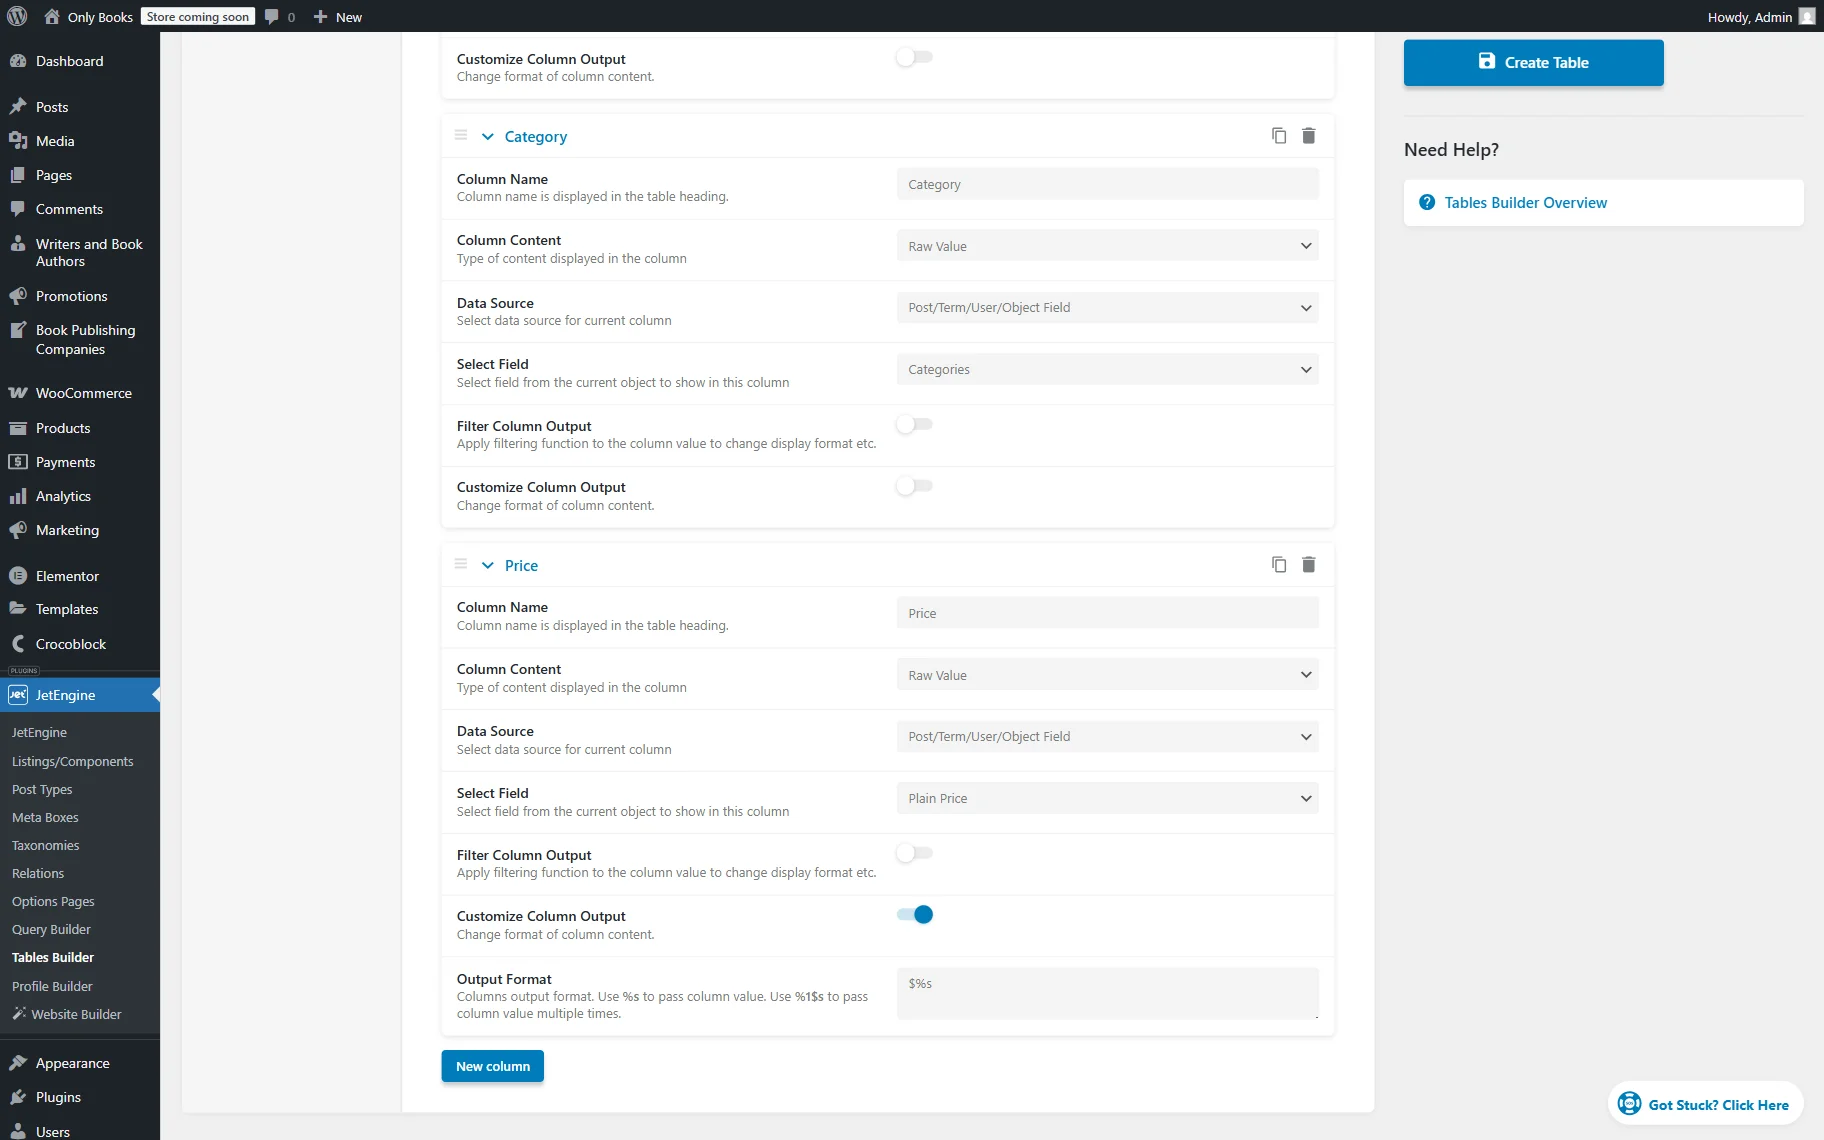
The last column of the table will be called “Price”, its Column Content is set to “Raw Value” and Data Source to “Post/Term/User/Object Field”. In the Select Field, we select the “Plain Price” option.
Also, we activate the Customize Column Output toggle and complete the Output Format textarea with the “$%s” value, where “%s” is a dynamic value and “$” is a symbol that will be added before that value.
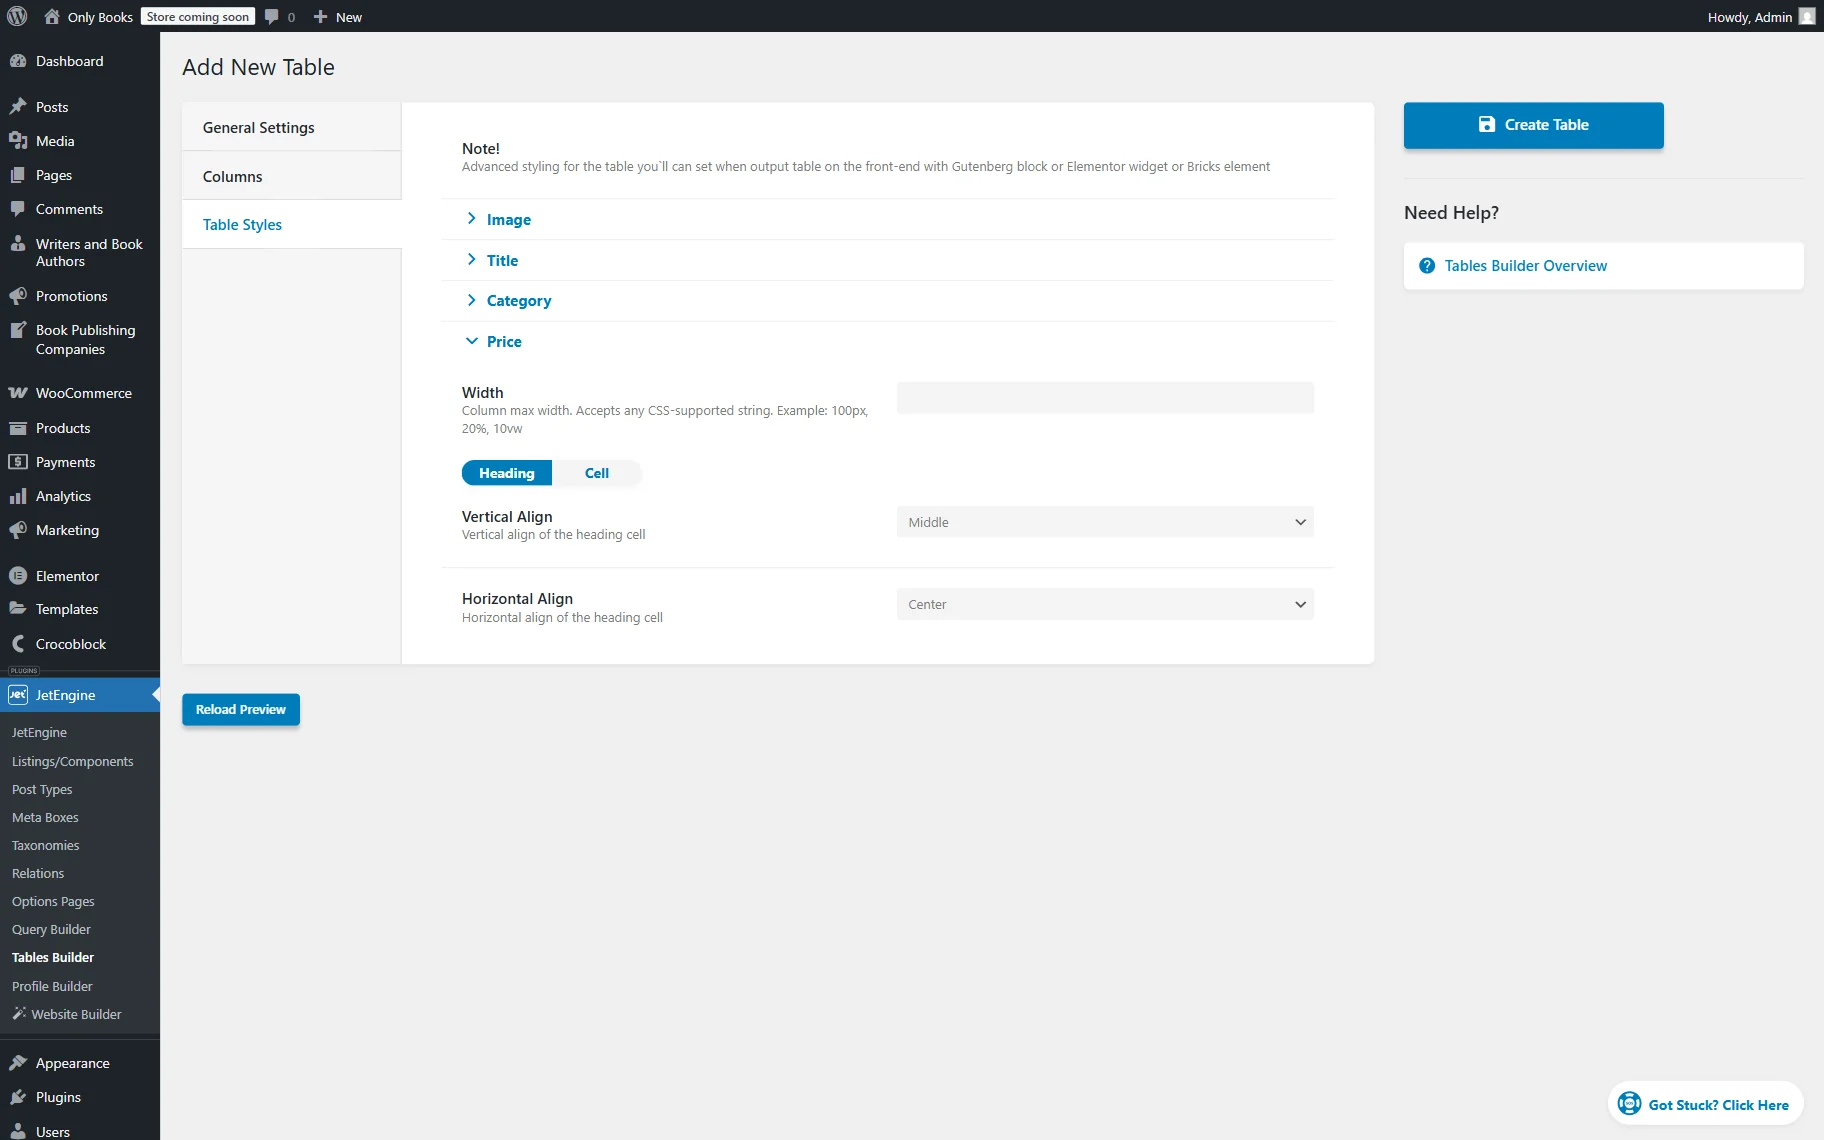
Next, move to the Table Styles tab. Here, you can customize the vertical and horizontal alignment for the heading and cells of the added columns.
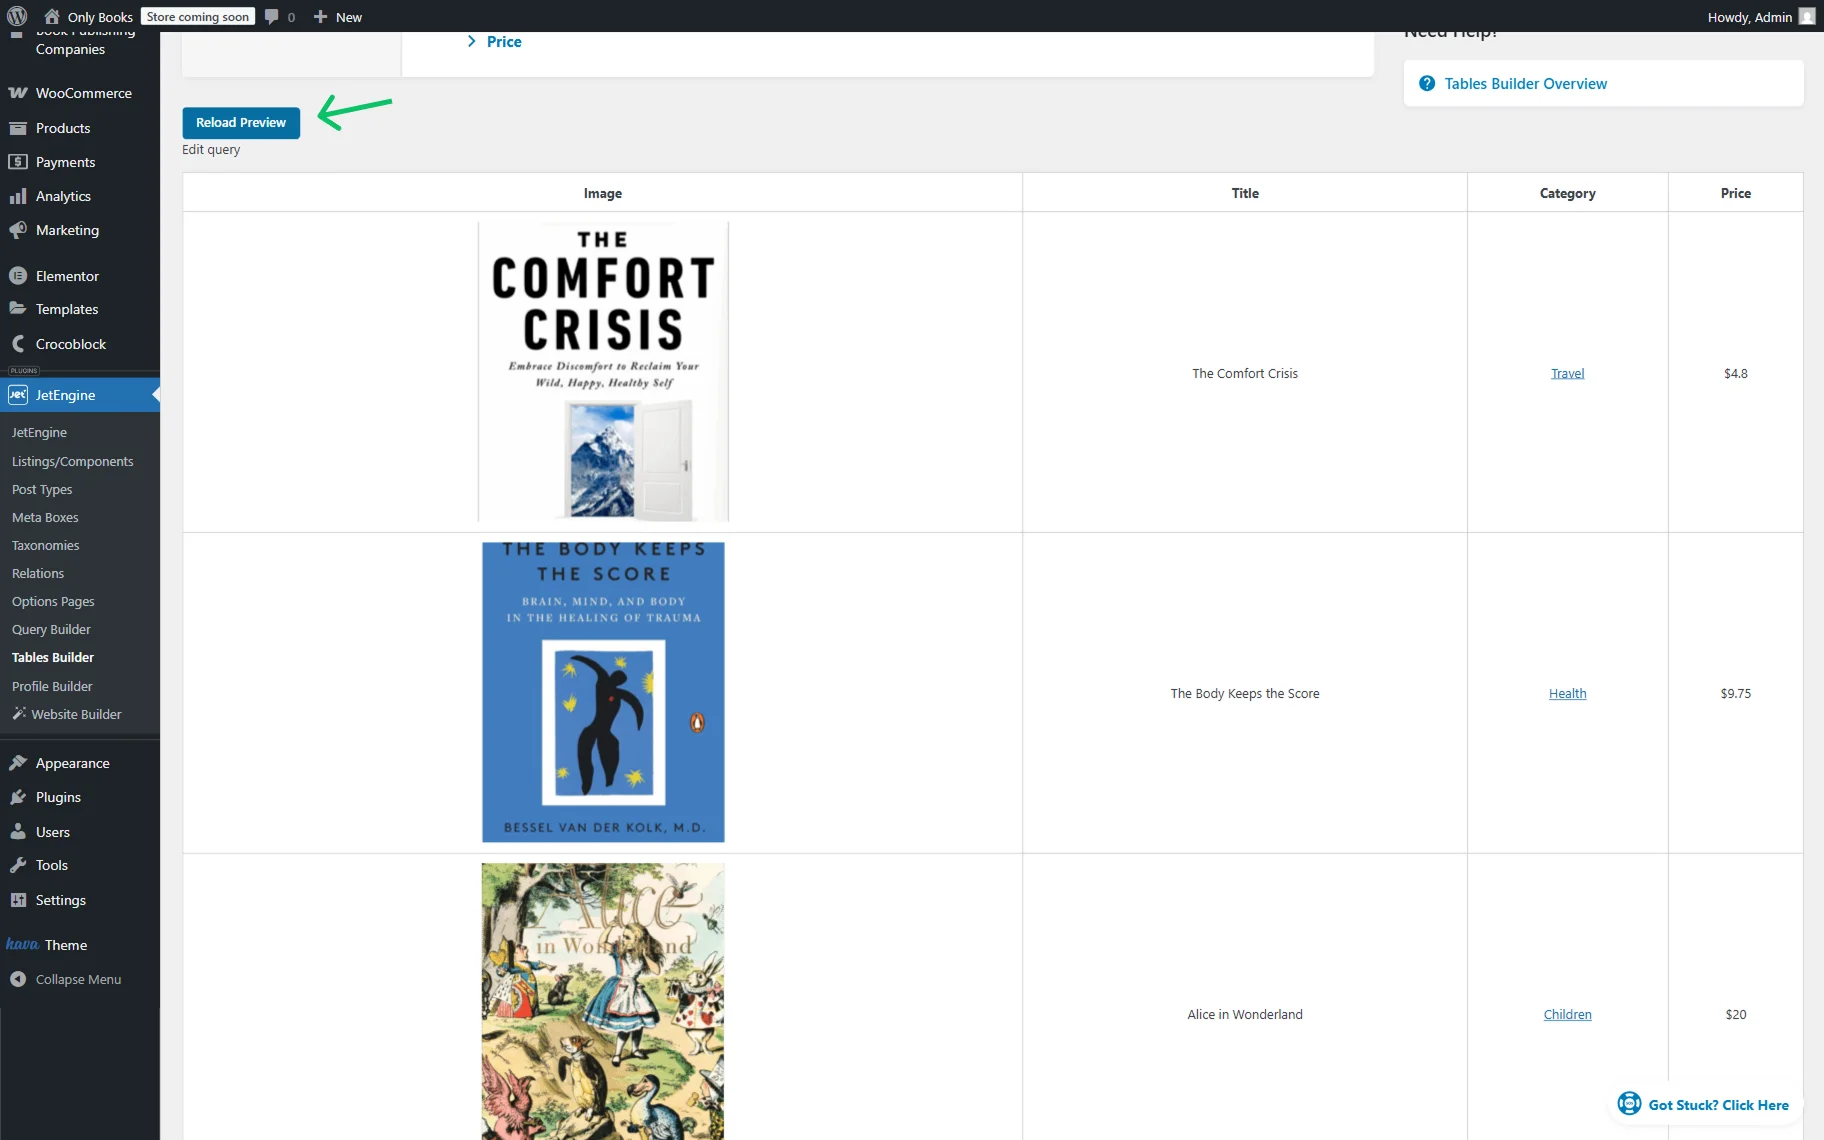
To view the table preview, you can click the “Reload Preview” button.
When the table is ready, press the “Create Table” button.
Display the Table on the Front End
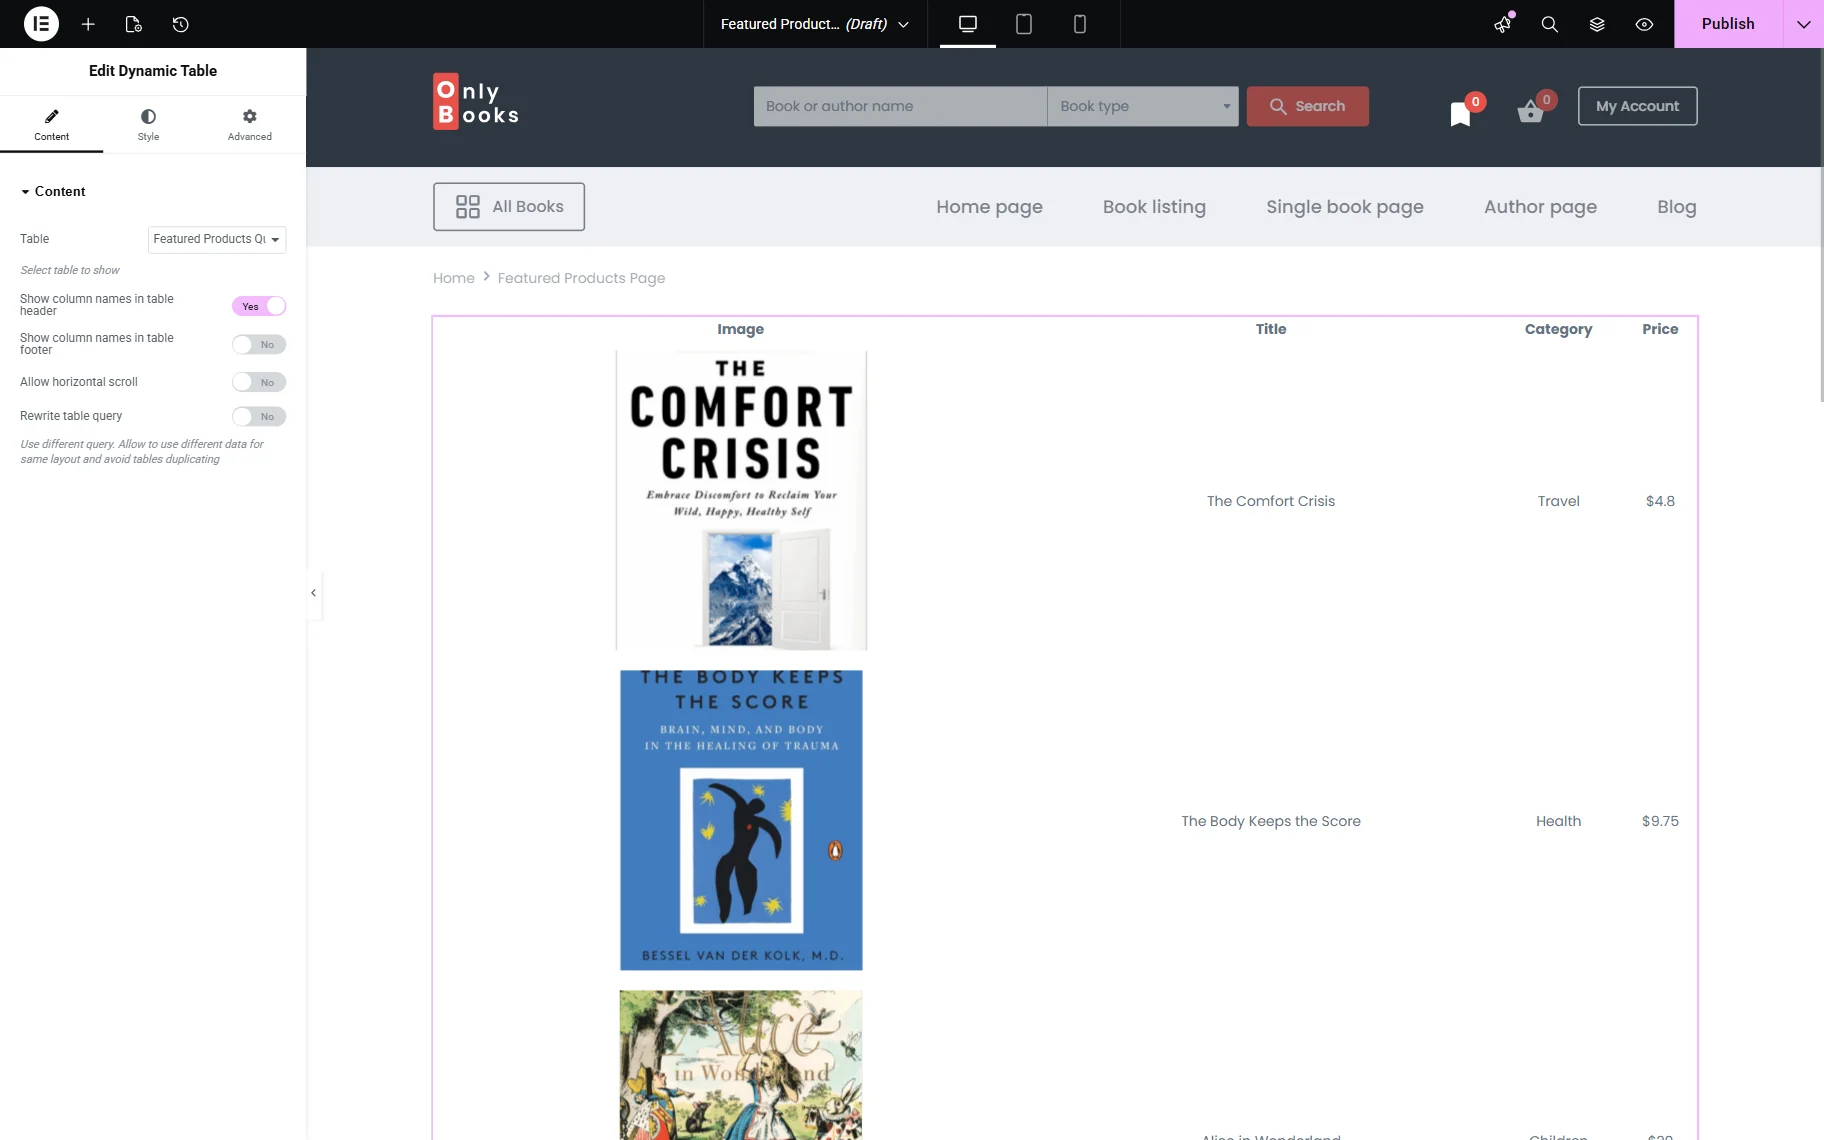
Go to the page where you want to display a table of featured WooCommerce products, then add a Dynamic Table to it. It can be found in Gutenberg, Elementor, or Bricks, so you can work with the builder you prefer. For example, we work in Elementor.
Pick the Table you built and make other changes to it using the features available in the Content section, if needed.
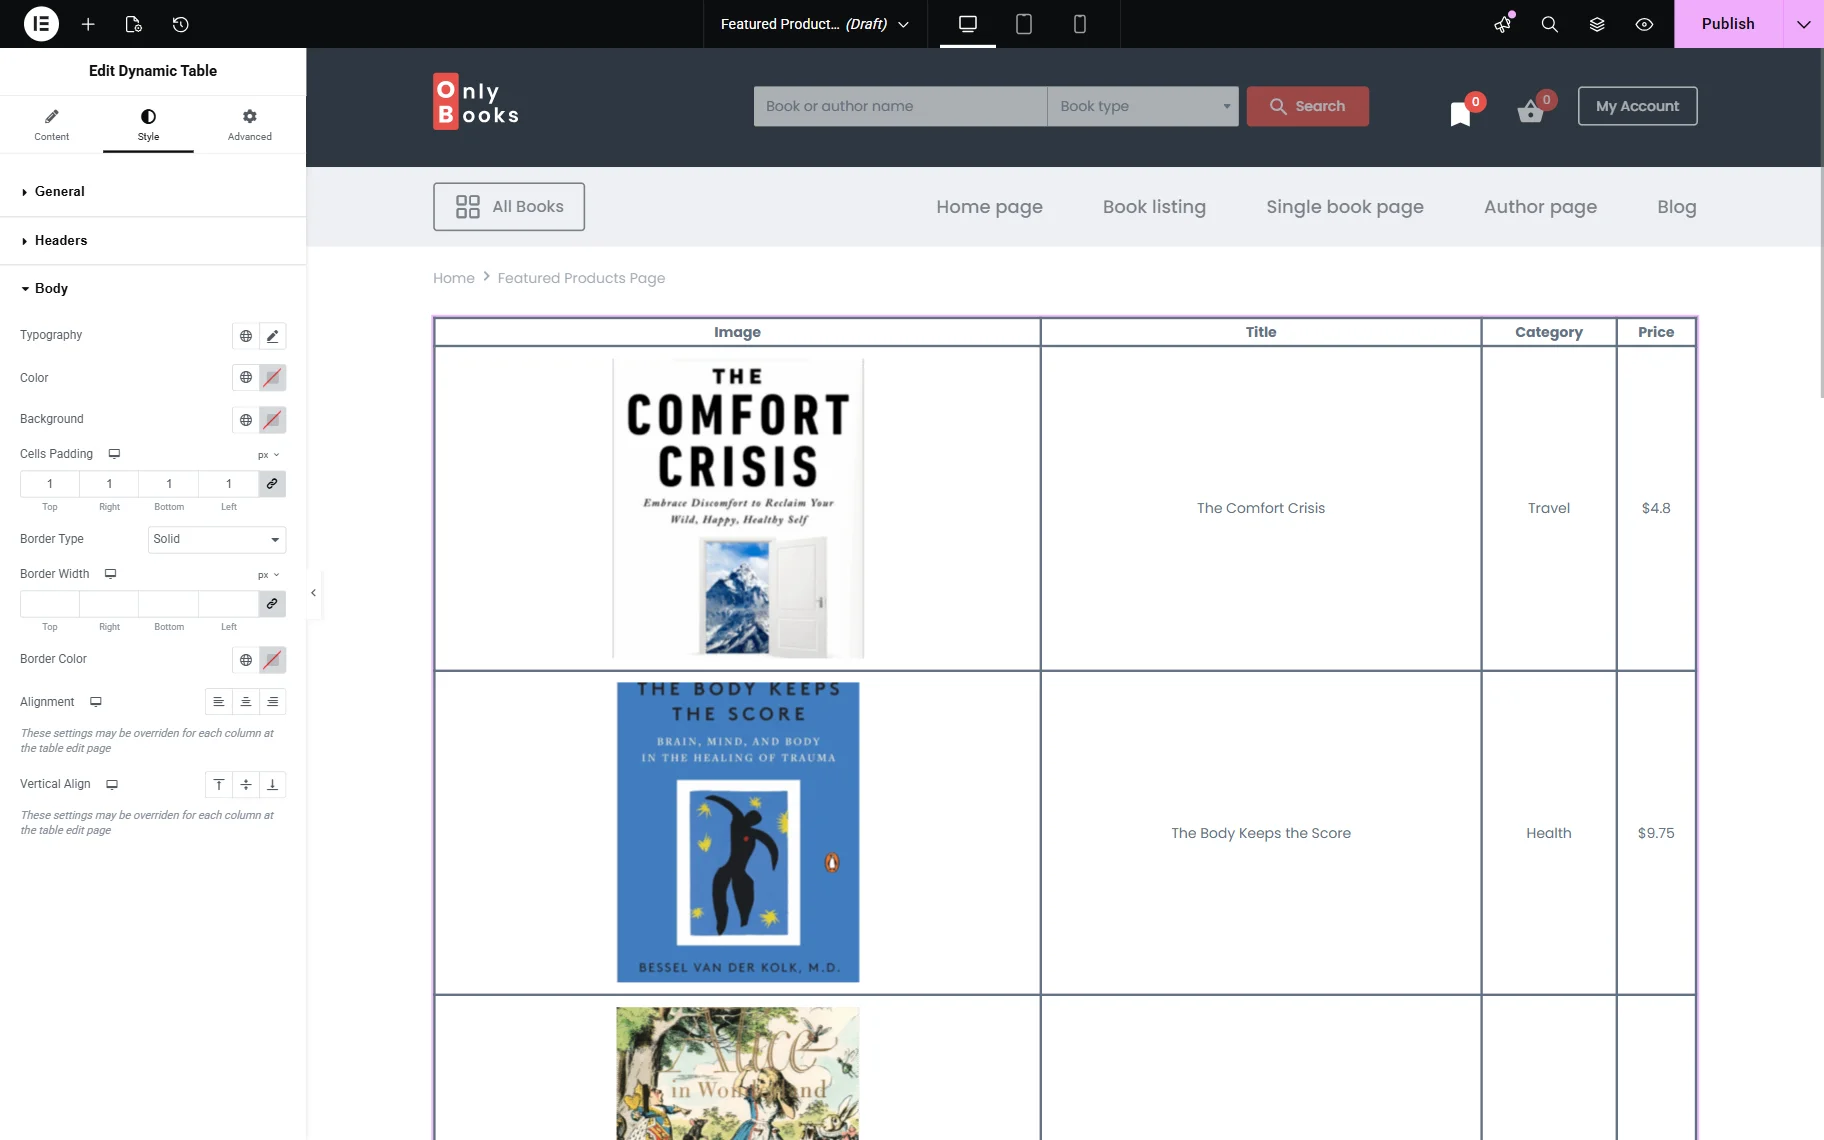
Proceed to the Style tab and customize the widget’s/block’s/element’s appearance. For instance, we add a “Solid” Border Type to the table’s header and body.
When the page is ready, save it.
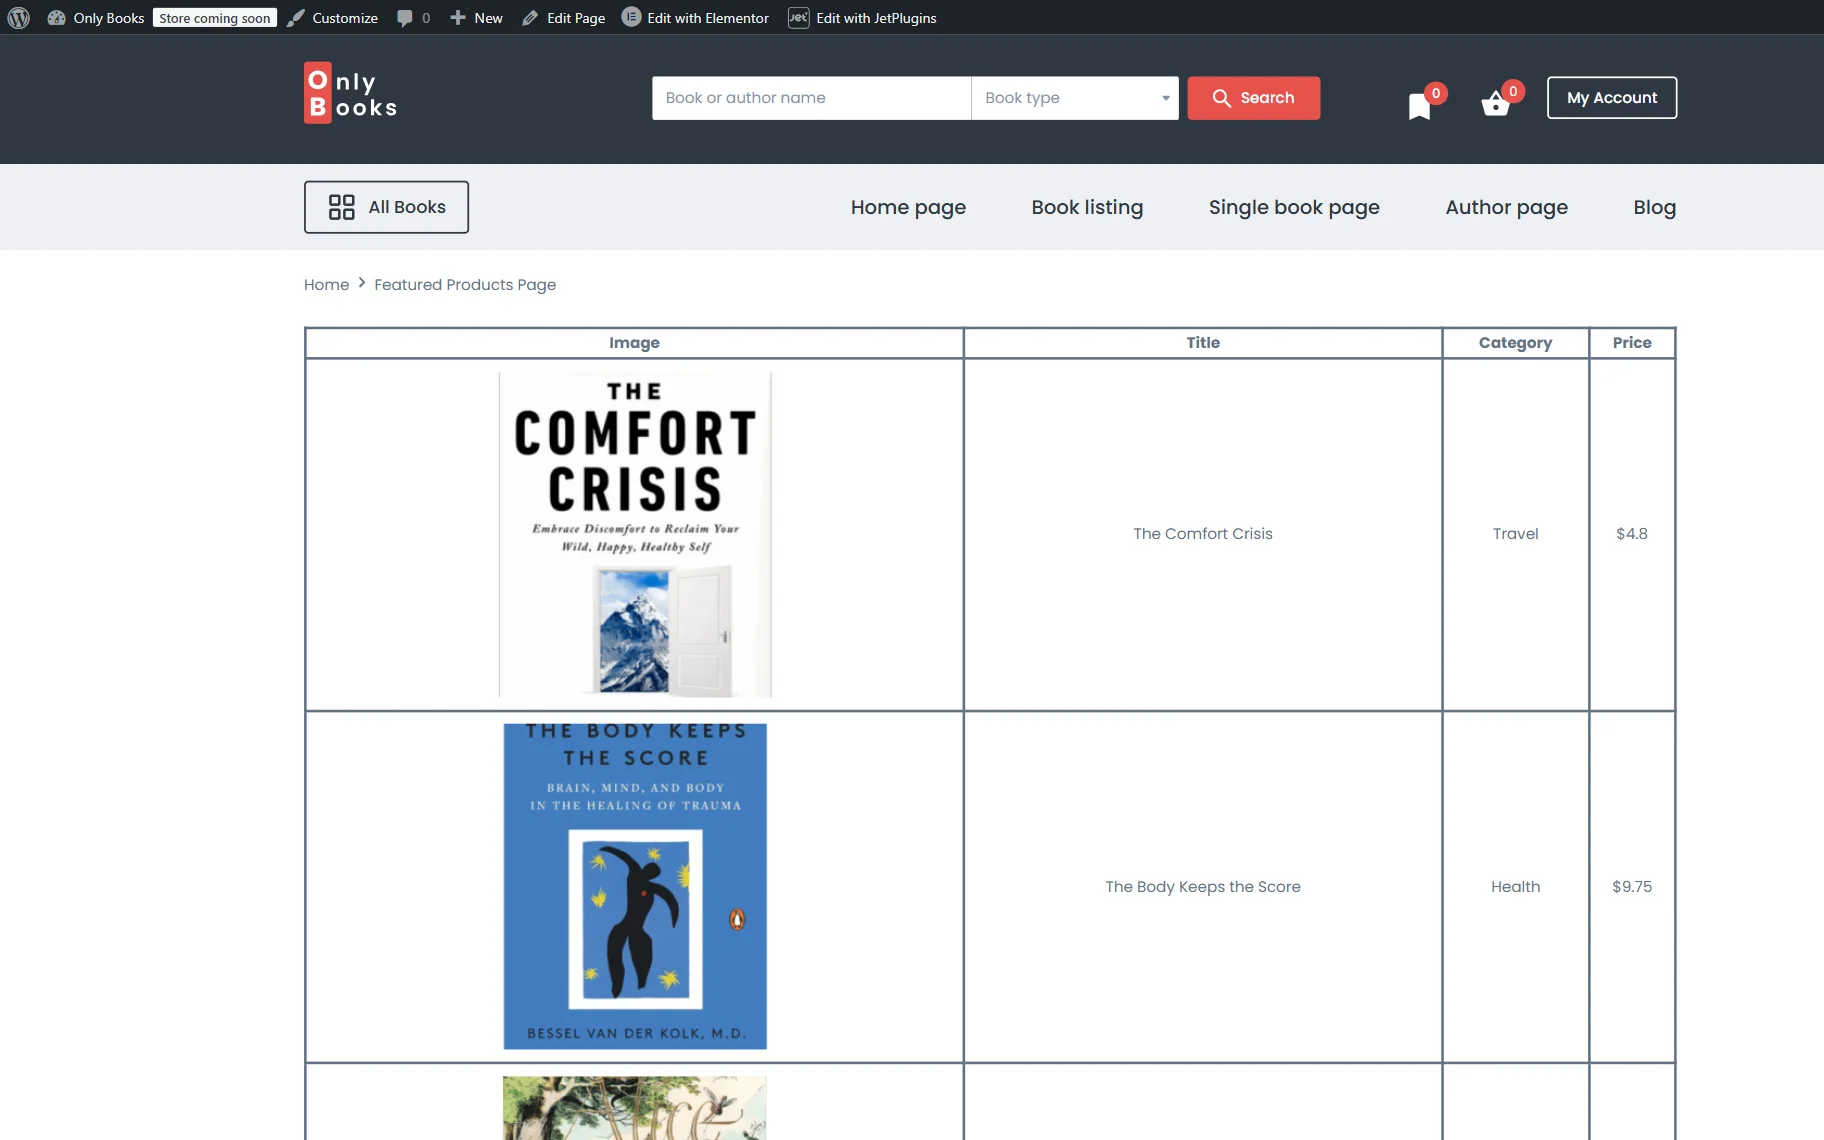
Check the Result
The Dynamic Table now shows featured WooCommerce products.
That’s all; now you know how to display featured WooCommerce products in a dynamic table with the help of the JetEngine plugin functionality for your WordPress website.