How to Change the Blog Page Layout and Style in Customizer
This tutorial will show you how to change the blog page layout and style in Customizer.
A layout is a part of a page’s design. The most common layouts are masonry, grid, listing, and vertical justify.
You might be pleased to find out that the Kava theme has these layouts by default and you don’t need to spend time searching for a special plugin or digging into the code in order to set one of the layouts.
Let’s go through the process of changing the blog page layout and style via Customizer.
Changing the Blog Page’s Layout
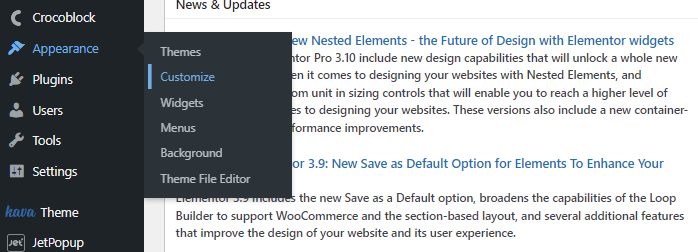
Firstly, select the Appearance option, which you can find in the WordPress Dashboard.
After that, click the Customize option in order to move on to the Customizer main panel.

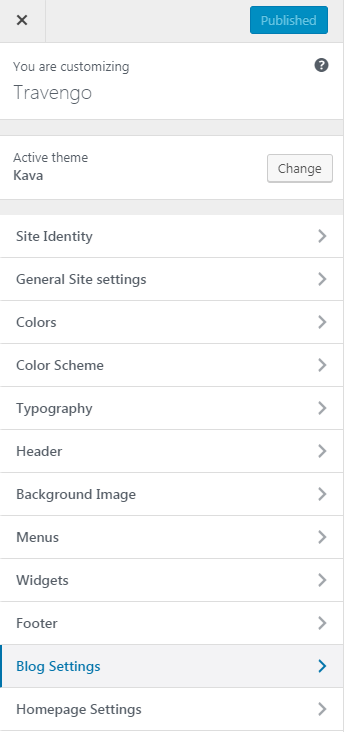
Blog Settings
Afterwards, open the Blog Settings option in the Customizer main panel and click it.

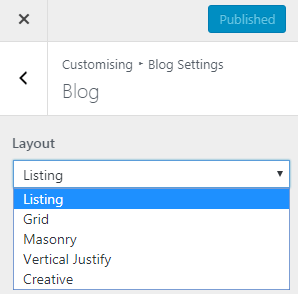
Here you can select one of five layouts to apply for your blog page in the Layout dropdown.

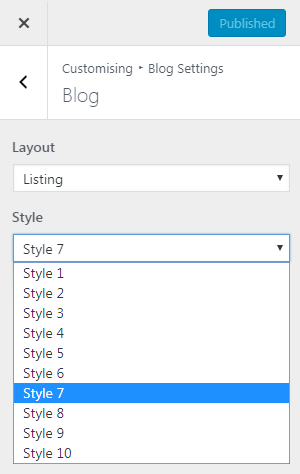
Each layout has ten variable styles. Pick the one you want to use from the Style dropdown.

While working with Customizer, you can easily preview each of the styles without saving the changes and, as a result, choose the one most suitable.
That’s it. Now you know how to change the blog page layouts and styles as you wish in several clicks.