How to Install JetPlugins via WordPress Dashboard
This tutorial explains how to install any plugin (including JetPlugins) via WordPress Dashboard. Note that you can install them manually without the Crocoblock Wizard.
To install JetPlugins conveniently, Crocoblock proposes the Crocoblock Wizard. But this feature is available only through the All-Inclusive subscriptions (All Inclusive, All-Inclusive Unlim, and Lifetime). If you have an All-Inclusive subscription and do not want to use the Crocoblock Wizard, you can download the plugin you wish through your Personal Account (the Download and Extras section).
Adding a New Plugin
Proceed to the WordPress Dashboard and find the Plugins section.
Hover over this section with your mouse cursor to reveal the available options. Press the Add New tab or click the “Add New” button to add a new plugin.

Choosing the Plugin
You can choose a plugin from the WordPress catalog or upload the plugin you need by clicking the “Upload Plugin” button.
 >
>
Downloading the Plugin
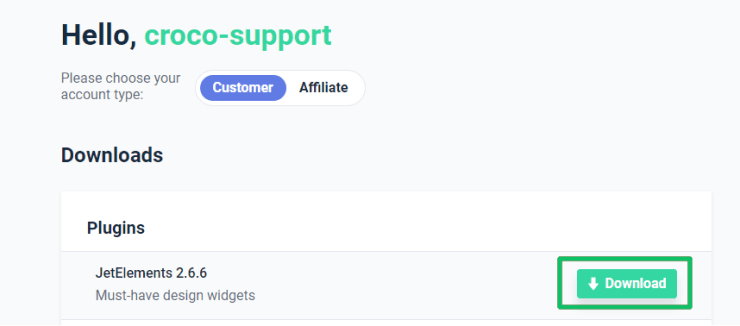
Enter your Personal Account and download the plugin you want to install.

Installing the Plugin
Click the “Upload Plugin” button and browse your plugin from your hard drive.
Pay attention that the plugin should have the .zip extension. Choose the archived plugin and start the installation by clicking the “Install Now” button.

Activate the Plugin
After installation, you have to activate your plugin.
Hover over the Plugins section. Navigate to the All tab, and click it to proceed to the list of your installed plugins. Then find the plugin you need to activate.

Click the “Activate” button to activate the installed plugin

Your newly installed JetPlugin is active now.