How to Add Localization for Crocoblock Products
From this tutorial, you will find out how to add localization for Crocoblock products. If you wish, you can create the localization of Crocoblock products by yourself.
So, in case you’re more comfortable at using Crocoblock in one of the languages mentioned above, or you want to create a different localization yourself, keep reading this tutorial to explore the process of implementing localization files!
Localization Tools and Language Sources
You can create your own localization with a free Poedit program or, alternatively, using a free, user-friendly Loco Translate plugin.
To access the files that contain the sources for translation you need to navigate to the product which you want to translate to your language and open languages folder. Here you’ll find the .pot file which you need to translate.

Run the Poedit program on your computer and open the .pot file with the source text. Translate the strings available there from English to your language.
Save the newly created files to your hard drive, and don’t forget to mark the language in which the translation files are written. E.g., the localization file for JetEngine in German should look like jet-engine-de_DE.po.
Adding the Localization Files to the Website
After the translation is created you need to add the file with the localization to your site. To do it, first, access your server using FTP client.
Open the directory where you’ve installed WordPress and here navigate to wp-content folder. You need to create a new folder named languages inside it. Here you should add the localization of the theme (e.g., Kava theme).
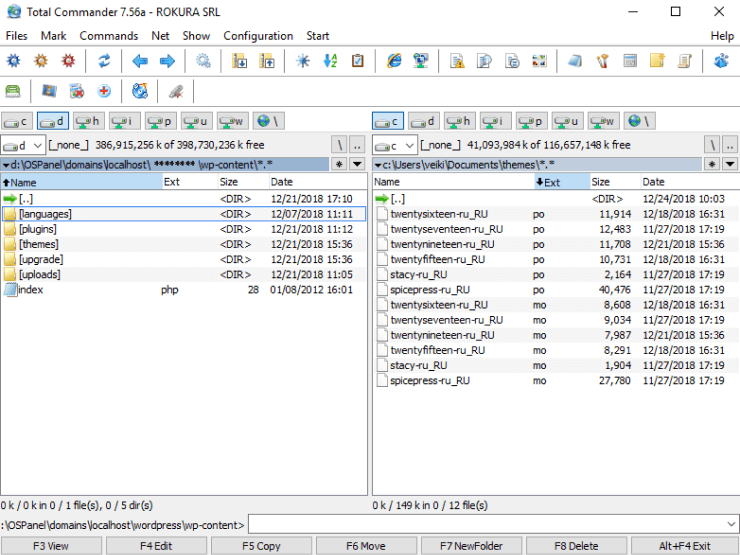
To add the localization files of the plugins create the plugins folder inside the languages directory (the full path should look like wp-content/languages/plugins) and here upload the localization.

Applying Localization Files to the Site
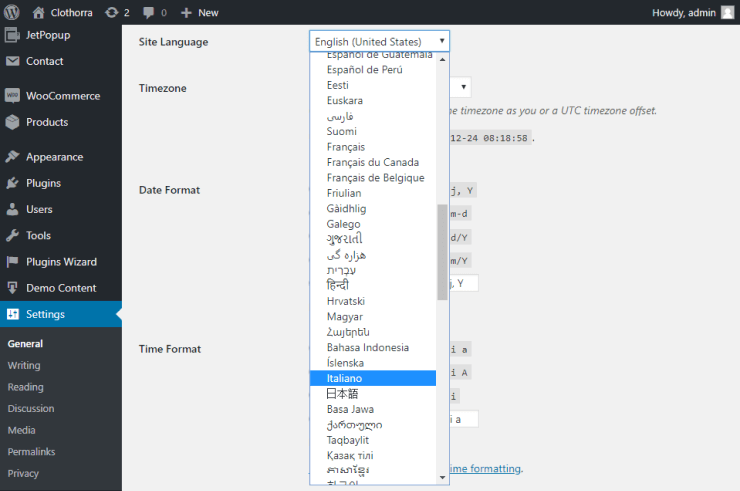
Open WordPress Dashboard, and here proceed to Settings > General block. Here specify the website’s language.
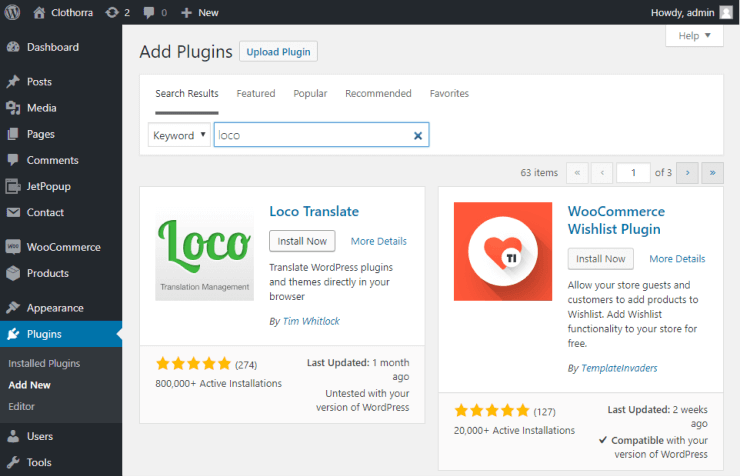
Navigate to the Plugins directory in the WordPress Dashboard. Click the Add New button, search Loco Translator plugin in the plugin search box and click the Install Now button.
Don’t forget to Activate the plugin.
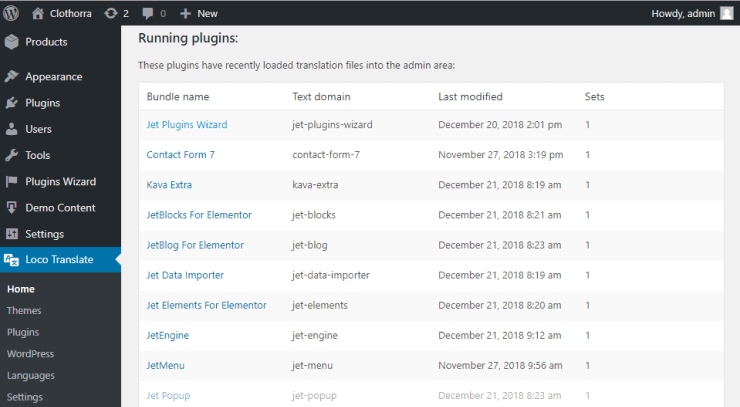
As a result, you can see the Loco Translate block on the left-hand panel of the Dashboard. Click it.
Then, select the plugin to which you’ve added the localization.
Here you can configure some settings and set the path to the localization files now uploaded to your server.
Feel free to add the localization to any product at Crocoblock and create translations in the language you know.
We hope this makes your life easier while using Crocoblock products.