How to Add Featured Posts on Front End Using Query Builder
This guide will teach you how to display feature posts in the Listing Grid using the JetEngine plugin.
Before you start, check the tutorial requirements:
- Elementor (Free version)
- JetEngine plugin installed and activated
Default WordPress Posts
Create a meta box
If you want to show featured posts from default WordPress posts, you need to create a meta box.
Go to WordPress Dashboard > JetEngine > Meta Boxes and press the “Add New” button to build a new meta box item.
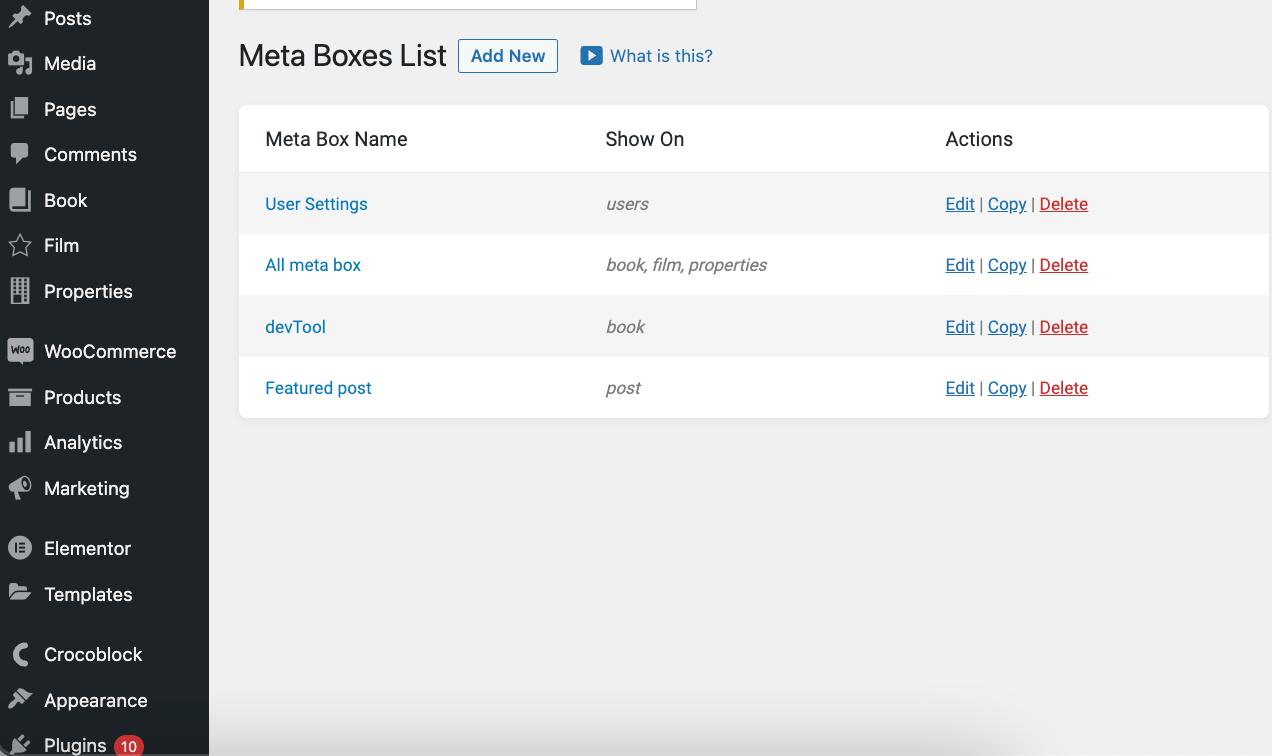
In the Source dropdown, choose “Posts” and add the meta field with the “Switcher” Field type.
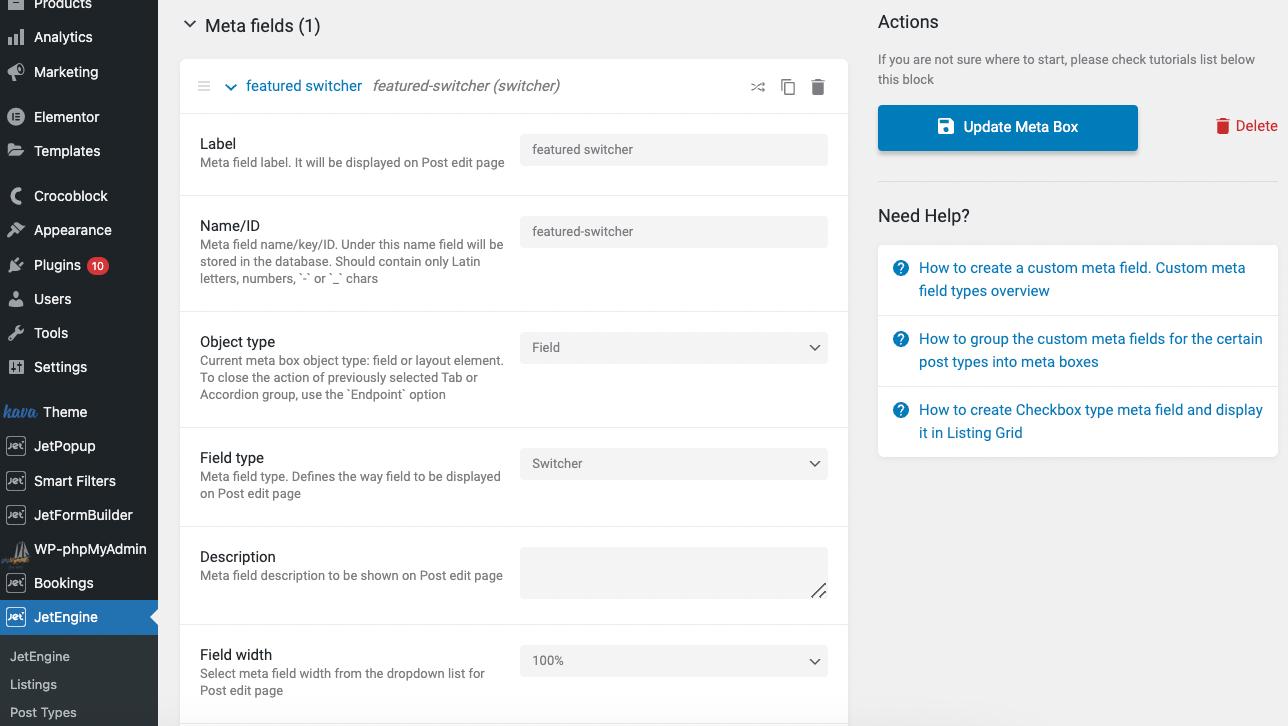
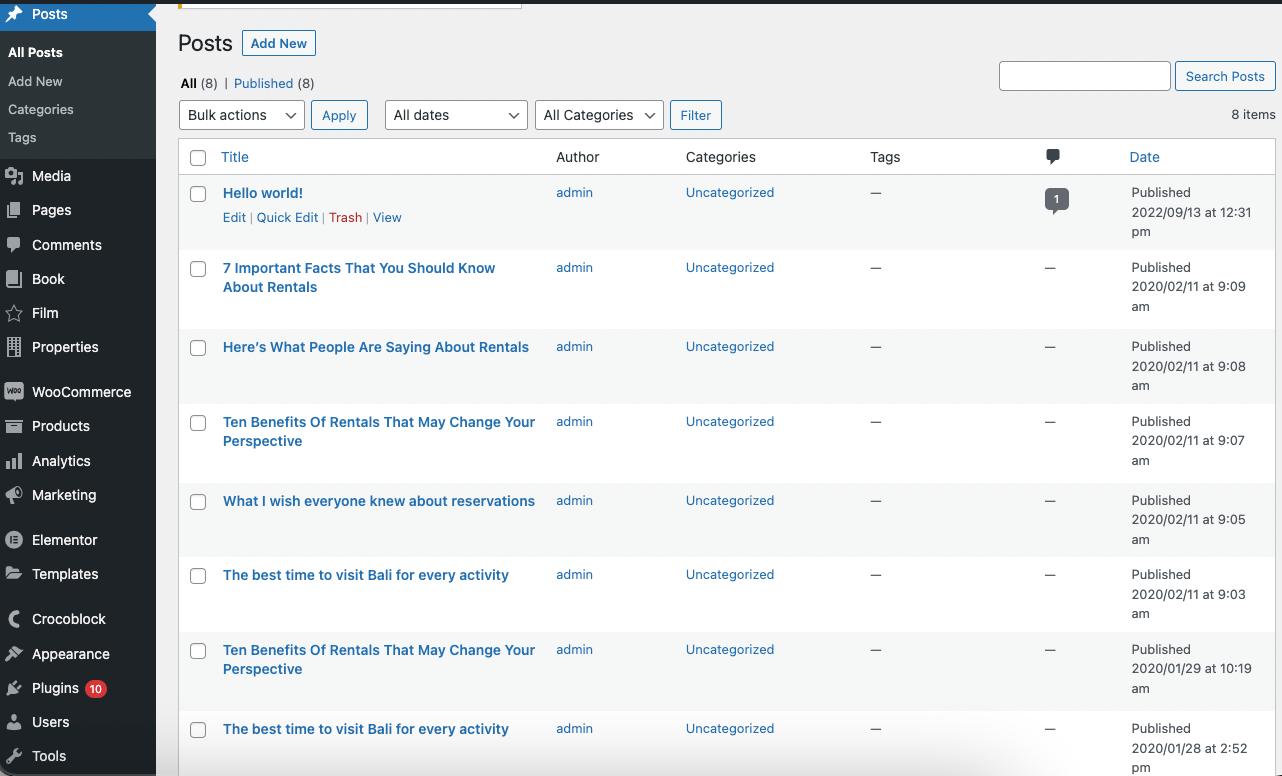
Press the “Add/Update Meta Box” button and proceed to posts to fill out the options.
Build a listing
Next, go to WordPress Dashboard > JetEngine > Listings and click the “Add New” button. In the appeared pop-up, choose the “Posts” Listing source, complete the following fields, and press the “Create Listing Item” button to open the editor.
Once opened, build a listing item with needed widgets.
Set query builder
After the listing is ready, let’s create a Query for it.
Navigate to WordPress Dashboard > JetEngine > Query Builder and push the “Add New” button.
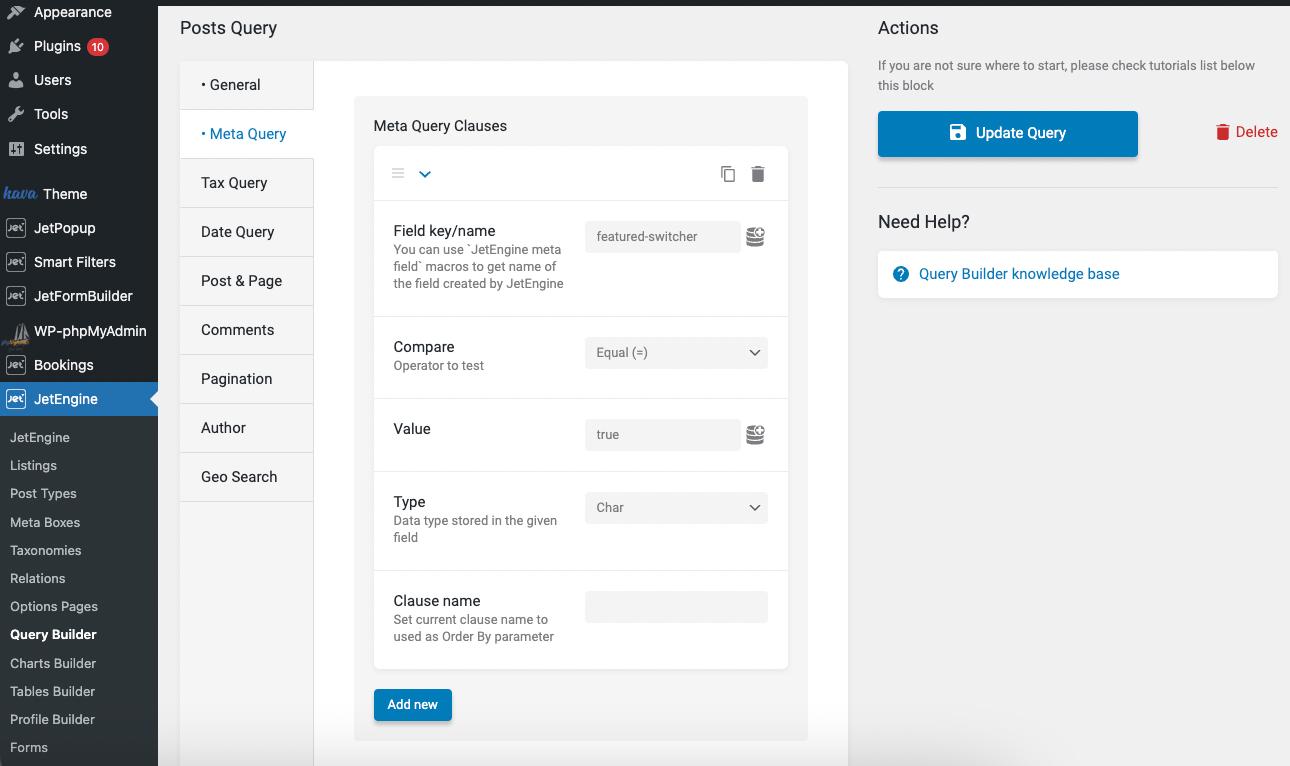
Go to the Meta query section. Fill in the Field key/name, choose the “Equal” Compare operator, and complete the switcher Value (when the switcher is on — its value is “true,” when off – “false.”)
Save the query by pressing the “Add/Update Query” button.
Apply a query to a listing on the Elementor page
Go to the Elementor page. Here, add the Listing Grid widget.
In the Custom Query tab, activate the Use Custom Query toggle, pick a Custom Query, and save the changes.
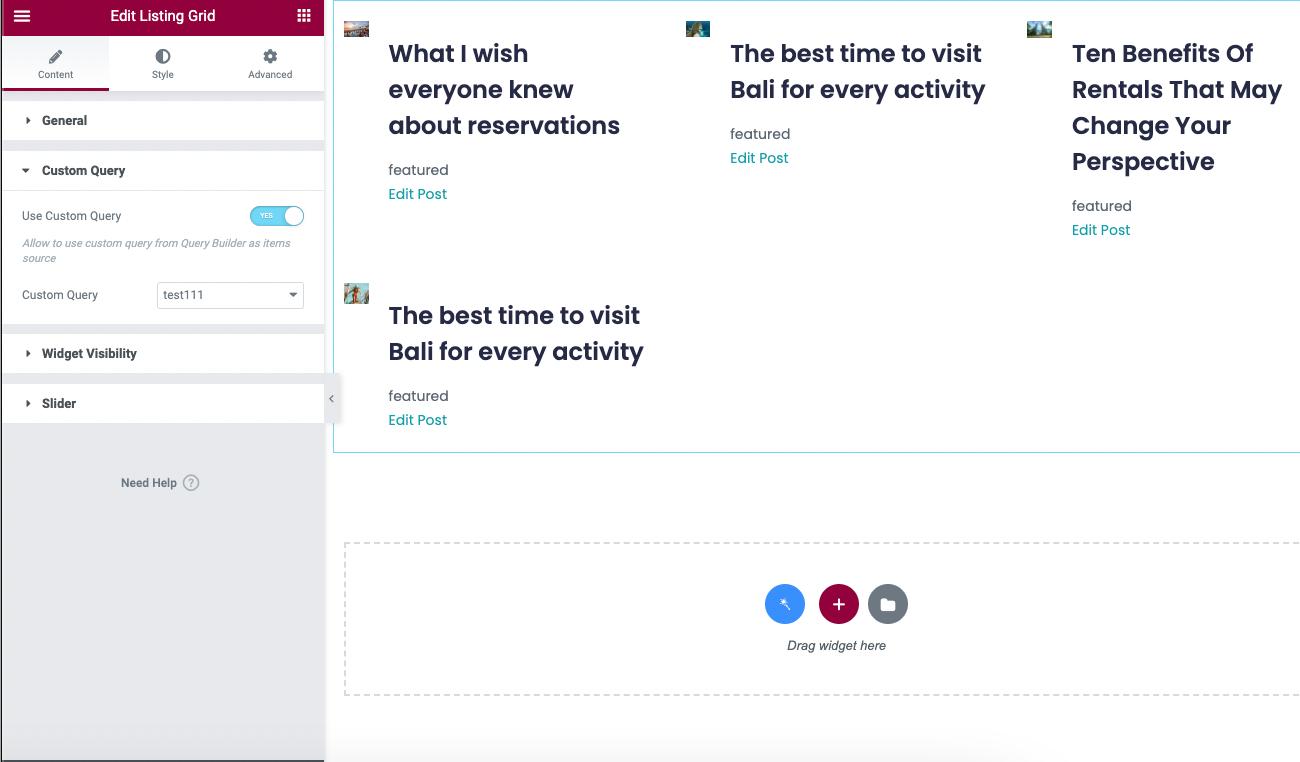
Look at the achieved result on the front end.

Custom Post Type Posts
Add a checkbox field in the post type
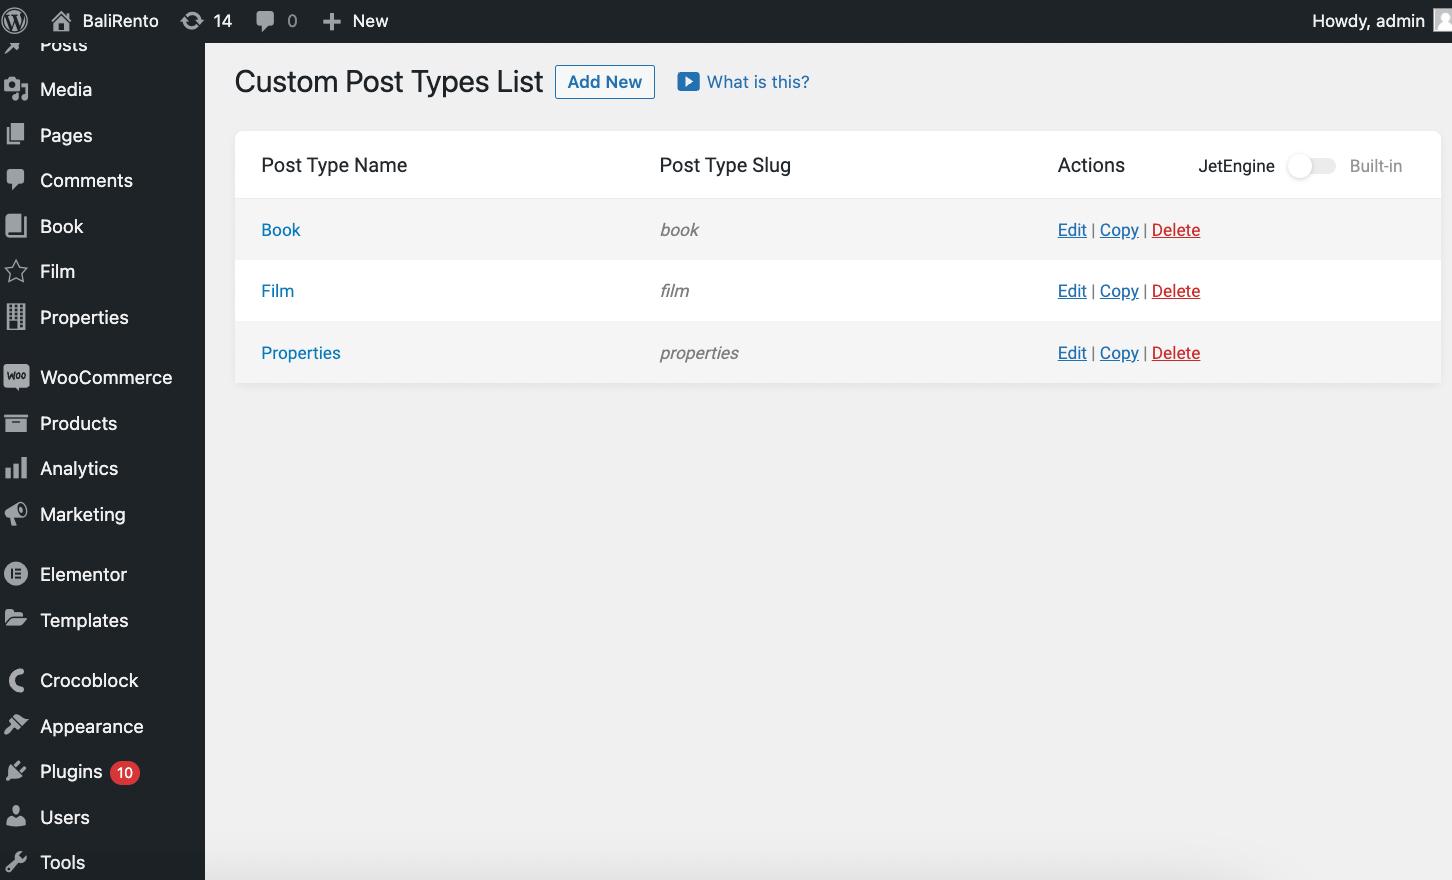
Go to WordPress Dashboard > JetEngine > Post Types.
Click on the “Add New” or “Edit” button to open the post type editor.
Go down to the meta field section and add a “Checkbox” Field type with two options, “featured” and “not featured.”
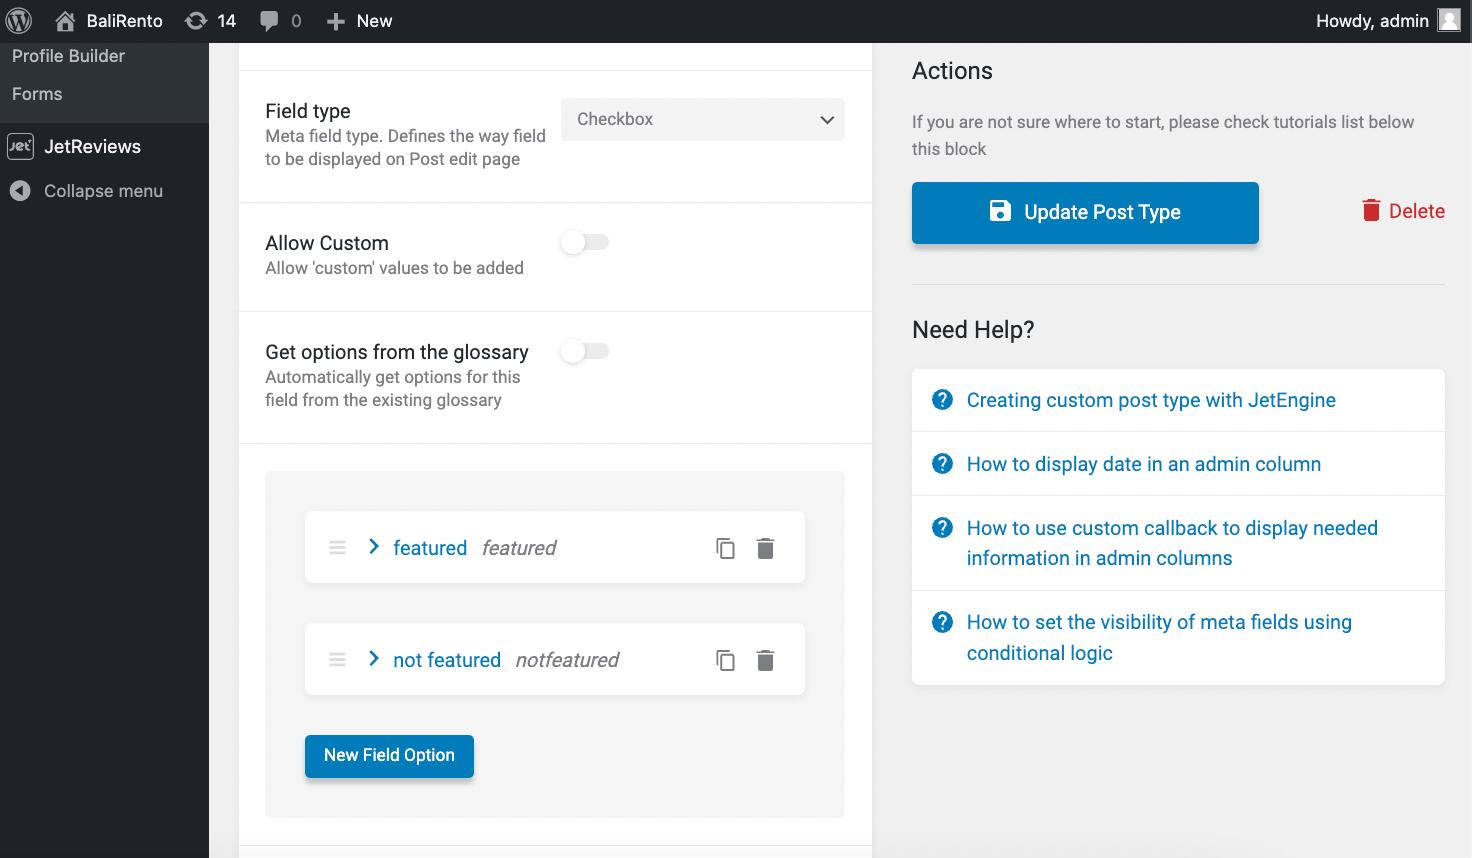
Click the “Update Post Type” and proceed to the next step.
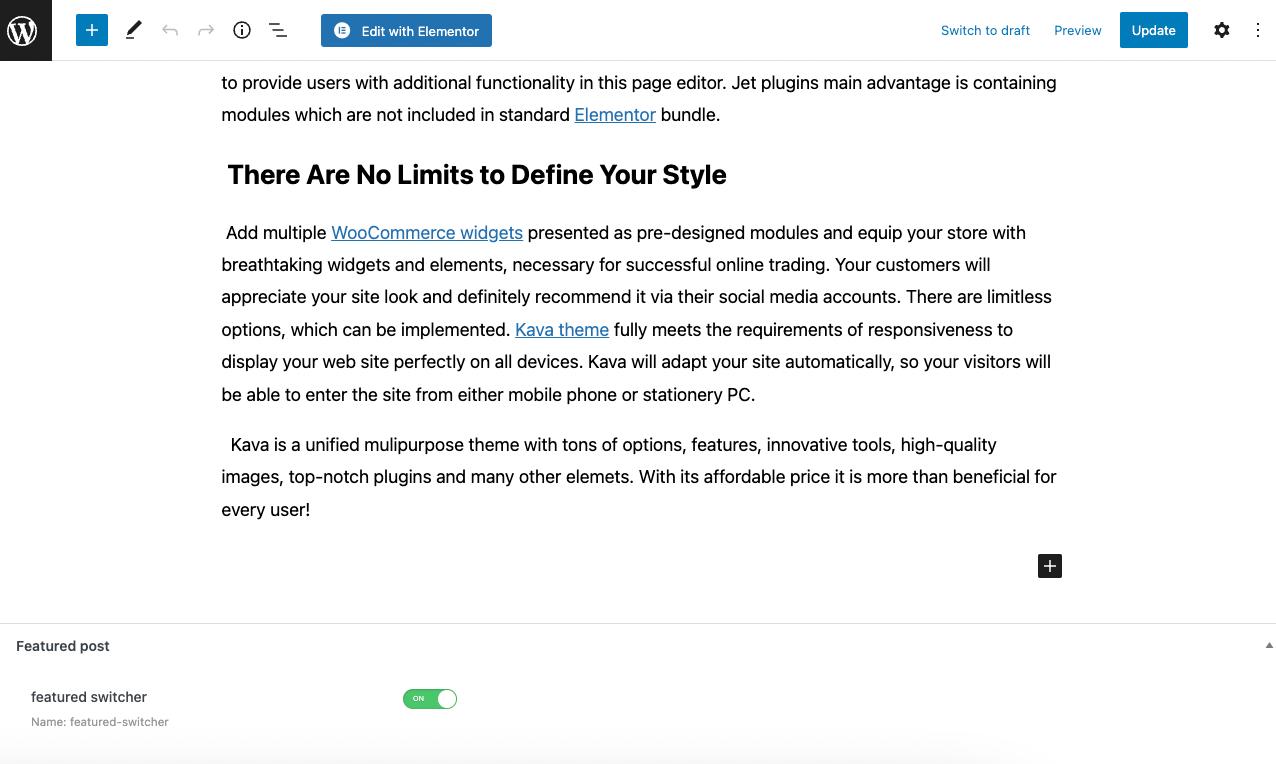
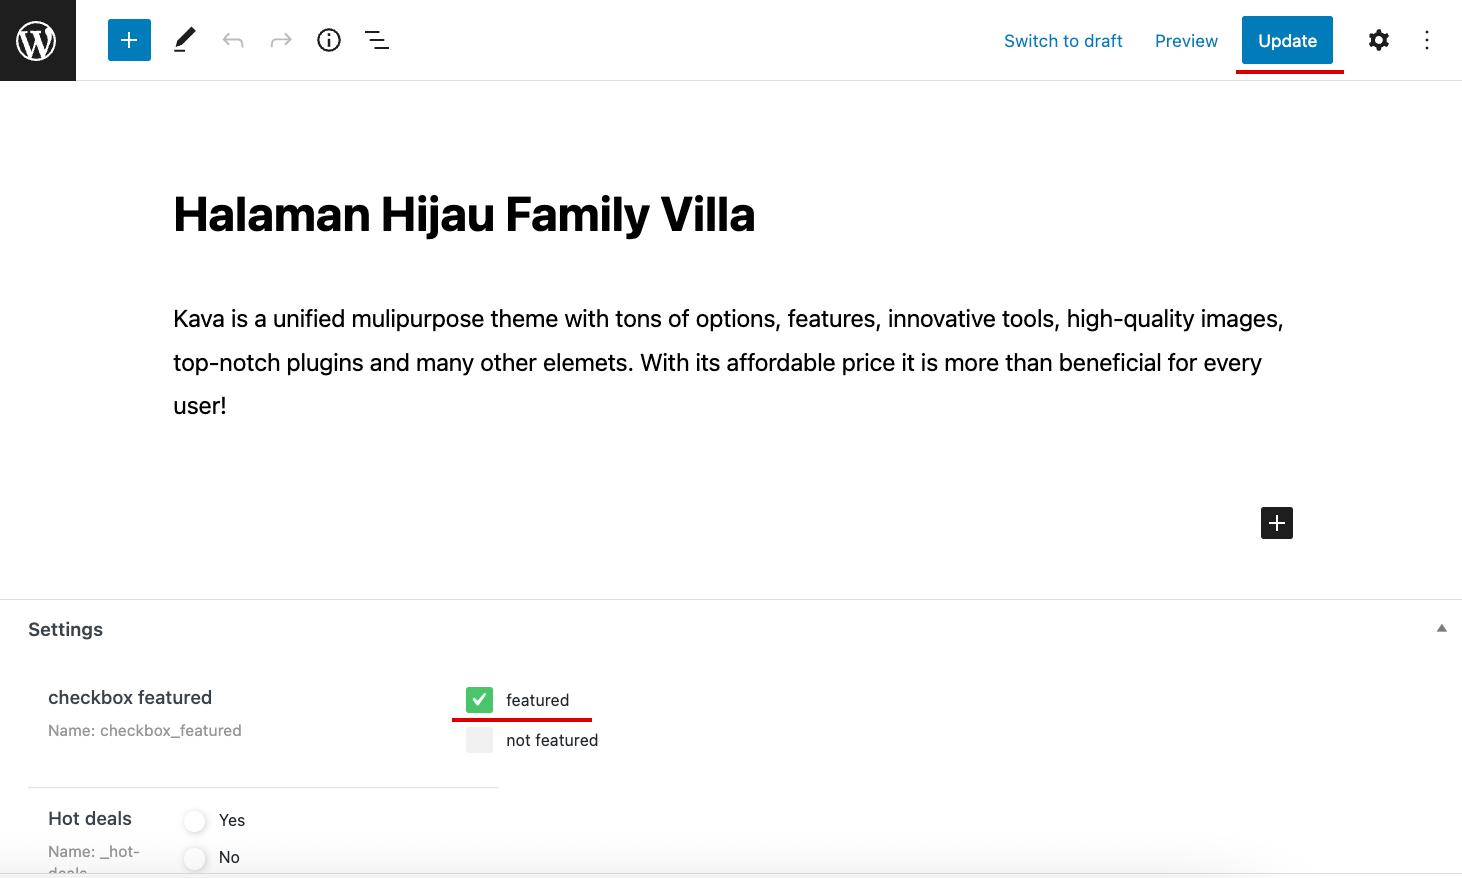
Go to the edited post type, open one of the posts, and mark the featured value in the desired posts.
Don’t forget to press the “Update” after editing posts.
Create a listing
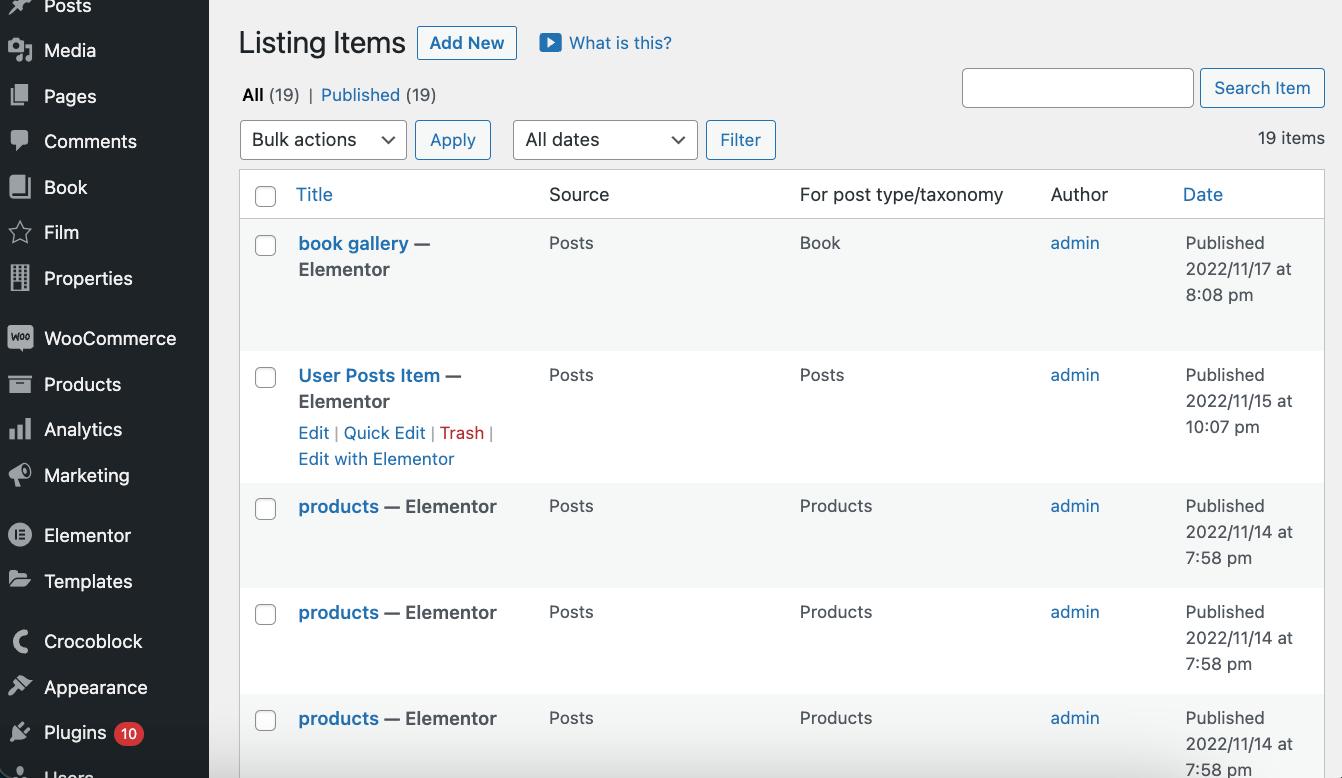
Next, you need to build a Listing Grid for this post type. To do it, head to WordPress Dashboard > JetEngine > Listings and push the “Add New” button.
Adjust the needed settings in the pop-up and press the “Create Listing Item” button.
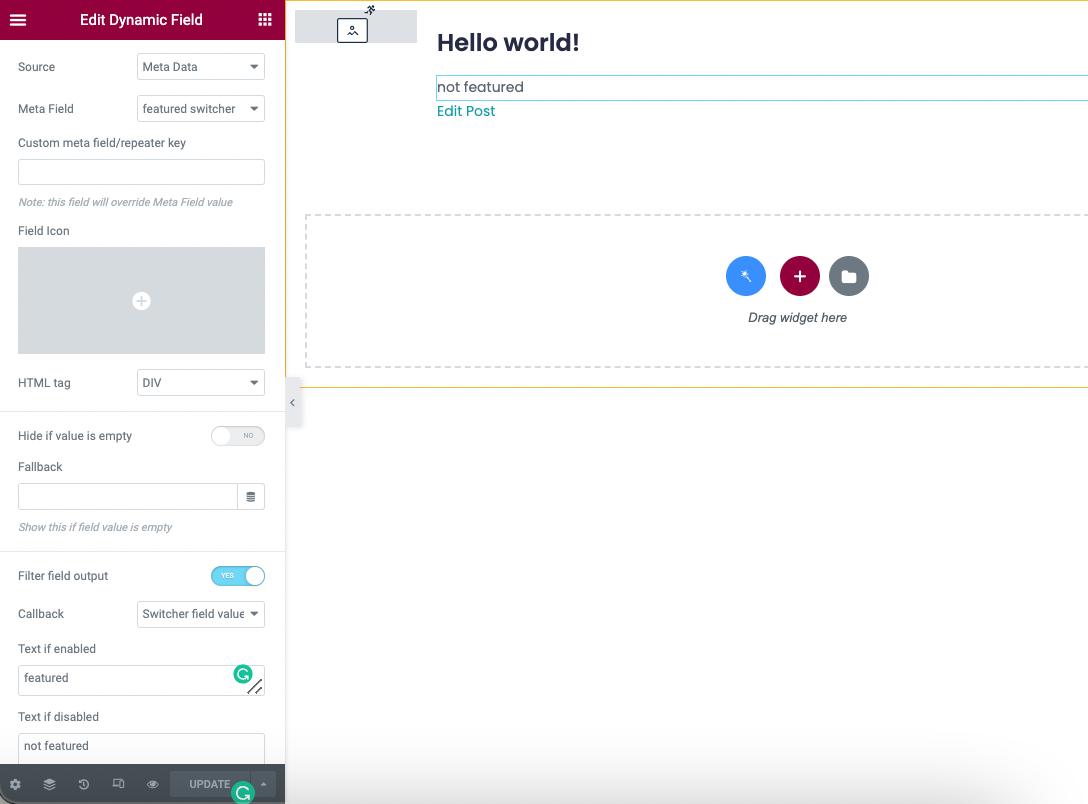
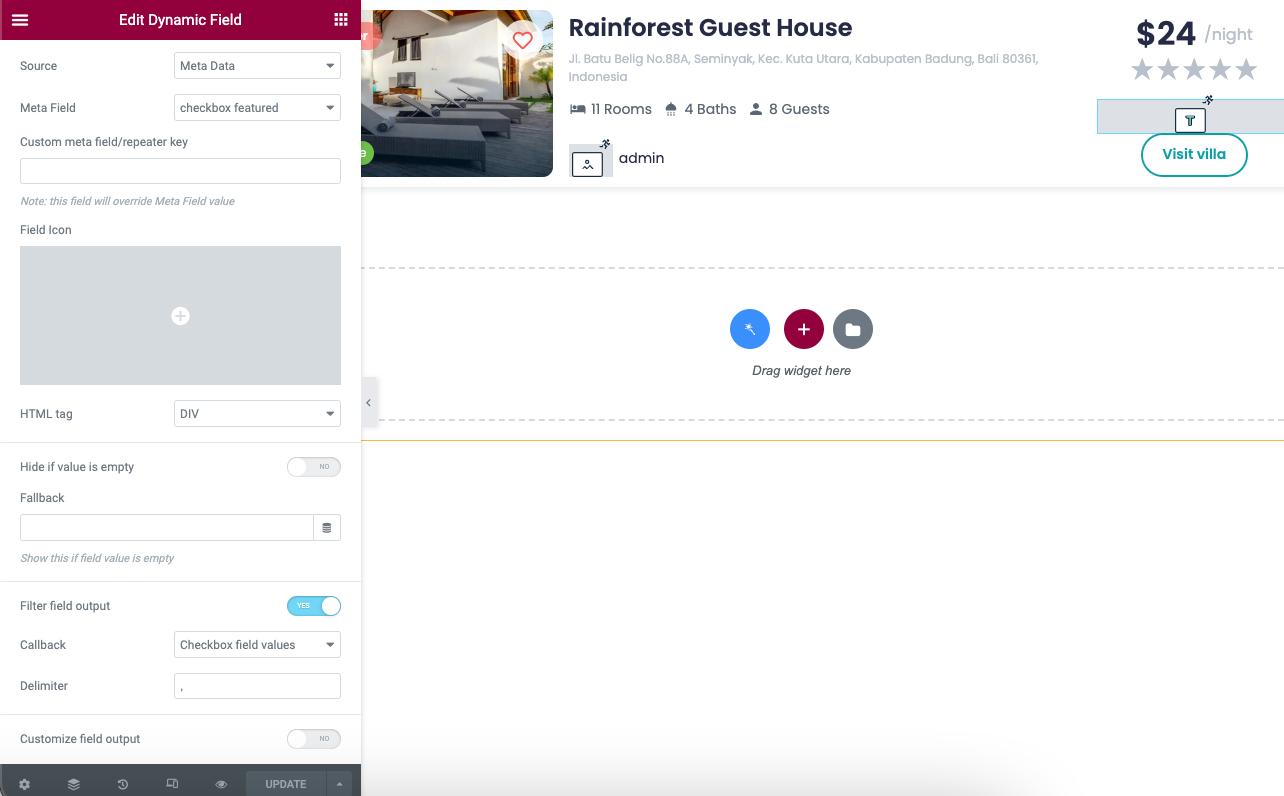
To display the checkbox field, choose the Dynamic Field widget.
Select the “Meta Data” in the Source field and specify the needed Meta Field.
Then, enable the Filter field output switcher and select the “Checkbox field values” option in the Callback drop-down menu.
Style the listing and hit the “Update” button.
Adjust query builder
The primary step is to make a Query to show only featured posts.
Go to WordPress Dashboard > JetEngine > Query Builder to create a new query.
Select the “Posts Type” Query Type and find the desired CPT in the Post Type list.
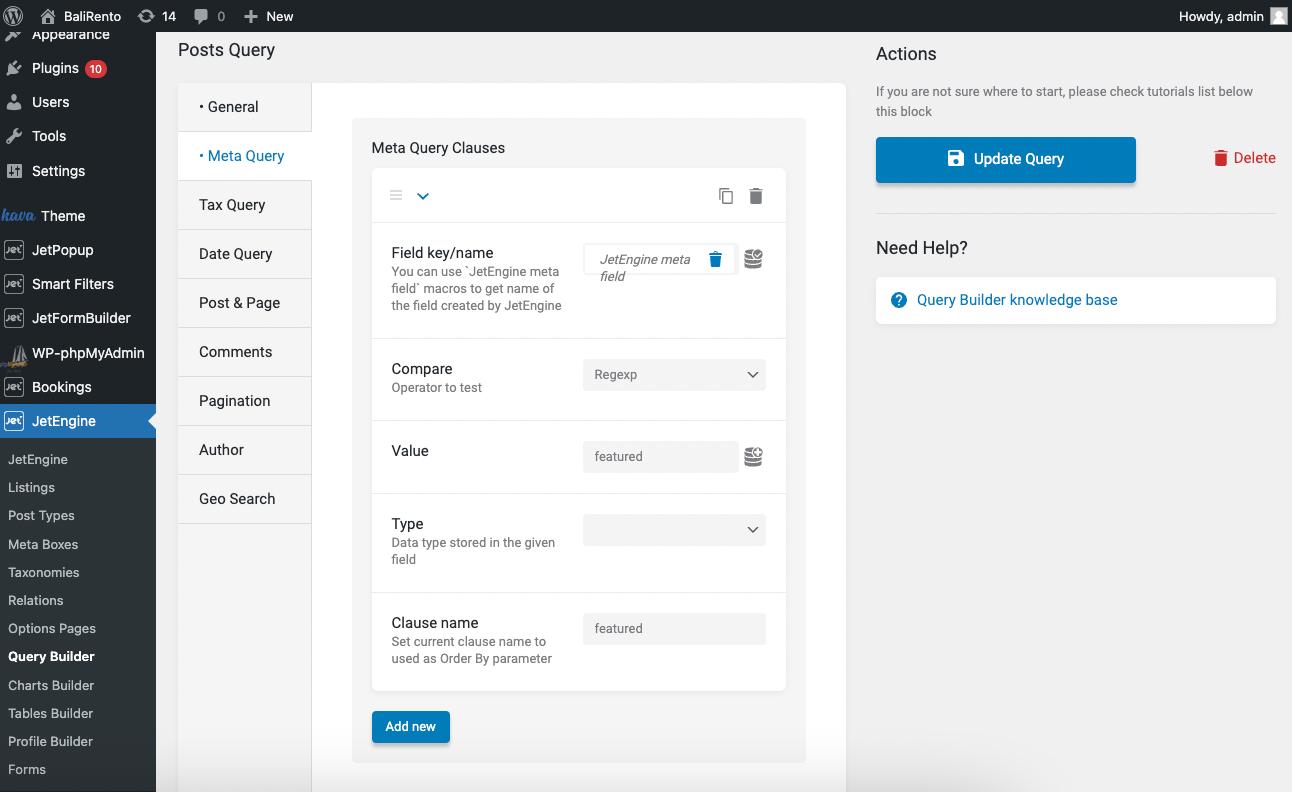
Then, go to the Meta Query section; in the Field key/name field, choose the “JetEngine meta field” macro by pressing the dynamic tag button.
Set the “Regexp” Compare operator and fill in the desired value, depending on which posts you want to show.
Don’t forget to update the Query by hitting the “Add/Update Query” button.
Applying a query to a listing on the Elementor page
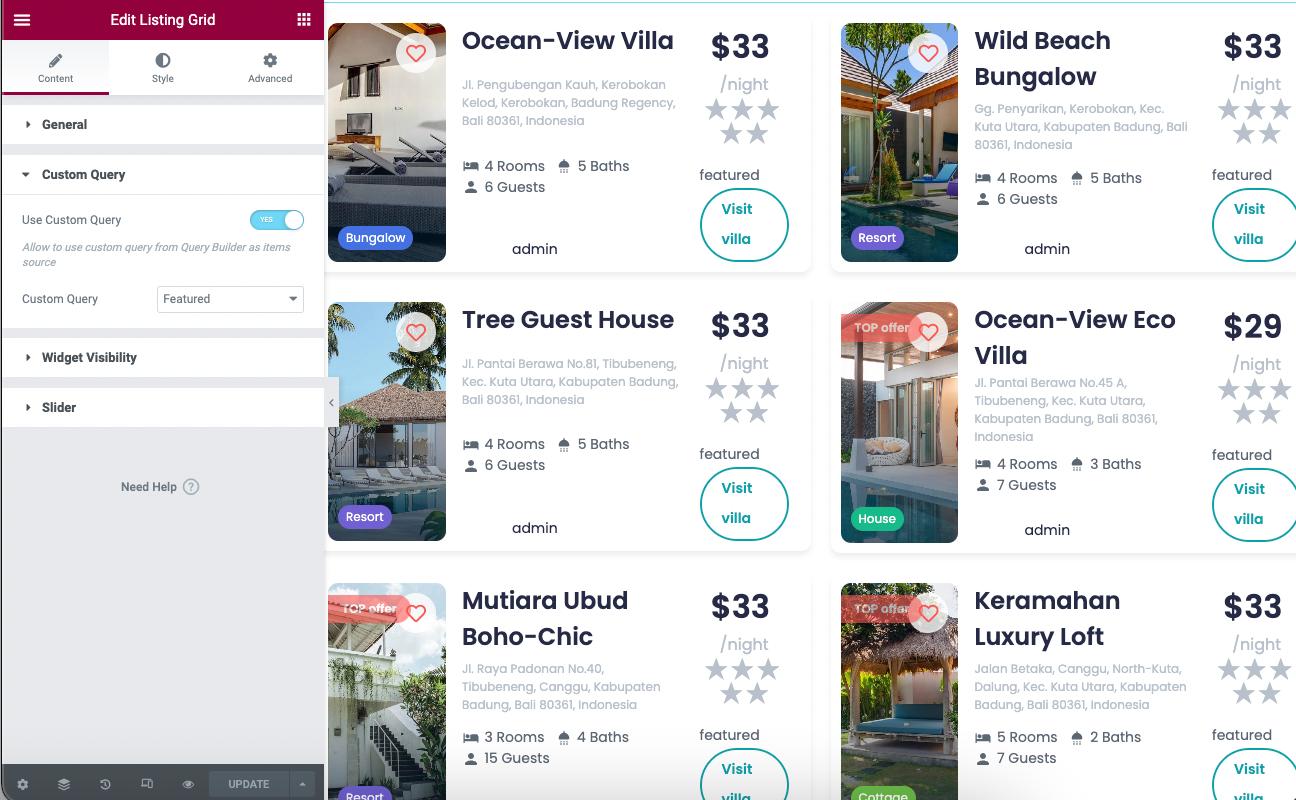
Create a static page or go to the needed page and add the Listing Grid widget.
Choose the created Listing.
Afterward, go to the Custom Query section, enable the Use Custom Query toggle, and choose the created query in the Custom Query list.
Check the ready page by heading to the front end.
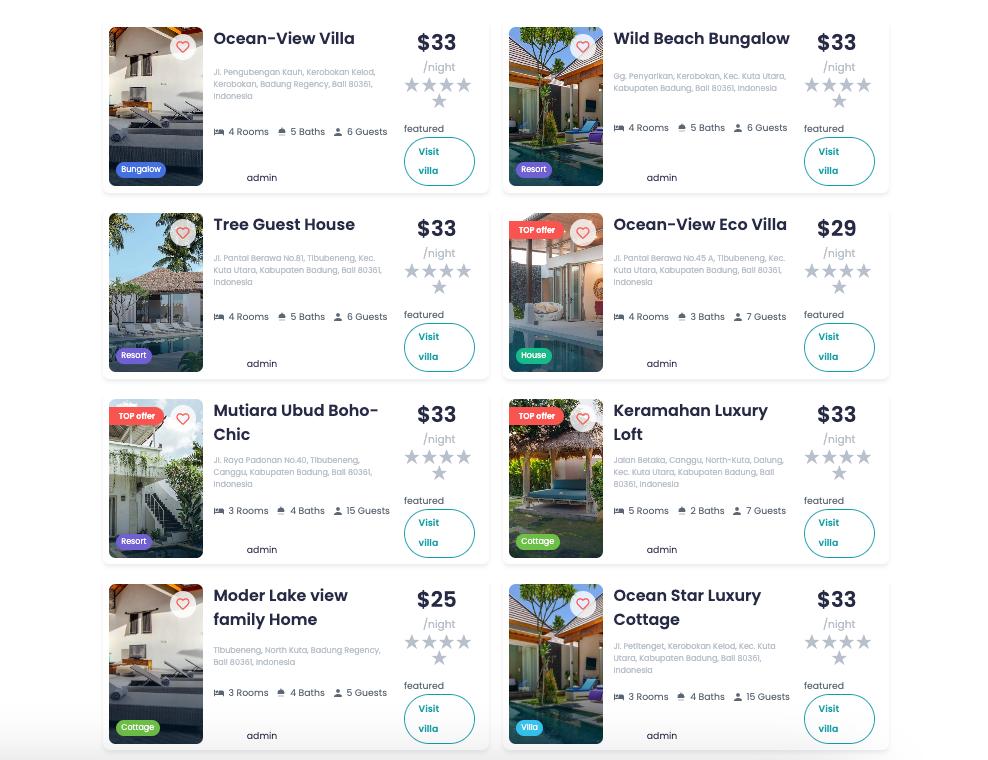
Now you know how to create and show featured posts using the JetEngine plugin.