How to Change the Page’s Visibility Settings
Read the instruction carefully to change the page’s visibility settings according to your needs in the WordPress settings.
Firstly, let’s take a quick overview of what each visibility type means:
- The default state of the page’s visibility is Public, which means that the page is visible to everyone.
- The second state of the page’s visibility is Protected, which means that you will protect the page with the password, and only those who have the password can view this particular page.
- The last state of the page’s visibility is Private, which means that only administrators can view the page. A private page is not visible in any search. Note! You don’t have to create any password to protect the page.
Firstly, log into the WordPress Dashboard and then select the Pages tab.
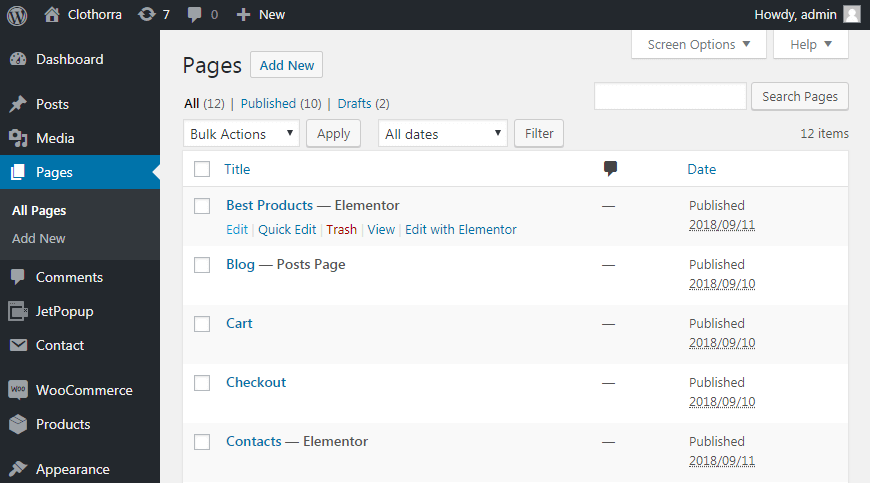
After that, click the Edit option for the page which visibility you want to change and proceed to the Document > Status & Visibility block on the right.
You can see the page’s current status right beside the Visibility label. Click on the Public option to open the dropdown where you can select another visibility status for this page.
Right after you’ve changed the status to Private, you would see the popup asking you if you would like to privately publish the page. Click Yes to proceed.
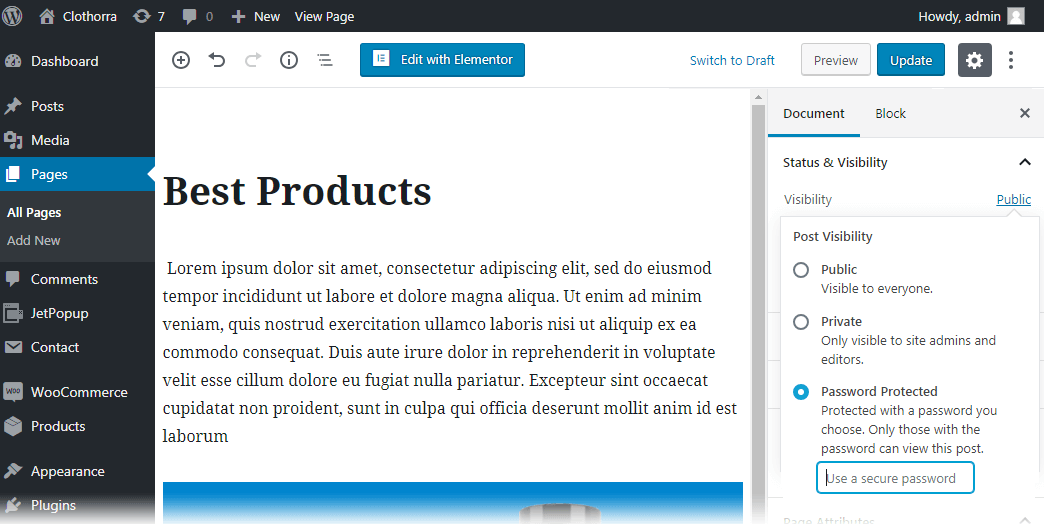
Select the Password Protected option and type in the password in the Use a secure password field below to set it for this page.
Finally, click the Update or Publish button to save the changes.
Now you know how to set the page’s visibility status to the one needed.