How to Create a Posts Grid Using Posts Widget
This tutorial shows how to create a posts grid with featured images, and read more buttons using the Posts widget settings.
The Posts widget from the JetElements plugin is a universal tool for presenting your posts in a grid form. Just follow the recommendations listed below, and you’ll be able to create a great post grid effortlessly.
Please note that before starting, you need to have at least 1 post on your blog.
Add the Posts Widget
Log into your website’s dashboard and open the needed page with the Elementor page builder. Find the Posts widget and drop it into a new section.
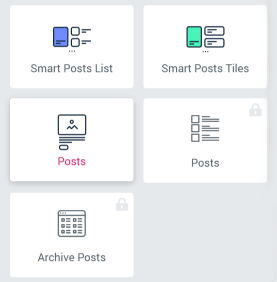
By default, the posts grid is filled with the latest posts if you have them. It is also possible to display some custom type posts here.
Define the Settings
Proceed to the Content > General settings block to set the number of posts you want to display (up to 30) in the Posts Number field. Move on to the Columns dropdown and define the number of columns (up to 6). If you select only 1 column, your posts will be shown in the usual listing position.
After that, turn on the Equal Columns Height option in order to make the columns equally high. Below, you can see Is archive template option. It allows you to pull your new posts to the grid and set this widget as an Archive template for the latest publications.
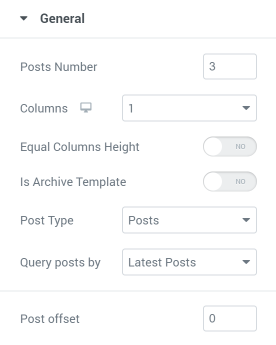
Navigate to the Post Type dropdown and select the types of posts to display in this particular posts grid. It can be Posts, Pages, Mega menu items, Products, etc.
If you want to showcase only posts of a specific category, there is a Query posts by dropdown, where you can select the filter criteria for the posts. You can also use the Use Custom Query option to filter the posts.
If you’ve already published some posts, you should probably use the Post offset option to hide them.
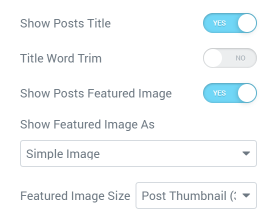
Then, navigate to the Show Posts Title option to show or hide the titles of the posts. If you decide to show the title, you may like the idea of showing only part of it to intrigue the readers. You can do it with the help of the Title Word Trim option.
When it comes to the post images, you can either hide or show them with the help of the Show Posts Featured Image option. When you decide to show the images, they can be displayed as simple images or box background images.
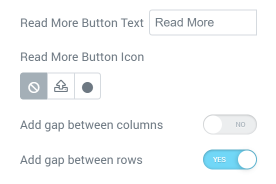
After that, you should set the Background Image Size and Position, enable or disable Posts Excerpt, and hide or Show Posts Meta (author, date, comments). Also, enable or disable the Read More Button, select the Read More Button Icon, add or remove the Gap between the columns or rows, etc.
Create an Appealing Design
When the features are all set, proceed to the Style block and change the design of the widget. There are tons of style settings. You are able to customize the Columns, the Post Items, the Post Thumbnails (images), the Post Items Content, the Titles, the Meta, the Excerpt, the Button, etc. Here’s what it all could look like:
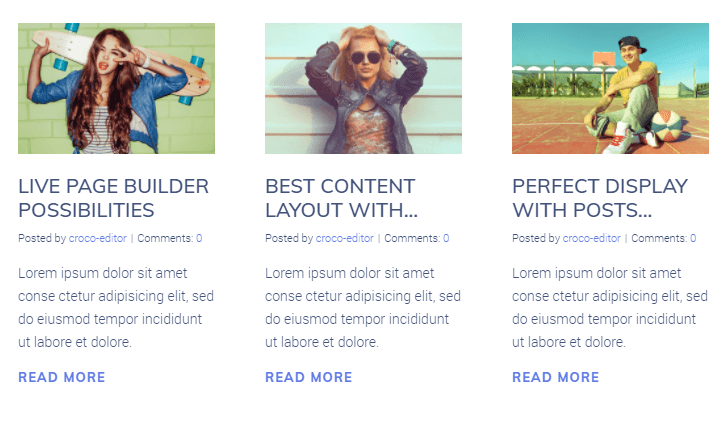
As soon as everything satisfies you, click the “Publish” button in the bottom-left corner of the Elementor page builder and enjoy the result!