
How to Display Recent Post Titles via Text Ticker Widget
Read what steps you need to take to display the recent post titles in the form of a news ticker and get an overview of the Text ticker widget using the JetBlog plugin.
Before you start, check the tutorial requirements:
- Elementor (Free version);
- JetBlog plugin installed and activated.
JetBlog Text Ticker widget represents the selected posts one by one in the order and the amount you’ve previously set. Your news posts (or another subject) will be demonstrated on your site in the form of a news ticker. By succeeding in the steps below you can easily create a continuous animation for your preferred publications.
From this tutorial, we will teach ourselves how to show off the recent post titles in the news ticker widget with JetBlog Text ticker widget.
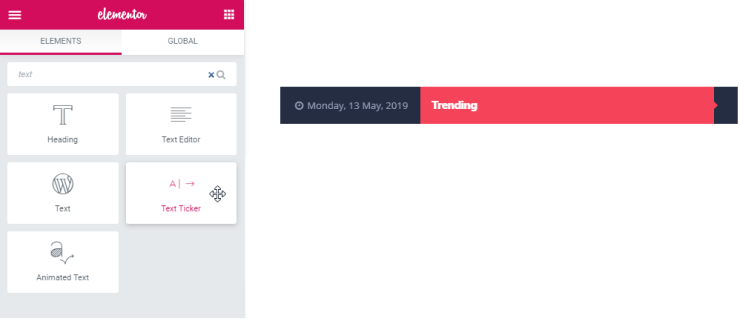
You need to open Elementor panel and search for Text Ticker widget. When you find it, just place it in your page canvas.
Content Options
They will help you to transform the overall view of the posts shown with Text Ticker widget by changing the Title, the Current Data, the Post Thumbnail, the Meta information, etc.
Adjusting the general settings
Open the Content > General tab where you can adjust the general settings (the number of posts to be shown, the needed categories which you want to represent).
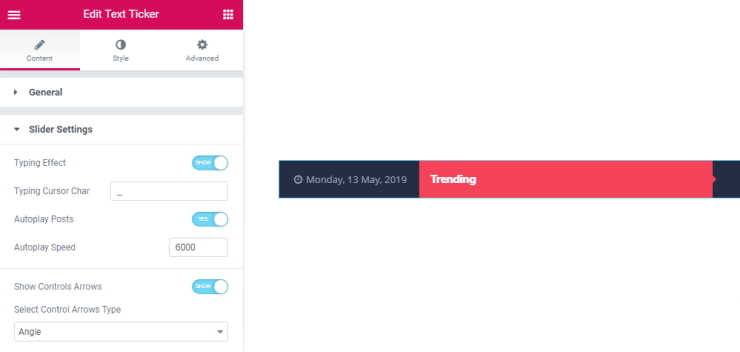
Autoplay options
Next, go to the Slider Settings tab where you can switch on/off the Typing Effect for the news headings. Here you can power on and off Autoplay, set its Speed and show/hide Control Arrows. You can also pick the arrows type for the controls: you can change their shape to round or square.
Style Settings
Here you can arrange the overall style for the whole section with the Text Ticker widget or change the look of the element.
Container settings
The first you need to perform is to go to the Style > Container tab. Here you can adjust the Background Type for the container, the Border Radius, etc. All your changes will impact the container view, which includes your post headings.
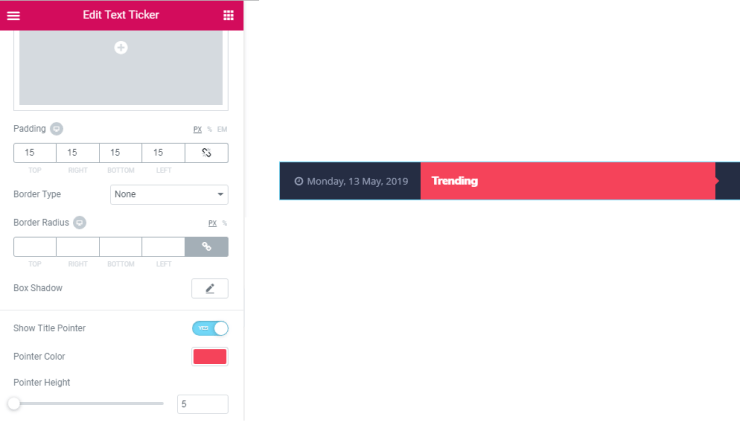
Widget title settings
Then, you need to go to Style > Widget Title. Here you will adjust the typography style. You can also enable/disable the Title Pointer.
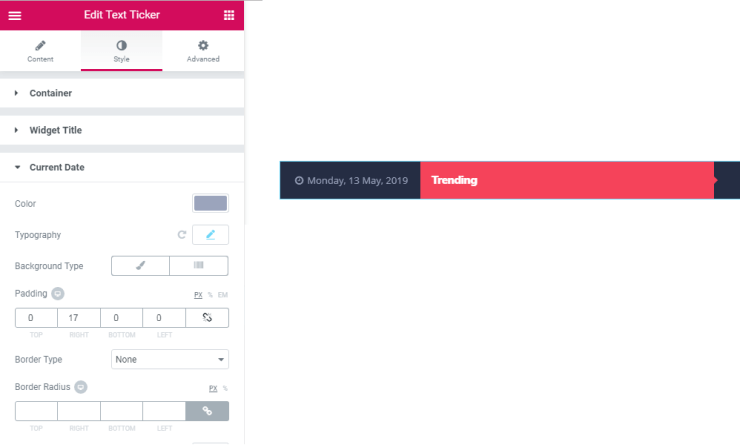
Current date servings
The next you should do is to go to the Style > Current Date tab in your elements panel. You can change the style of how your current date is showcased.
Posts Settings
Afterward, navigate to the Style > Posts tab, where it’s possible to set padding and margin options. Also, you can change the Thumbnail, Author, Date, and Link settings.
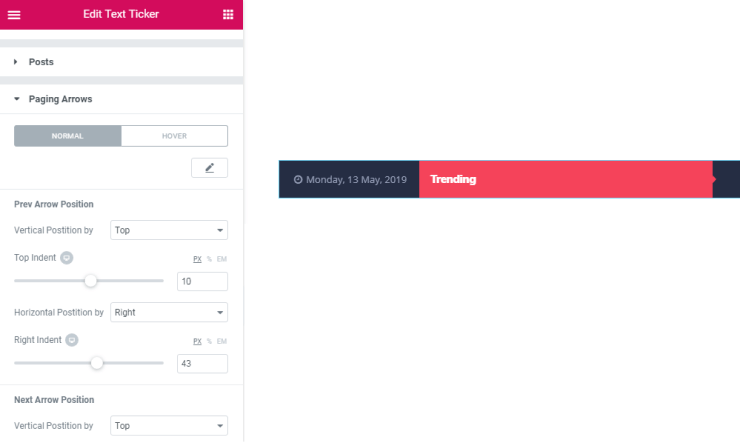
Paging Arrows settings
Finally, go to the Style > Paging Arrows tab, where you can change settings for normal and hover style; for example, change Arrows Positions.
Note that you can hide most of these elements on a tablet or mobile device. To do it, you should switch on/off the appropriate settings.
After you’ve done everything you need to in settings, don’t forget to save the changes and have a preview of your changing.
Now you have the recent post titles appearing on the site.