How to Import Skin with Crocoblock Wizard
In this step-by-step tutorial, we’ll show the true colors of the process, which implies how to import the preferable skin with the help of the Crocoblock Wizard plugin.
You may have created an amazing website and then downloaded it to your hard drive. Now, you are using the Crocoblock super-power package, and it becomes as simple as ABC to keep using the preferable skin where you want to imply Crocoblock features.
Let’s start learning more about the process of skin importing.
If you haven’t yet installed the Crocoblock Wizard, follow the link and read our tutorials on how to perform the installation.
Import the Skin
Before you start the installation, make sure that you’ve previously exported the desirable skin to the hard drive and stored in the format of .zip archive. Read more about how to export skin with Crocoblock Wizard in the tutorial.
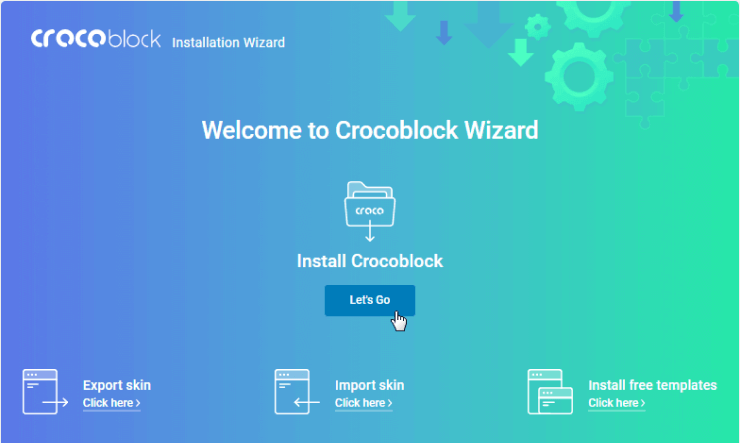
Go to your WordPress Dashboard and open JetPlugins > Installation Wizard. Click the “Import skin” button.
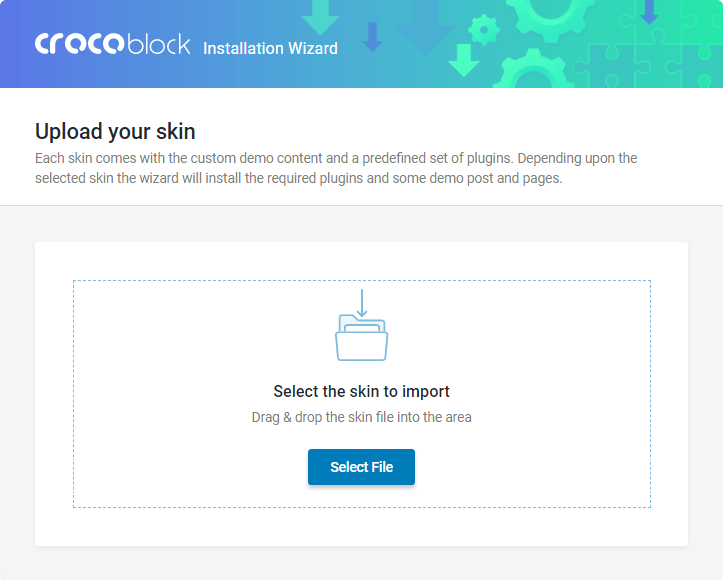
Upload the Skin
On the Upload your skin page, you should drag and drop the skin file into the areas or click the “Select File” button and find the skin file on your hard drive.
Then, the prototype of the selected skin will appear.
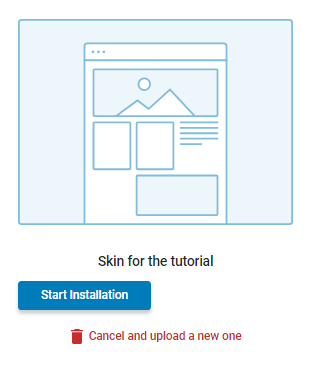
On the screen, there is a default prototype because we are installing the one we exported (read in the previous tutorial about it) and there in the General Settings we left the Demo URL and Thumbnail URL fields empty.
If you doubt whether the uploaded skin is the right one, you may click the “Cancel and upload the new one” button. After you selected the suitable skin, then run the installation process by clicking the “Start installation” button.
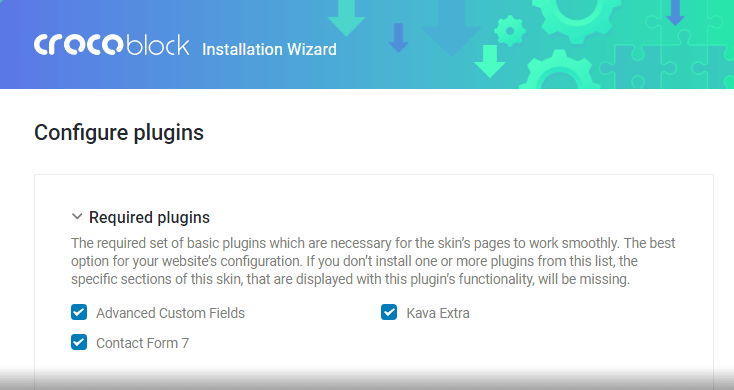
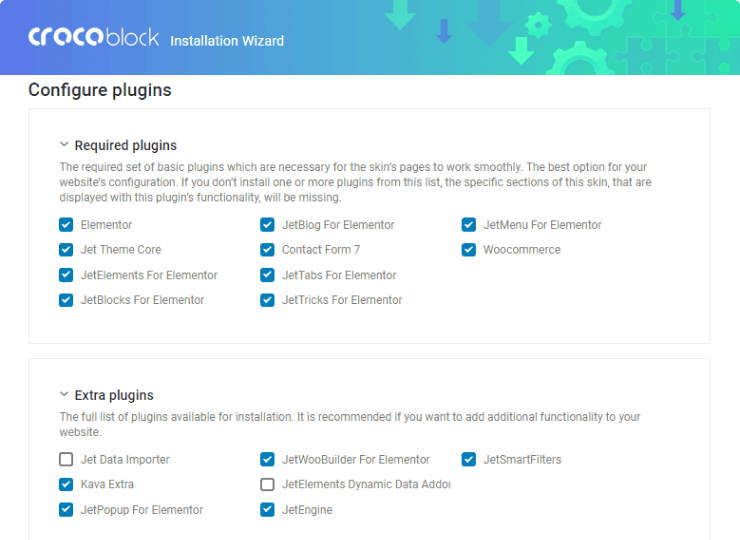
Configure Plugins
After that, on the Configure plugins screen, you should check the plugins in the Required plugins block, where there are the plugins that go with the selected skin or the ones you specified while exporting the skin.
The next block is Extra plugins one where there are additional plugins available for the installation. Specify here the needed ones and continue the installation process.
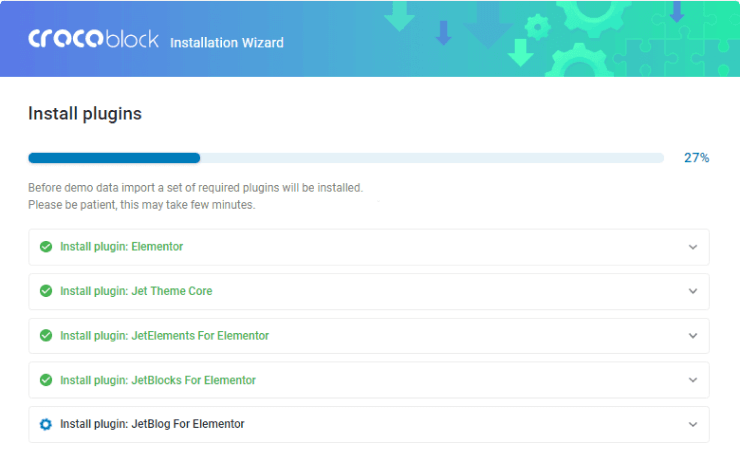
When the installation begins you will be able to see the progress.
The next thing you should do is decide whether you append the demo content to your existing content or replace it.
If you need to add the content to the existing one, please, choose to Append demo content to the existing one.
In case you want to install new content instead of the existing one, choose to Replace your existing content with the demo one.
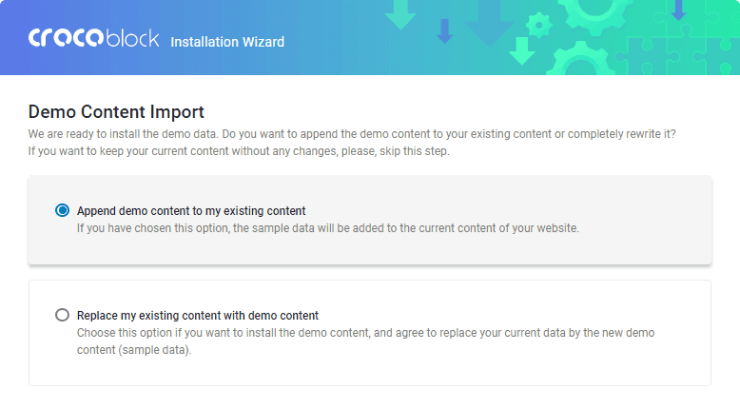
Alternatively, you can Skip the demo content installation. After you’ve made your choice, click the “Continue” button.
After your choice, the importing of sample data will start.
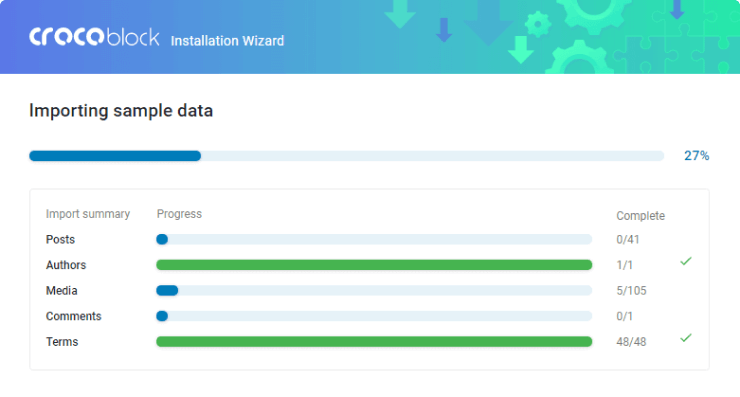
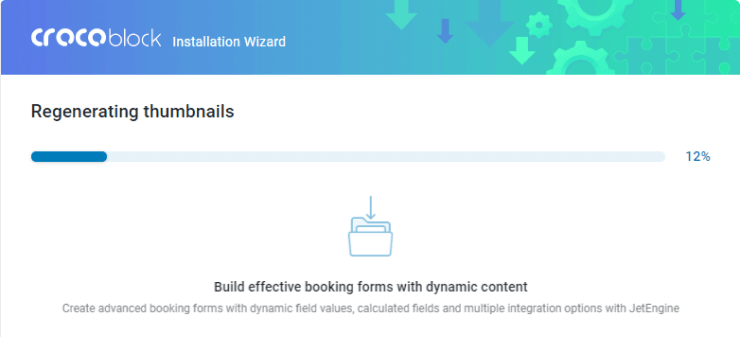
Then, the thumbnails will be regenerated. You will see the whole process as well.
That’s it; you have imported the desired skin.