How to Arrange the Templates via the Tabs Widget
Create and place any content in the templates into tabs using the JetTabs plugin.
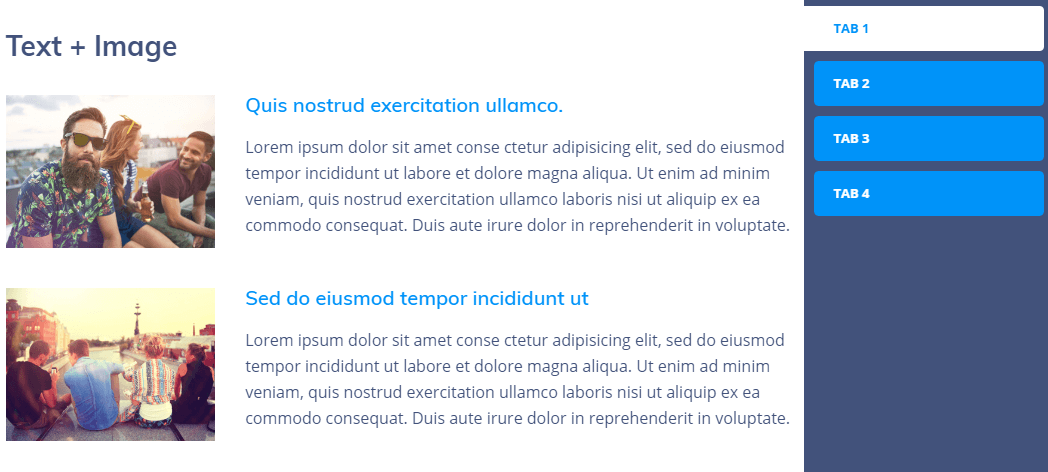
A tab is the element of a user interface that allows navigating between multiple subjects on a page.

JetTabs plugin is the best solution for organizing content into stylish tabs and accordion blocks using Elementor page builder. With the help of this addon, you can create different attractive layouts according to your needs.
Here you will learn how to arrange the content built with Elementor inside the Tabs widget from the JetTabs plugin.
In order to enrich the tabs with content, let’s create some templates for them.
Creating Template
Let’s create a new page at first and open it with the Elementor editor.
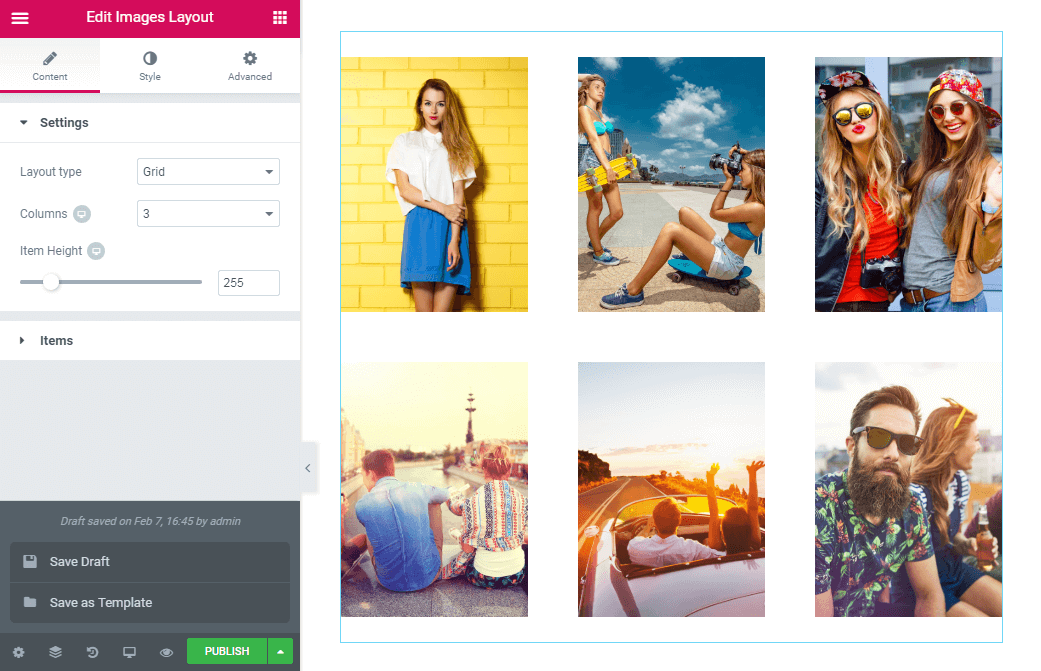
Enrich it with content using versatile stylish widgets, for example, with the Images Layout widget.
After you have completed the customization, you will need to save this page as a template. To do so, click the arrow near the Publish button and select the Save as Template button.

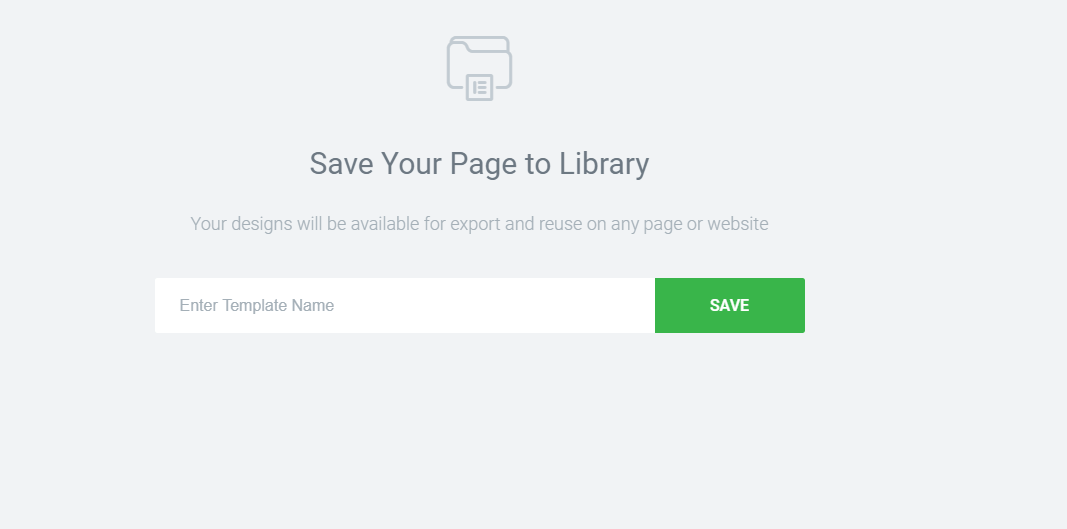
Provide a template with the title in the new window and click the Save button.

You are allowed to create as many templates for tabs as you need in such a way.
Adding Content into Tabs
Open the page where you want to add the tabs with Elementor page builder.
Drag and drop Tabs widget to a new section.
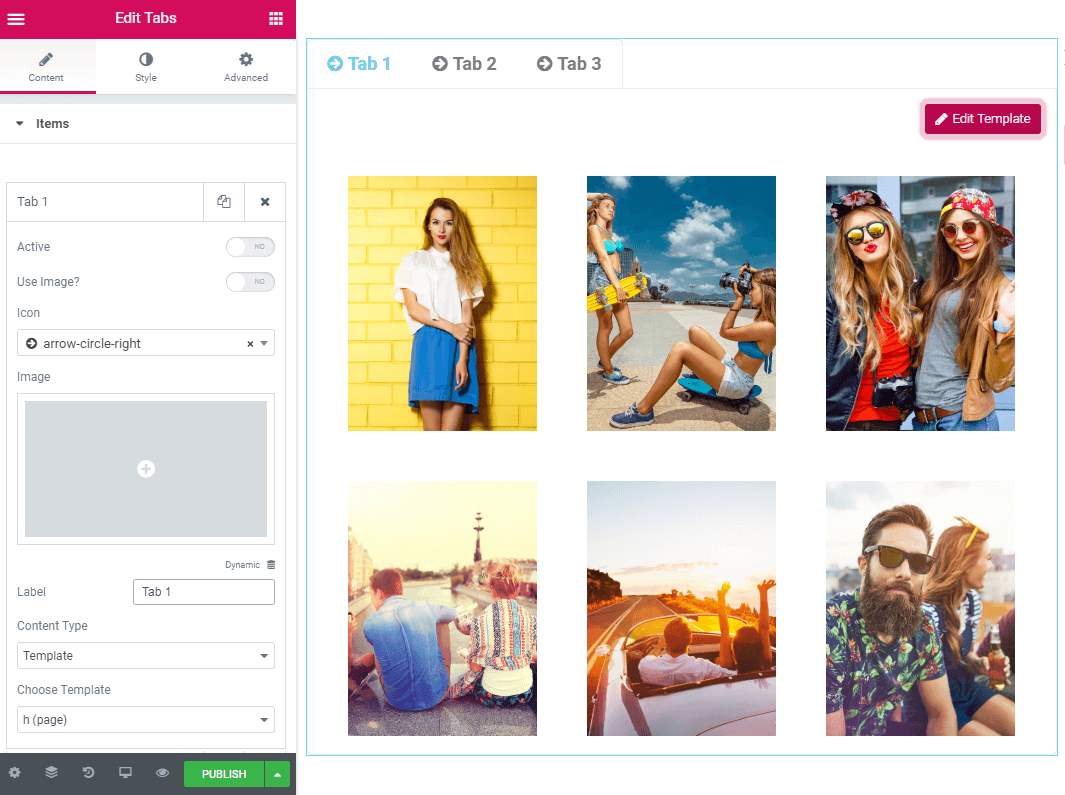
In order to add the template to the tab, proceed to the Content > Items directory.

To add the template to the tab, open it and navigate to the Choose Template dropdown.
Pick up the template you’ve recently created, and it will be pulled out to the tab content.
If you need to change the template, click the Edit Template button.
So, that’s all you need to do. Don’t forget to hit Publish button to save the progress.