How to Log Into WordPress Dashboard
Once you’ve installed WordPress, you are ready to log in. In this tutorial, you will find out some useful information about the WordPress Dashboard and how to log in to WordPress.
Log In
Open any browser and navigate to your website.
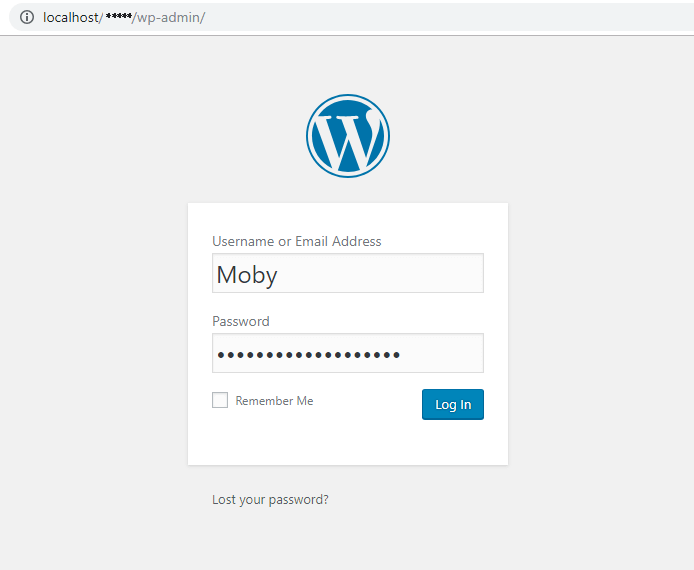
For this reason, move on to the browser address bar and type in /wp-admin after the address of your website.

You get redirected to the WordPress Log in page. Here you have to fill in your Username and Password. Click the Log in button to open the Dashboard.
Administration panel
Let’s explore the Administration panel in more details. In a nutshell, an administration panel gives you an opportunity to manage your website from one place. Here you are totally in charge of everything. In other words, you can create and delete, change and improve, edit, and so on.
The Dashboard consists of the top and left panels, which in their turn include different settings.
The top panel (from left to right)

The top panel grants you access to the following settings:
- Information about WordPress – hover over this icon to reveal more options, such as About WordPress, WordPress.org, Documentation, Support Forums, and FeedBack.
- Visit site – using this button you can immediately switch to your website’s front-end.
- Plugin Updates – here, you can see the notifications if any of your installed plugins need to be updated.
- Comments – here, you can see if any comments are published or expect moderation.
- New – hover over this section to reveal what items you can create, e.g., post, media, page, user, etc.
Also, you can find your profile in the top-right corner. Click it and start editing it according to your taste so that you fully enjoy using WordPress.
As shown above, the process of logging in is quite simple, and we hope you succeed.