How to Update JetPlugins Manually
Find out how to install all the latest versions of Jet Plugins via Bluehost cPanel. Feel free to learn how to do it via Crocoblock Dashboard.
This tutorial explains how to update JetPlugins manually. It will take you through the process of updating the plugin to its latest version manually (it’s based on Bluehost server cPanel, but you can follow these steps to make manual updates using your own server’s cPanel). Just follow the detailed instructions below in order to get the plugin updated.
Preparation
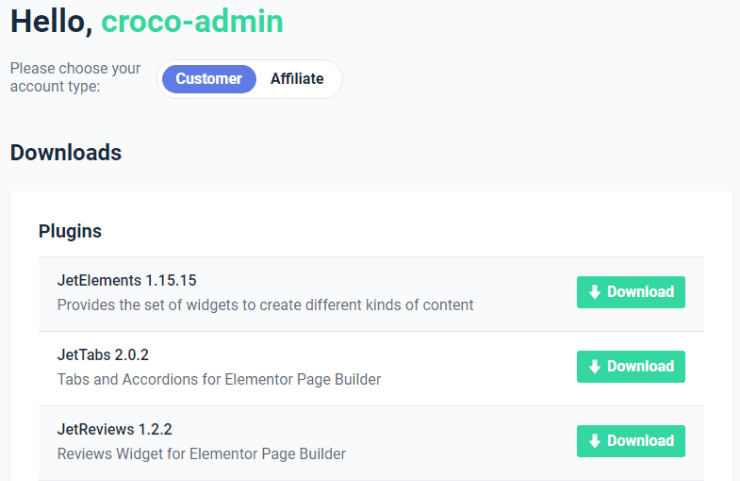
First, enter your Crocoblock account and proceed to the Downloads section. From the list of plugins select the one you want to update. Click the Download button to download the .zip package containing the plugin to your hard drive.

Manual Update
First, open your Bluehost cPanel and scroll down to the Files block. Then click the File Manager to go to the core WordPress directory, where all your website’s content is kept along with the installed JetPlugins.

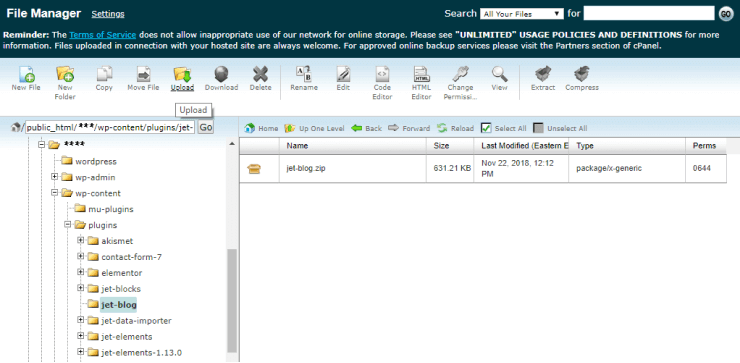
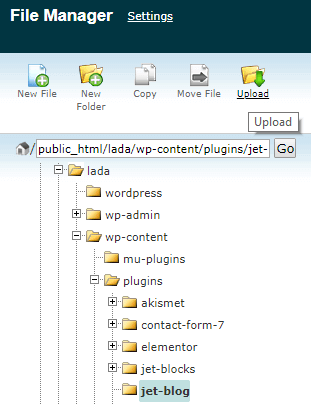
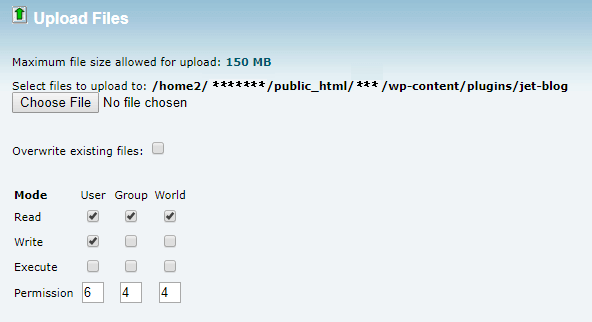
Browse wp-content > plugins and click the Upload button in the top toolbar to upload an archive with the latest version of the plugin.

After uploading finished, you will see a progress bar in the bottom-right corner signalizing you about it.

Next, you have to extract the archive files. Please, make sure you’ve deleted the folder containing the previous version of this plugin before extracting the latest plugin’s version. To unpack the .zip package containing the plugin’s files, select the .zip archive containing the plugin files and click the Extract button in the toolbar on the top.

Now if you go to the Plugins section in your WordPress Dashboard, you can notice that the latest version of the plugin has been installed. Click Activate option to make the new plugin’s version active on your site.
