How to Add a Button Widget with Custom Text and Links
This tutorial explains how to add a Button widget with custom text and links to any content on your website using the JetElements plugin.
The navigation on the page is made by using buttons as they open the hidden information and lead you to the different parts of the website.
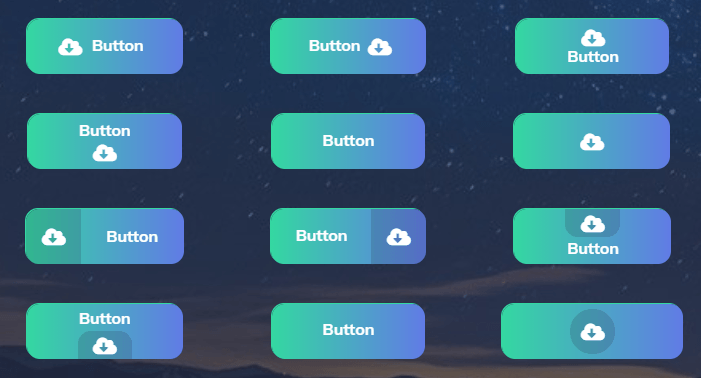
The Button widget from JetElements allows you to add buttons with custom text and links to any content block on the website. Also, you can apply hover effects to it and add attributes to the links.
Reading this tutorial, you will learn how to add a Button widget to your site and customize it. So, let’s begin!

1 Step — Add the Button widget to the page
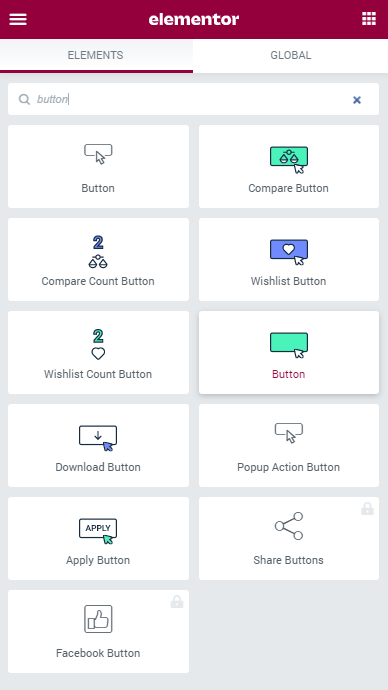
Firstly, open the page to which you want to add a Button widget and click on the “Edit with Elementor” button to proceed. Secondly, drag-n-drop the widget to the needed section.

2 Step — Set the content
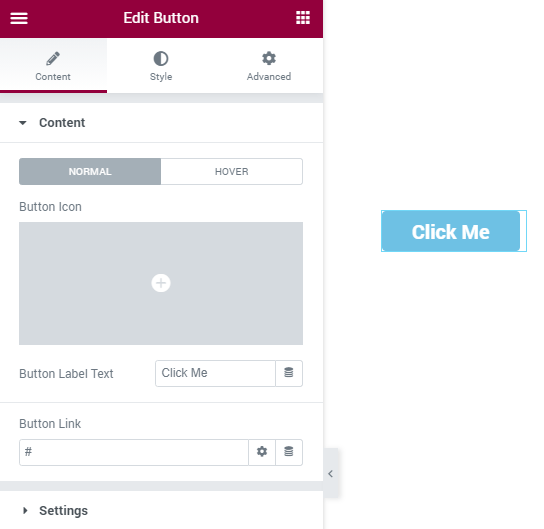
Open the Content left-side menu tab and unfold the Content section. You can add Button Icon and Button Label Text for the Normal state of the button and when the user Hovers a pointer over it. In the Button Link field, you can add a link to the page the button will lead.

3 Step — Get along with the settings
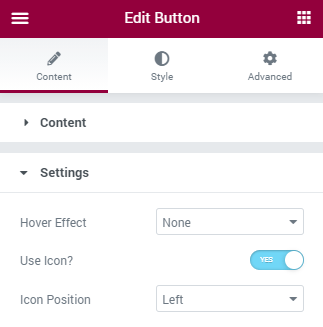
Go to the Settings section. You can select the Hover Effect, which is simply an animation effect that is triggered once you hover over the button. The sides of your button will change each other with this animation effect.
Also, you can enable or disable the Icon. And if you decide to use the icon, you can change its Position.

Finally, manage the Style settings block. Here you’re able to change the settings for every single element of this button. The last step here is to click on the “Publish” or “Update” button and preview the result.
These easy steps are all you have to do to add a button to your website. Enjoy!