How to Customize the Team Member Widget
This tutorial explains how to add a Team Member widget to your website with the help of the JetElements plugin.
The Team Member widget of the JetElements plugin is an awesome tool for displaying your team members in the most attractive way, adding positions, social links, and bio information.
This tutorial will teach you how to add the Team Member widget to your website’s page and customize it to showcase team members. Let’s explore the process!
1 Step — Add the Team Member widget to the page
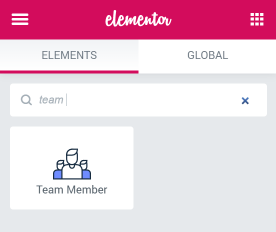
Open your WP Dashboard and find the page to which you want to add a team member’s block. Click on the “Edit with Elementor” button to proceed. Seek the Team Member widget in the left-side widget menu and drop it to the needed section.
2 Step — Define Content settings
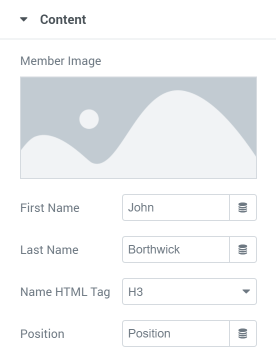
Go to the Content settings tab. Here you can add a Member Image, First and Last Name, choose the Name HTML Tag and type in member’s Position in a company.
In the Description text field, you can write the team member’s personal information. Moreover, you can add several links to your team member’s social media accounts, such as Facebook, Twitter, or Instagram.
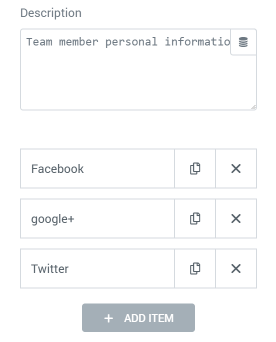
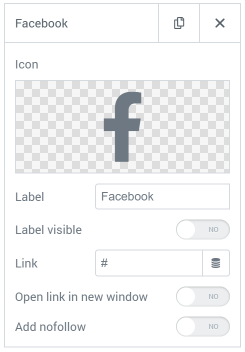
Every added social link item allows you to choose the Icon, type in the Label, make it visible, and insert the Link. If you want the link to open in a separate window and add a “nofollow” rel to it – just turn the appropriate toggle on. You can add as many social links as you want by clicking the “Add Item” button.
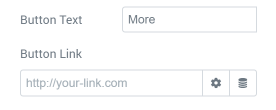
Lastly, you can add a button that will lead the user to the team member’s personal page. Just insert the Button Link and choose the Button Text.
3 Step — Go through Settings section
The Settings menu section allows you to make the team members’ table a little more dynamic.
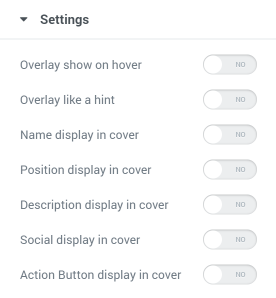
- Overlay show on hover. When this toggle is turned on, all the information that you will hide to cover or hint (with the help of toggles below) will be displayed only after the user hovers a pointer over the team member’s column;
- Overlay like a hint. If you want the information that you move to the cover (with the help of toggles below) to be shown as a hint – turn this toggle on;
- Name/Position/Description/Social/Action Button display in cover. This bunch of toggles allows you to move some of the term member’s information to the cover. Afterward, you can also make it visible on hover or as a tooltip.
4 Step — Make it attractive
You can use a lot of different Style settings to show your team members in an appealing way. Here’san example of whet you can create:
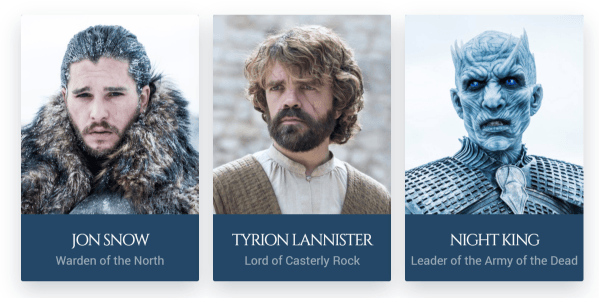
When you’ve finished with all settings, don’t forget to click on the “Publish” button and see the result.
Congrats! Now you know how to add information about your team members to your website in the most stylish way with the help of the Team Member widget from the JetElements plugin.