How to Create Posts Grid in Gutenberg Editor
From this tutorial, you will learn how to use all functionalities of the JetGridBuilder plugin in Gutenberg Editor.
Some of the Crocoblock plugins work not only with Elementor page builder but can be used for Gutenberg Editor as well. JetGridBuilder is one of them; with its help, you can compose cool posts or terms grid layout. In this tutorial, we will go through the settings of the Posts Grid Builder extension but they are almost similar to the Terms Grid Builder features. If you would like to build a terms grid, all the steps will be the same. So, let’s start.
1 Step — Add the Posts Grid Builder block
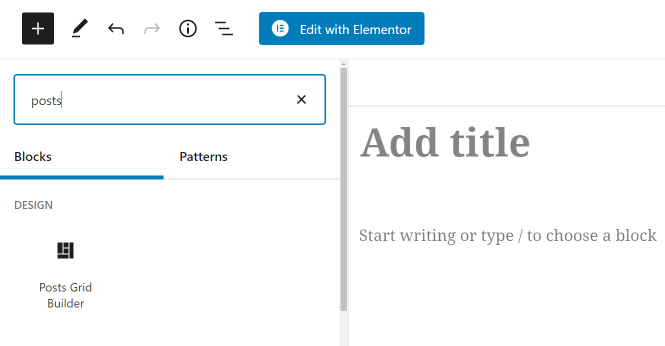
By this time, you have probably installed and activated the JetGridBuilder plugin. In the WordPress dashboard, find the post or page where you want to place a grid and click the “Edit” button. Open the blocks menu by hitting the “Add Block” button (the one with a “+” icon) and search for the Posts Grid Builder block. Click on it to add it to the page.
By default, the block is empty, so you have to press the “Add Posts” button and choose the posts you want to place on the grid. Be aware that you can also display products on the grid.
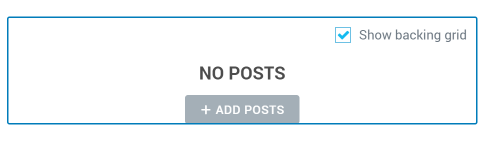
You can easily resize each of the tiles and move them to any place you want by just dragging over. The height of the grid resizes automatically when you move the tiles, and the width can be changed in the settings.
2 Step — Define the settings
There are three settings sections that define the look of your posts grid. The widgets for Elementor page builder allow you to set the design of the grid but there are no such functionalities in Gutenberg. The appearance of the grid will be determined according to the general website template design.
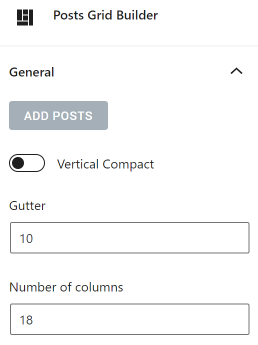
General settings section
- Vertical Compact. By default, this toggle is turned off. In this case, you can place the post tiles anywhere on the grid. However, when you turn it on, the posts will be automatically aligned to the top edge of the page;
- Gutter. This field defines the gap between grid cells. The bigger it is, the wider the gap will be;
- Number of columns. Here you can change the width of the grid by changing the number of columns. There could be from 3 to 50 columns in the grid;
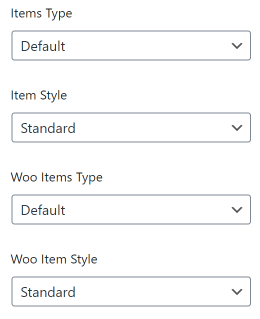
- Items Type. There are two options in this drop-down menu. The “Post Content” option means that the content of the post will be shown right on the tile. And the “JetEngine Listing” option allows you to choose one of the previously created listing designs;
- Item Style. This feature defines how the thumbnail will be shown on the tile. The “Standard” option means that the thumbnail will be placed over the text info, and the “Content Overlay” option makes the content overlay the image;
- Woo Items Type. You will need this feature if there are some WooCommerce products on the grid. If you choose the “Default” option, the products will be displayed with the same design as the posts. Besides that, there is an option to show the products with the design and layout you set using the JetWooBuilder plugin;
- Woo Item Style. Here again, you can choose the tiles appearance type – the one where the thumbnail is shown over the text or the one where information overlays the picture;
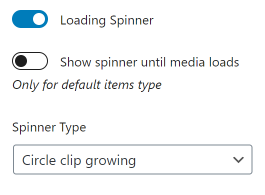
- Loading Spinner. When the posts are loading, you can show an animated icon to the users. If you want to – turn this toggle on. Then you will be able to choose whether you want to show the spinner only during the loading process, as well as select the type of animated icon for it.
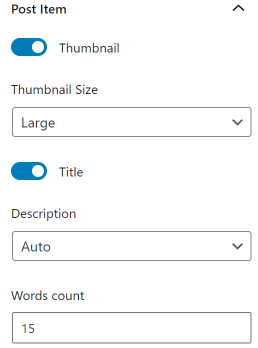
Post Item settings section
All the parts of the tile can be thrown out, excluding the description of the post. The excerpt will remain on the tile even if you disable all other elements. The Post Item section contains toggles that can turn on or off the Thumbnail, Title, Author, Date, Divider, and Post Type. Play with them to define what information you would like to display on the tiles.
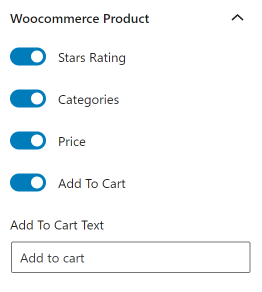
WooCommerce Product settings section
Once again, you’ll find this section useful only if there are some products on the grid. The toggles here allow you to add/remove elements to/from the product’s tile. Stars rating, Categories, Price and Add to Cart button – you can decide whether to show them on the tile or not.
When you are done, click the “Update” or “Publish” button to save the changes. Even though you can’t affect the design of the grid, you can still create an attractive layout. Appearance created with the Elementor tools would probably be more interesting but the grid built in Gutenberg has less impact on the loading speed.
That’s it, you have created a Posts Grid using the JetGridBuilder plugin. If you need a Terms Grid, repeat the same steps. Enjoy!