How to Add a Tooltip to the Widget
In this tutorial, you will learn how to add useful tooltips to various parts of the website, such as images, tables, and headers, using JetTricks' functionality.
Before you start, check the tutorial requirements:
- Elementor (Free version)
- JetTricks plugin installed and activated
A tooltip is a small window that displays text to explain the part of the website the user is currently viewing. Using the JetTricks plugin, you can attach tooltips not only to hotspots but also to any widget on the page. Let’s take a look at how it can be done.
Enable the Tooltips Extension
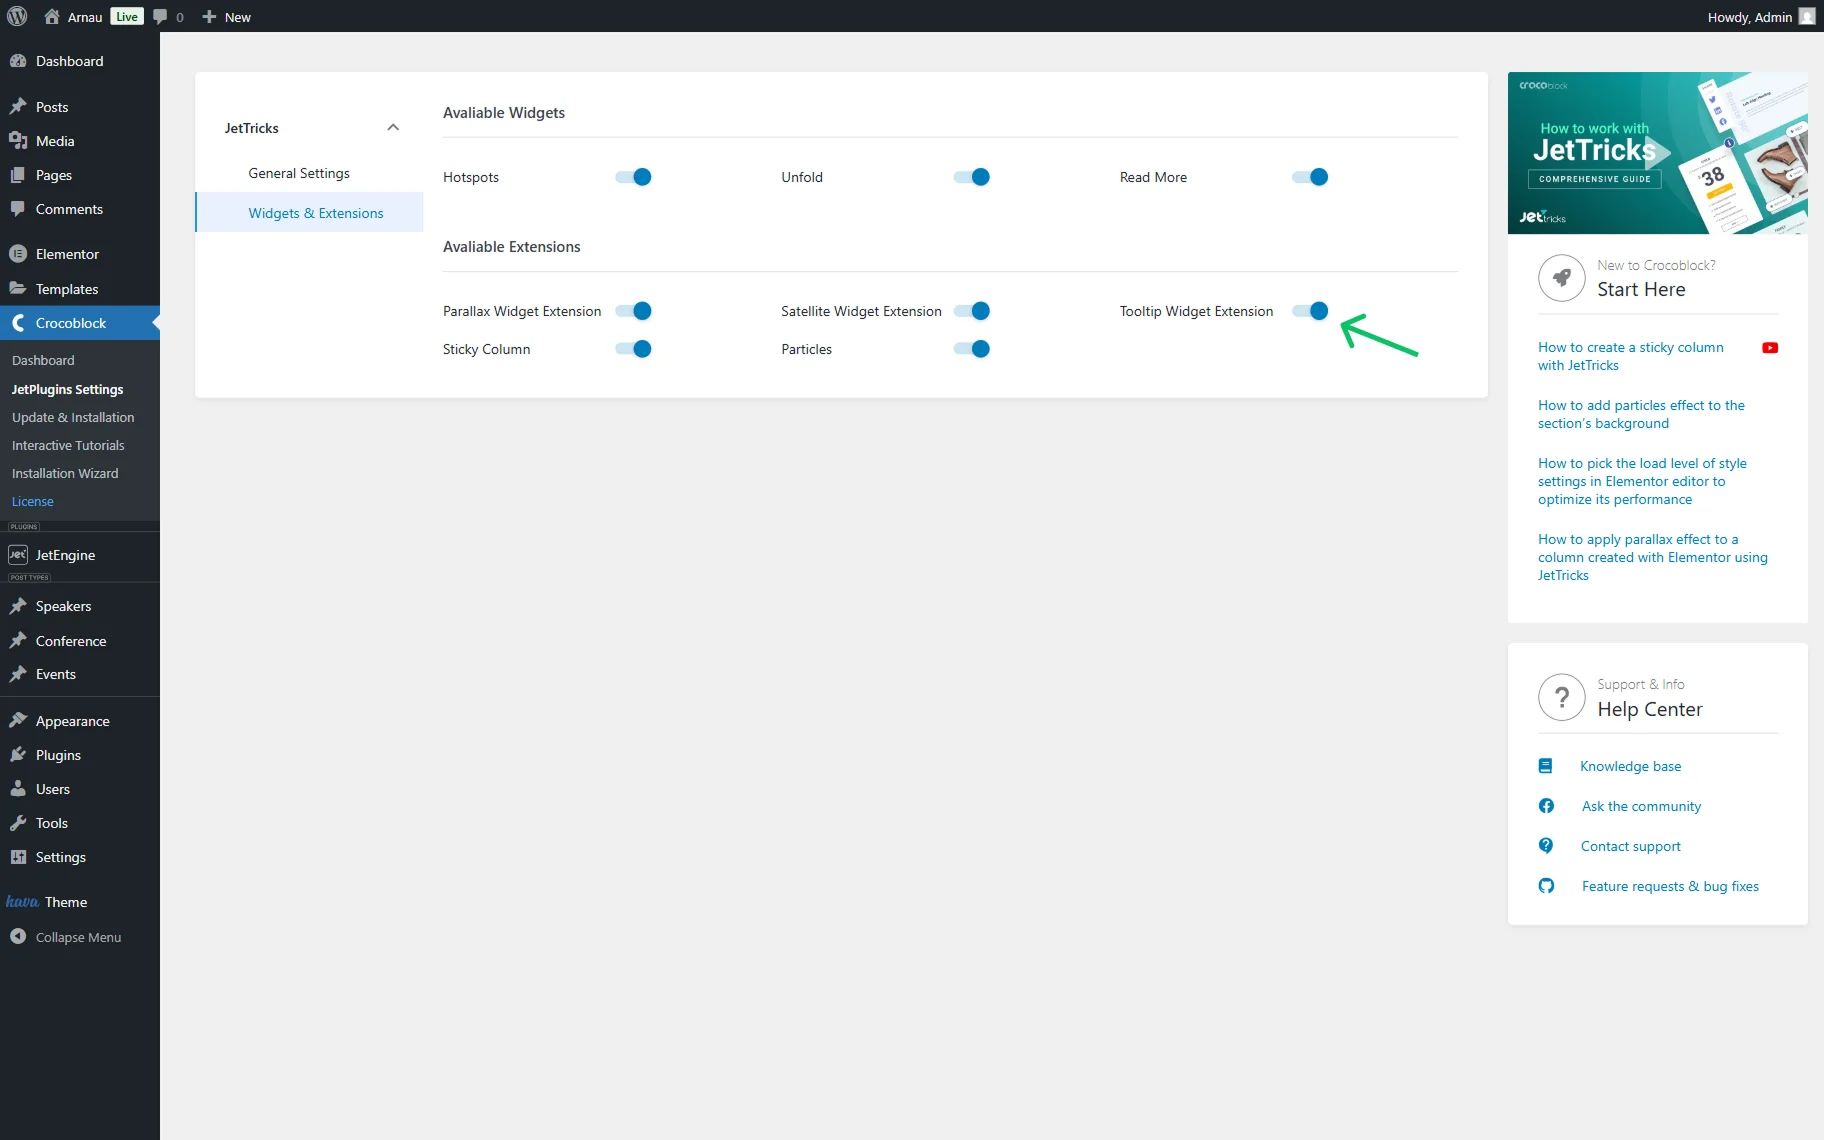
Go to WordPress Dashboard > JetPlugins > JetTricks > Widgets & Extensions and make sure that the Tooltip Widget Extension toggle is turned on.
If some changes are made, they will be saved automatically.
Add and Customize the Tooltip
Proceed to the page editor you would like to customize. For example, we go to WordPress Dashboard > Pages > Add New and hit “Edit with Elementor.”
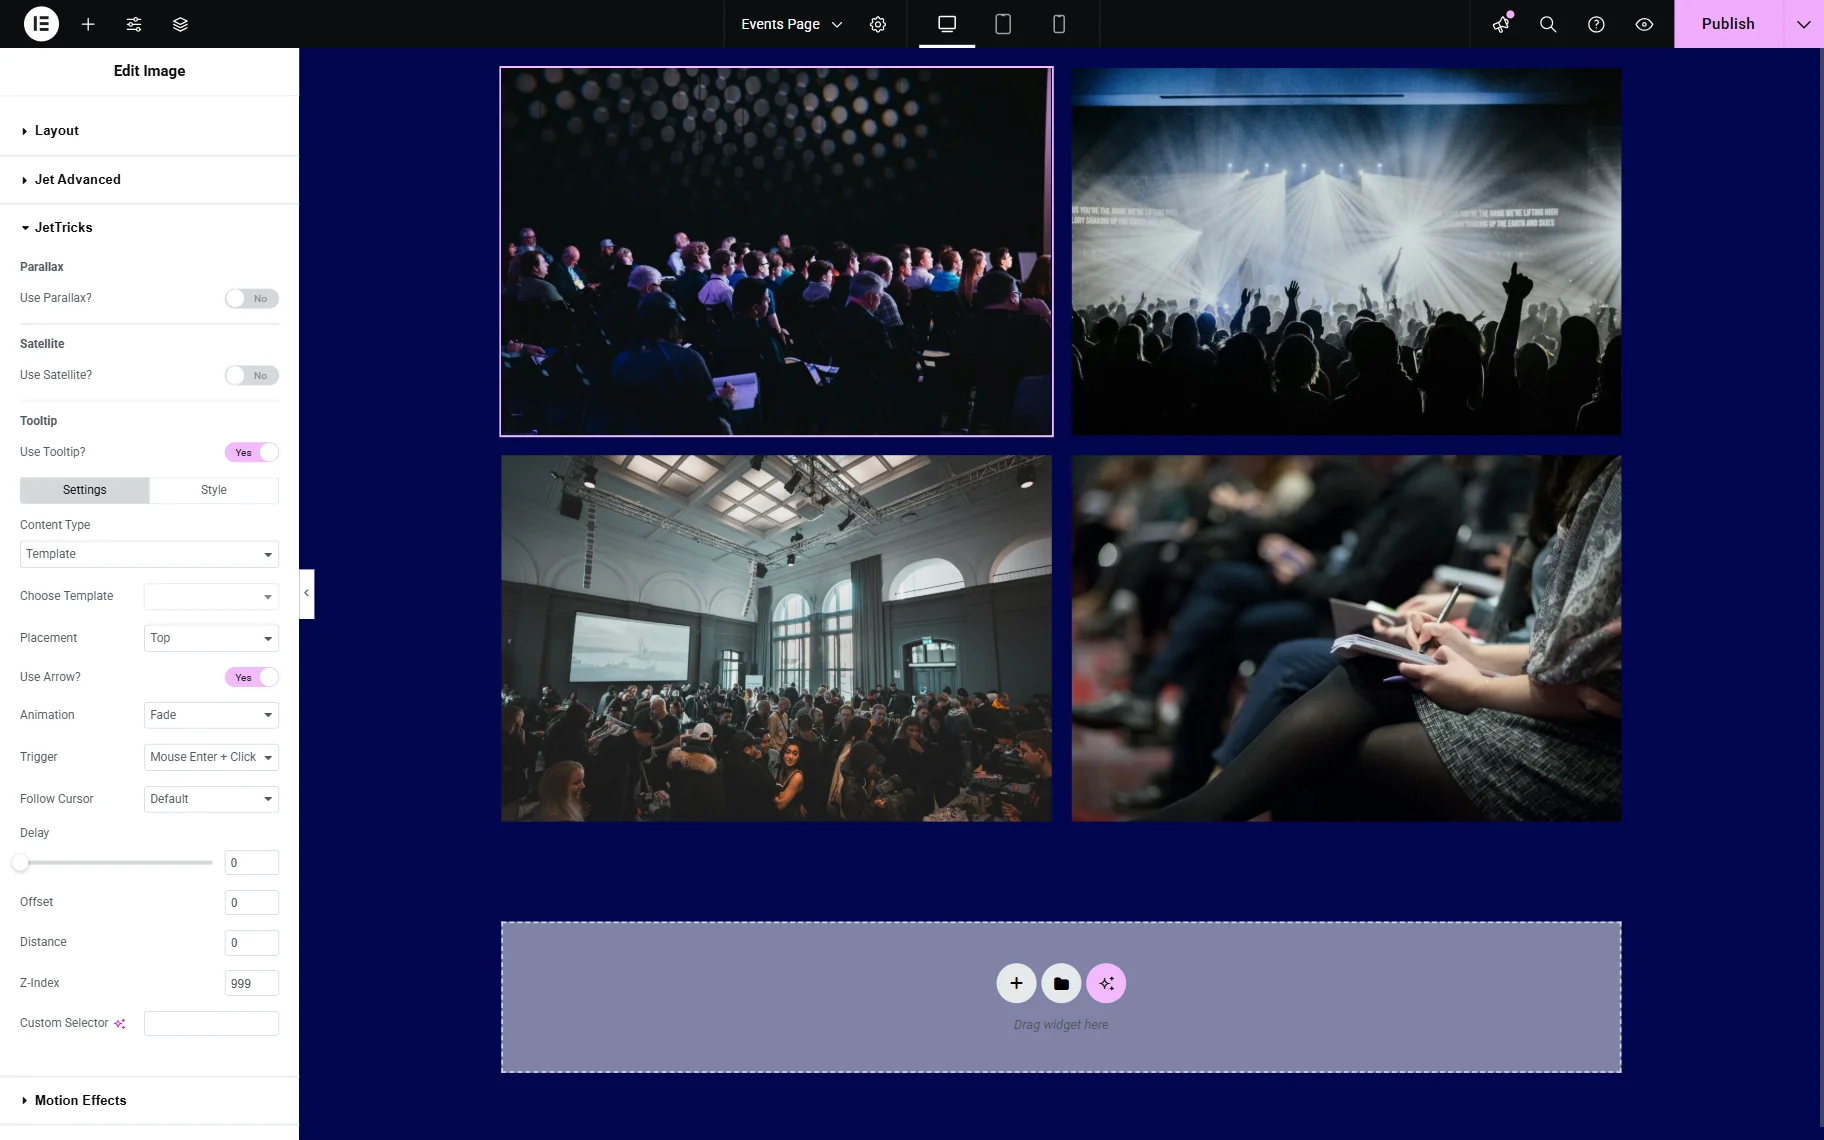
Add and click on the widget that you’d like to add the tooltip to. In our case, we work with Elementor’s Image widget. Go to Advanced > JetTricks and enable the Use Tooltip? toggle.
This menu has two tabs, Settings and Style. First, let’s take a look at the Settings.
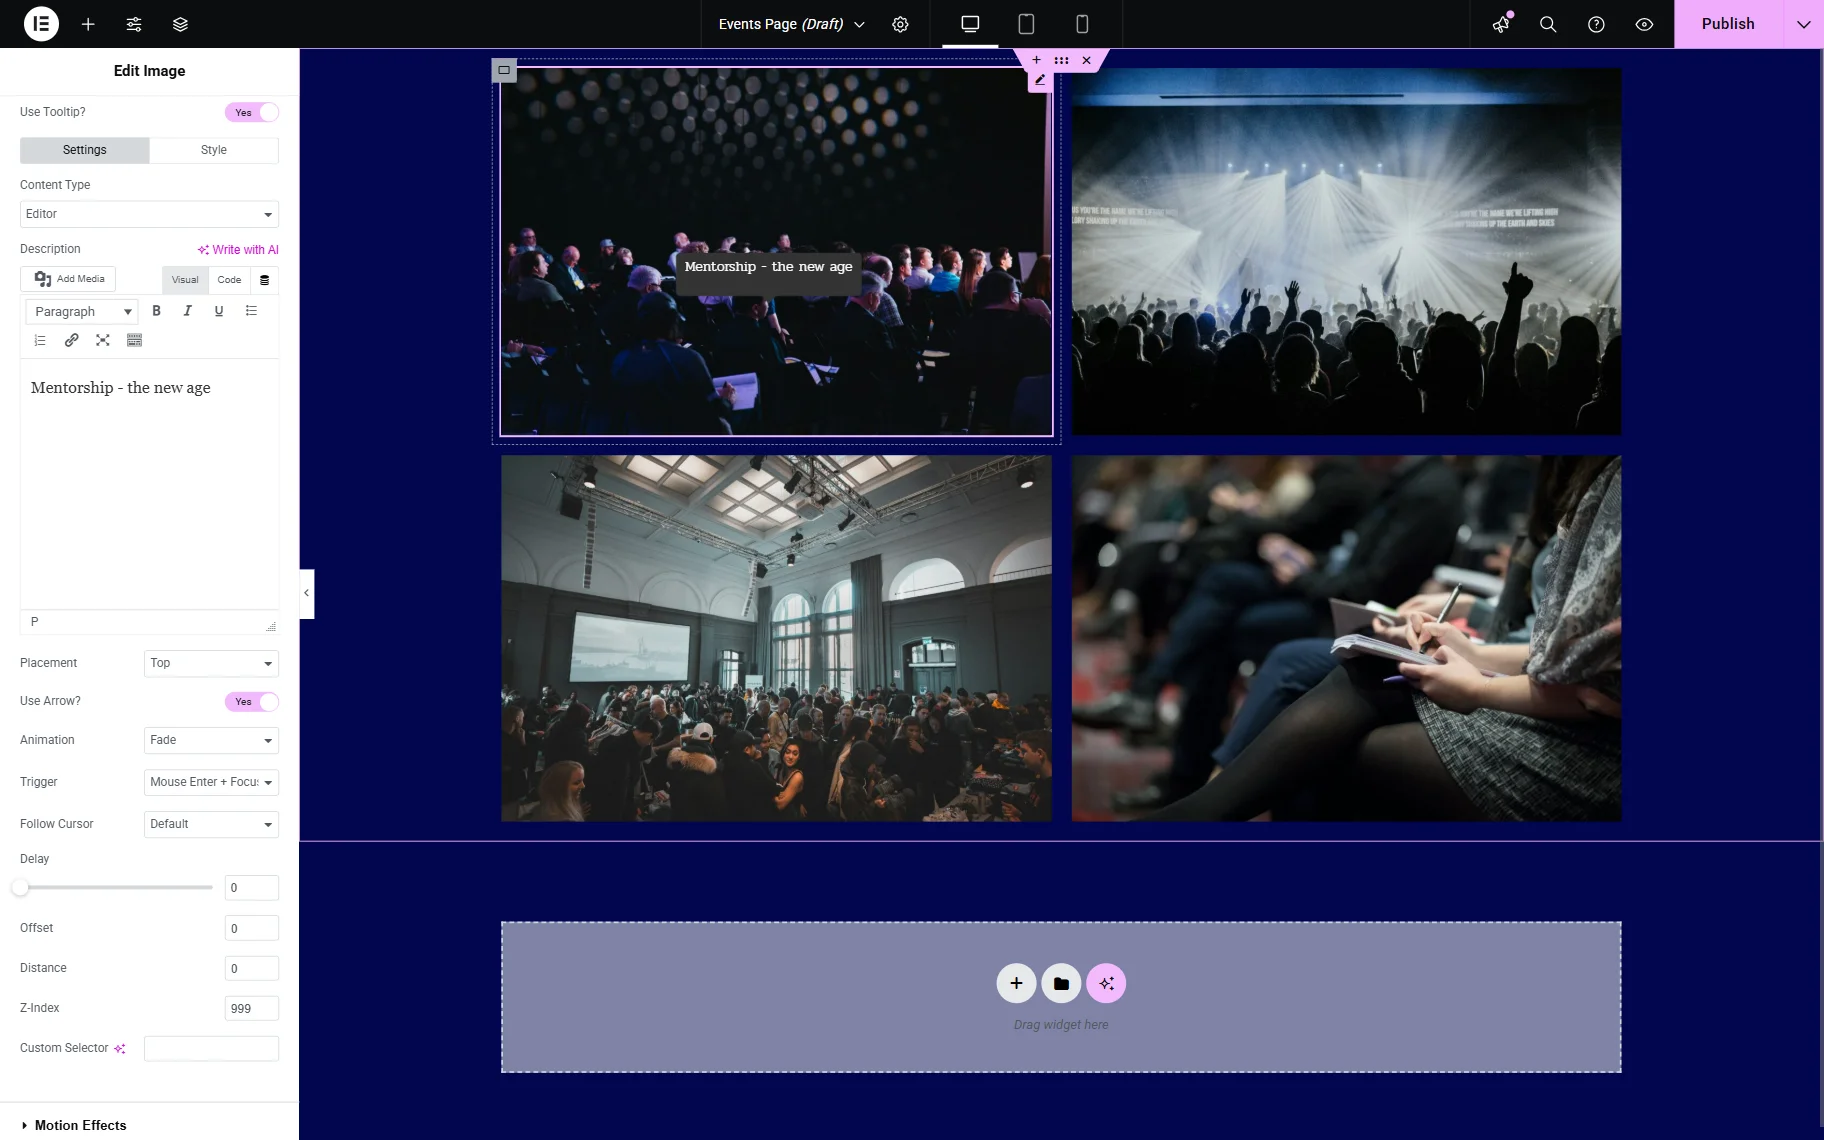
At first, you will need to select the tooltip’s Content Type: either “Editor” or “Template.” By default, the “Editor” Content Type is set. It includes the following settings:

- Description — the text you’ll type in here will be shown as a tooltip;
- Placement — a selector where you can choose where the tooltip will be placed. By default, it will be located at the top;
- Use Arrow? — a toggle that is activated by default. When activated, the arrow will be displayed next to the tooltip;
- Animation — a selector that allows choosing the appearance animation;
- Trigger — a selector that allows picking a trigger for the tooltip appearance;
- Follow Cursor — a selector that allows picking whether the tooltip will follow the cursor. By default, it is set to “Disabled,” meaning the tooltip is fixed. However, you can change it into any preferred option to let the tooltip move along with the cursor;
- Delay — a time before the tooltip appears or disappears;
- Offset — a field that allows setting the distance between the tooltip and the target element. When the tooltip’s placement is set to top or bottom, it shifts left or right. Vice versa, if the placement is set to left or right, the tooltip shifts up or down;
- Distance — a field that allows defining how far the tooltip moves from the target during its animation;
- Z-Index — a text field where you can put the value that defines the order in which the tooltips will overlap each other. The tooltip with a higher Z-index will be shown over those with a lower value;
- Custom Selector — a bar that will come in handy if you want the tooltip to appear after the user hovers over a certain part of the widget. For example, you have a table and want a tooltip to appear only when hovering over a single cell. Then you can examine the widgets’ code, copy the element’s class, and paste it into this bar.
If you select the “Template” Content Type, some of the setting fields will hide, and one more field will be added:
- Choose Template — a selector where you can choose an Elementor template to use as the content for the current tooltip.
So, we select the “Editor” template, and customize the Image’s tooltip: change the description to “Mentorship – the new age”, set the Trigger to “Mouse Enter + Focus”, and Follow Cursor to “Default.”
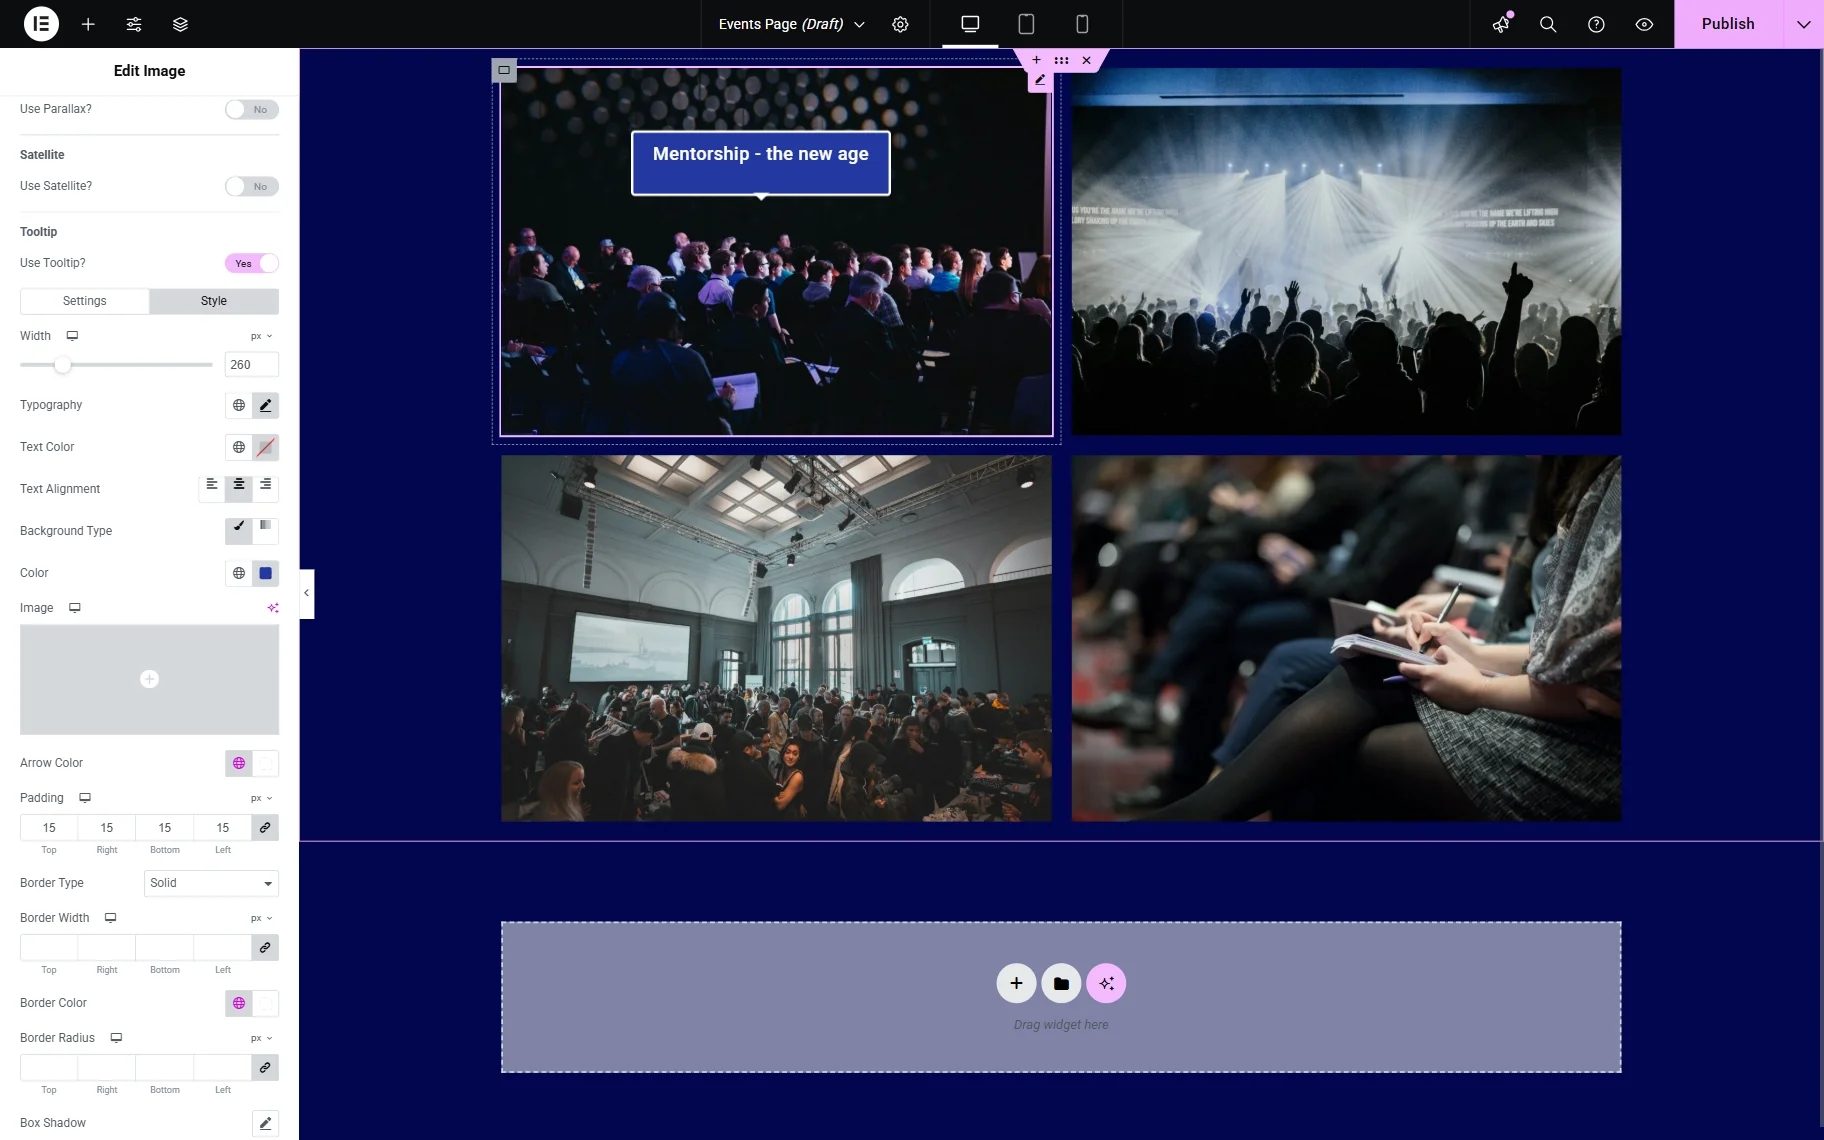
Once you have customized the tooltip, switch to the Style tab and apply all necessary styling. Its Style section offers the same options as the general Style tab and lets you customize the tooltip’s appearance.
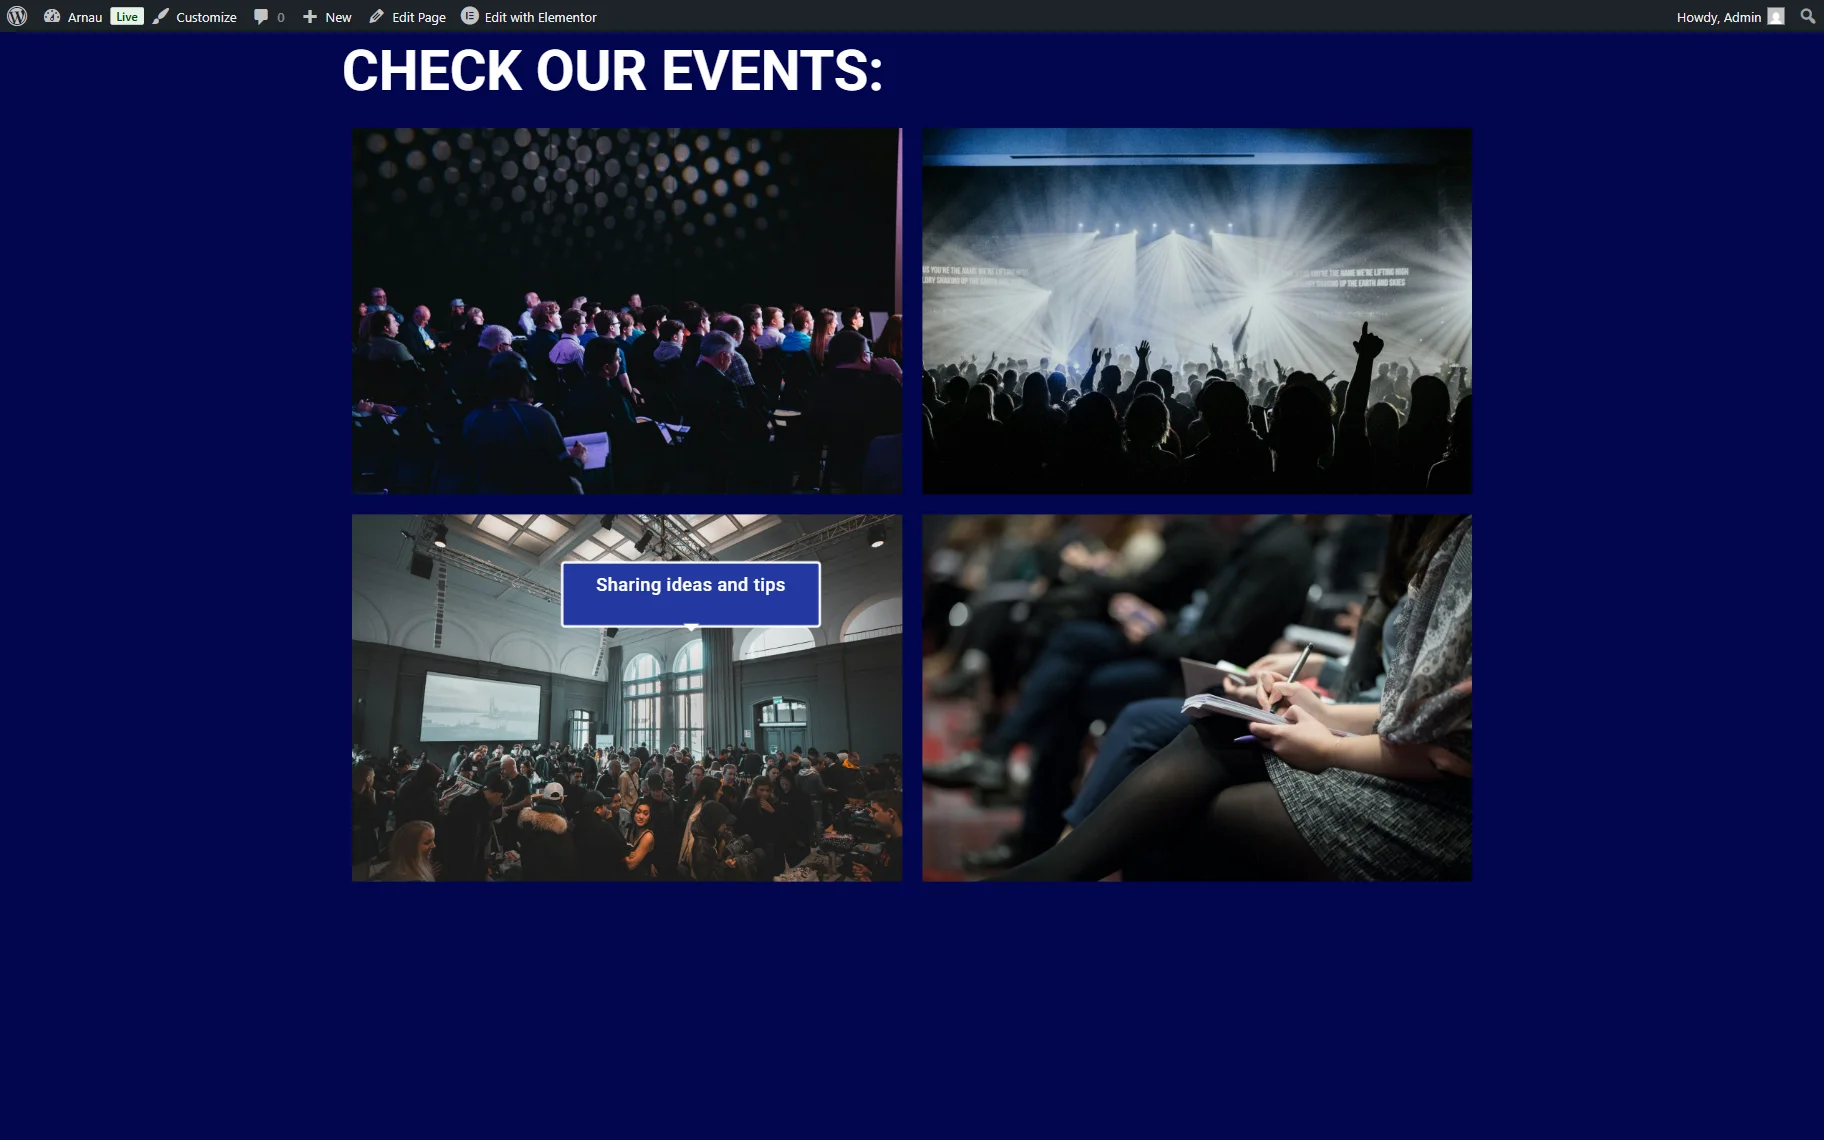
We add tooltips to all images on the page and customize the page as preferred.
After you’re done with designs, click the “Publish” button and take a look at the page that contains the tooltipped widget.
That’s it; now you know how to add a tooltip to the desired widget on your WordPress website by using the JetTricks plugin for Elementor.