WordPress Installation on Localhost (Based on WAMP)
From this tutorial, you’ll learn how to install WordPress on the WAMP server. In case you want to install WordPress on Bluehost, feel free to have a look at this tutorial.
This tutorial is dedicated to WordPress Installation on Localhost. There are plenty of web development environment tools. The most famous of them are XAMPP, MAMP, Vagrant, and WAMP.
This particular tutorial is based on WAMP. It uncovers the steps to successful installation in details. Before you start, it’s necessary to download the WampServer to your hard drive in order to create your local server.
WampServer Installation
Proceed to this website and click the Download button.
Open the Downloads folder on your computer and click the WampServer icon twice. Click the Run button to launch the server installation.
Select the language you want to use and click the OK button.
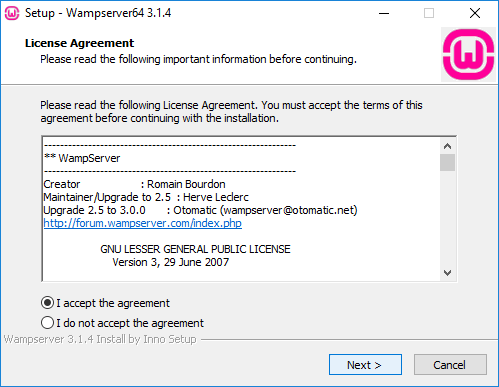
As soon as you click OK, the License Agreement window pops up. Read the agreement and tick the I accept the agreement option. Click the Next button to move on to the Information window.
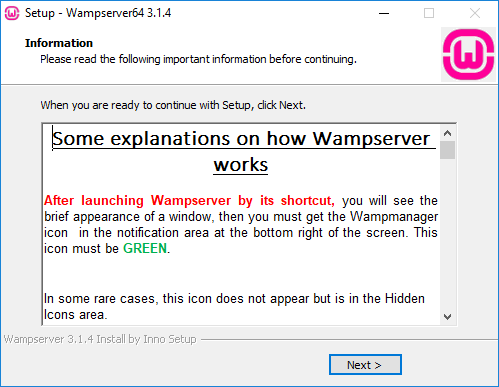
The Information screen instructs you in the WampServer program installation on your hard drive. Click the Next button to continue.
The Select Destination Location window suggests you selecting the folder where the WampServer data will be stored. After you’ve specified the folder click the Next button.
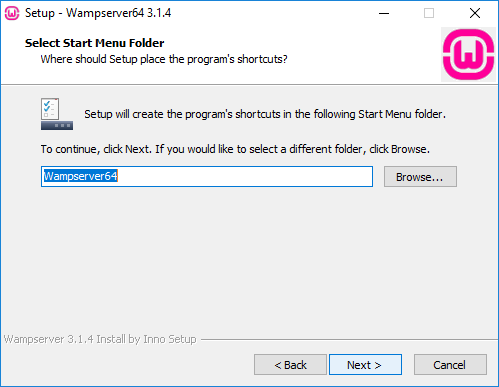
The Select Start Menu Folder window offers you to pick the folder, where the program’s shortcuts will be created. Click the Next button.
Click the Install button to start the installation process.
You will consequently see the progress bar, which will inform you about the installation stages in percentage terms.
Next, you are able to select a browser that will be used by WampServer.
Finally, read the Information window to find out about running your phpMyAdmin and how to use WampServer properly. Click the Next button to move on.
At the very end, click the Finish button and proceed to the new database creation.
Creating a New Database
Run the WampServer on your computer to see if it works. You can find it at the bottom-left corner of your screen. Click the WampServer icon to begin. The icon changes its color to green when the server starts working.
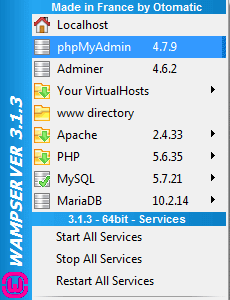
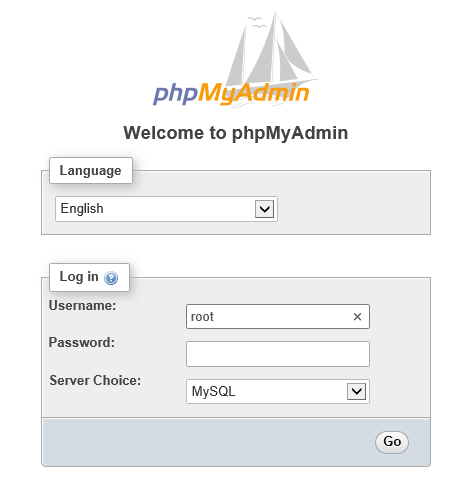
Click the icon once again to navigate to the menu. Here in the menu, you’ll find the phpMyAdmin section. Click it and get redirected to the Welcome to phpMyAdmin webpage, where you will be able to create a new database for the new WordPress installation.
Now you need to select the language, create and input your username and password. Pay attention, your new username is most likely to be root, and there will be NO password. It’s important to memorize it. You can change these settings later. Afterwards, click the Go button to continue.
As a result, on the left of your screen, you will find the New option allowing to add a new database. Click it to create a new database.
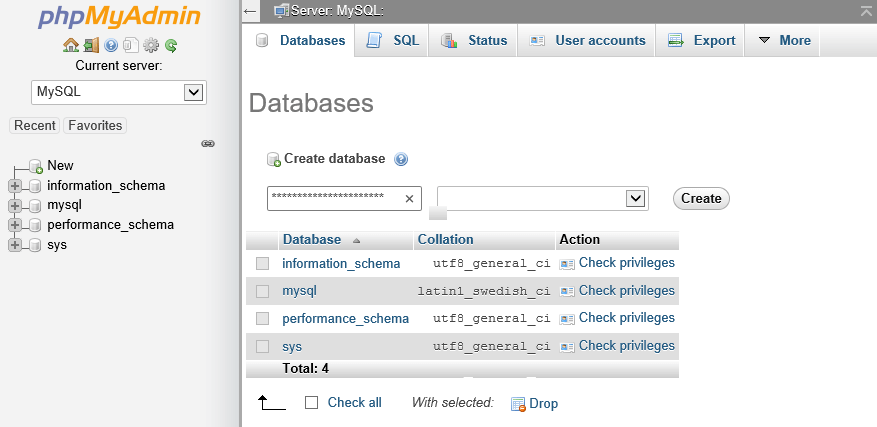
Input your new database name and click the Create button. Now you have a new database made. It’s time for the WordPress installation.
WordPress Installation
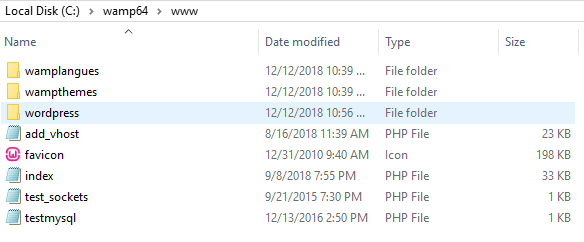
Move on to the wamp64 > www folder on your hard drive, and here create a wordpress folder.
Download the latest WordPress version, which can be found at WordPress.org.
Extract the files from the WordPress archive. Copy them to the wordpress folder, which you’ve created beforehand.
Open the WampServer menu at the bottom-left corner of your screen and select the Localhost option.
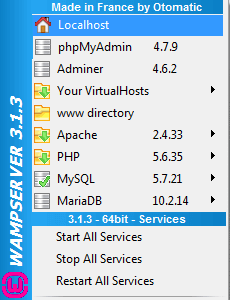
This time you will be redirected to the WampServer Homepage. At the browser’s address bar input localhost/wordpress and click Enter on your keyboard to proceed to the WordPress installation screen.
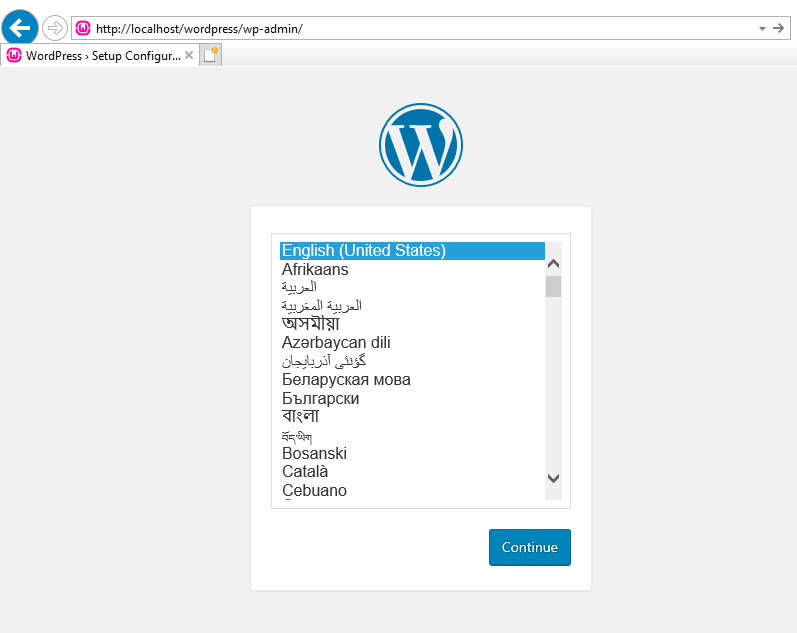
Pick the language, which is most convenient for you and click the Continue button.
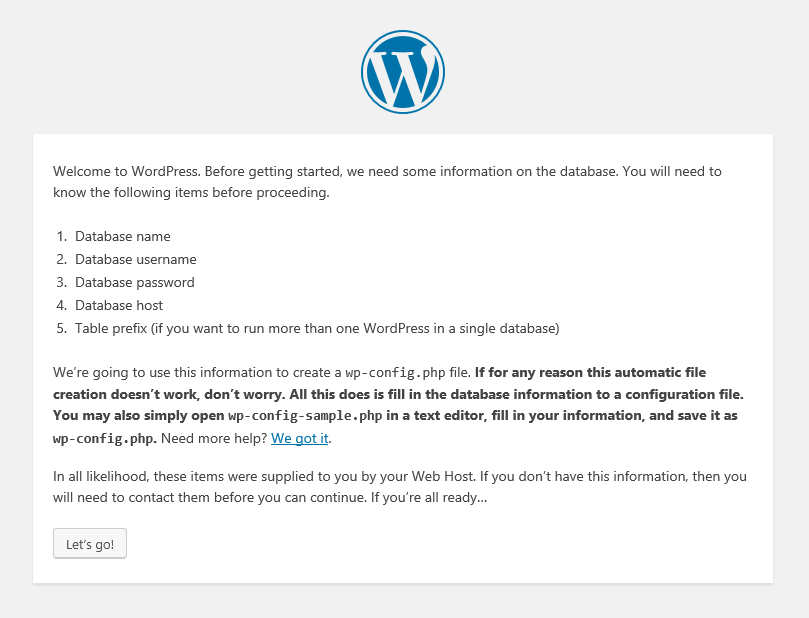
The Welcome to WordPress screen appears to greet you. It gets you familiar with the items you definitely shouldn’t forget. Familiarize yourself with the given information. Click the Let’s go! button to move on if you’re ready to proceed.
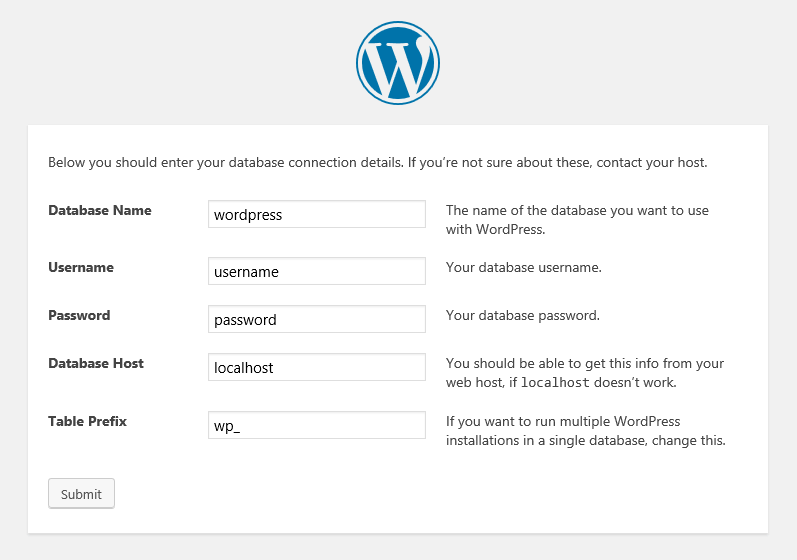
Input the Database Name, Username, Password details and click the Submit button to go to the final step.
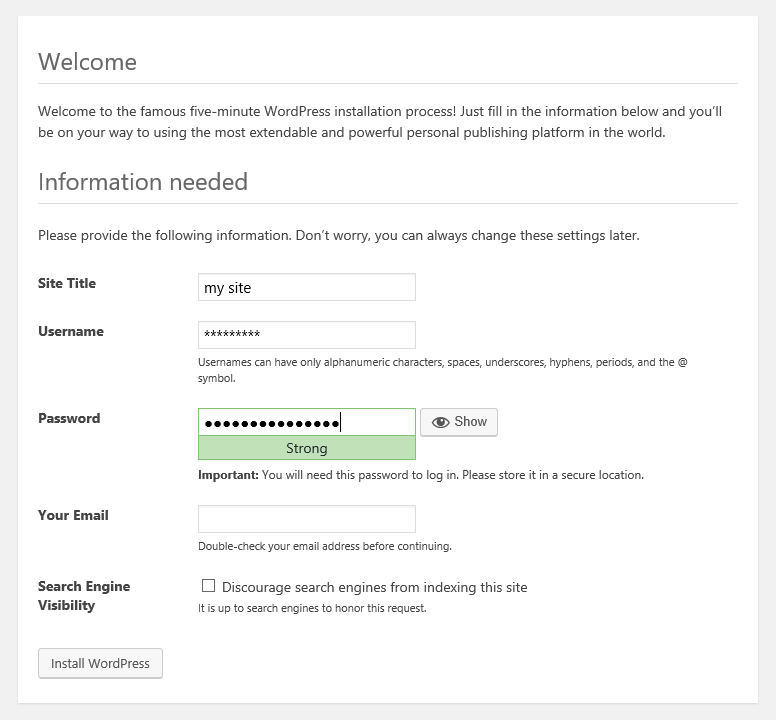
Click the Run the installation button and you’ll be sent to the Welcome screen, where you have to complete all the required fields. At last, click the Install WordPress button.
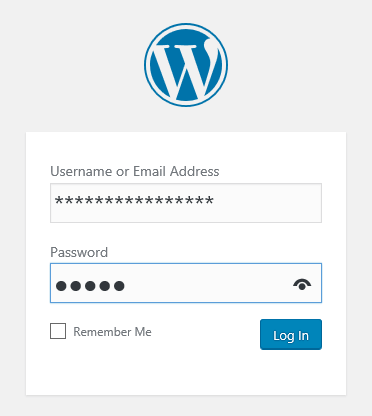
The Success! screen appears as soon as you are done with the WordPress installation. Click Log in to log in to your website.
That’s all; now you know how to install WordPress on WAMP localhost.