How to Integrate Zoom Calls with Appointments and Receive Gmail Notifications
From this tutorial, you will learn how to adjust Zoom calls within JetAppointment functionality on your WordPress website.
Before you start, check the tutorial requirements:
- JetAppointment plugin installed and activated
- JetEngine plugin installed and activated
The JetAppointment plugin allows you to create appointments and set Zoom calls simultaneously.
Adjust Zoom Integration
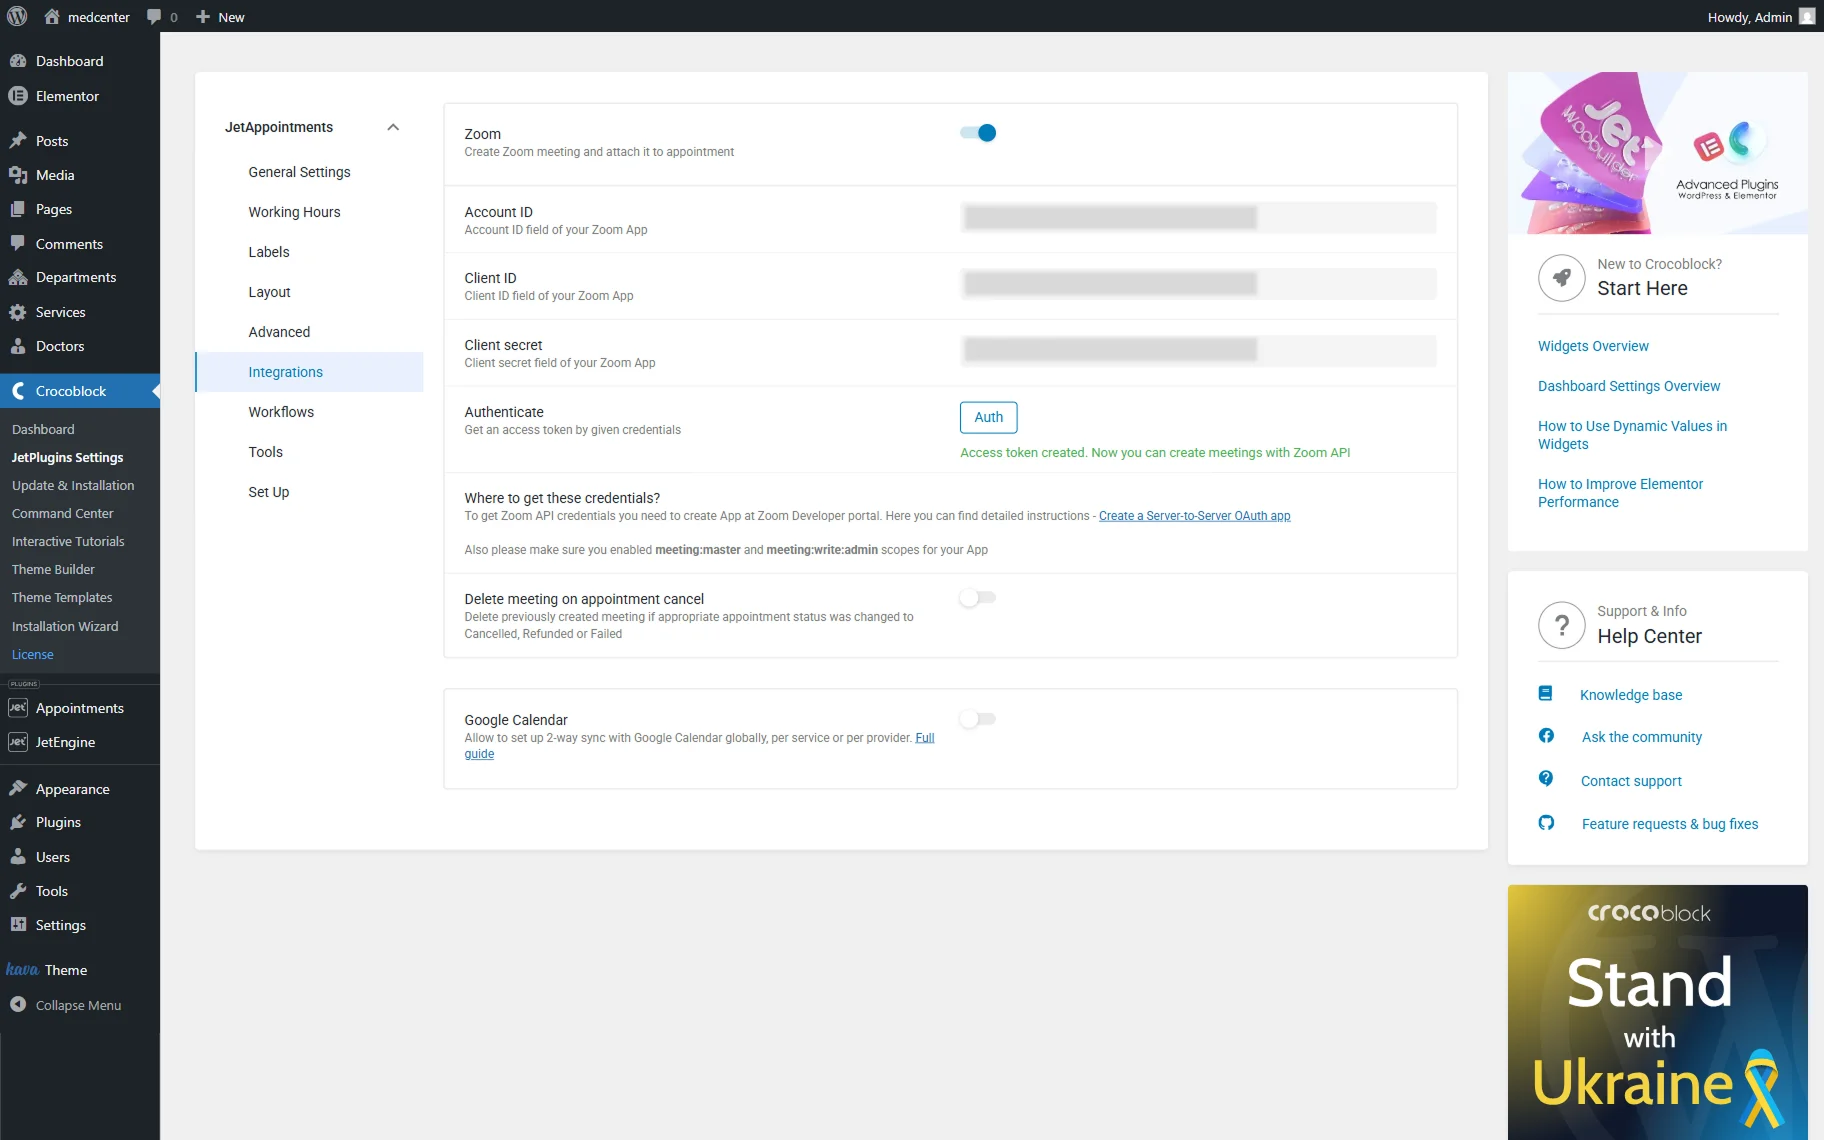
Make sure you have built a Server-to-Server OAuth app, then go to the WordPress Dashboard > Appointments > Settings directory.
Open the Integrations tab and activate the Zoom toggle.
Provide JetAppointment with the required credentials by completing the following fields: Account ID, Client ID, and Client secret, which you can find in the Zoom App Marketplace.
Mind pressing the “Auth” button to access the given credentials.
Set Zoom Workflows
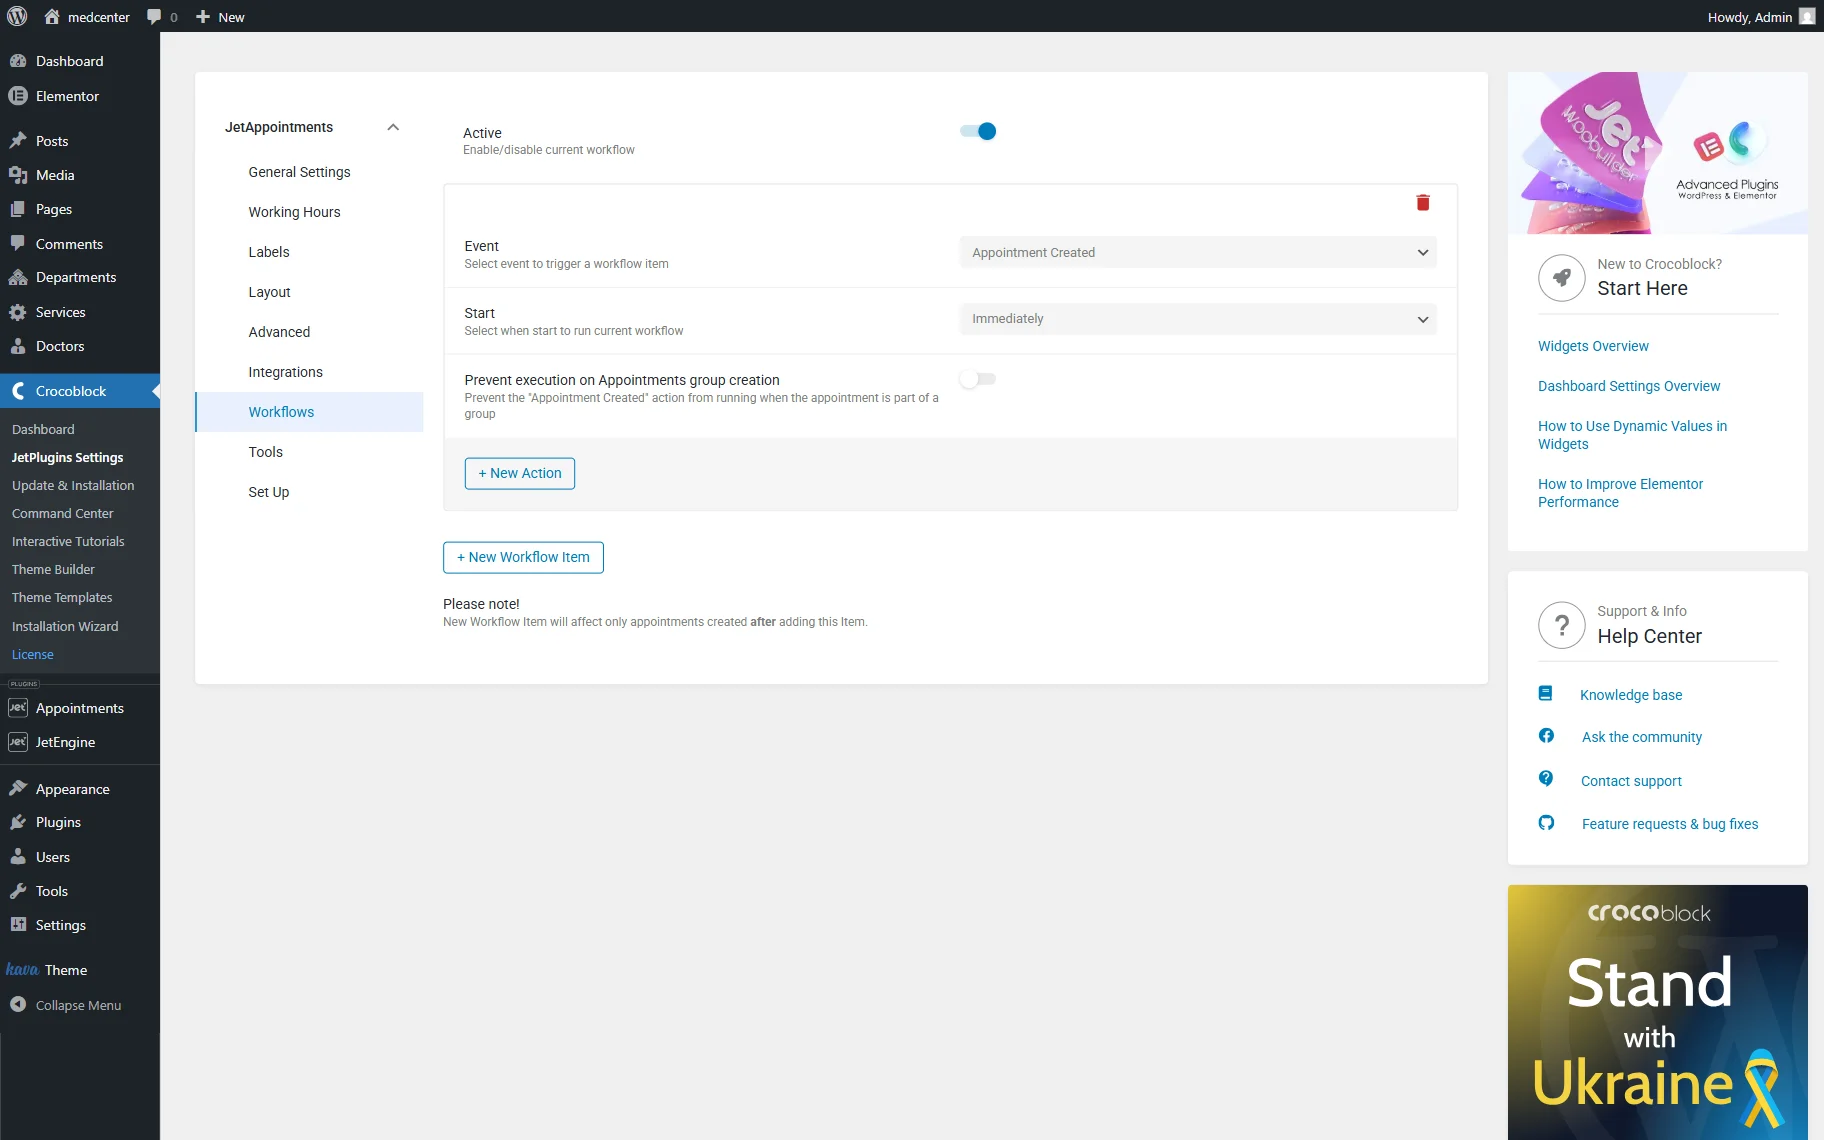
Head to the Workflows tab and switch on the Active toggle. Press the “New Workflow Item” button.
Select the “Appointment Created” Event and define the “Immediately” option as Start.
Click on the “New Action” button.
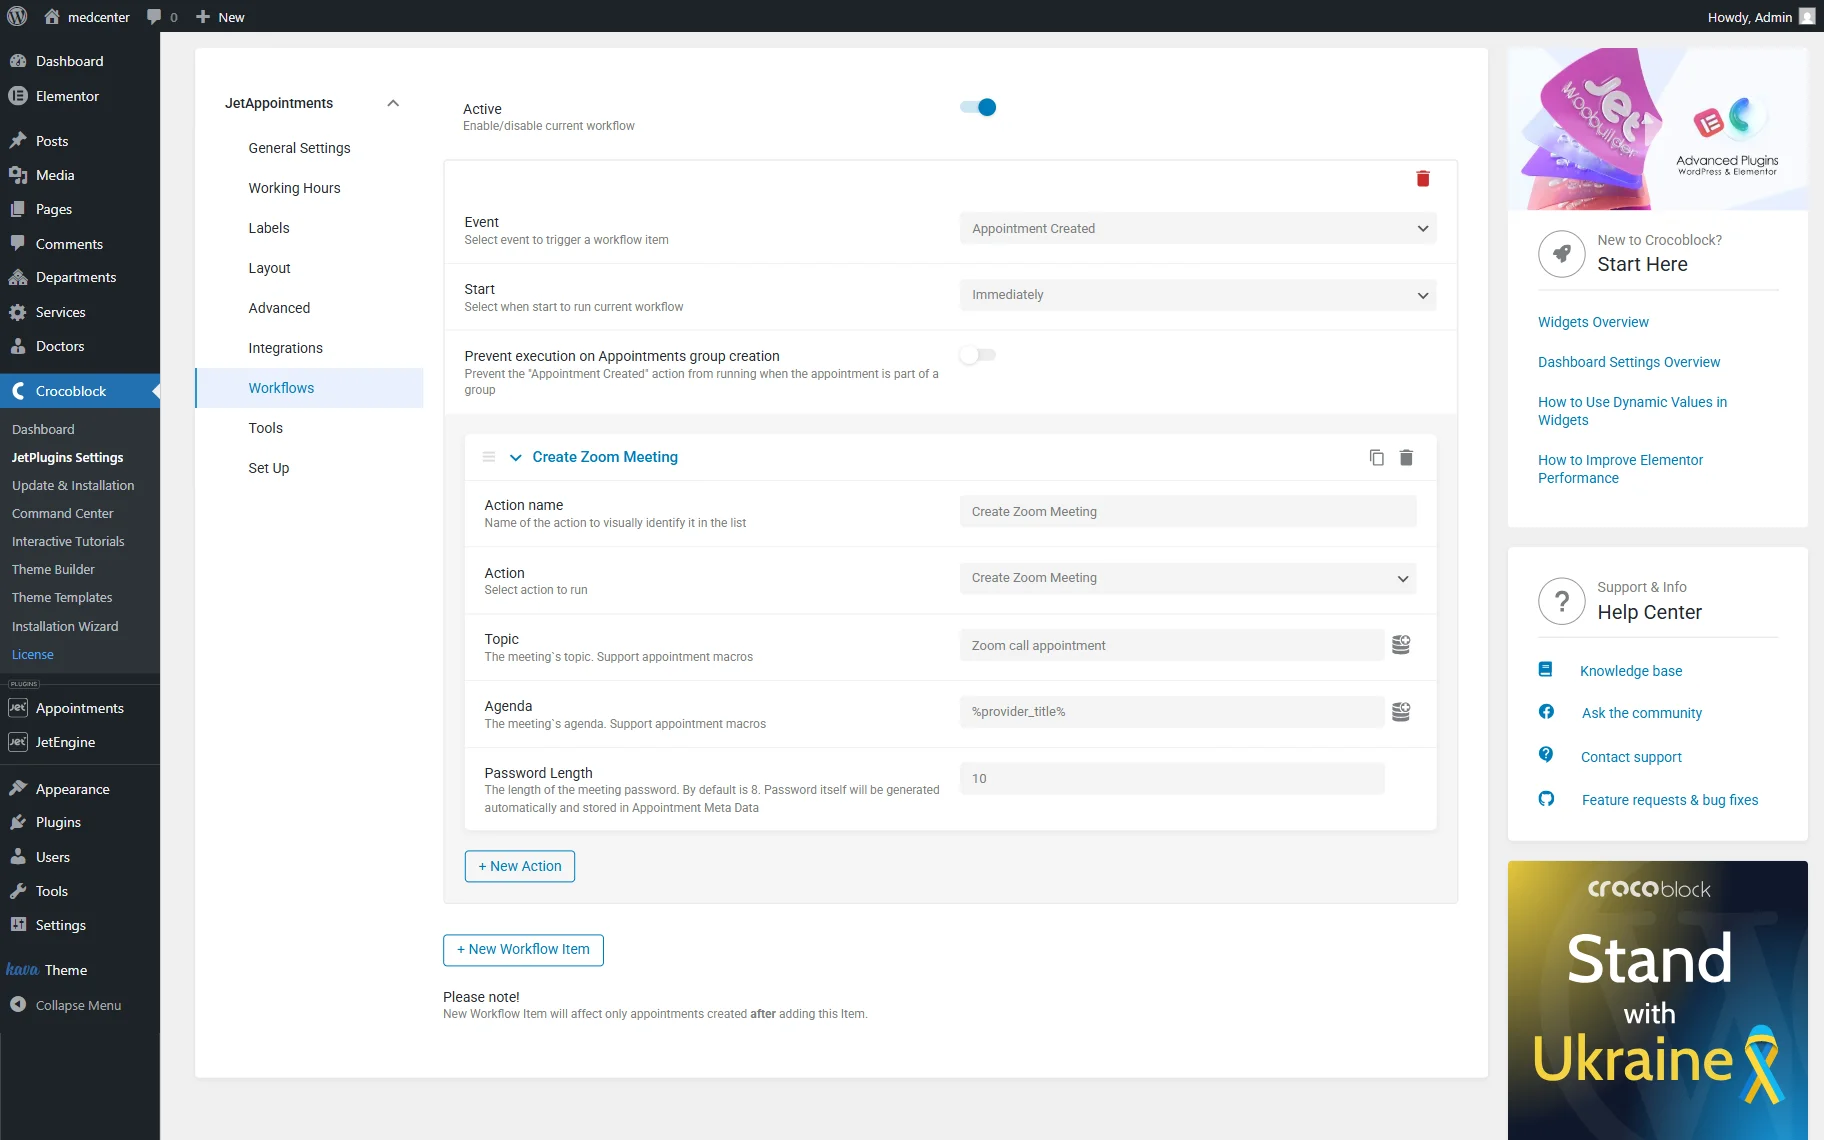
Fill in the Action name field and pick the “Create Zoom Meeting” Action.
First, set the Topic of the meeting. In our case, “Zoom call appointment.” If needed, press the “Dynamic tag” button to select the dynamic macro.
The next step is to set an Agenda. We press the “Dynamic tag” button and choose the “Service Title” option.

As you can see, the field is now complete with the %service_title% macro.
Set the Password Length if needed, then click the “New Action” button.
Once again, complete the Action name field. This time, leave the default “Send Email” Action.
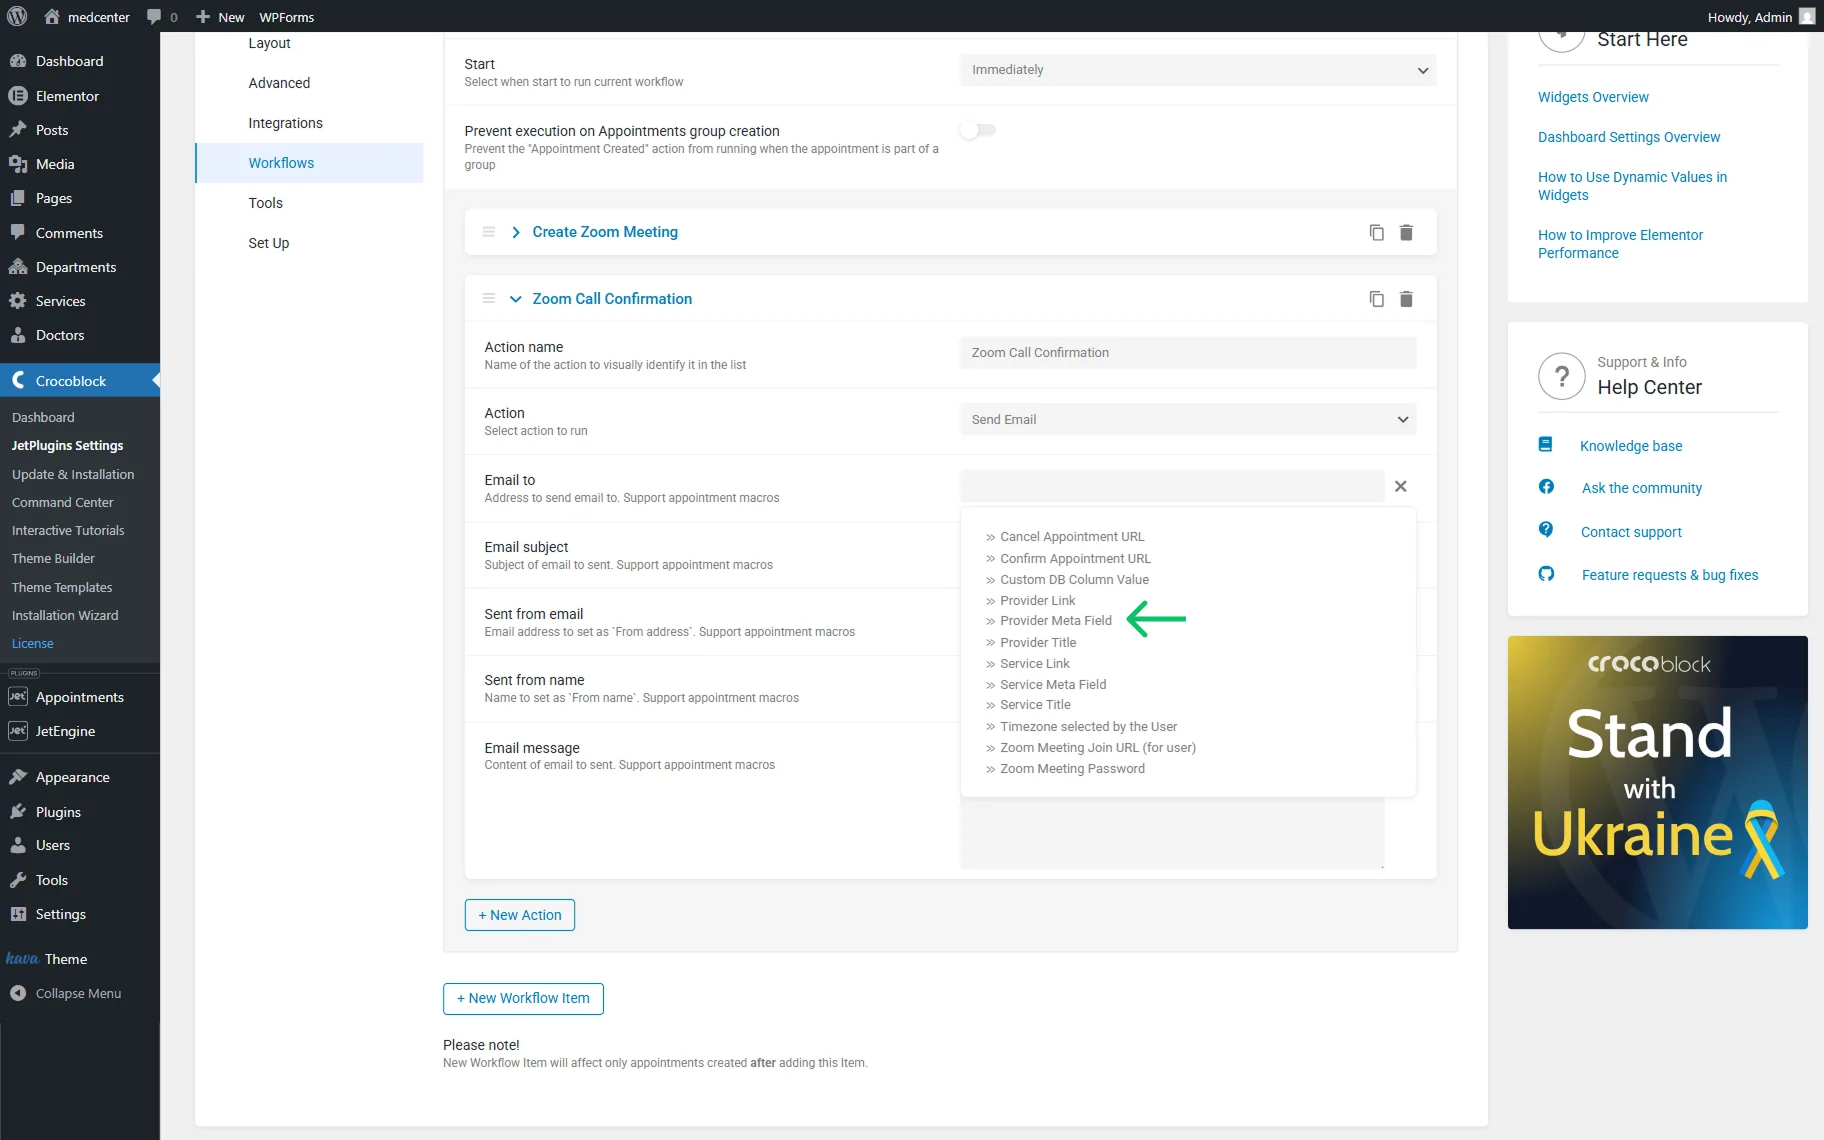
Press the “Dynamic tag” button next to the Email to field.
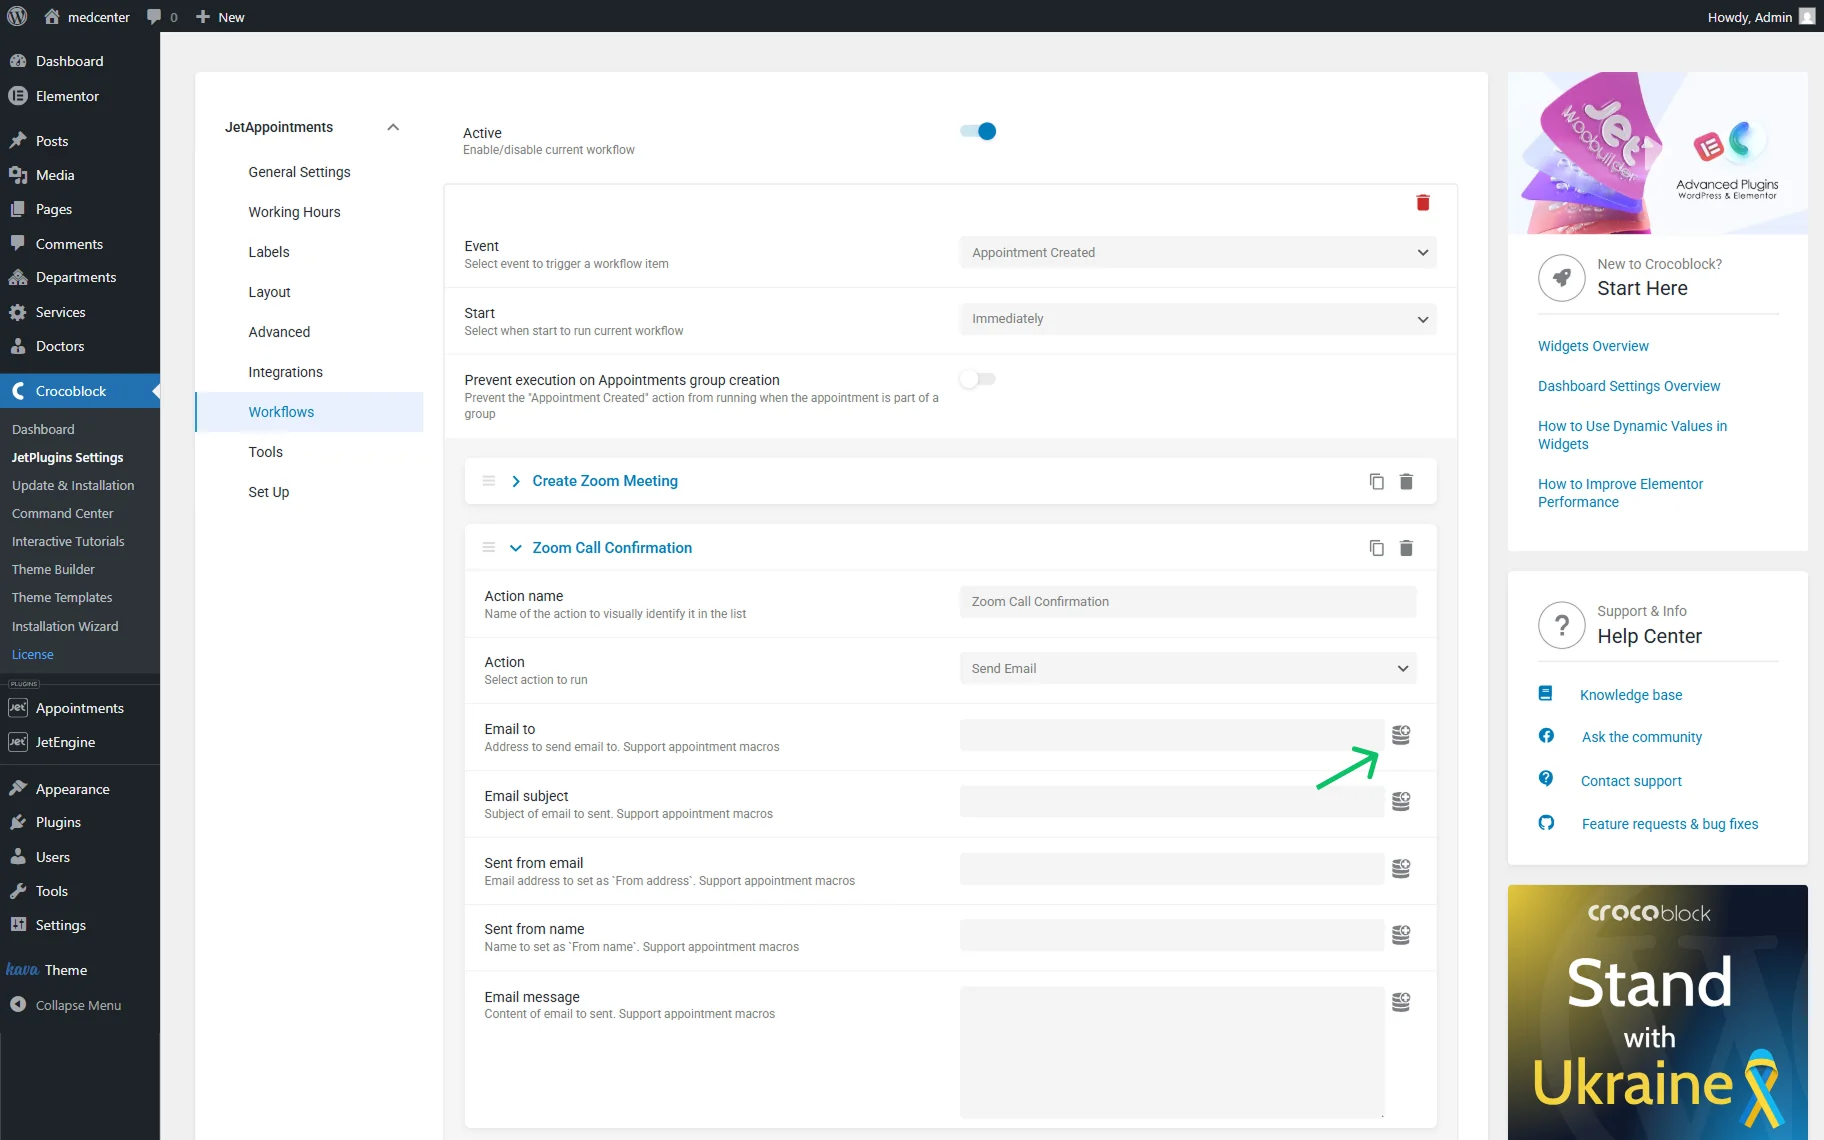
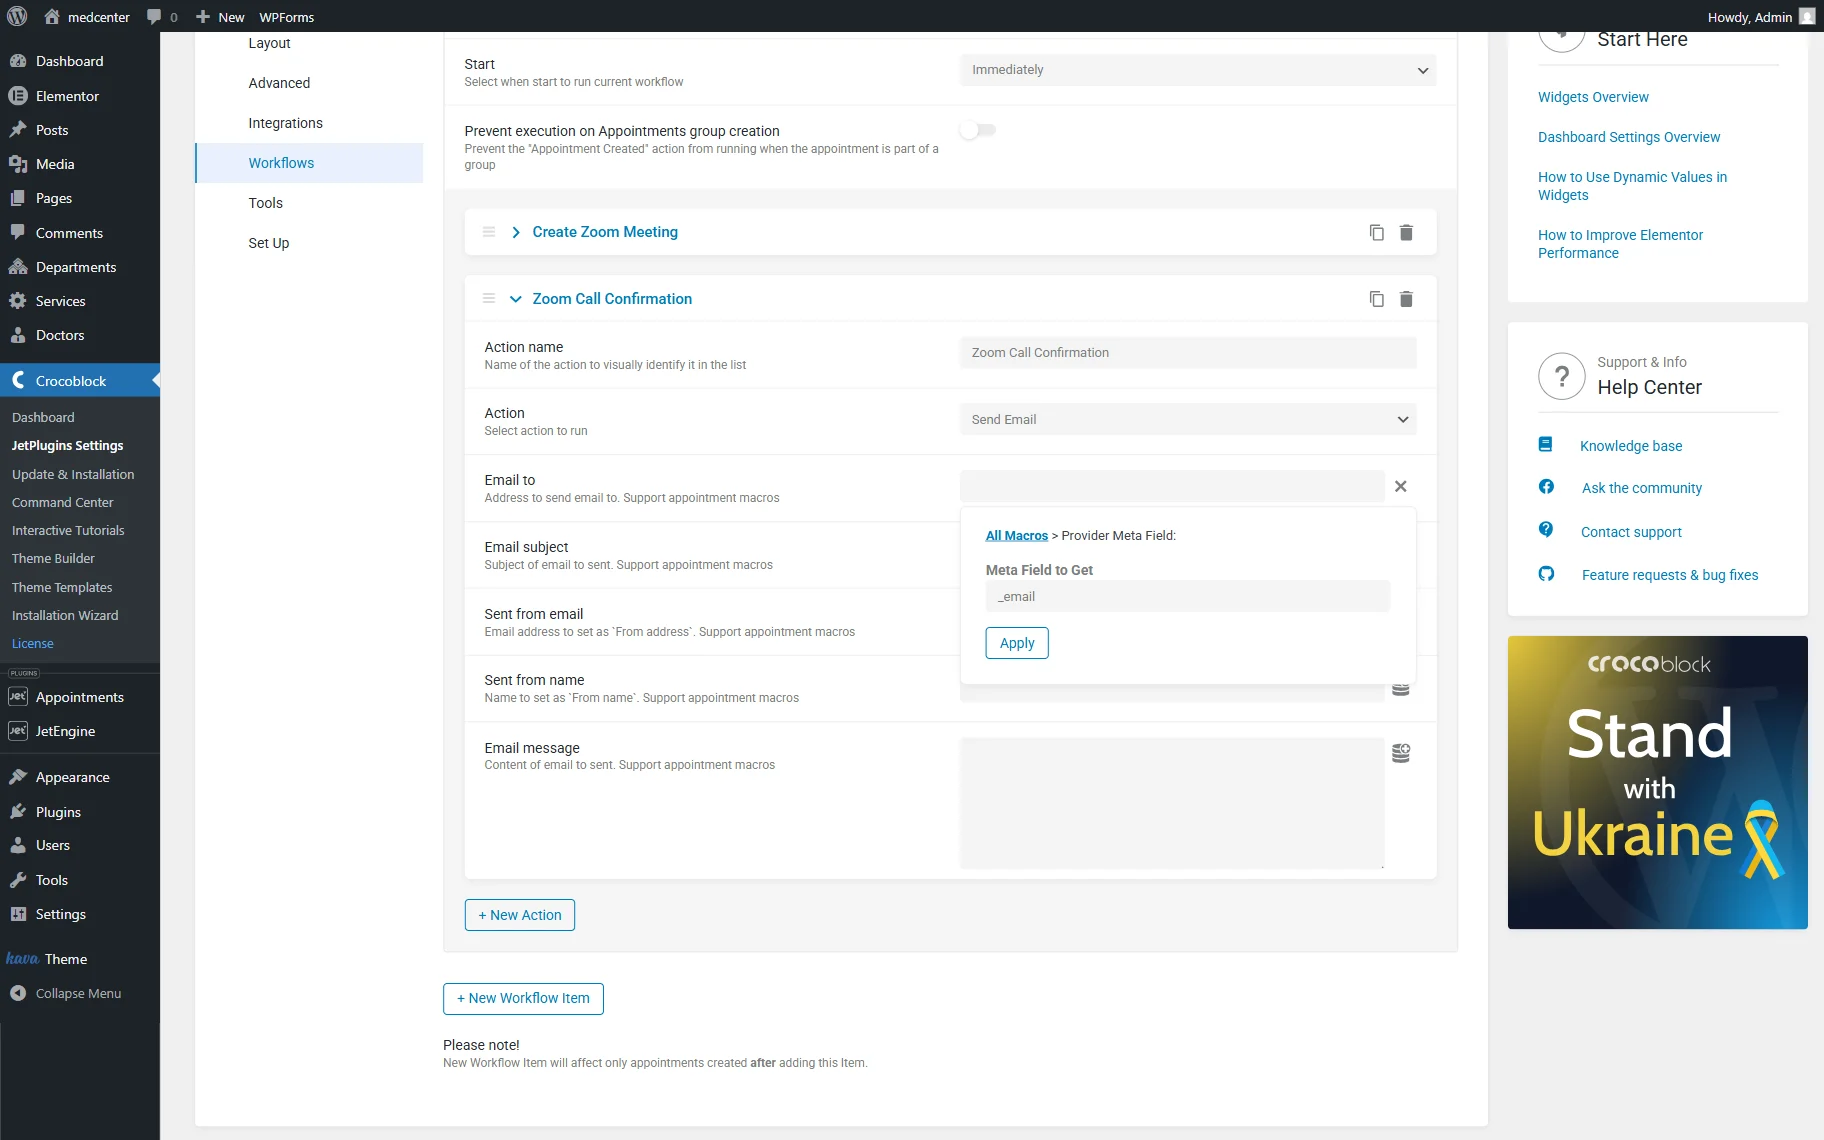
Find the Provider Meta Field in the list. Click on it to see the Meta Field to Get field.
This field should be completed with the meta field value containing the user’s email. In our case, it is the Custom Post Type’s “Text” meta field built with JetEngine.
Don’t forget to press the “Apply” button.
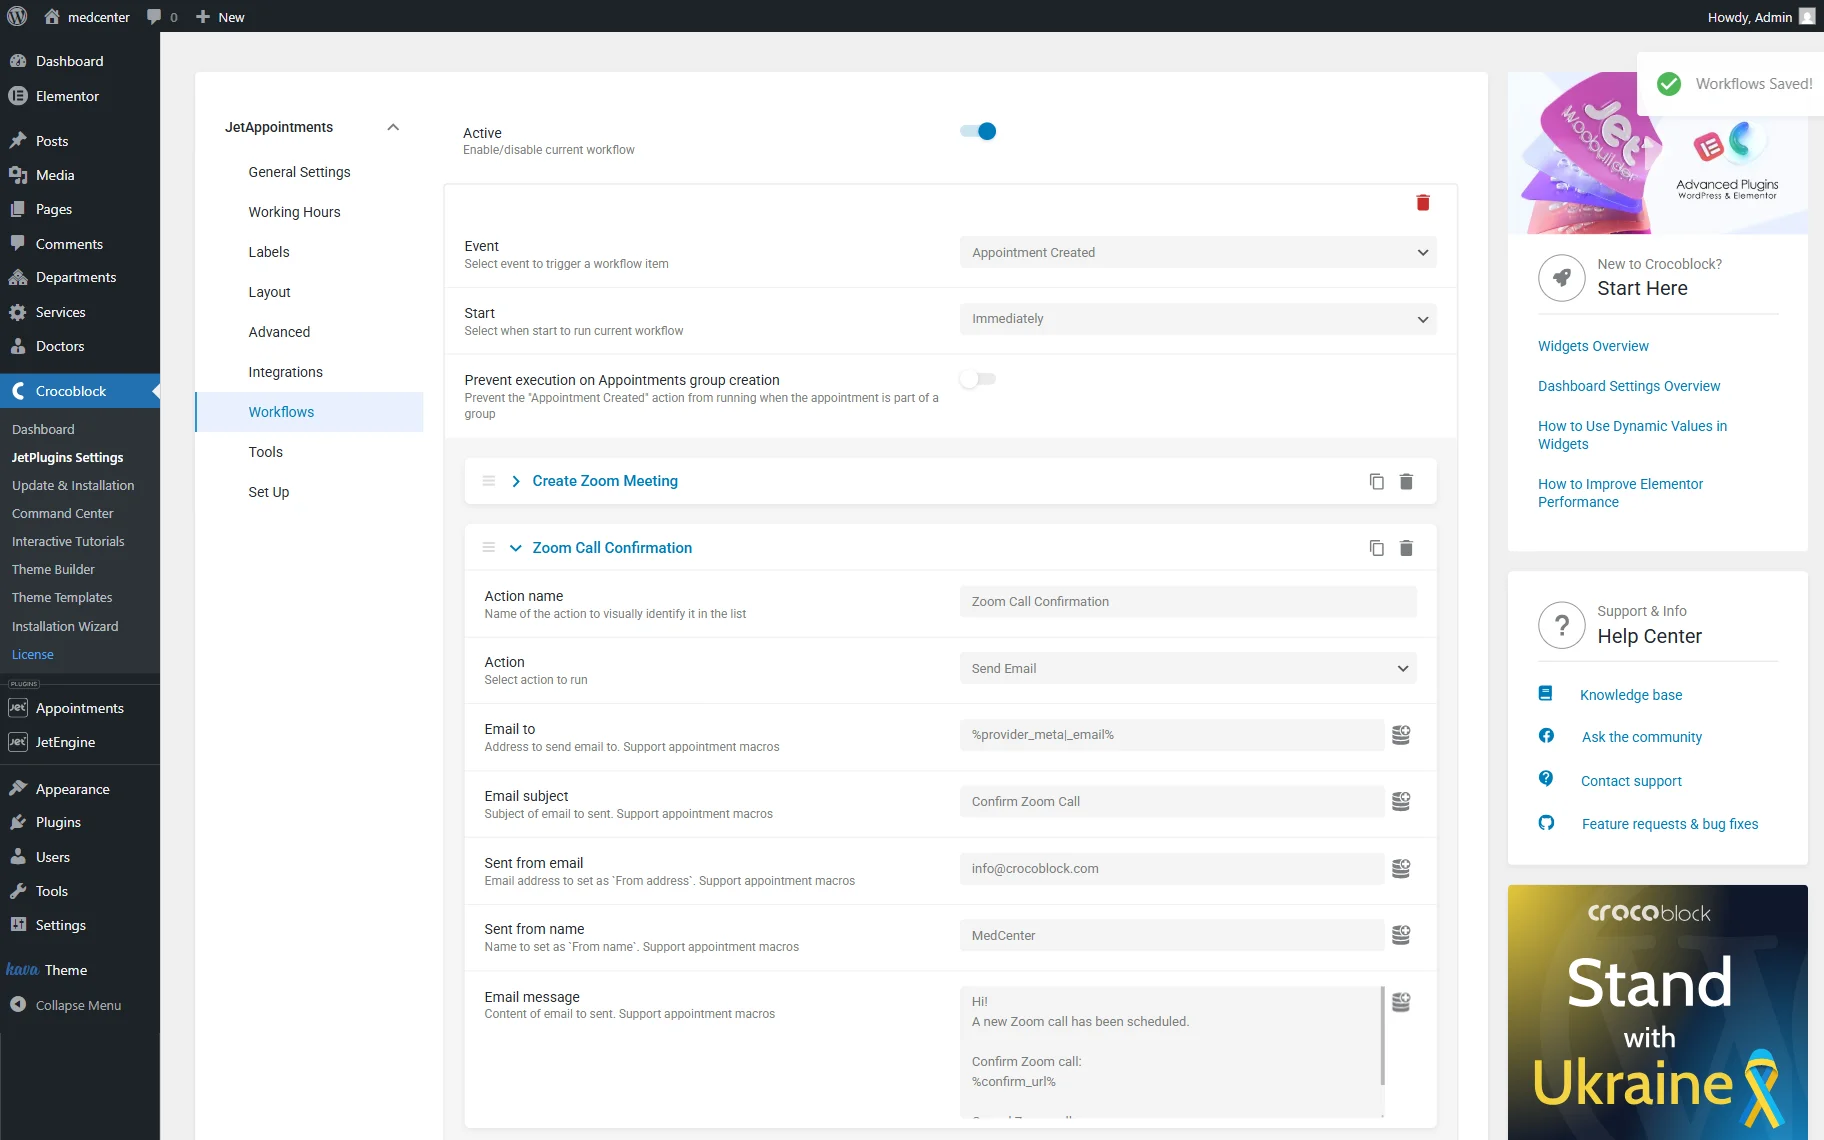
Complete the Email subject, Sent from email, and Send from name fields with desired values.
You can fill in the following Email message field with the “Cancel Appointment URL” and “Confirm Appointment URL” values (%cancel_url% and %confirm_url% macros accordingly).
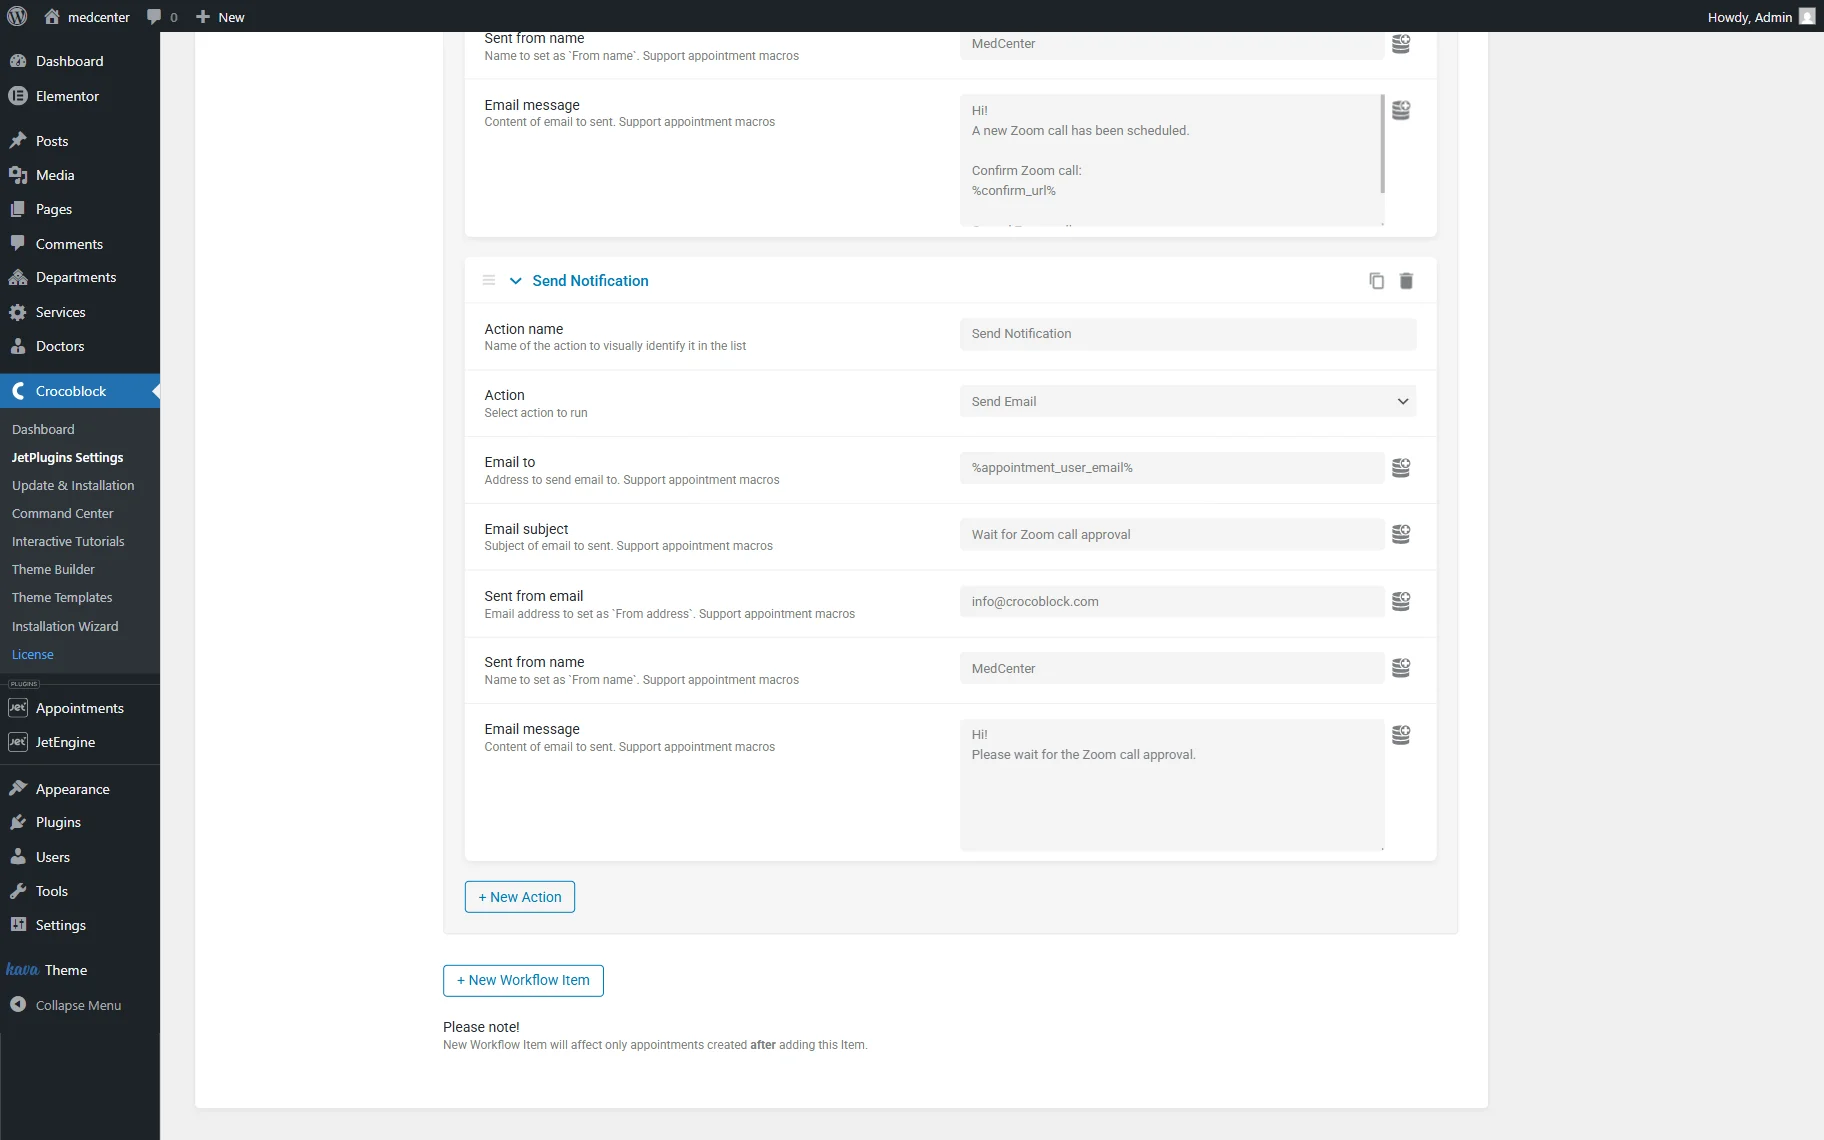
Let’s return to the Workflows tab and add one more new action by pressing the similarly named button.
This one will also be a “Send Email” Action.
Press the “Dynamic tag” button next to the Email to field and find the “Appointment User Email” value.
Work on the Email subject, Sent from email, Send from name, and Email message fields.
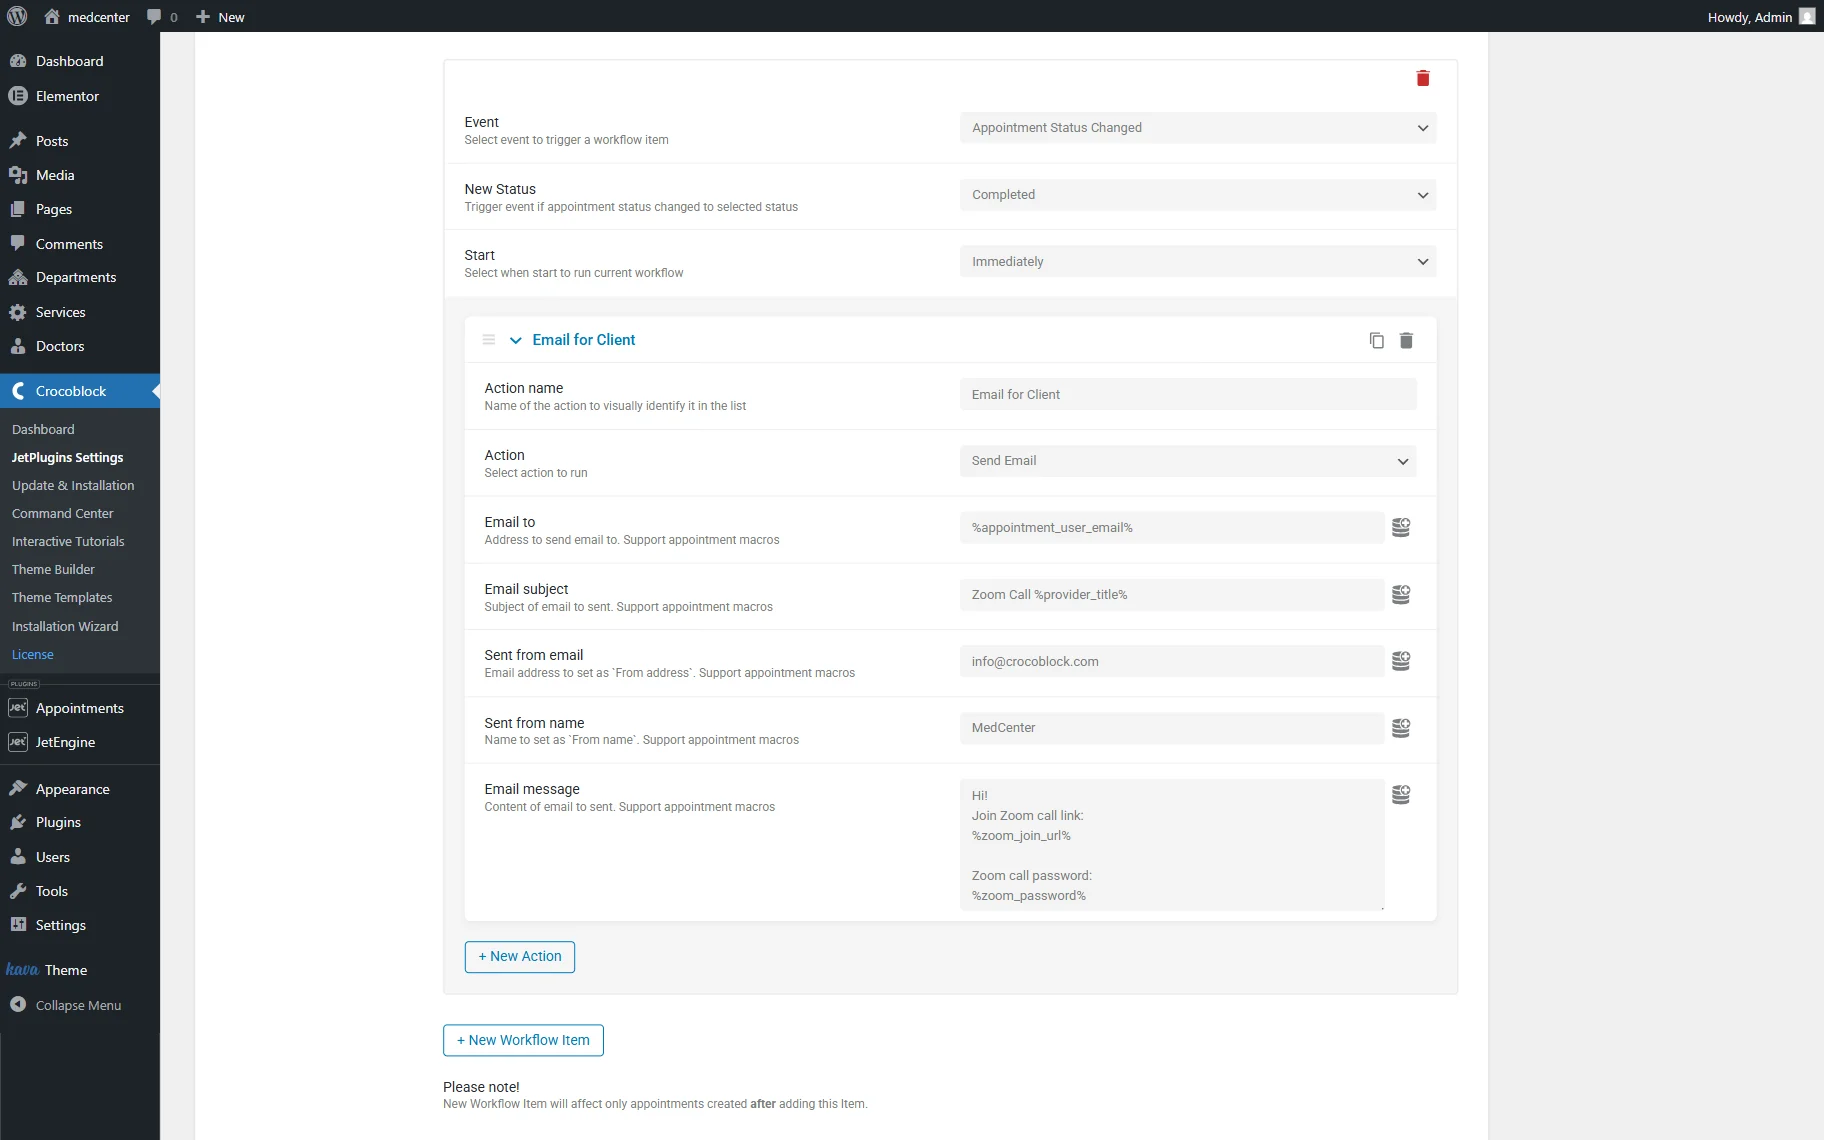
Now, let’s set the action that will be triggered when the appointment status is changed to “Completed.” To do so, press the “New Workflow Item” button and set the “Appointment Status Changed” Event.
Select the “Completed” status as the New Status and “Immediately” as the Start.
Push the “New Action” button.

This action should be set as “Send Email.” Select the “Appointment User Email” dynamic option as Email to value.
We will complete the following Email subject field with both a custom value and a dynamic tag, “Service Title.” Afterward, complete the Sent from email field and Sent from name fields.
Furthermore, complete the Email message field with “Zoom Meeting Join URL (for user)” and “Zoom Meeting Password.”
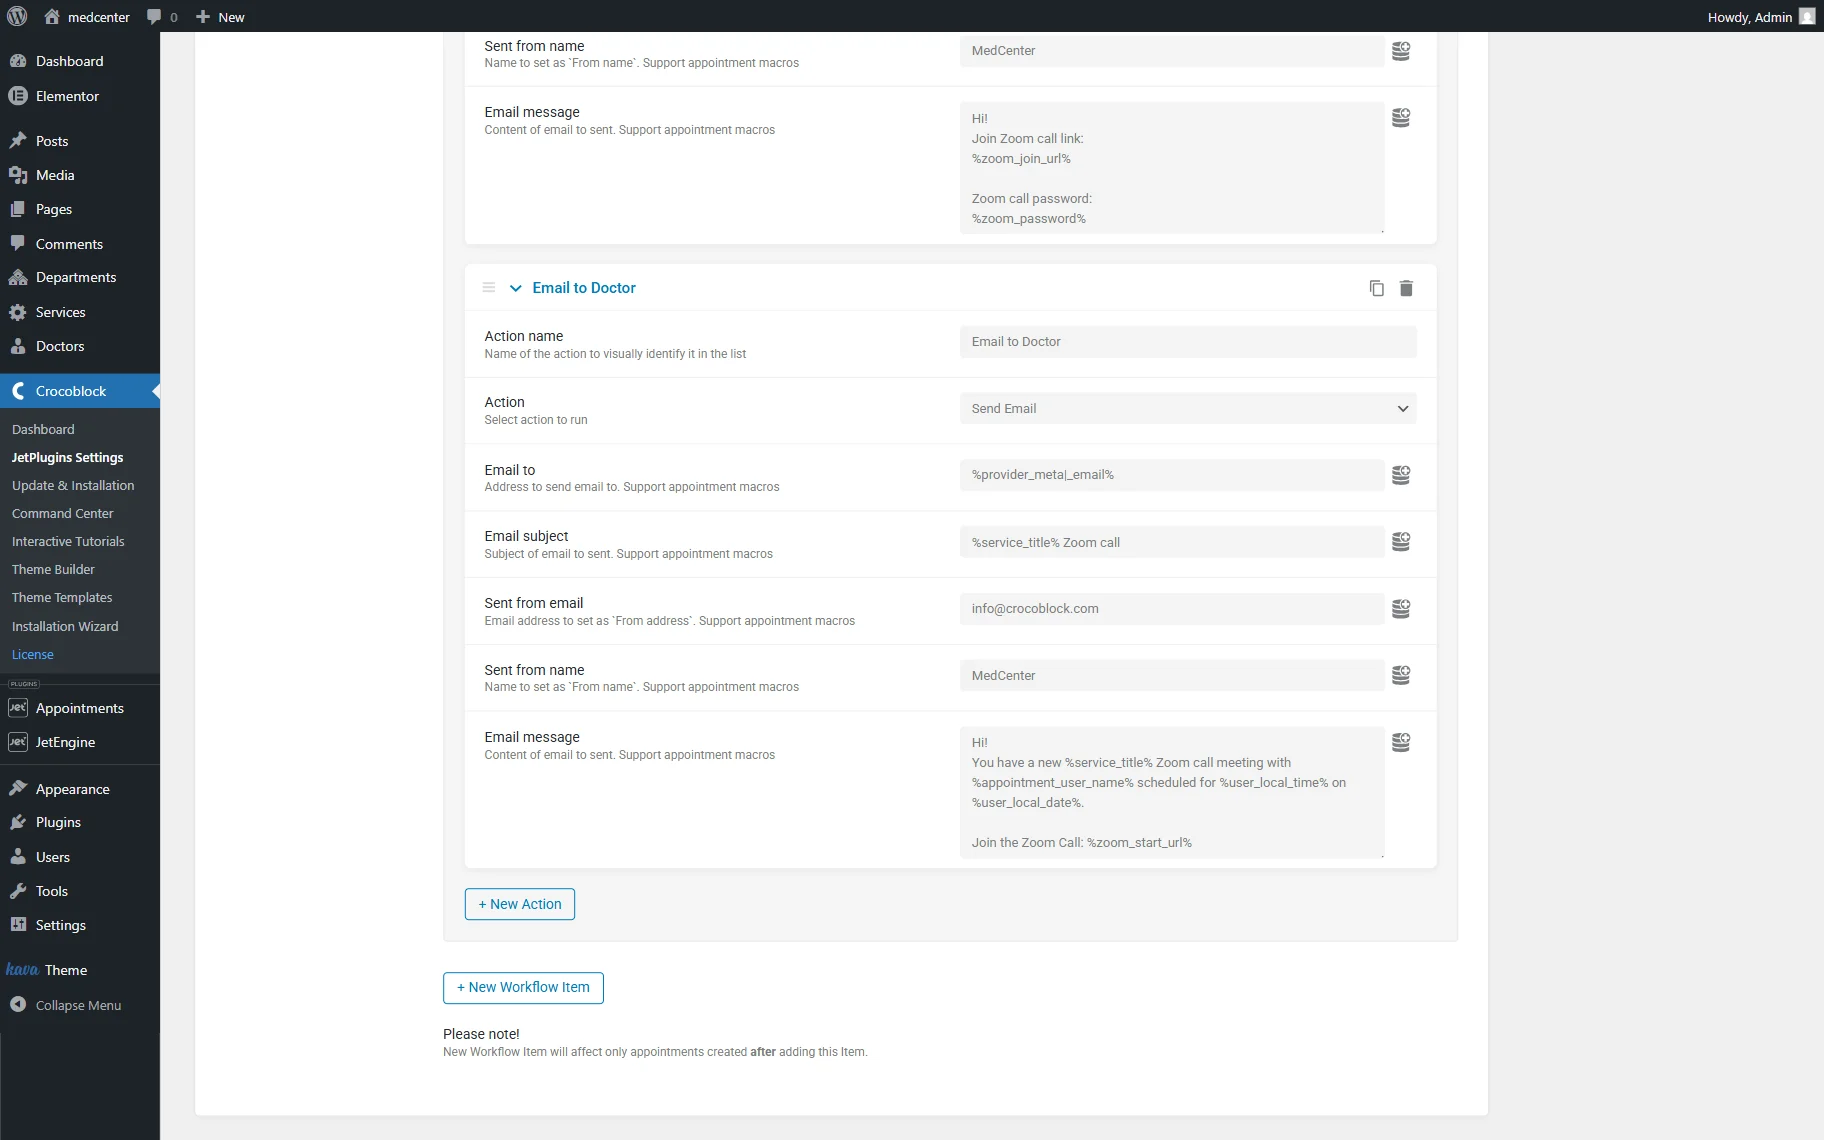
Finally, the last action will be added to inform the service provider (in our case, the doctor) about the call.
The Action should be set as “Send Email” and the Email to as “Provider Meta Field” dynamic tag. Don’t forget to specify the meta field that contains email in the Meta Field to Get field and press the “Apply” button.

We also specify the Email subject with both custom and macro values. After that, complete the following the Sent from email, Sent from name, and Email message fields.
Mind that we have added the “Zoom Meeting Start URL (for admin)” to the last Email message field.
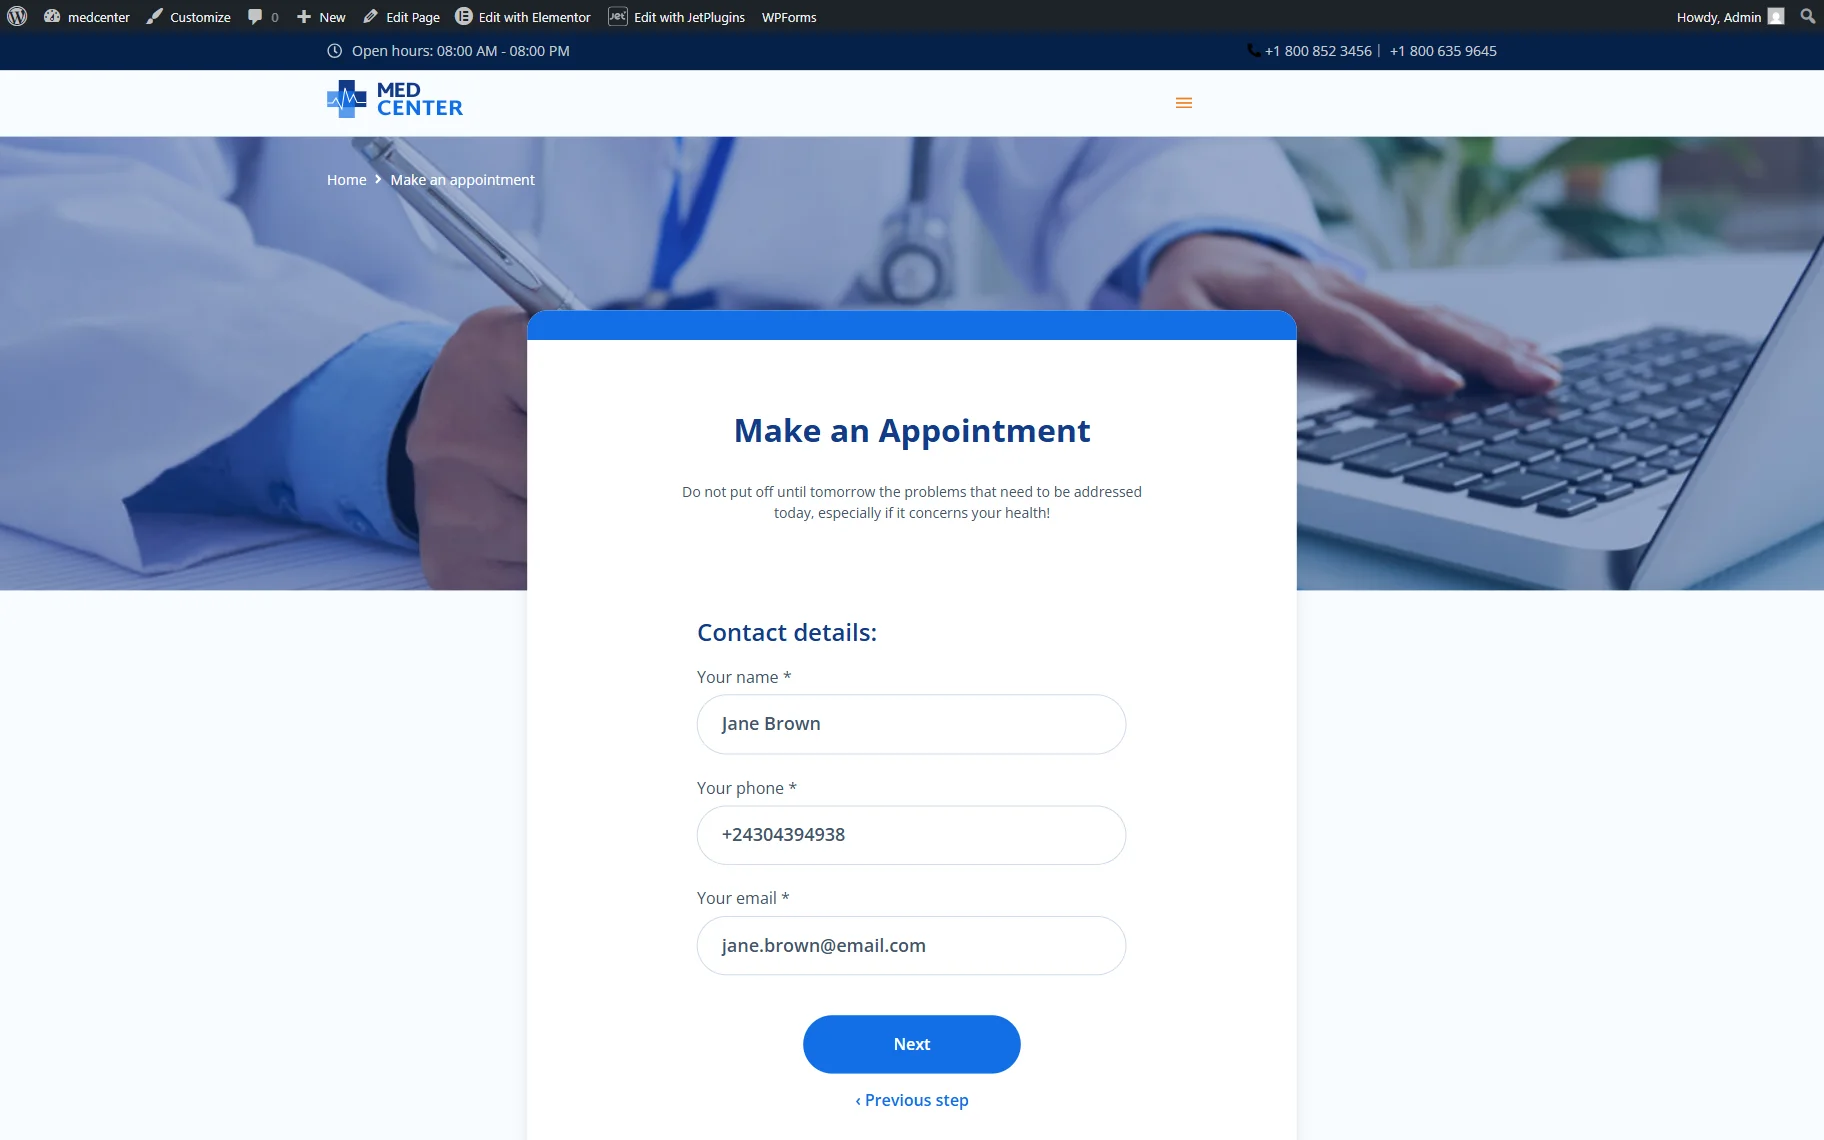
That’s it for customizations; now check the front end where the appointment form is added.
Check the Result
Fill out the form, select the needed date and time, and press the “Submit” button.
Once done, check if the set emails are delivered.
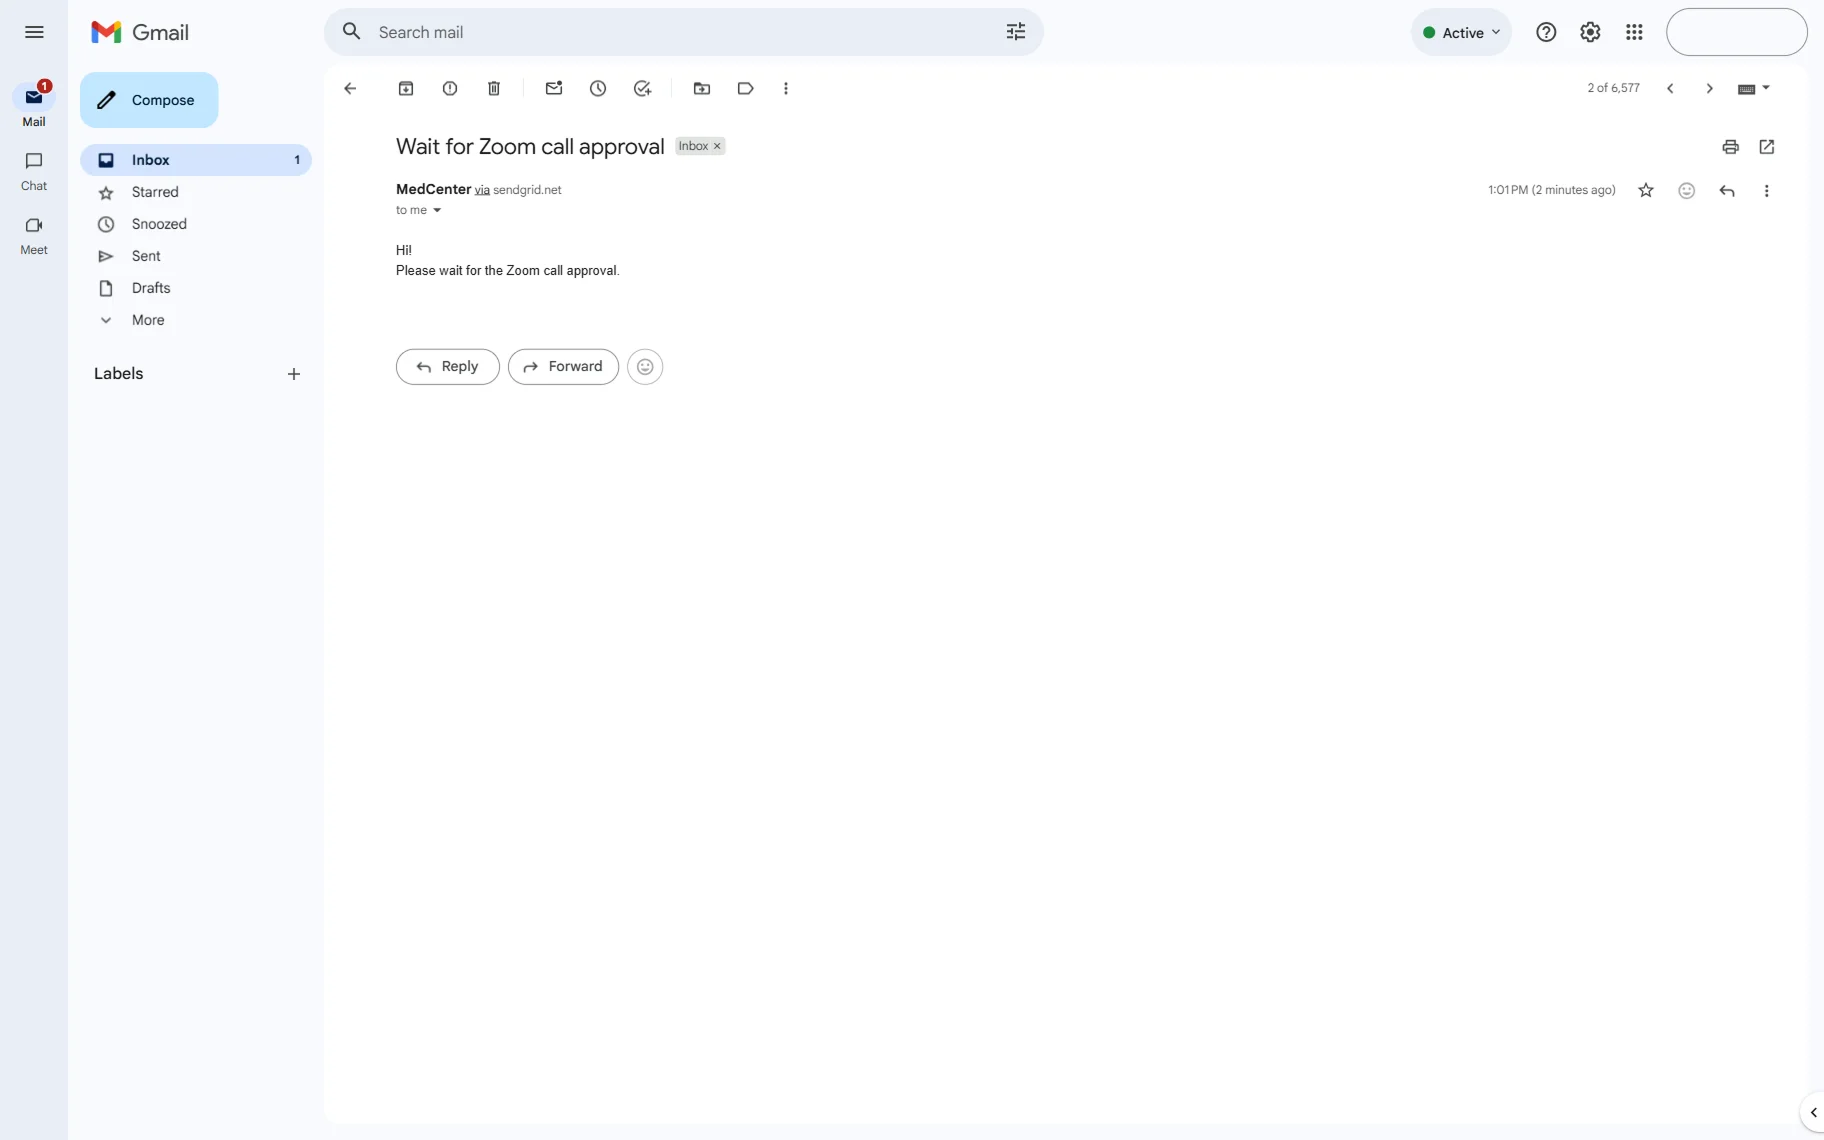
Initially, the client receives an email asking them to wait for approval of the Zoom call.
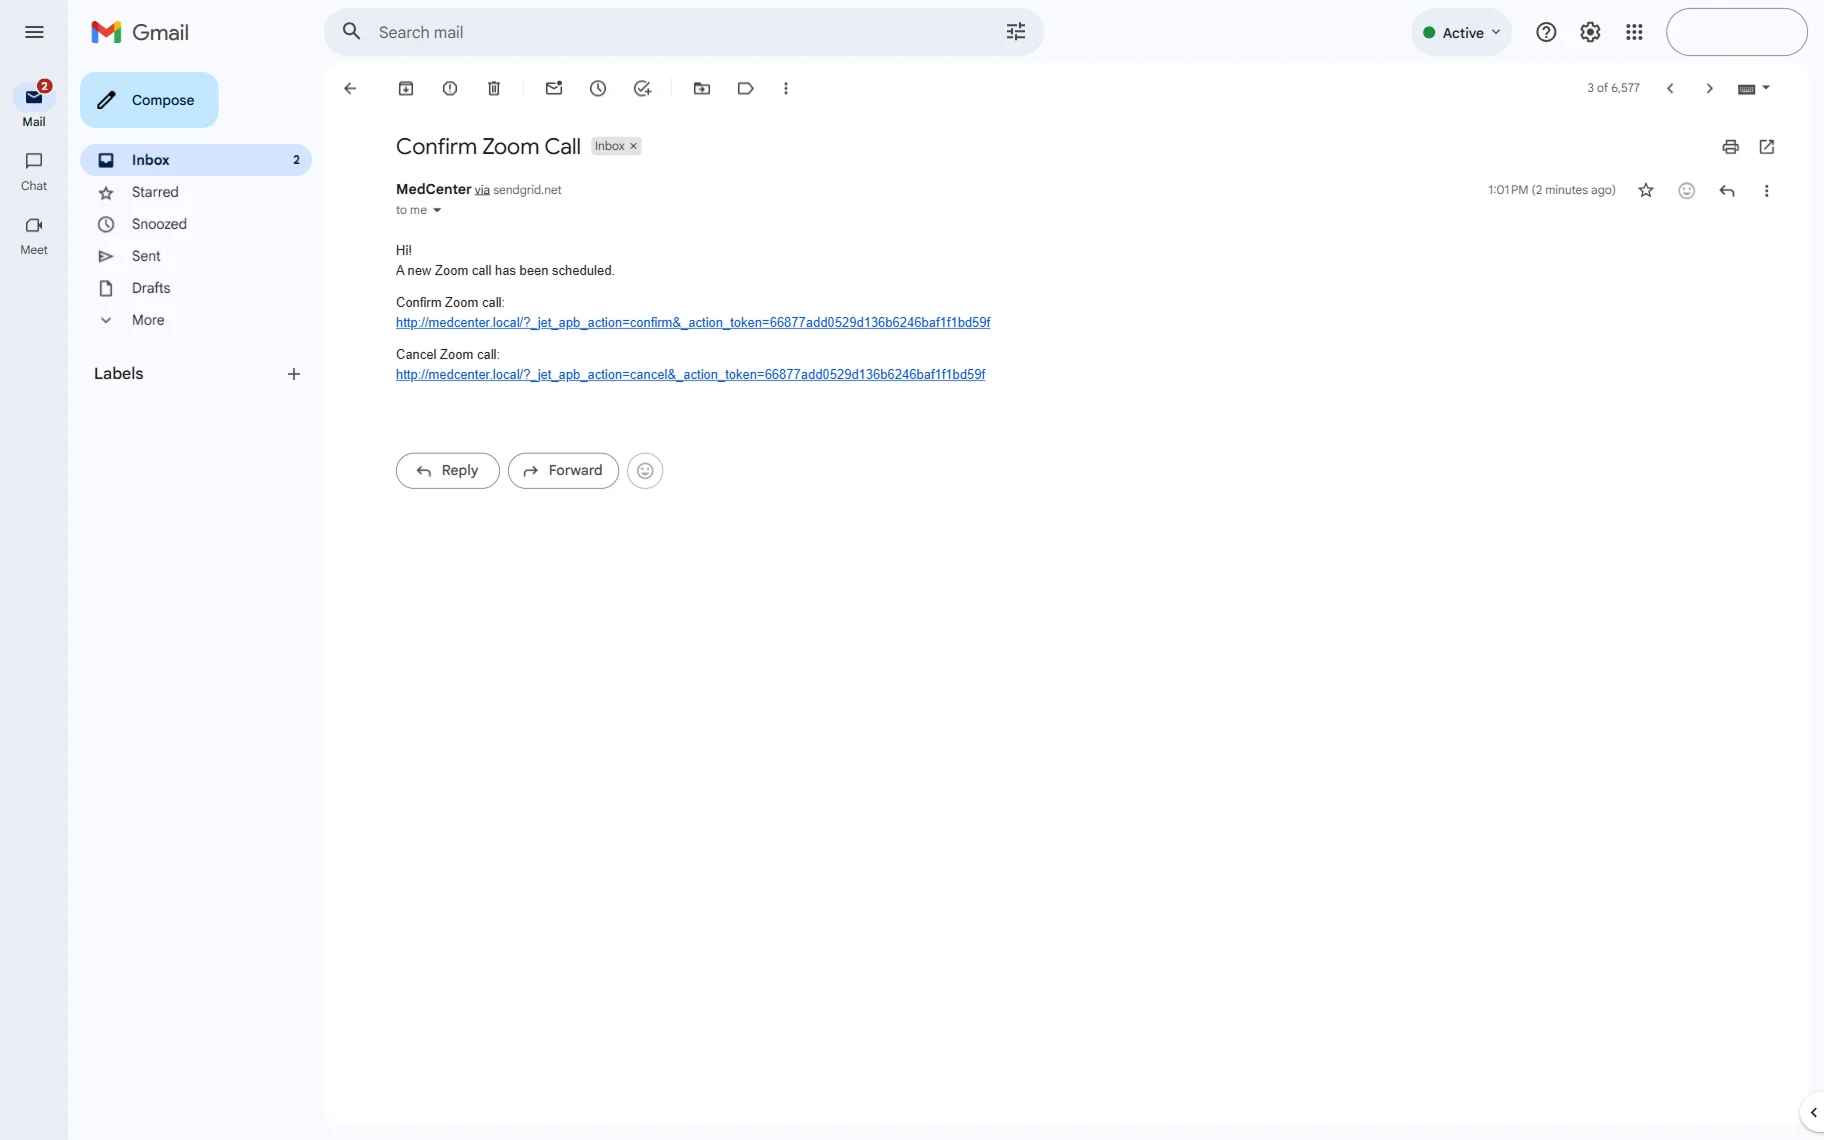
At the same time, the doctor receives an email with links to confirm or cancel the Zoom call.
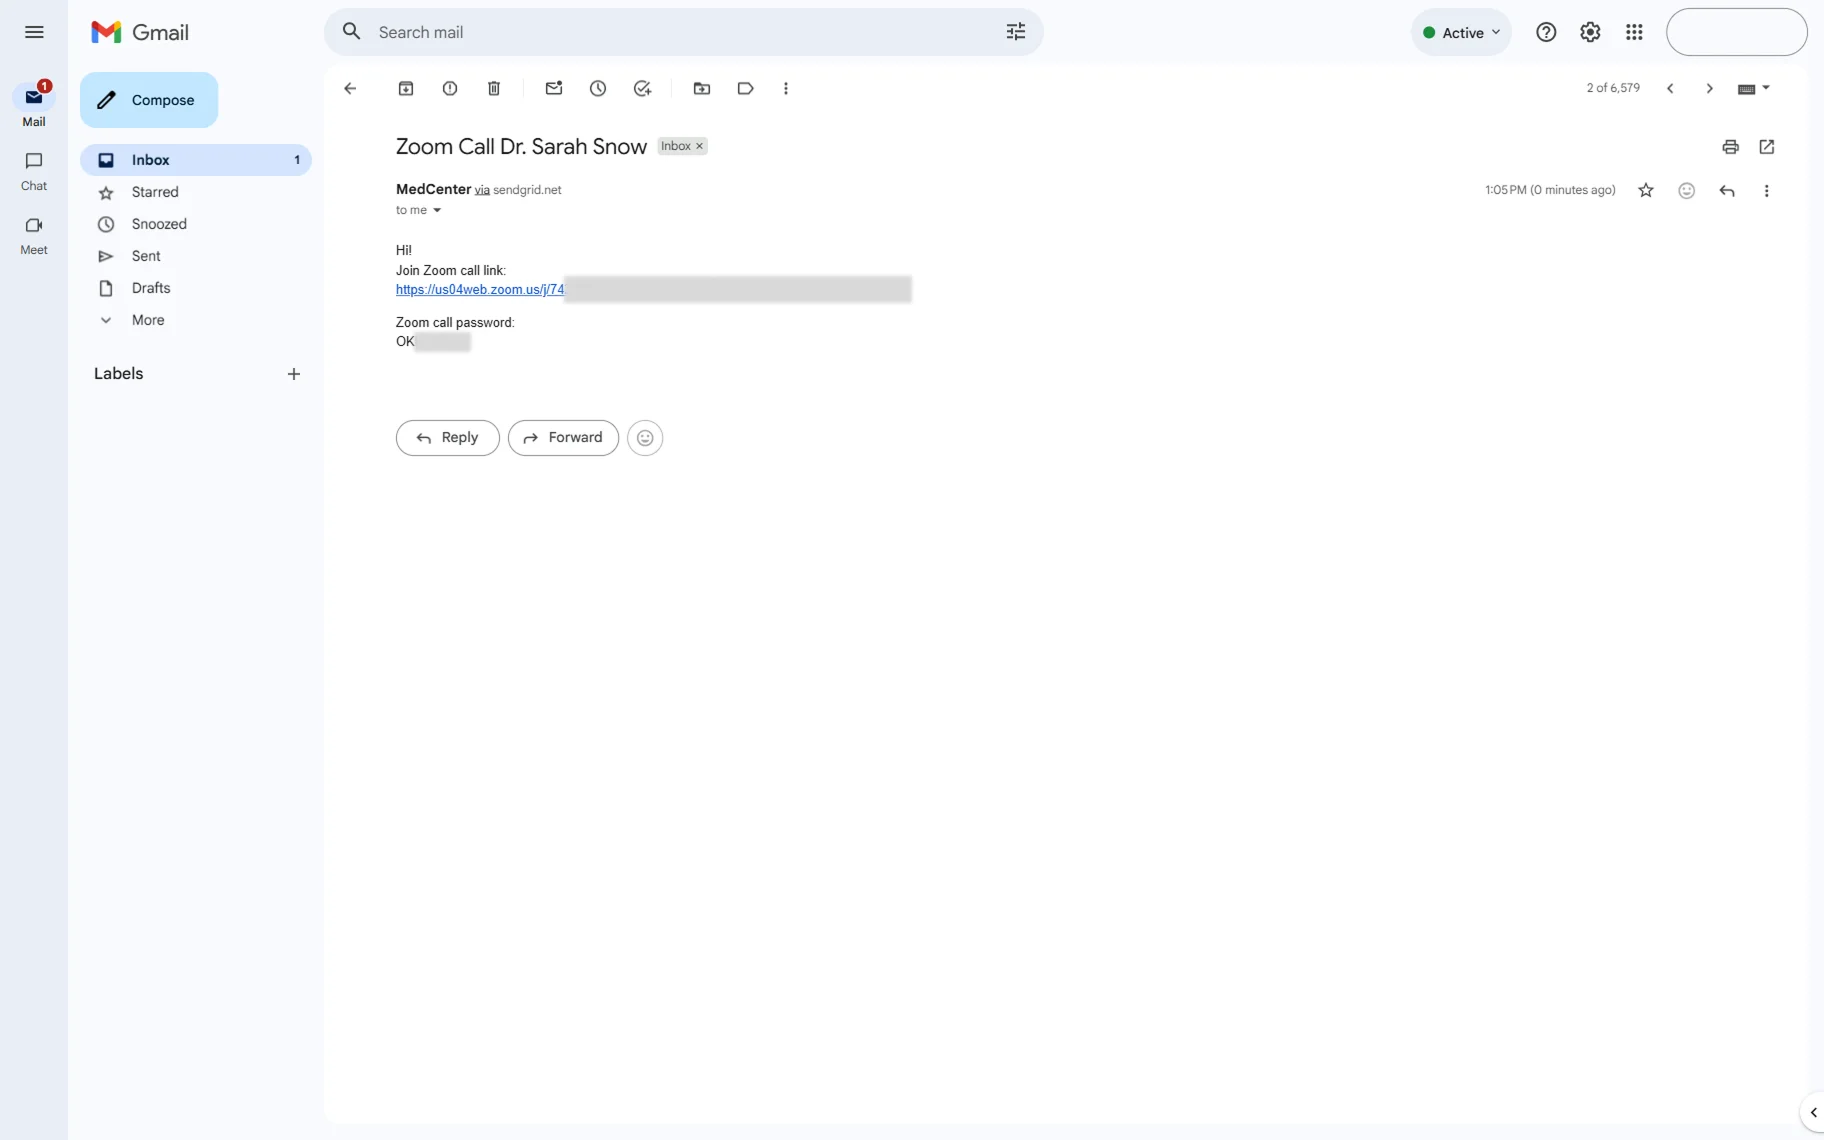
Once the doctor confirms the call, the client gets one more email with the link to the Zoom call.
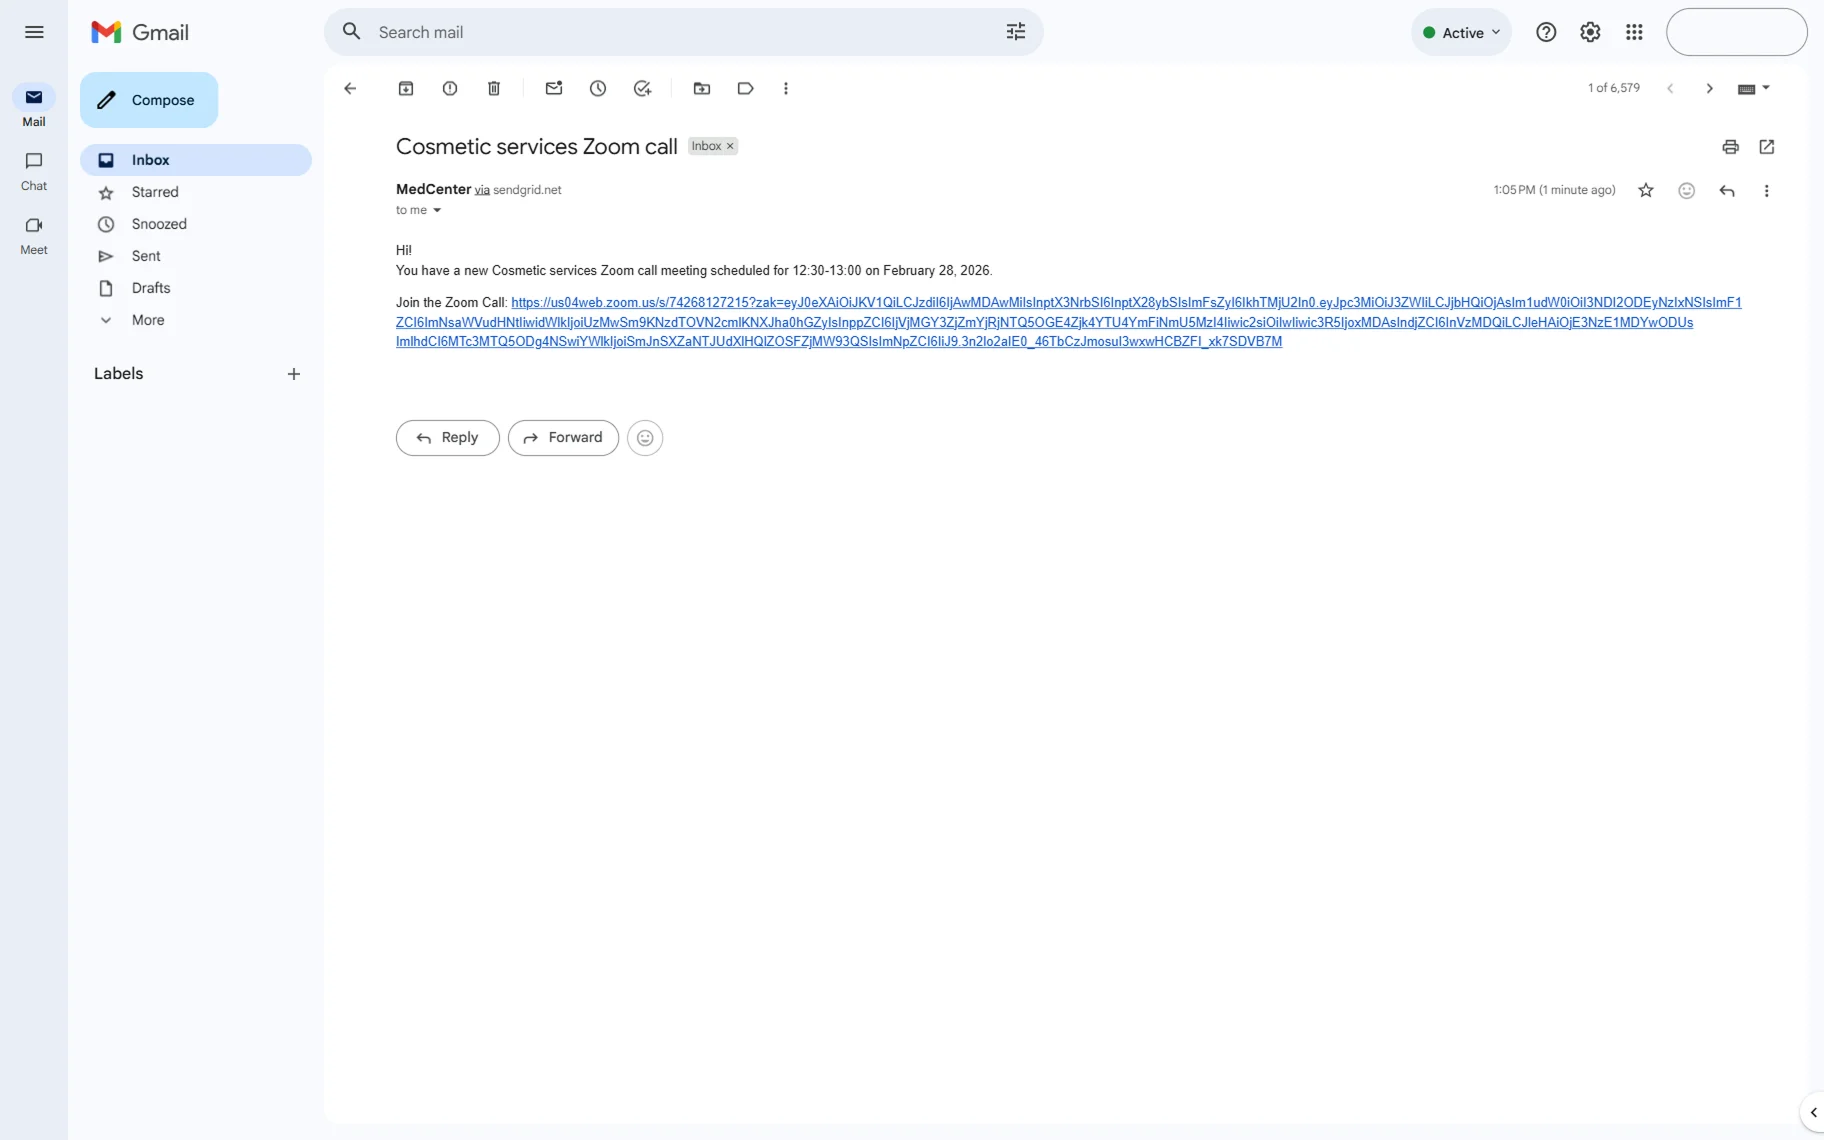
The doctor also receives the email with the Zoom call link.
Everything is set up and working correctly; now you know how to integrate Zoom calls with JetAppointment to receive email notifications about upcoming appointments on your WordPress site.