How to Set Navigation in the Smart Posts List and Smart Post Tiles Widgets
The tutorial explains how to set navigation and add, manage, and style the paging controls for posts displaying via the Smart Posts List and Smart Posts Tiles widgets of the JetBlog plugin for Elementor.
Before you start, check the tutorial requirements:
- Elementor (Free version);
- JetBlog plugin installed and activated with the Smart Posts List and Smart Posts Tiles widgets enabled
- JetEngine plugin with CPT posts created
- JetThemeCor plugin wan archive page created
The Smart Posts List and Smart Posts Tiles widgets of the JetBlog plugin for Elementor are available on the archive and single pages for displaying posts/pages and CPT posts. These widgets differ in how they display the content (as post list or post tiles) but have the same Query & Controls settings and work with JetEngine’s queries.
Add the Smart Posts List and Smart Posts Tiles Widgets
Open an archive page in Elementor. To display a specific CPT, open the Archive Settings (press the wheel icon in the bottom left corner of the page), unroll the Preview Settings tab of the Archive Settings, and select the specific CPT from the Posts drop-down menu.
Find the Smart Posts List or Smart Posts Tiles widget and drag and drop it onto the page. Specify the needed CPT in the widget’s settings.
Query & Controls settings of the Smart Posts List and Smart Posts Tiles Widgets
Proceed to the Content > Query and Controls block. Scroll to the end of the options list until you see the Show Paging Control toggle.
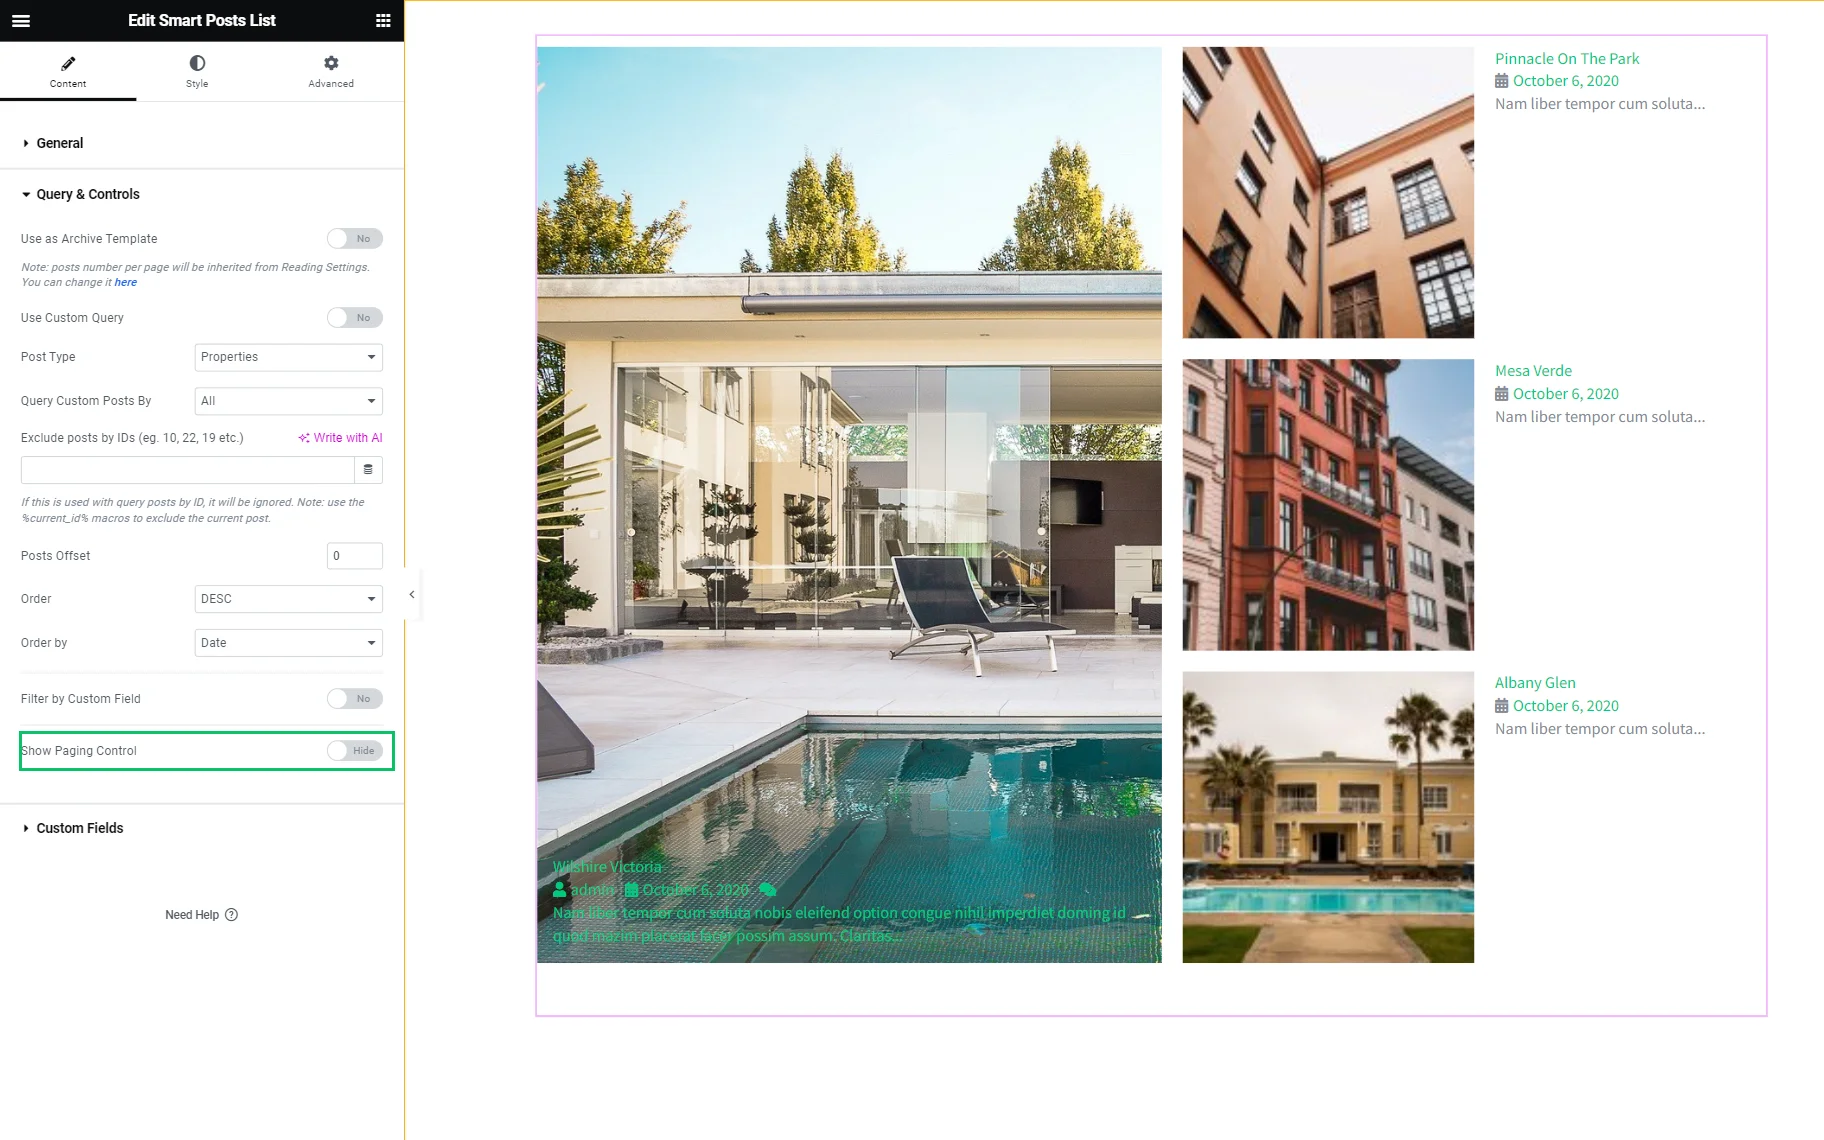
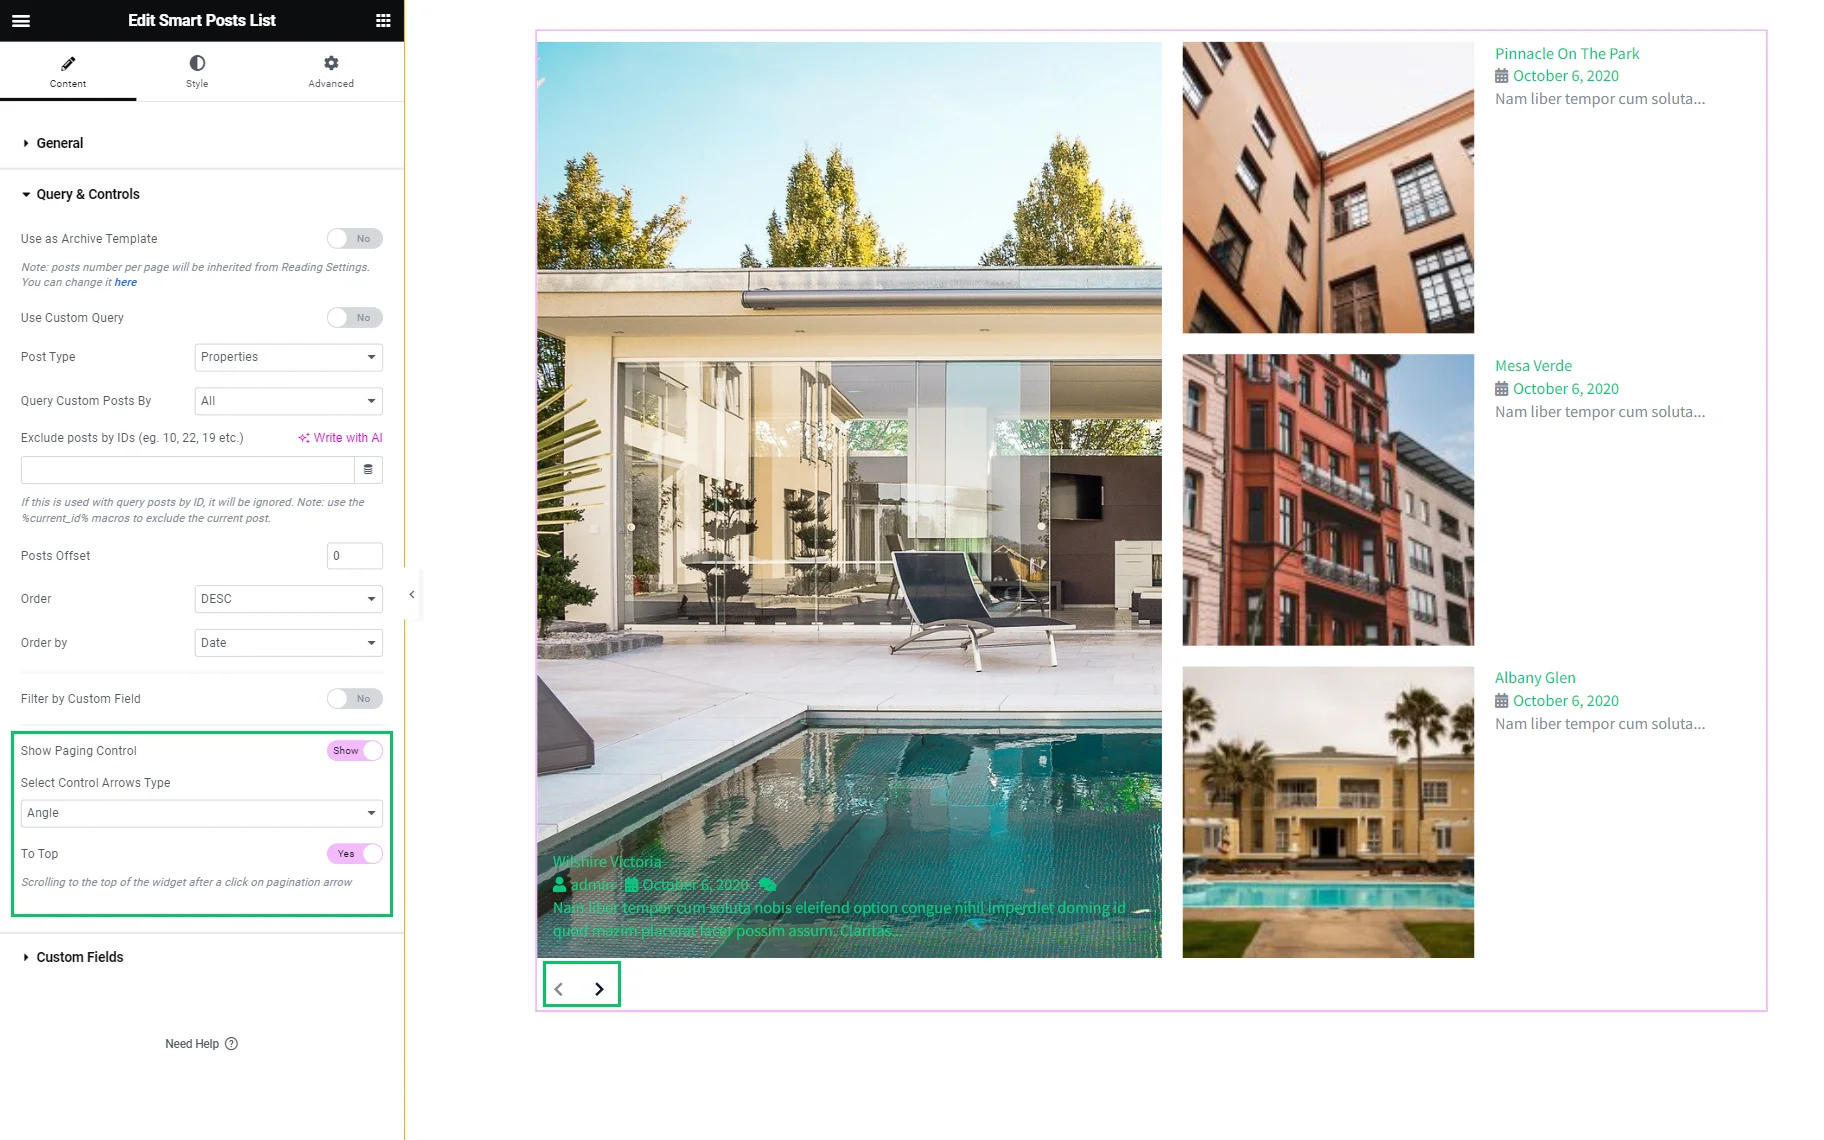
Enable the Show Paging Control toggle.
Paging Control Settings
If enabled, this toggle adds the navigation arrows to the widget and turns on the Select Control Arrow Type drop-down menu (allows selecting the “Angle,” “Chevron,” “Angle Double,” “Arrow,” “Caret,” “Long Arrow,” “Arrow Circle,” “Chevron Circle,” and “Caret Square” arrow types) and the To Top toggle (allows scrolling to the top of the widget after a click on the pagination arrow).
Styling the Paging Controls
Navigate to the Style tab. Scroll it down and unroll the Paging Arrows settings.
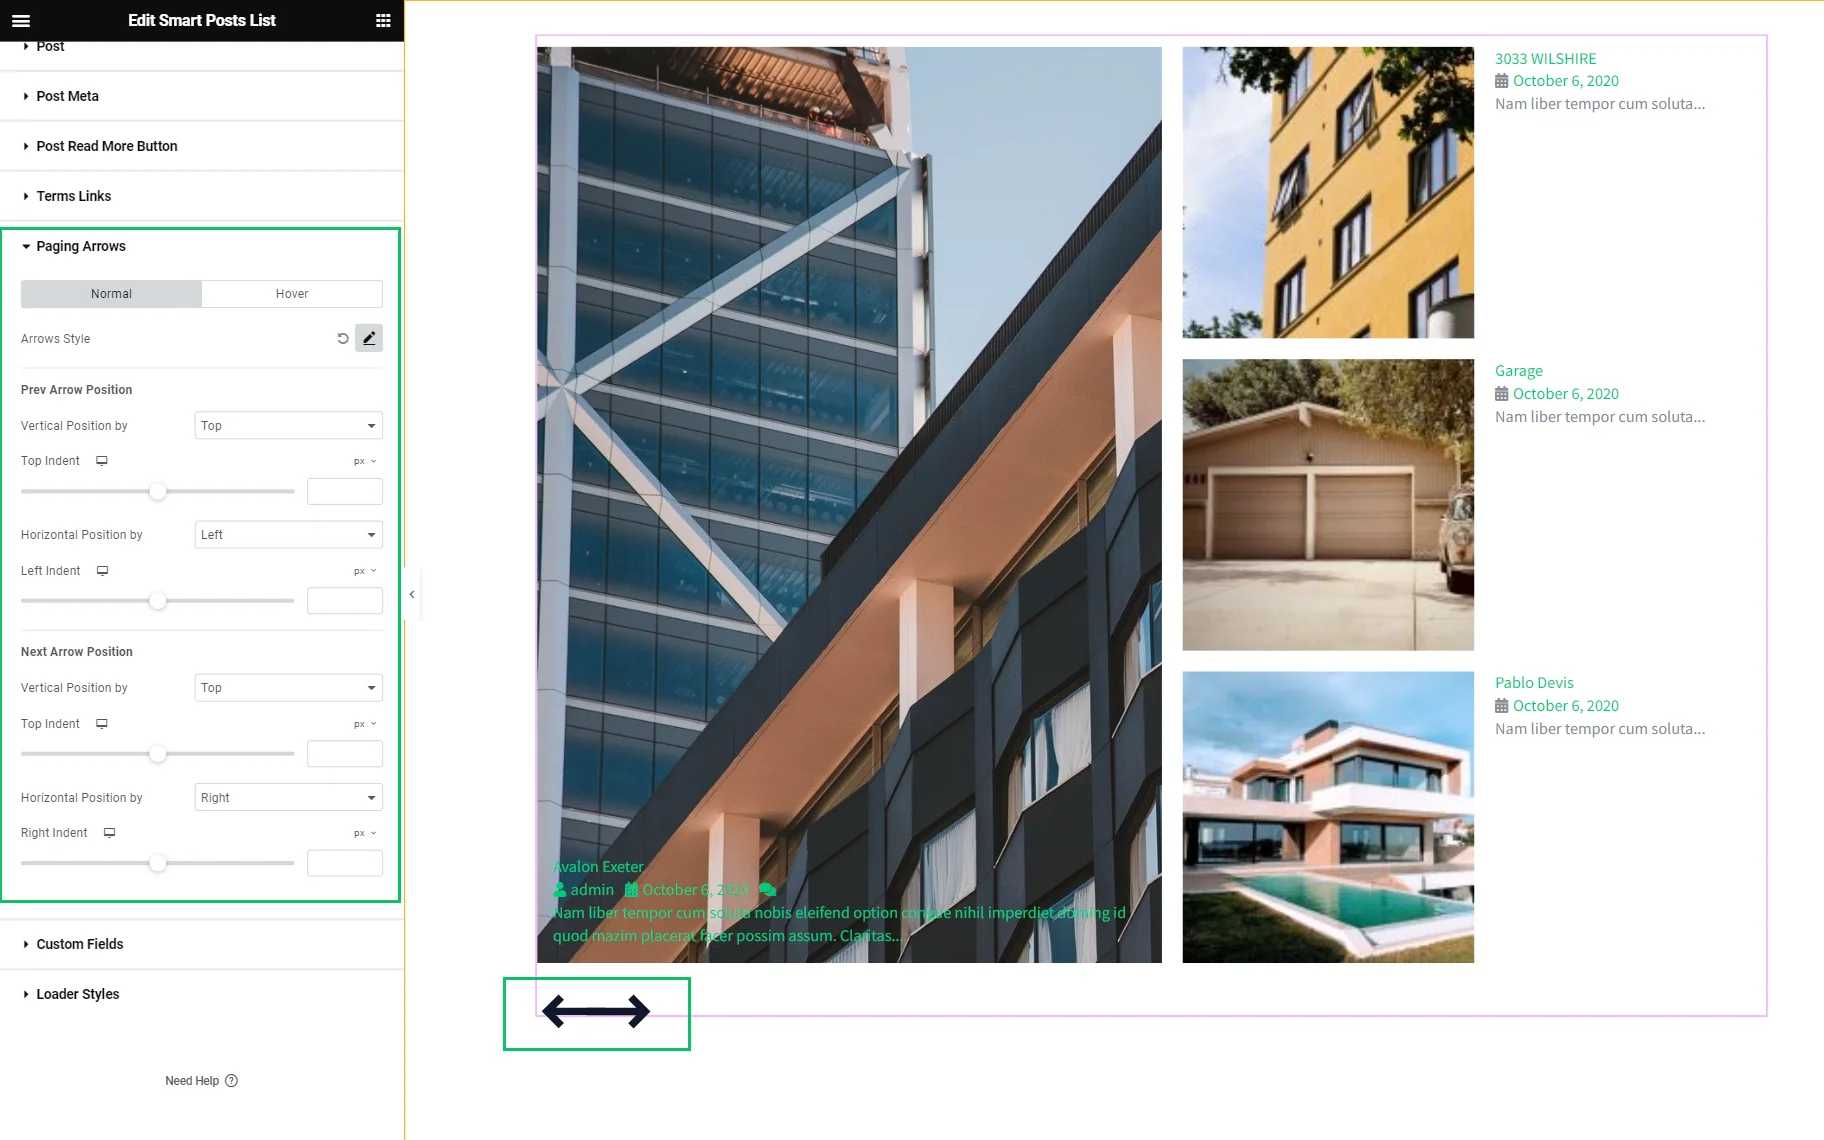
Users can customize the arrow’s positions, intents, colors, etc.
That’s all about setting the navigation in the Smart Posts List and Smart Posts Tiles widgets.