How to Display the Content From Meta Fields in Smart Posts List and Posts Tiles Widgets
Find out from this tutorial how to display the content from meta fields in Smart Posts List and Posts Tiles widgets with the JetBlog plugin.
Before you start, check the tutorial requirements:
- Elementor (Free version);
- JetBlog plugin installed and activated;
- JetEngine plugin installed and activated;
Meta fields are used to add extra information or content of almost any type. For example, it could be special data for all events created before to arrange the necessary ones. Or it might be the goods on the site that you want to range by the data when the sale-on discount is expiring. The examples of practice are plenty.
So if you read this tutorial, we hope you’ll know more about this option.
Now let’s start our handy guide to perform the changes.
Preparations
Before the following steps ensure that you’ve installed and activated the JetEngine plugin. It will help us to add the necessary information simply without the deep knowledge of the code. Thanks to our developers we can manage to display the content from meta fields in posts.
JetEngine Settings in the WP Dashboard
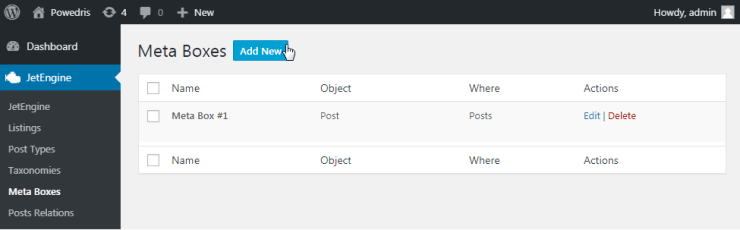
Proceed to the WP Dashboard > JetEngine > Meta Box. Here add the new one with the so-named button.
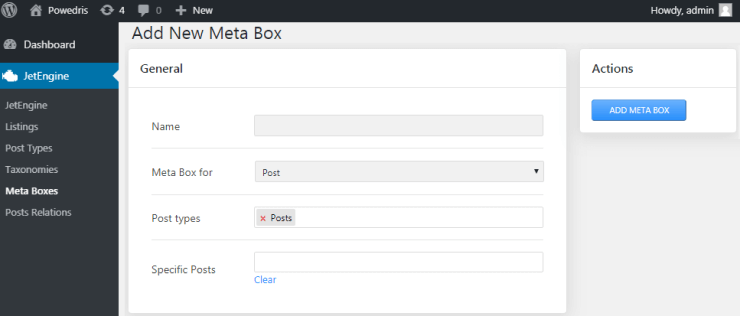
In the following screen fill in the Name, select in the Meta Box for dropdown Post option.
The next dropdown is called Post types and here you have to choose Posts.
The next block is Meta Fields where you need to fill in gaps with the correspondent information: add the Title, ID, type, etc.
Scroll up and click on Add Meta Box button.
The Posts Setting in the WP Dashboard
We are still in the WP Dashboard. Now choose the Posts > All posts option. Select the one you want to change and click on the Edit link.
Click to the Settings button that is in the upper-right of the screen.
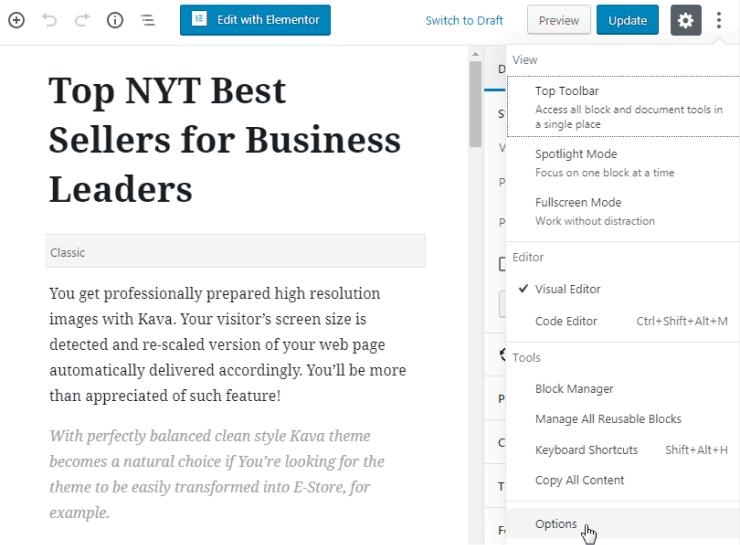
Choose Options in the end of the list and tick in the following screen Custom Fields. It is situated in the Advanced Panels block.
Then scroll until you reach the block with the name of Meta Box you’ve created.
Here you should choose the content to be displayed. In my case, it contains the image, link and time options.
When everything is done, Update your settings on the right corner button.
The Final Settings in Elementor Editor
Go to the Elementor editor with dropped the Smart Posts list and Posts Tiles widgets.
Click on Edit button of the selected widget. Then proceed to the Content > Custom Fields tab.
Choose the position of Meta to be shown with the toggle.
Click on the Item #1 dropdown.
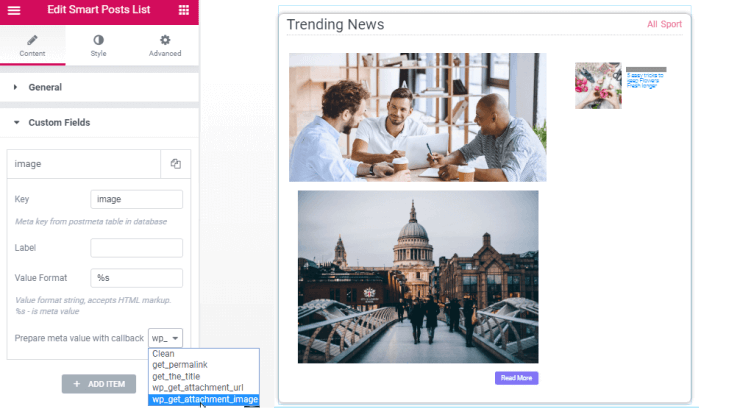
Fill in the Key field with the Name (or the ID) of the section you’ve previously created. In my case, the names are “image”, “link” and “time”. If you have several ones, as I do, disjoint them. For each Meta Field data, you have to add the new item.
Enter the Label if you have, for example, the link. You might skip this option you haven’t got text data.
In the dropdown Prepare meta value with callback choose the most suitable option. For example, for an image, it could be the “wp_get_attachment_image”.
Update and preview your changes.
Following our simple steps, it’s possible to showcase the content with the help of meta fields.