How to Optimize JetBlog Widgets' Performance by Changing the Load Level of Style Settings
Find out how to pick the required load level of style settings for JetBlog widgets in Elementor editor to use the style settings you need only and in this way optimize Elementor’s work.
Before you start, check the tutorial requirements:
- Elementor (Free version);
- JetBlog plugin installed and activated.
Automatically, after the installation of the JetBlog plugin, the full level will be selected and you will have the full range of settings in the widget’s Style tab.
If you want to optimize the Elementor editor work, you should choose the lower level of the available settings that you need to create a preferable stylization for any widget from the JetBlog plugin.
The Load Levels of Style Setting
For your work, you might need several levels of style settings. We have five levels that will suit any requirements. Let’s dive deeply into them:
- None;
- Low;
- Medium;
- Advanced;
- Full.

Each level offers the user a definite range of settings. At the end of this guide, you will discover which options each of the levels are involved.
Remember, that the lower the selected level, the fewer opportunities are accessible for the user. For instance, if you have chosen the None level, you will not have an opportunity to make some changes in the Style tab. Only the basic options will be allowed, such as the Text and Background color. The Full level will provide you with a full range of opportunities to customize the box with a shadow, border radius, image margin, etc.
The levels that are in between wide the opportunities progressively.
How to Pick the Load Level of Style Settings
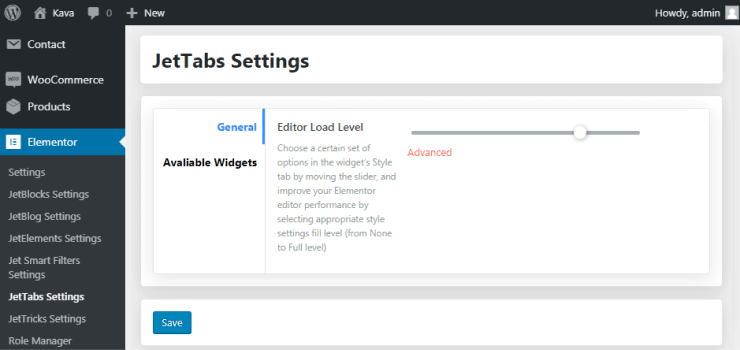
In WordPress Dashboard proceed to Elementor > JetBlog Settings option.
Here you will see the Load Level Editor with a moving slider that switches between available levels from None to Full one.
After every change to be done, click on the Save button.
Then, open the needed page with Elementor editor and reload the page. It helps to involve the changes to work.
Make your content juicy and profitable. Read our tutorials to find out how to make your ideas real with JetBlog plugin.

How to Deal with the Load Levels of Style Setting
While working you might need to require your needs one of the midline levels. If you want to add a slight change, you may switch to a higher level. As well, if you don’t need the other settings from the higher level, you can add the needed option just adding an appropriate CSS code. In this way, you will fulfill your ideas and keep optimizing Elementor work.

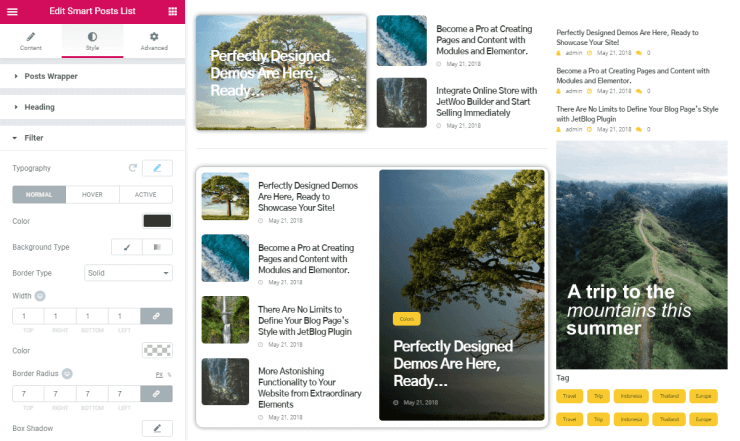
On the screen, you can see the Smart Posts List widget with None load level activated.
There are midline levels, such as Low, Medium and Advanced ones which contain settings to appear progressively depending on the level that has been selected.

On the screen, you can see the Smart Posts List widget with Full load level activated.
Below you are able to see through the options that are available in each of the levels.
Now, it isn’t difficult to maintain the fast speed of Elementor editor and put in work the settings you need to apply only.