How to Manage Timepicker for Check-In/Check-Out in WooCommerce-Based Mode
Learn how to activate the timepicker for Check-in/Check-out fields in the WooCommerce-based mode of JetBooking for WordPress.
Before you start, check the tutorial requirements:
- Elementor (Free version), Block editor (Gutenberg), or Bricks
- WooCommerce plugin installed and activated
- JetBooking plugin installed and activated
In this guide, we will show how to enable a time picker next to the Check-in/Checkout fields of the single product page to make a booking with JetBooking time-sensitive.
Adjust Timepicker Settings
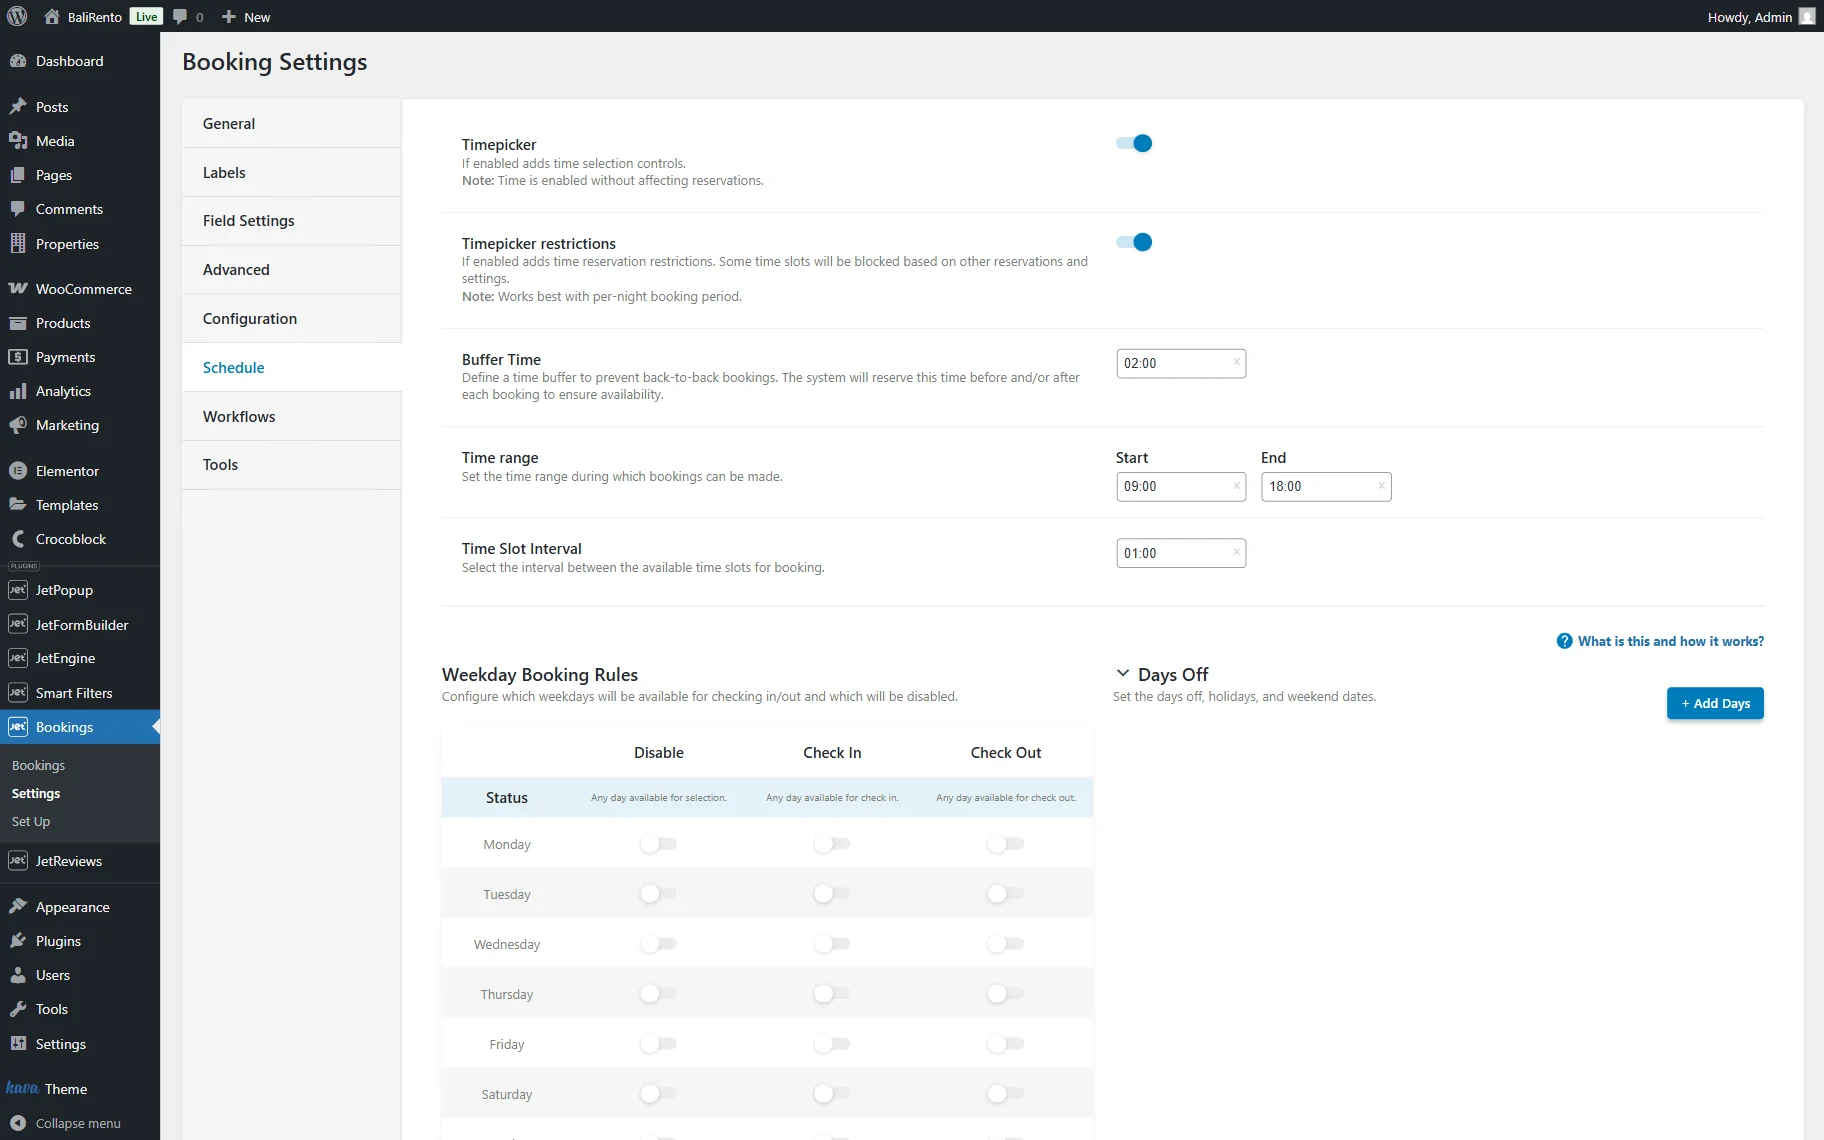
Go to WordPress Dashboard > Bookings > Settings and click on the Schedule tab.
Enable the Timepicker toggle, and you will observe the additional settings available for customization.
Next, you can activate the Timepicker restrictions toggle and set the Buffer Time to reserve some time between the bookings and prevent the back-to-back bookings. By default, the “2:00” Buffer Time is set.
Next, you can also change the available Time range and the Time Slot Interval. The last is set to “1:00” by default, which means slots like “9:00,” “10:00,” “11:00”, etc. will be available.
Once the settings are adjusted, changes will be saved automatically.
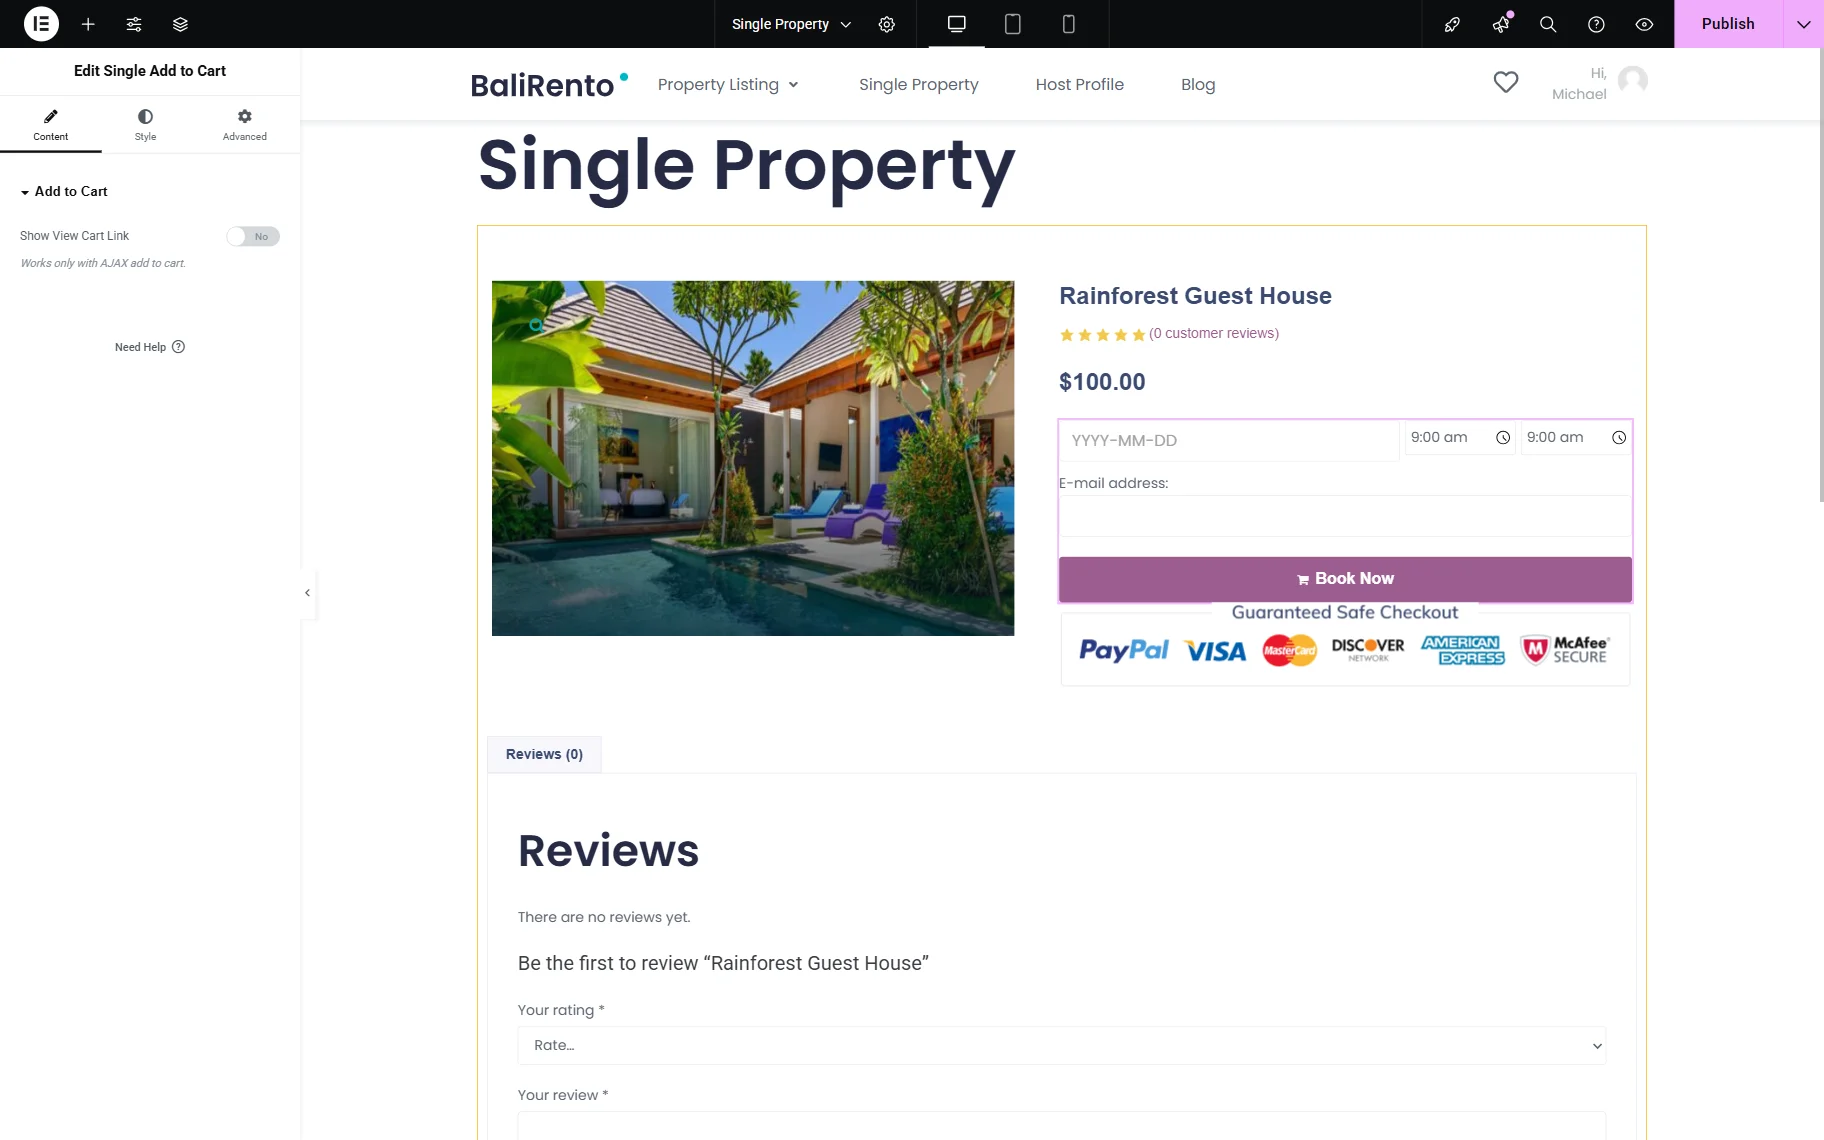
Set Up Single Product Page
If you work with the JetWooBuilder’s Single Product Page, the timepicker will be visible in the Single Add to Cart widget.
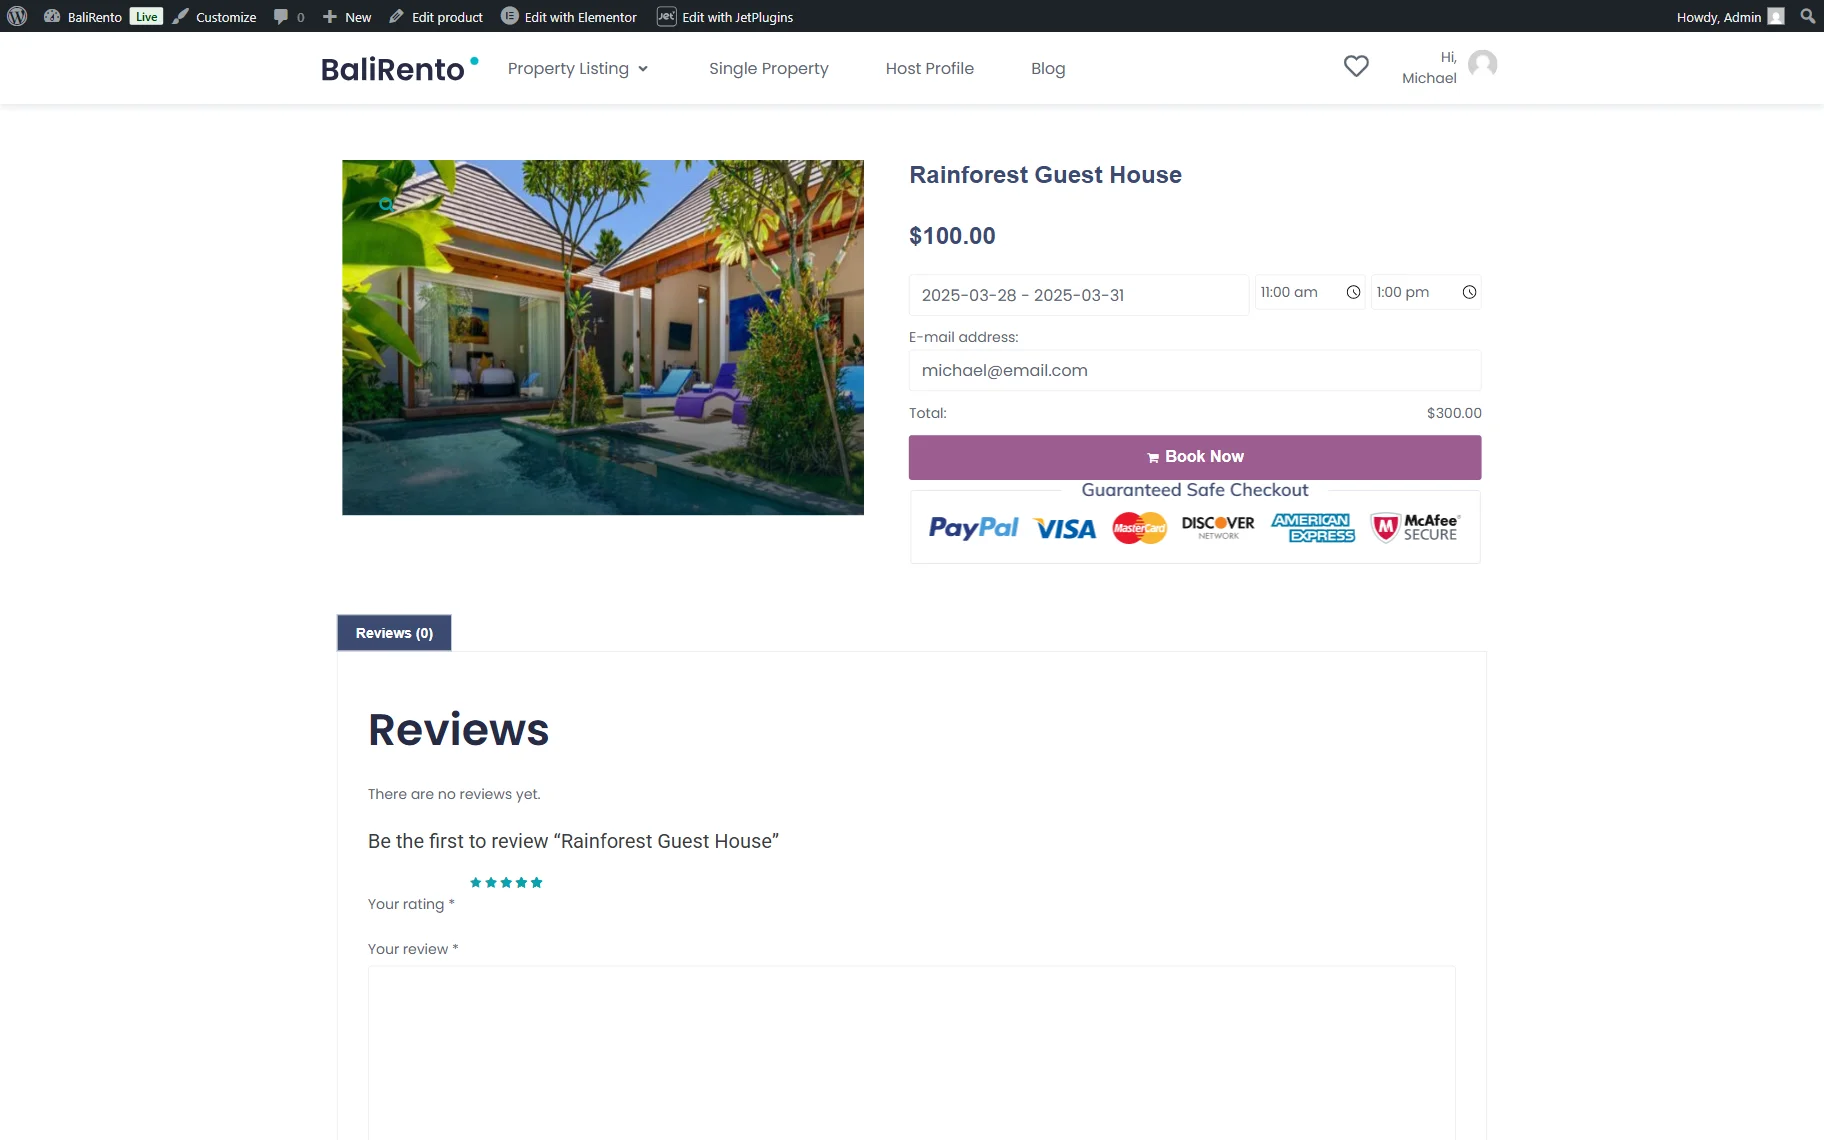
Check the Result
Open one of the products on the front end. In this guide, we open the property page.
Right on the page, we can select the check-in and check-out dates and the time of the booking.
After the data is completed, we press the “Book Now” button to proceed to the cart.
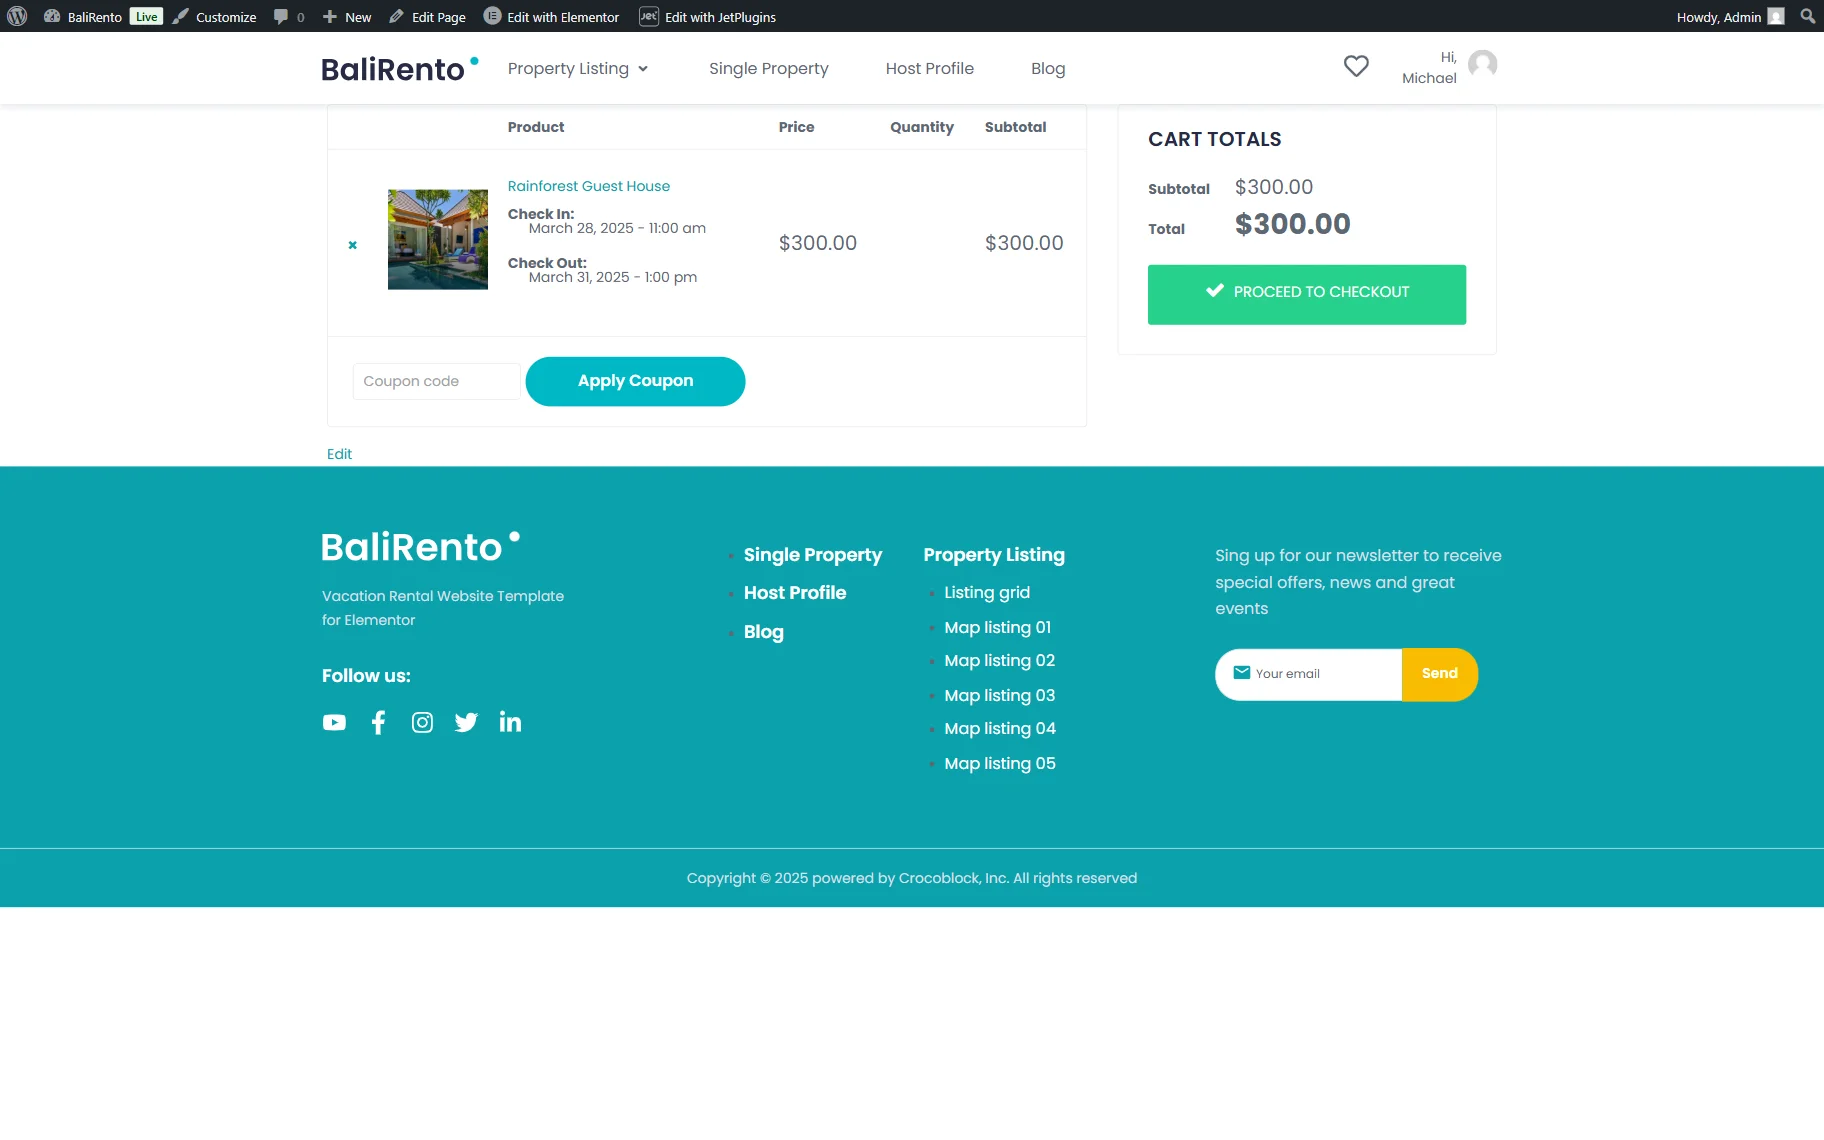
In the cart, we can observe order details, with check-in/check-out dates and times accordingly.
Next, we press the “PROCEED TO CHECKOUT” button.
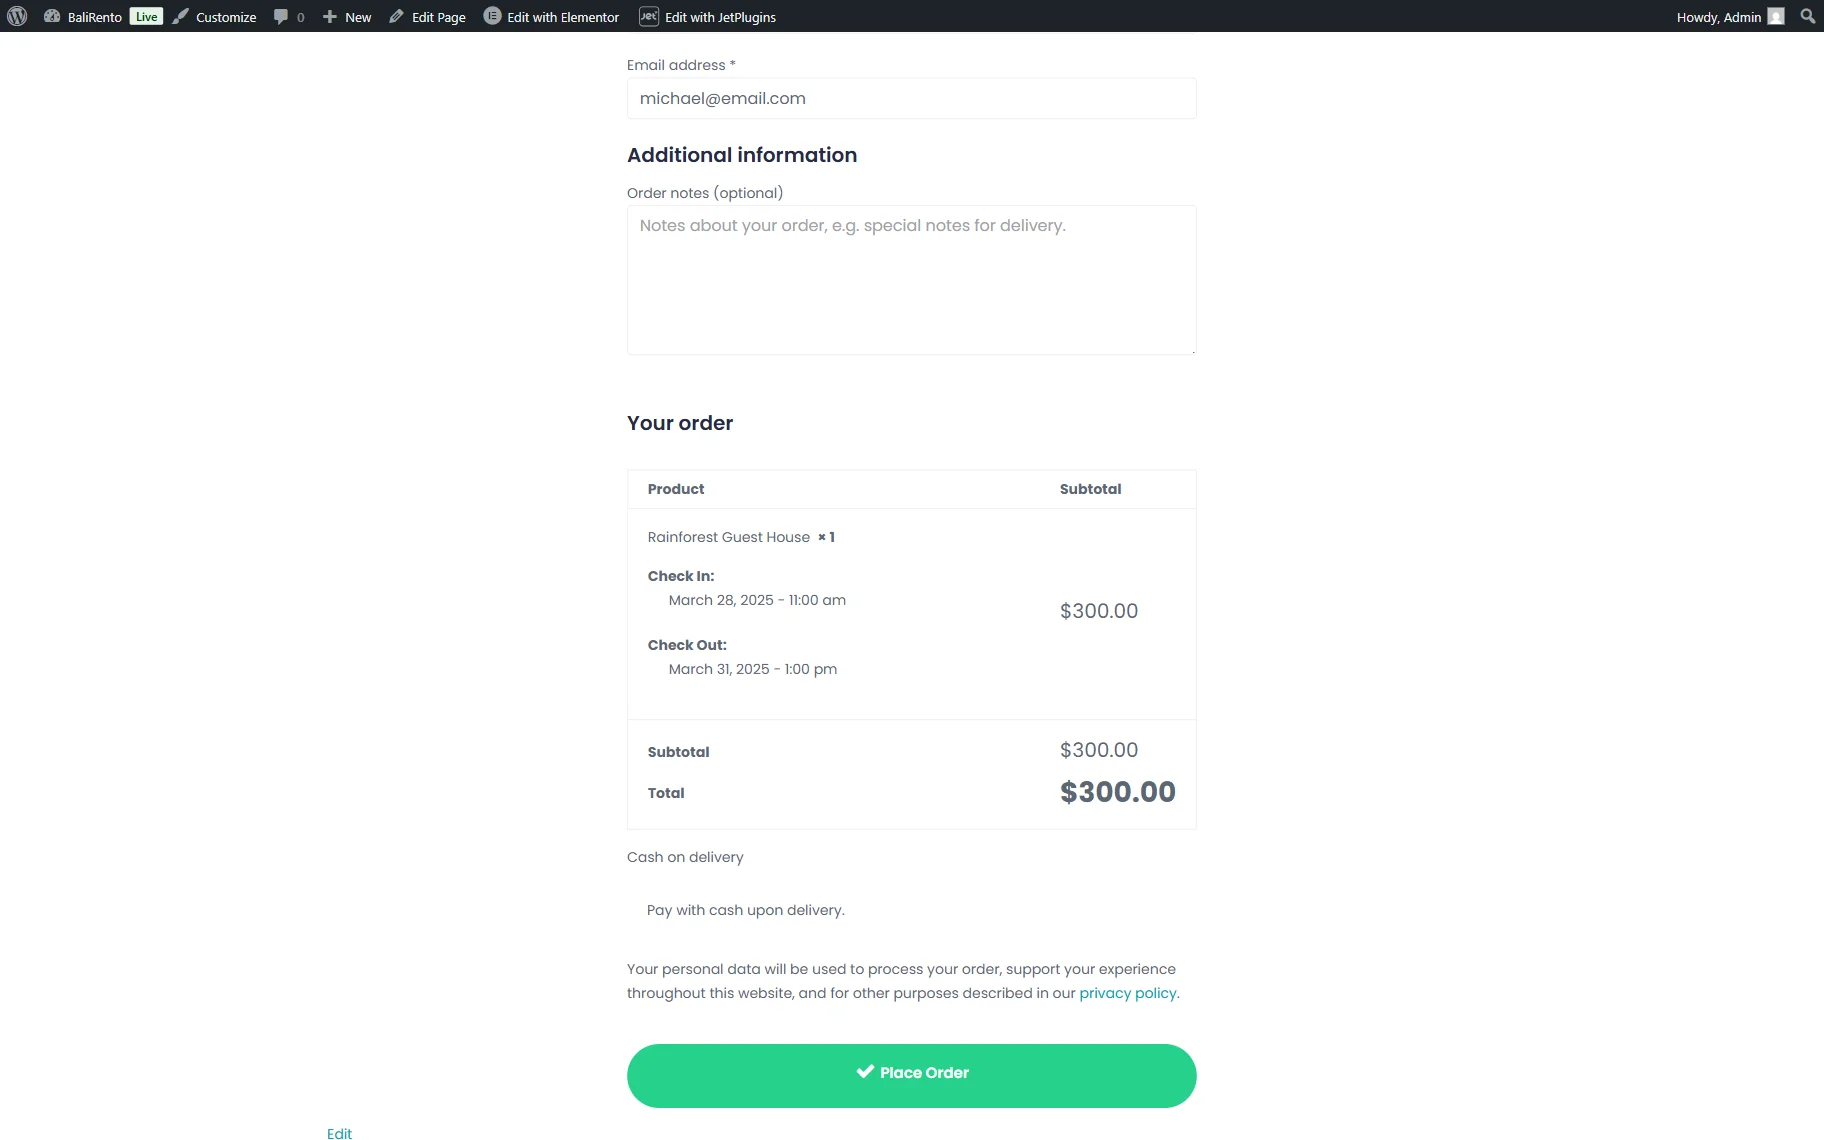
On the checkout page, after the needed data is completed, we can see the check-in and check-out details in the Your order section.
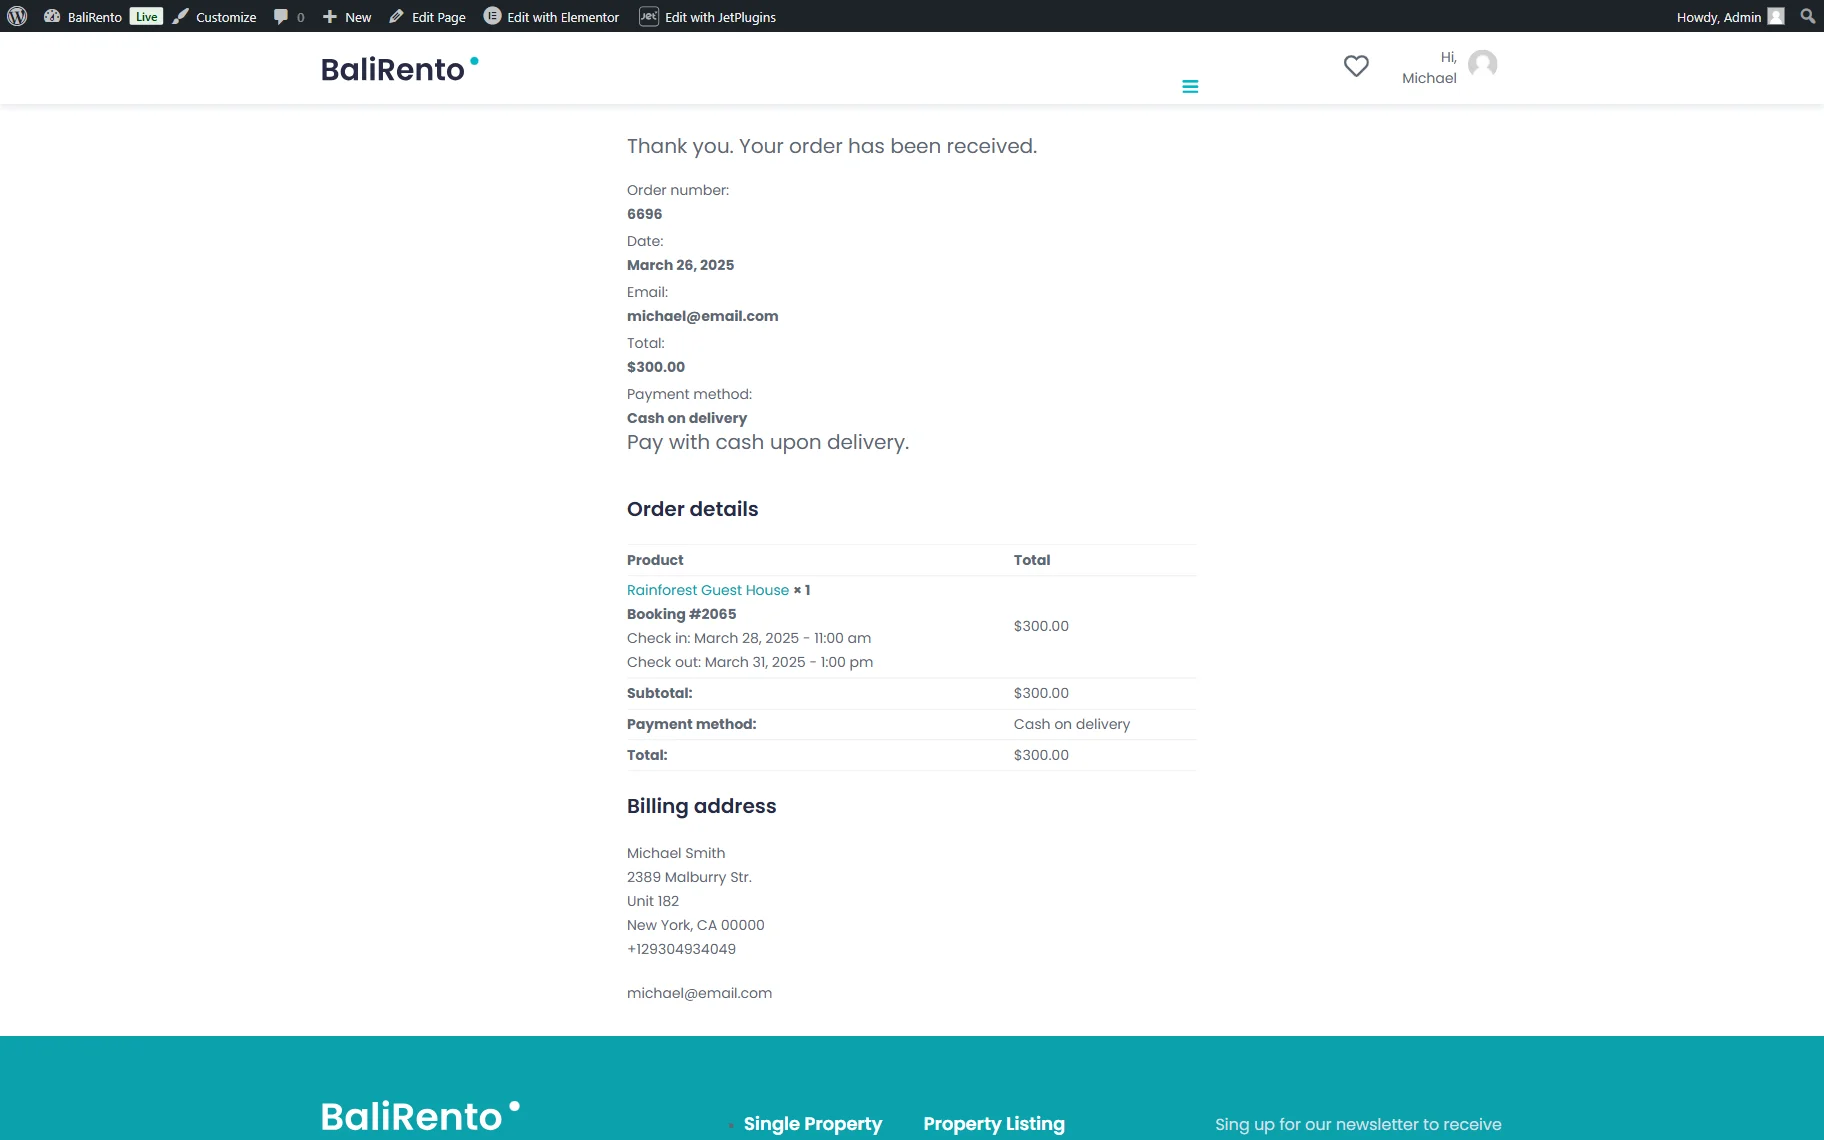
After the booking is made, the information can also be observed on the Thank You page.
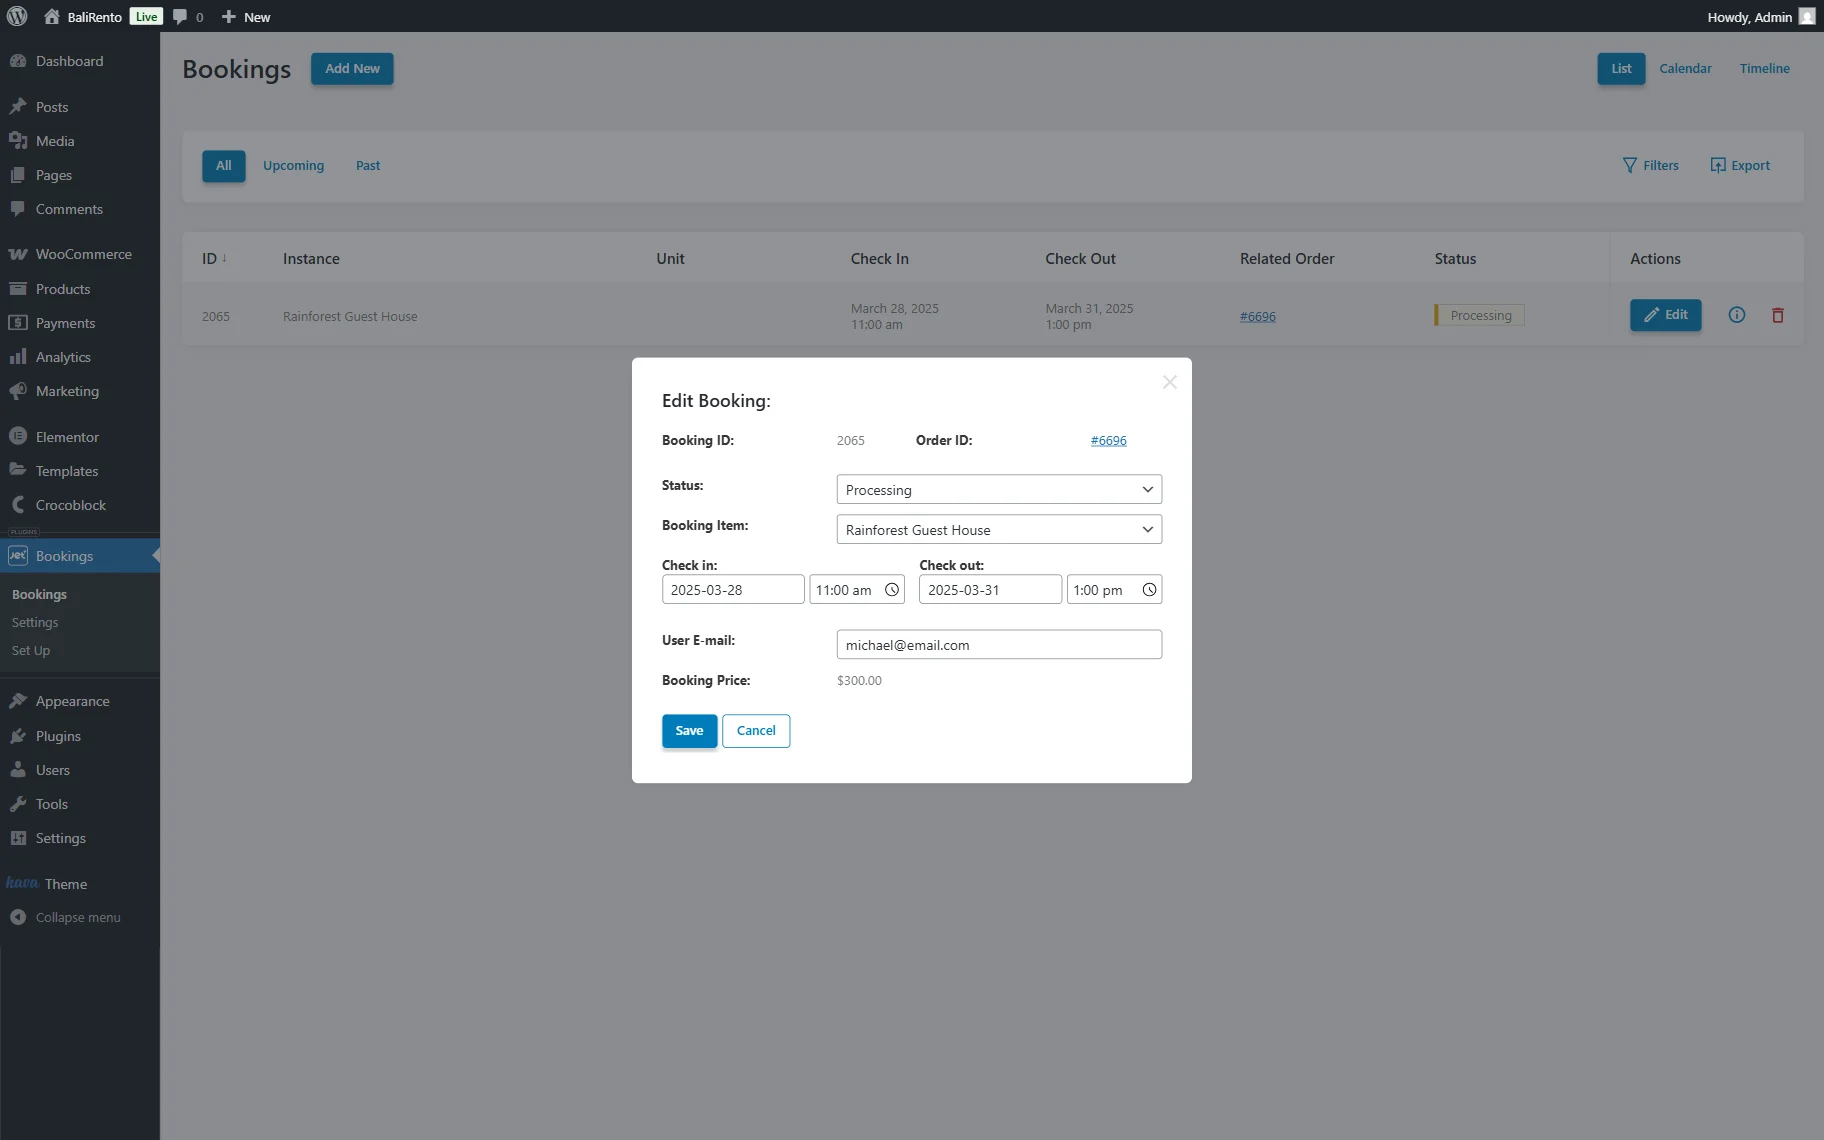
Let’s check the booking on the back end.
To do so, head to WordPress Dashboard > Bookings, find the booking you have just made, and press the “Edit” button.

In the opened Edit Booking pop-up, you will see the check-in and check-out details with the timepicker as well. These can be changed and saved if needed.
That’s all about managing the timepicker for check-in/check-out in WooCommerce-based mode of the JetBooking plugin for WordPress.