How to Use Price List Widget
This tutorial reveals the whole process of adding and customizing the Pricing List widget in the Elementor page builder.
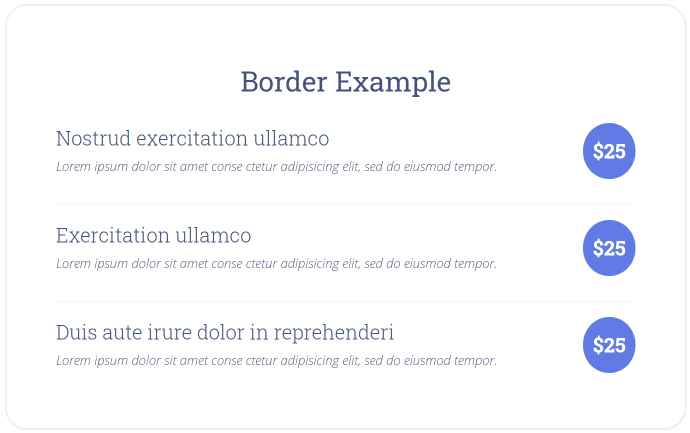
The JetElements Price List widget for Elementor provides a stylish way to display products and services with the corresponding prices. You will definitely need it if you sell anything via the Internet or want to create pricing for specific services or projects.

Add the Price List Widget to the Page
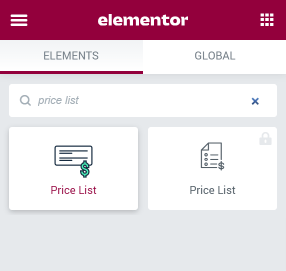
Go to the website’s dashboard and open the page where you need a price list with the Elementor page builder. Find the Price List widget, and drop it into a new section. If you have two or three columns inside the section, you can add several pricing lists. Thus you’ll be able to display more items and let the visitors compare the lists.

Add Price List Items
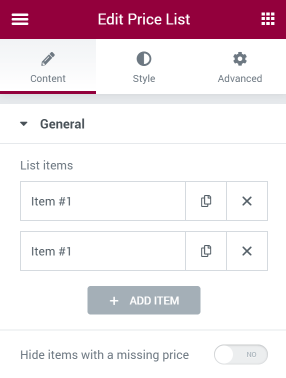
Navigate to the Content > General menu section. Each option on the list is added manually as an item. Here you can add as many items as you need by clicking the “Add Item” button.

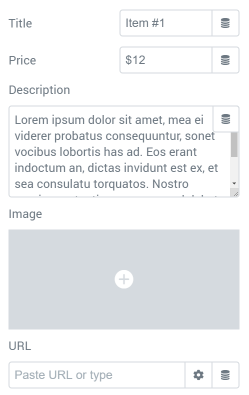
Fill in the Title, Price, and Description fields. Upload the Image and add the URL addresses if you want your visitors to get redirected every time they click an image.

Style the Price List Up
Move on to the Style menu tab. Here you can change the appearance of the price list. You can add a background picture, change forts and colors, use icons, and create a design that suits your needs best. If you need some inspiration – go and take a look at the price list examples.
When you are done with the Price list widget – click the “Update” button and check how the result will look like on the front end.
The price list is finally complete. Now you can display the benefits of your services and products using the simple and stylish Price list widget.