How to Add a Contact Form 7
This step-by-step tutorial will take you through the process of adding the contact form to your website using the Contact Form 7 widget of the JetElements plugin.
A contact form is a vital element of any site. That’s why there are so many plugins for contact forms in the WordPress directory. One of the most well-known plugins is Contact Form 7. It allows you to create versatile forms and it is completely responsive and customizable within the Contact Form 7 widget of JetElements plugin.
So, before we start, please, make sure you have Contact Form 7 and JetElements plugin installed and activated.
1 Step — Building a contact form
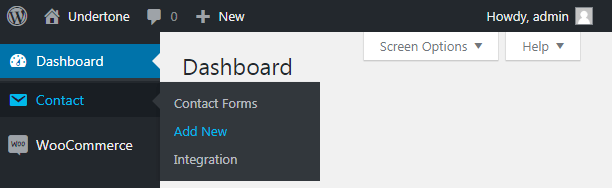
Open your WordPress Dashboard and go to Contact > Add New.
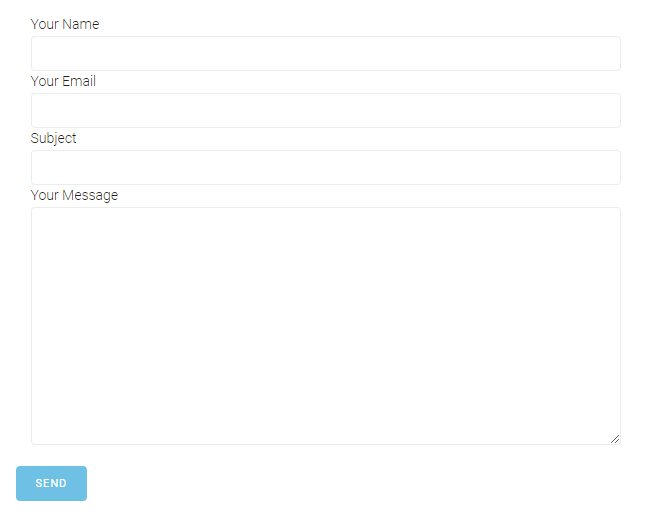
In the Form tab panel, you can see a form template where there is Your Name field, Your Email field, Subject field, Your Message field, and the Send submit button. This is the classic contact form. You can edit it using the tag-generator tools. If you need any extra help, read a tutorial on Editing Form Template.
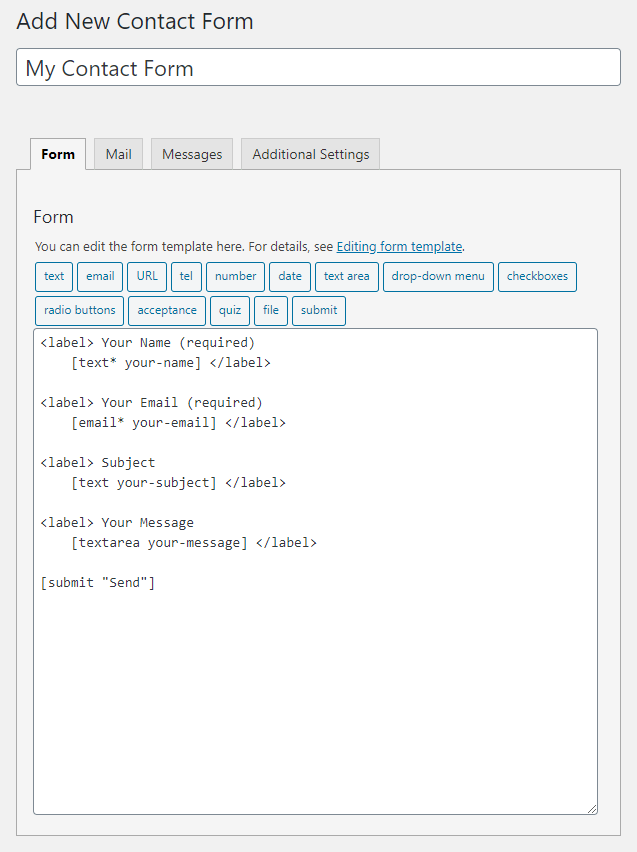
Give your contact form a name by typing it in the Title field. In case you want to customize the Mail template, the Messages, or some Additional Settings, look through the corresponding tabs.
When you are done, scroll down to the bottom of the page and click the “Save” button to save all the changes.
2 Step — Adding the contact form to your page
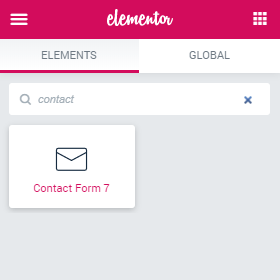
Open the page where you want to add your contact form to with Elementor page builder. Find the Contact Form 7 widget, then drag and drop it to the page.
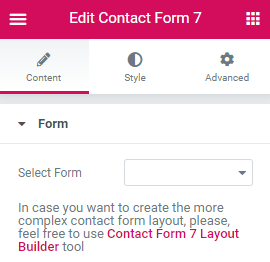
The next step is to select the form template in the drop-down list.
As you can see the form is totally white.
Click the “Edit Section” option and open the Style tab in the left-side menu.
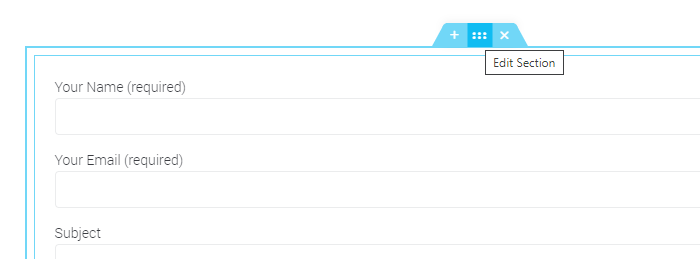
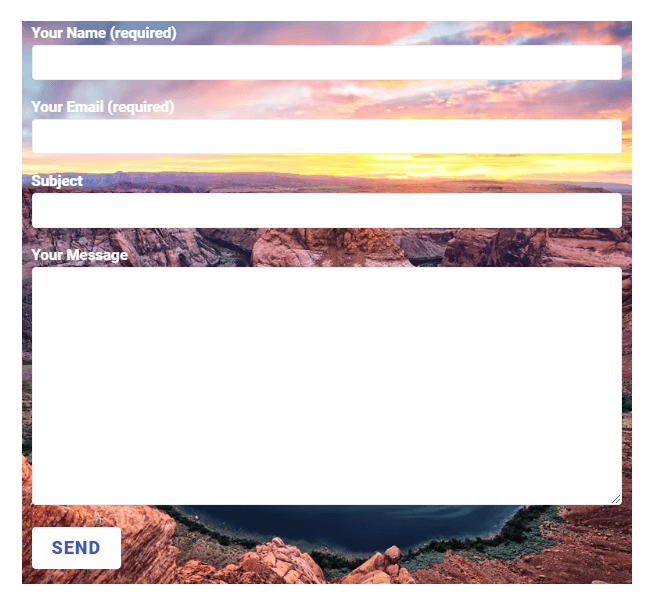
In the Background accordion block of the Style tab, you can decide if you want the background to be an image, a video, or a gradient. This is an example of what you could create:

Finally, go back to the Contact Form 7 widget settings, open the Style tab, and style up the contact form. For example, like that:
In the end, click the “Publish” button at the very bottom of the Elementor panel.
So now you should be afraid of nothing when it comes to creating a contact form!