How to Create an Instagram Access Token
Learn how to obtain an Instagram access token to display Instagram photos dynamically on your WordPress website using the Instagram widget of the JetElements plugin for Elementor.
Before you start, check the tutorial requirements:
- Elementor (Free version) installed and activated
- JetElements plugin installed and activated
- Meta for Developers and Instagram Professional (Business) accounts created
General Features
The Instagram Access Token is a string of characters unique to users’ accounts, allowing other applications to access Instagram content. Without a token, websites cannot connect with the Instagram servers. The token furnishes a secure way for a website to ask Instagram permission to enter the user’s profile.
Since the Instagram policy is designed to display content from accounts authorized through Meta, an Instagram Access Token is required to verify ownership of the account and allow the website to retrieve its content securely.
Obtain an Instagram Access Token
To connect your Instagram account to JetElements, you first need to create a Meta application and generate an access token. The following steps describe how to create an app, configure the required permissions, connect your Instagram Professional account, and generate a token that will later be added to the JetElements settings.
Add a new app
Log in to your Meta for Developers account.
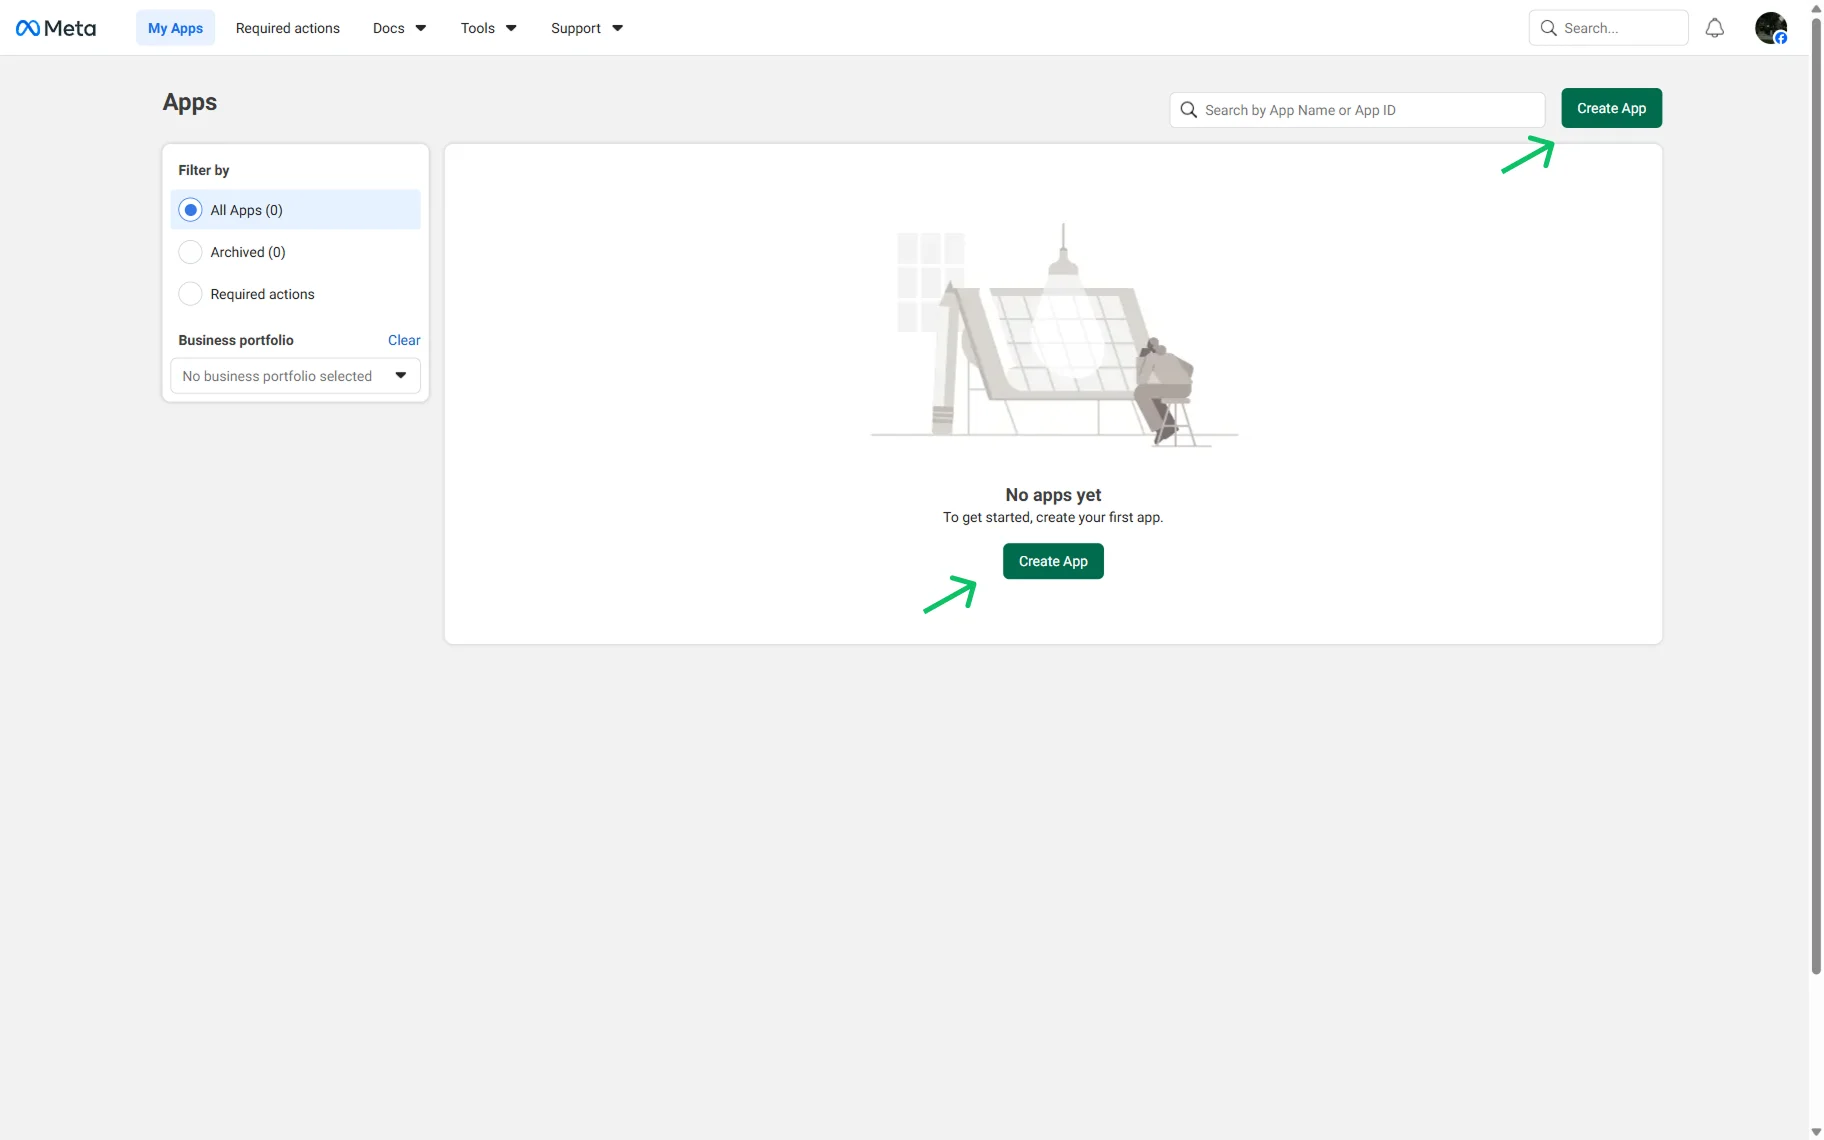
The “Create App” button will appear in the center of the dashboard (if you have not created any apps yet). Press the “Create App” button.
After that, the Create an app window will appear. Here, fill out the App name field (the “tester-croco-key” text, in this case) and the App contact email field.
Press the “Next” button.
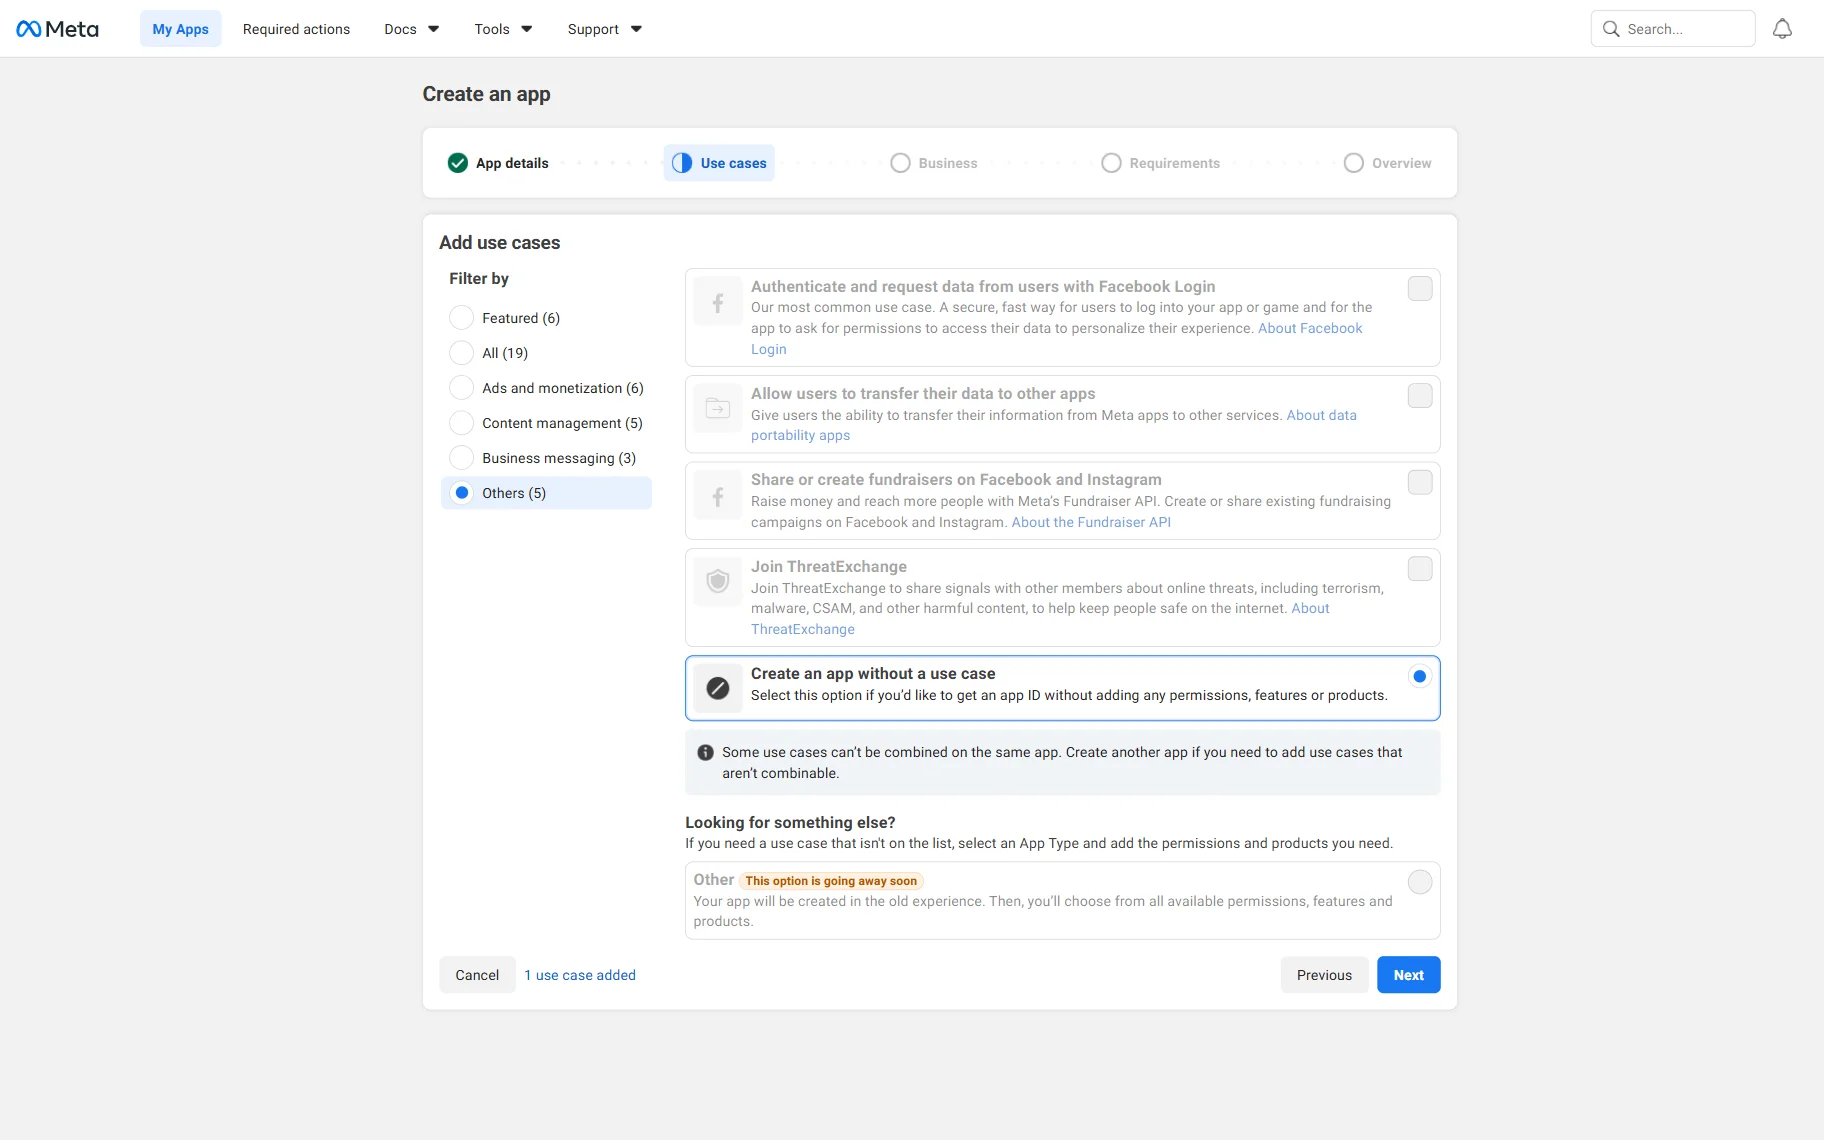
Open the Others tab in the Add use cases section and pick the “Create an app without a use case” option. This option allows us to create a blank application and configure only the features required for Instagram content access.
Press the “Next” button.
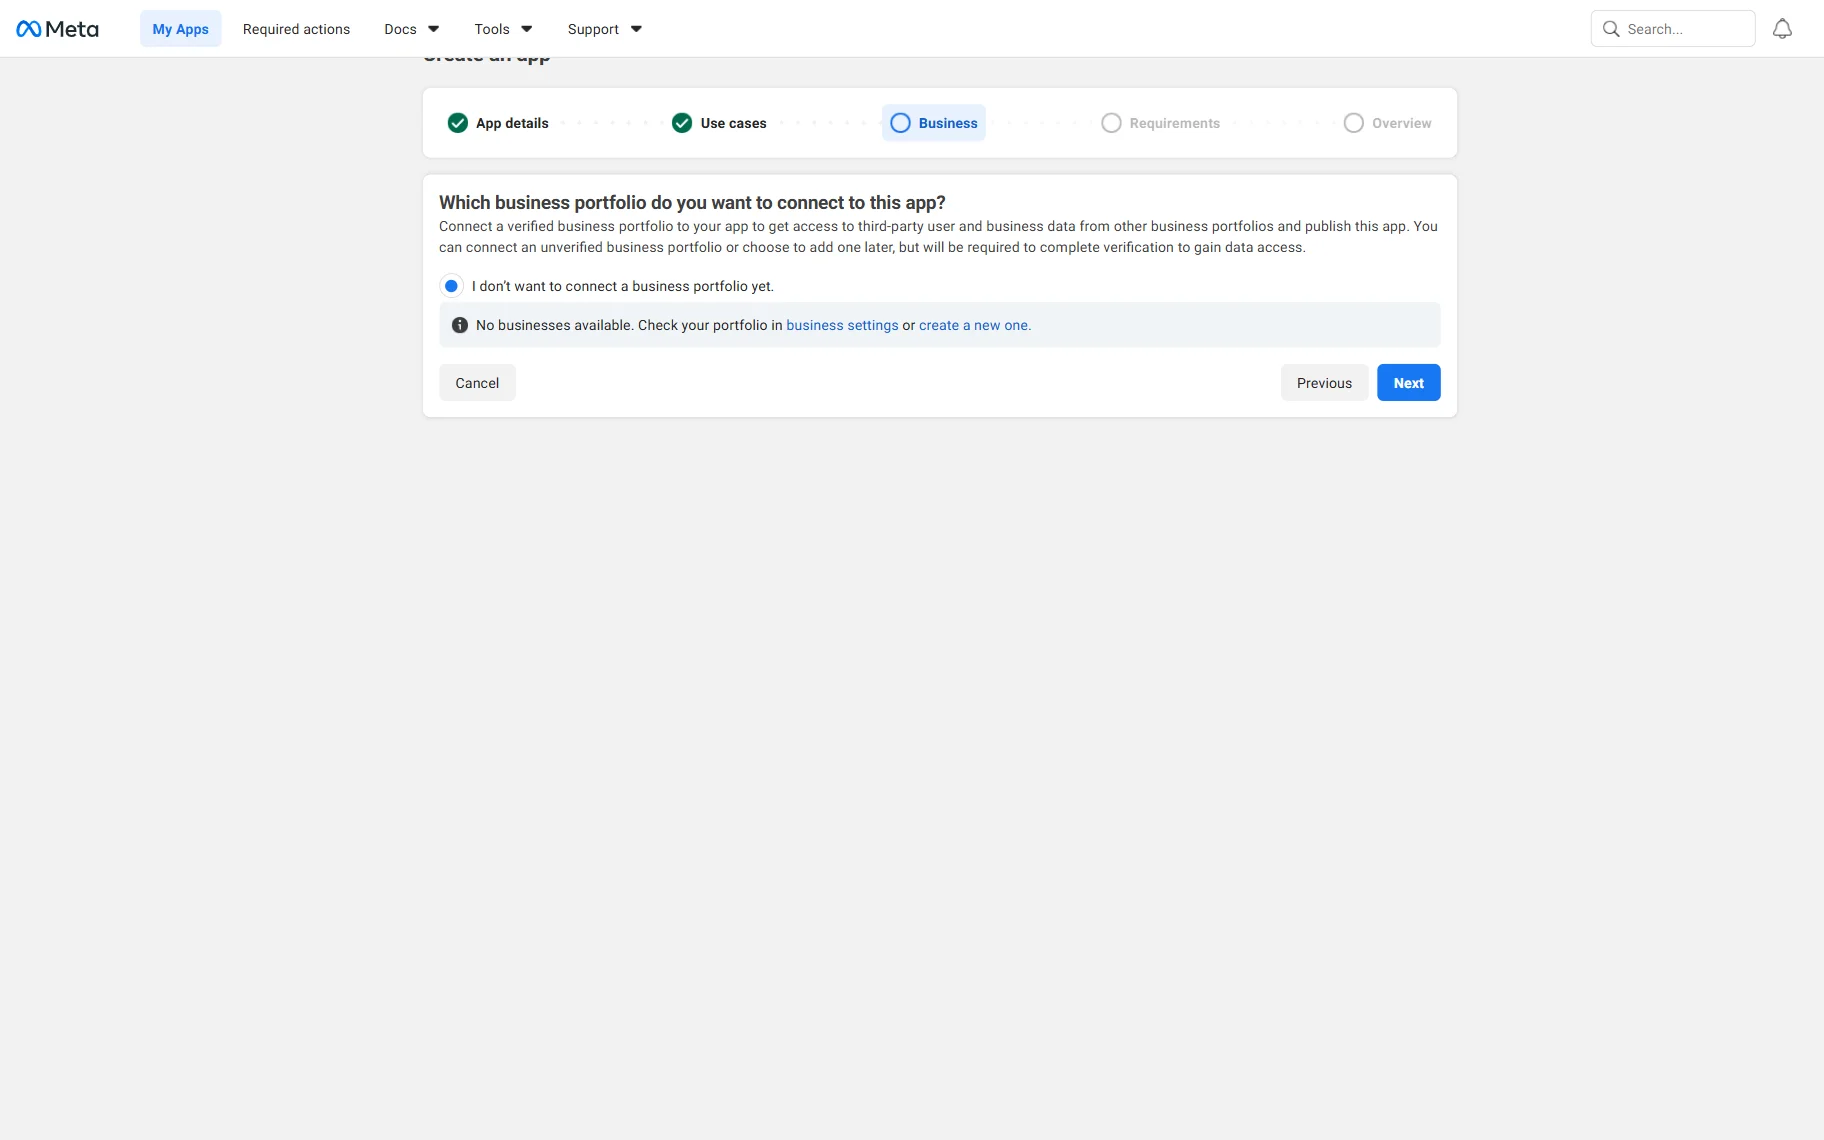
Next, you will be redirected to the Business step. Here, you can connect a business portfolio to this app. If you don’t have a business portfolio, you can create one here as well.
Since generating an Instagram access token does not require a connected business portfolio, select the “I don’t want to connect a business portfolio yet” option and press the “Next” button. If needed, a portfolio can be connected later.
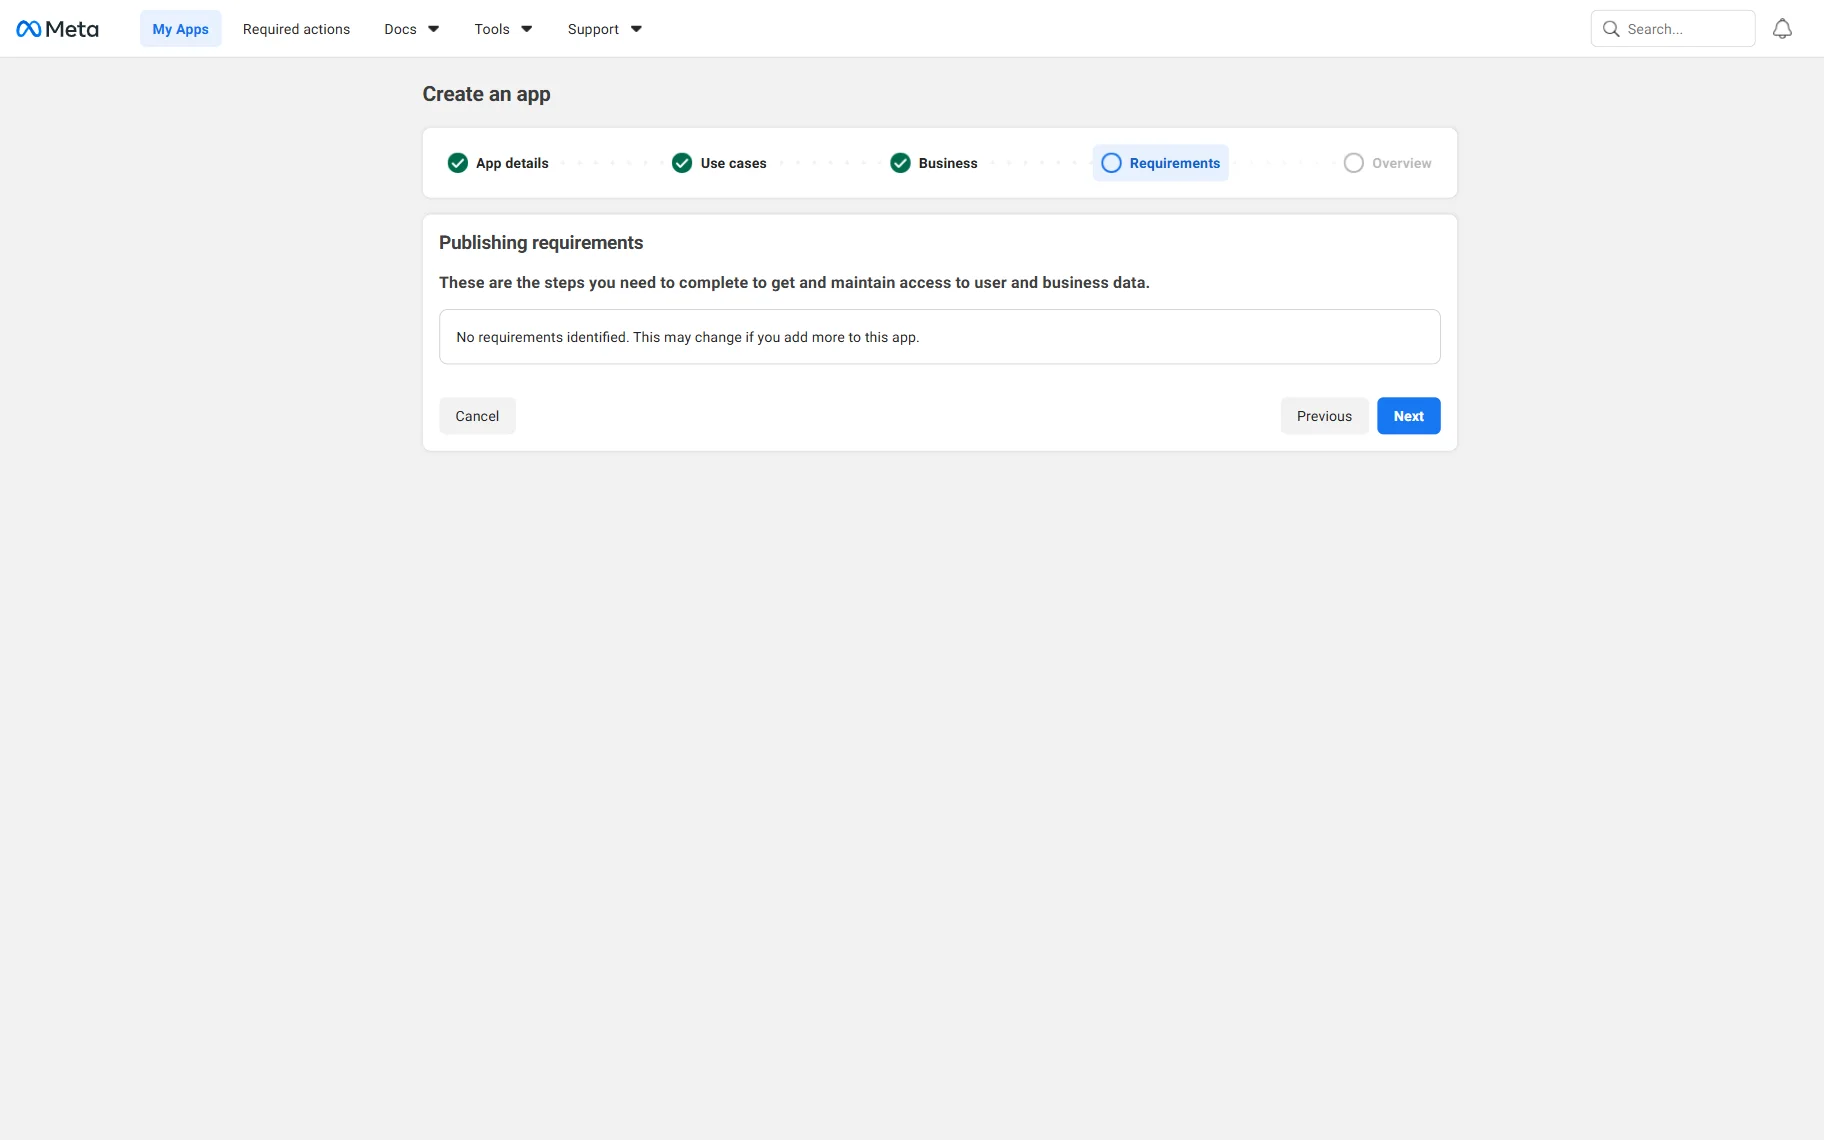
The Publishing requirements step outlines additional requirements that may be necessary for apps requesting access to certain types of user or business data. Since the app is being configured to generate an Instagram token, no additional actions are required at this stage.
Press the “Next” button to continue.
Ultimately, you will be redirected to the Overview step. Review the app details shown on this screen and press the “Create app” button to finalize the application setup.
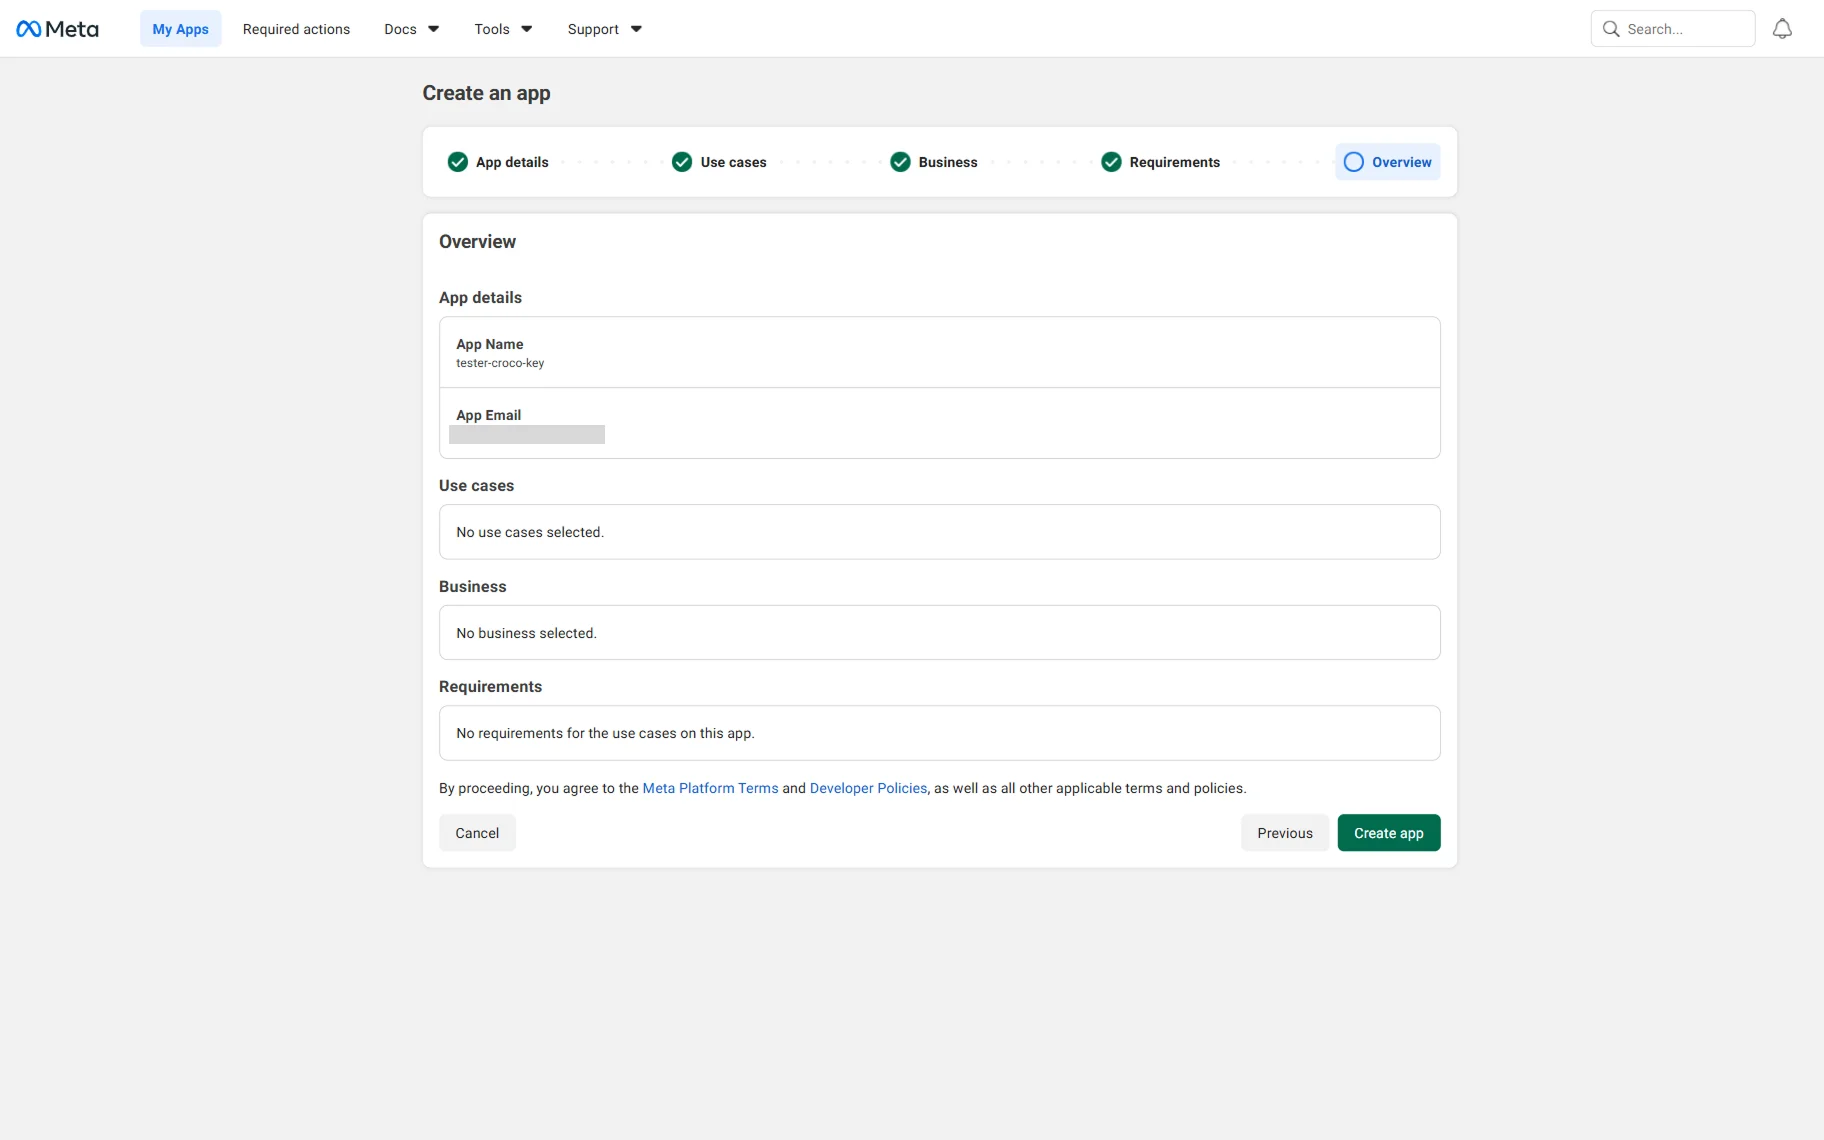
For security purposes, Meta will ask you to confirm your password. Re-enter your password and click the “Submit” button to proceed.
Configure app settings
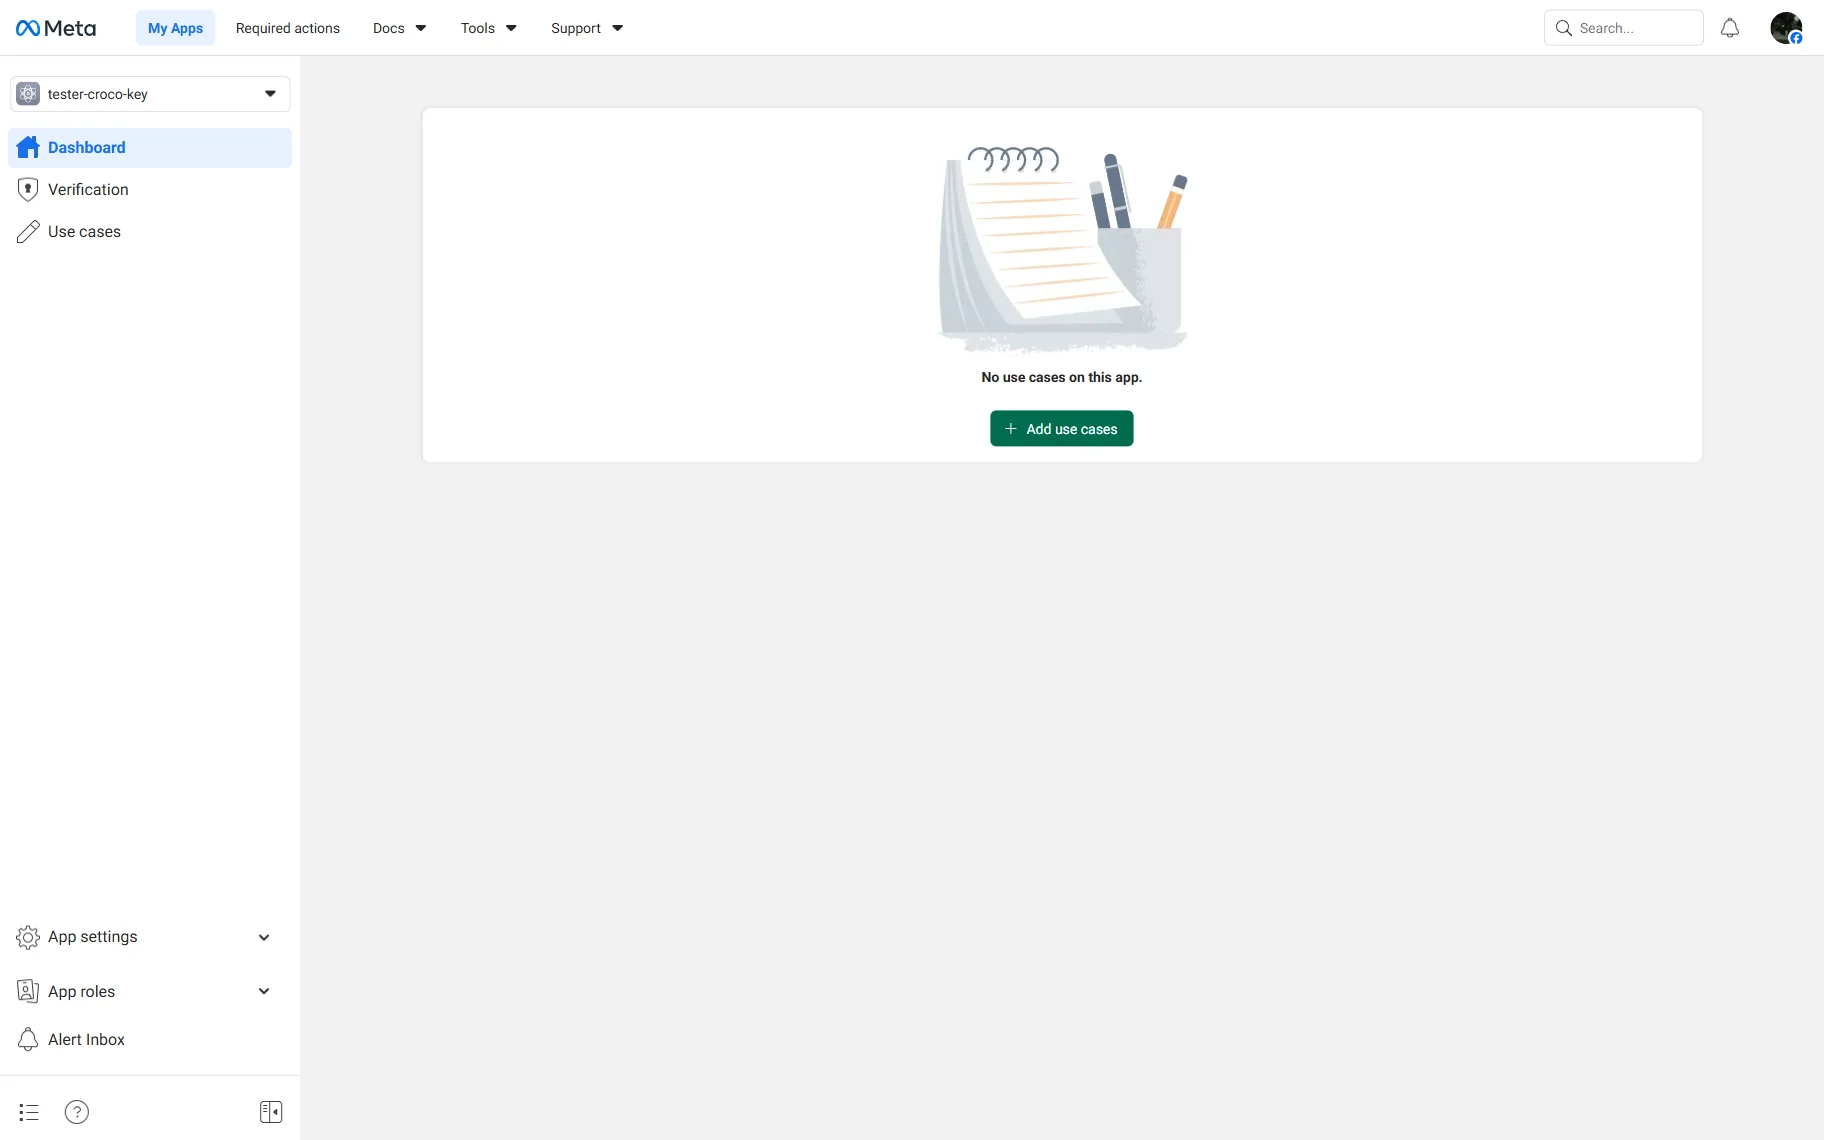
After creating the new app, you will be redirected to a page offering to add use cases to this app.
Hit the “Add use cases” button.
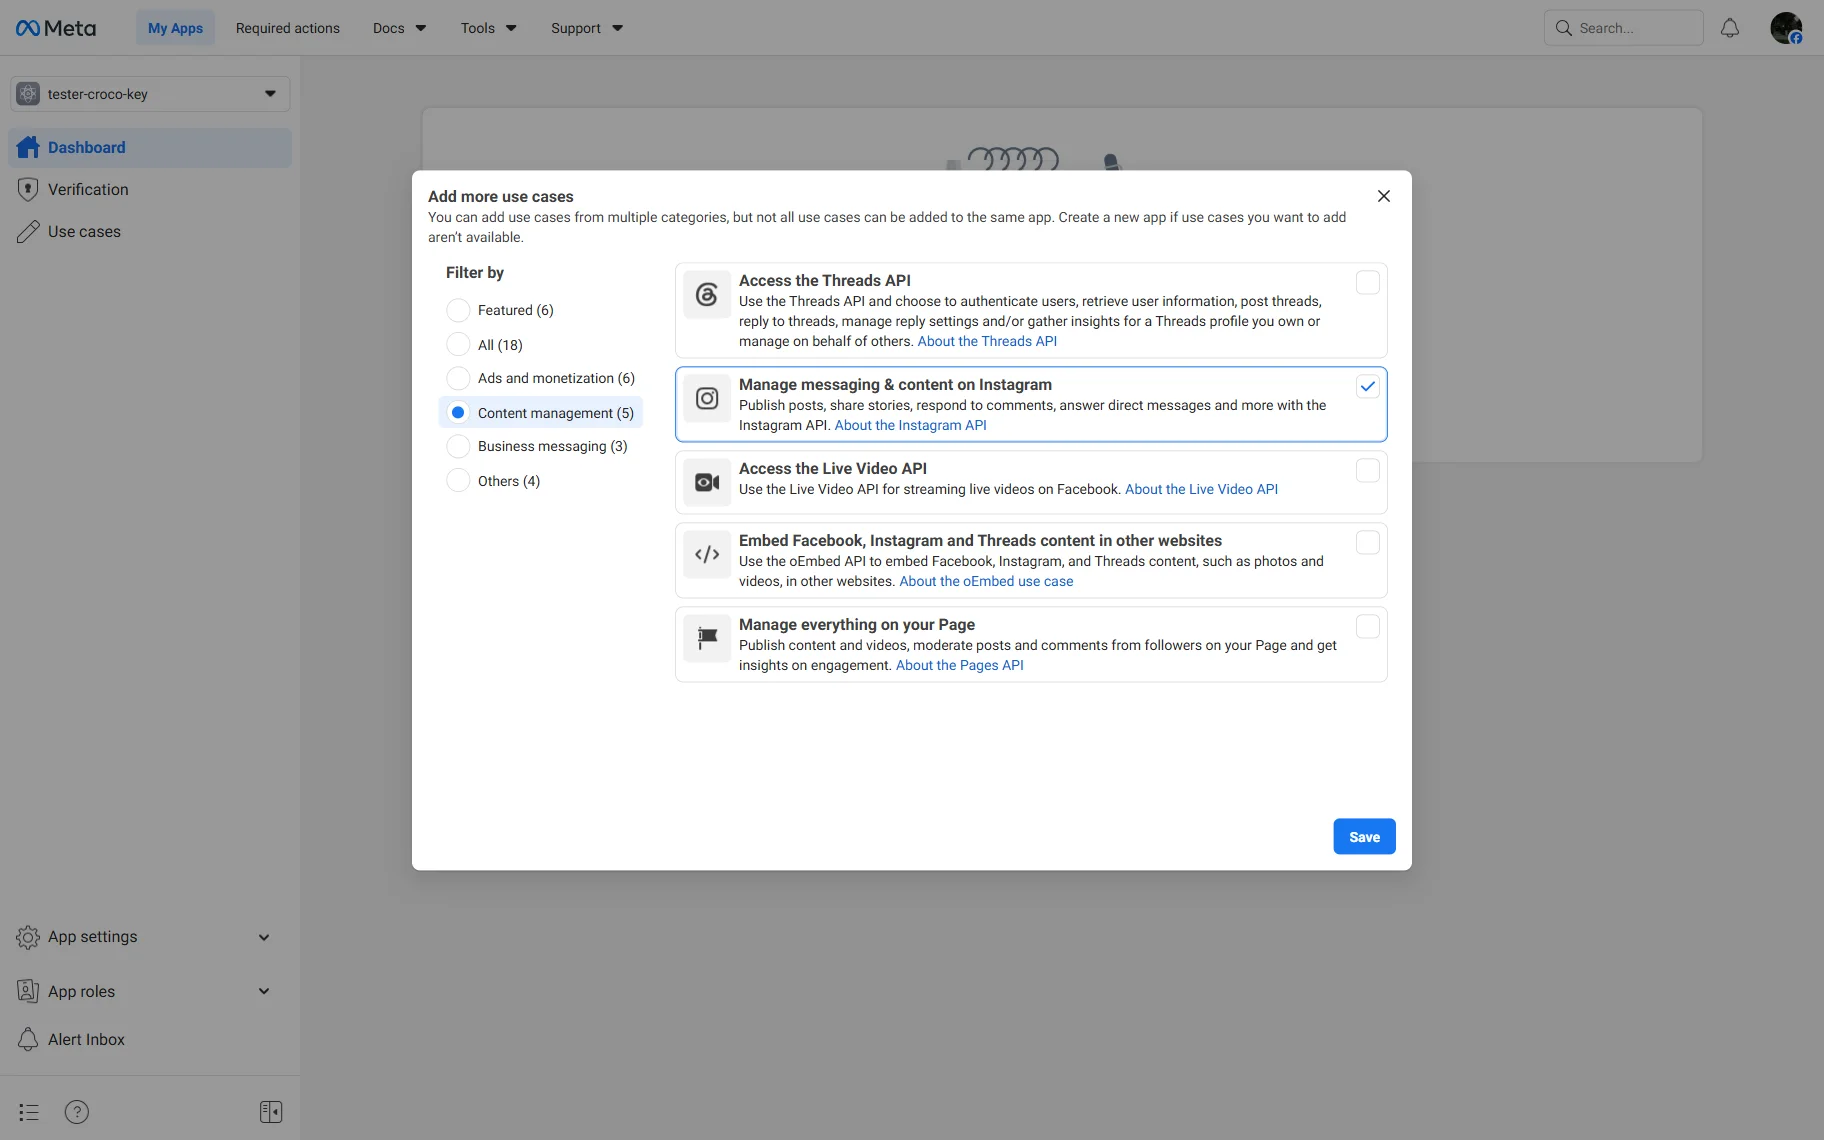
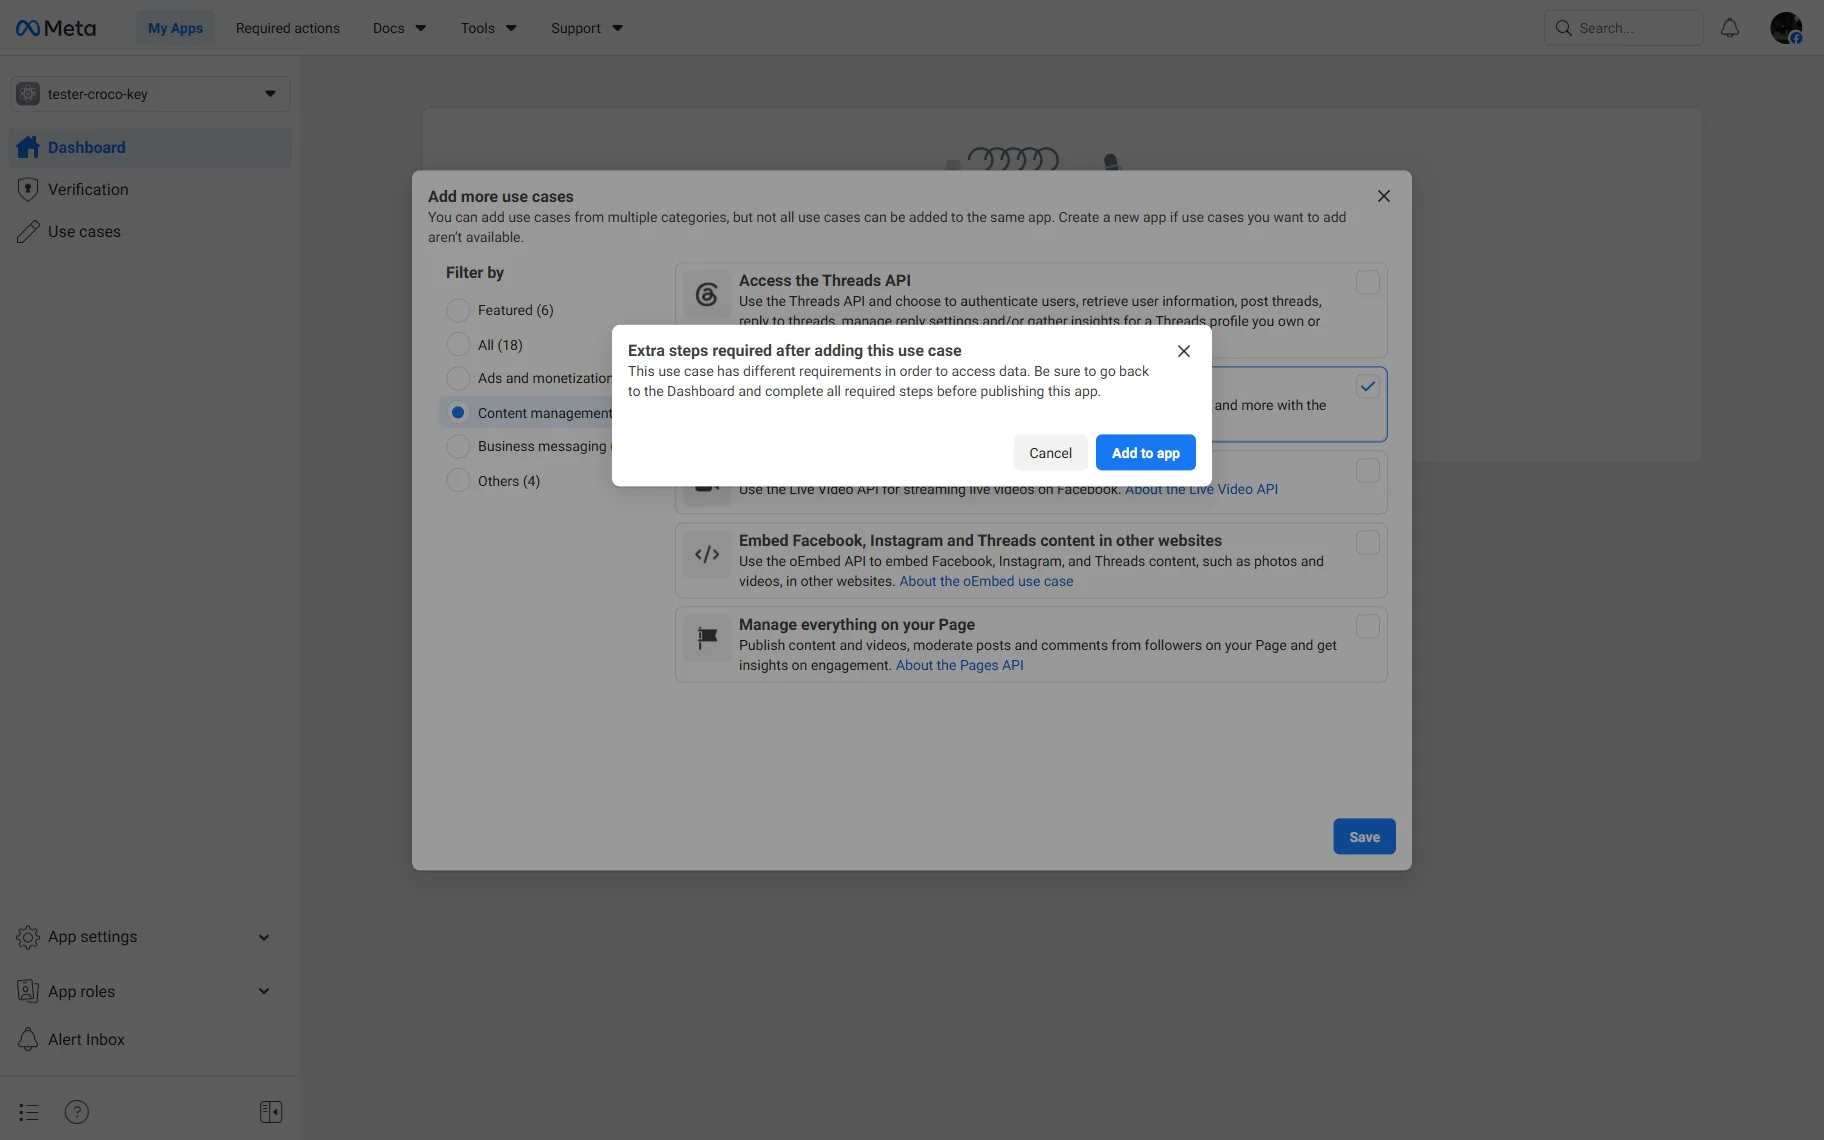
In the Add more use cases pop-up, select the “Content management” option in the filter.
Here, find and select the “Manage messaging & content on Instagram” option. Then, click the “Save” button.
You will be notified about the need to take extra customization steps, so press the “Add to this app” button to complete all required steps.
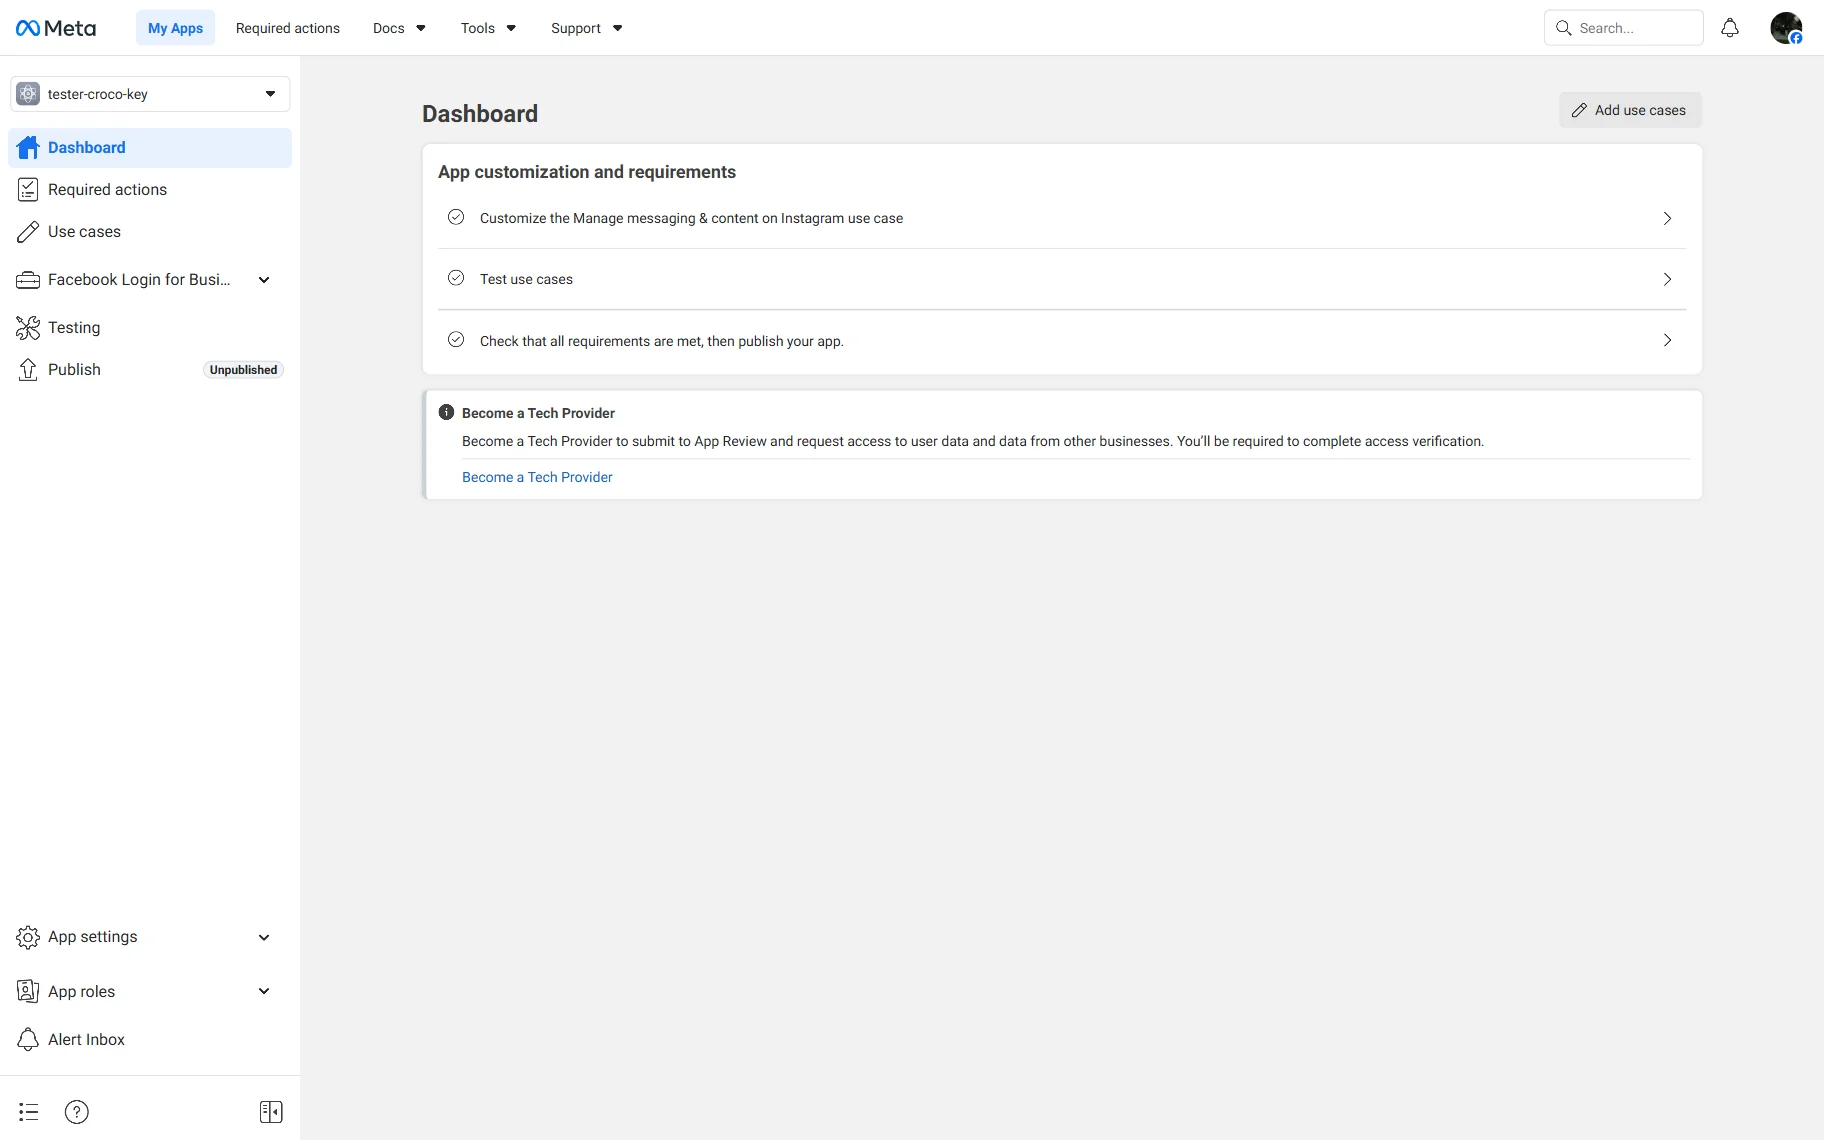
You will be redirected to the Dashboard, where the app customization and requirements can be observed.
Press the “Customize the Manage messaging & content on Instagram use case” option to proceed.
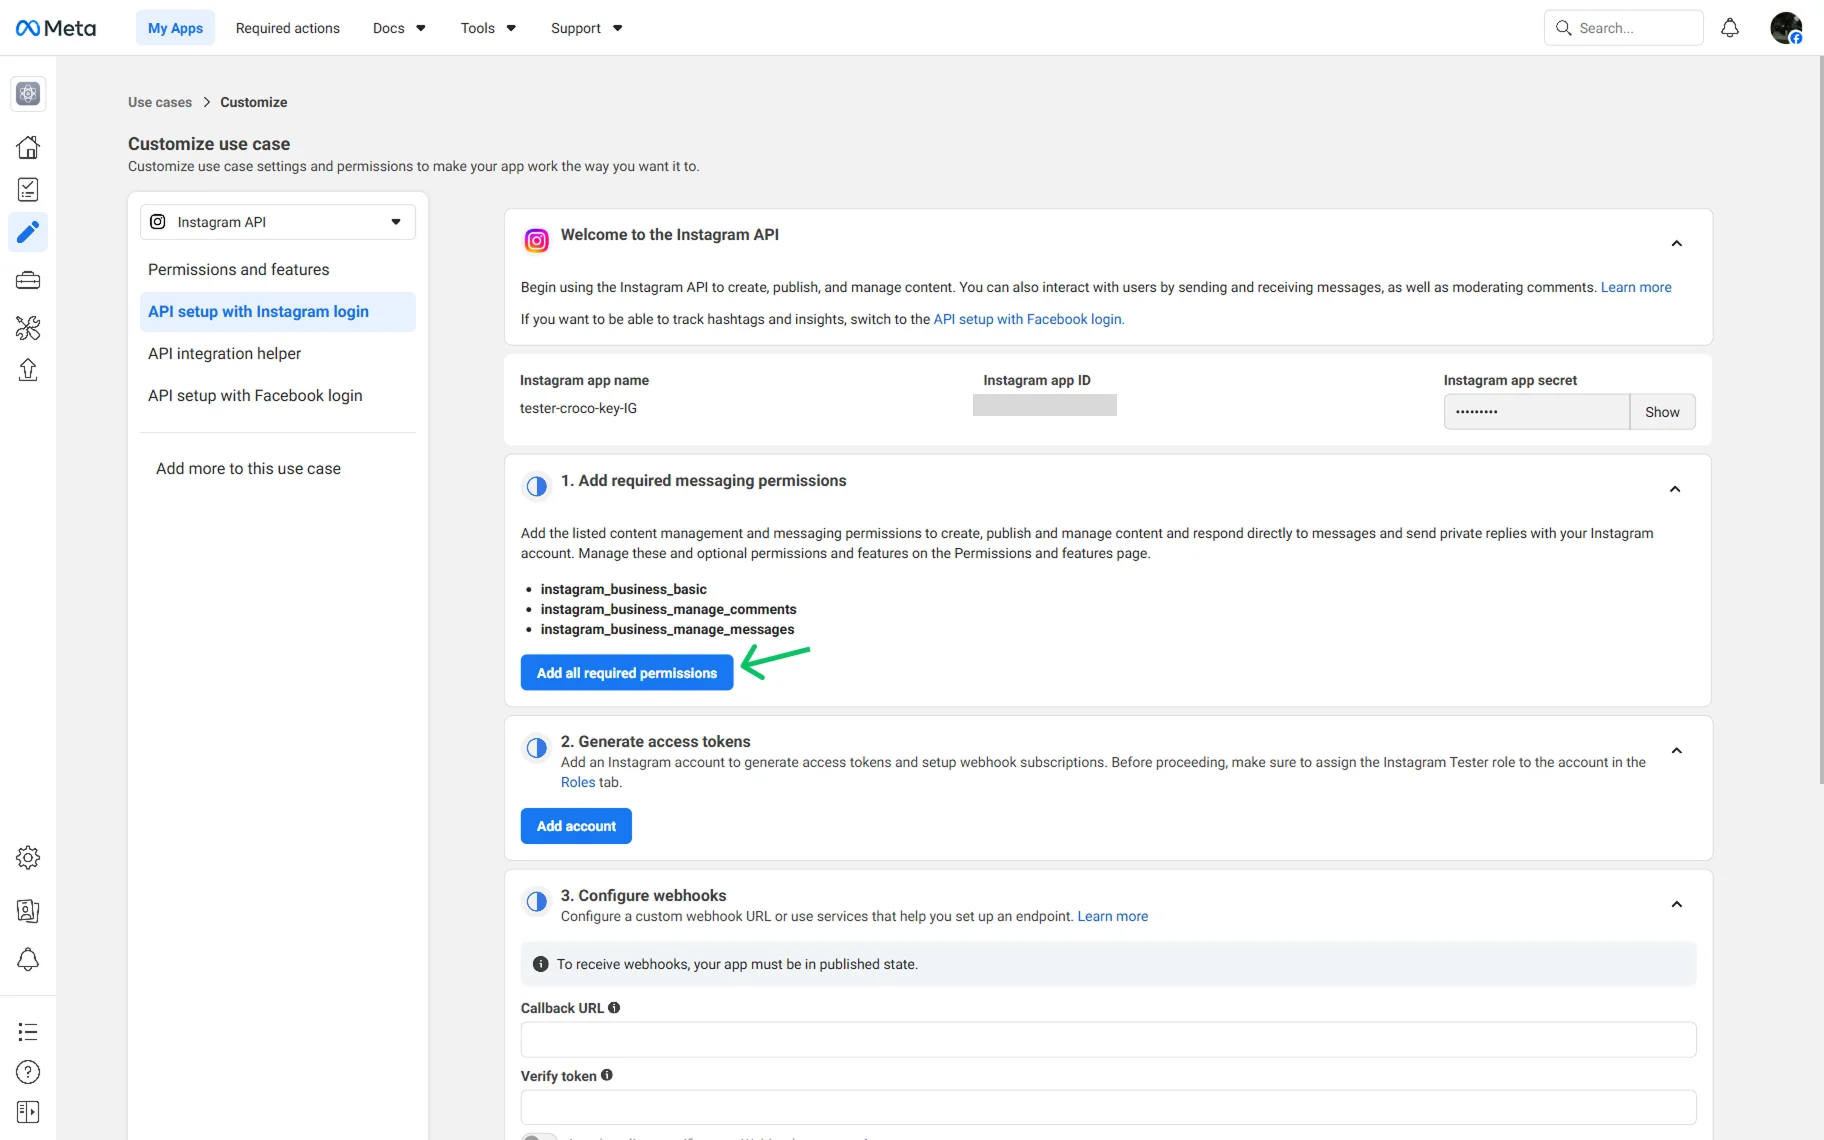
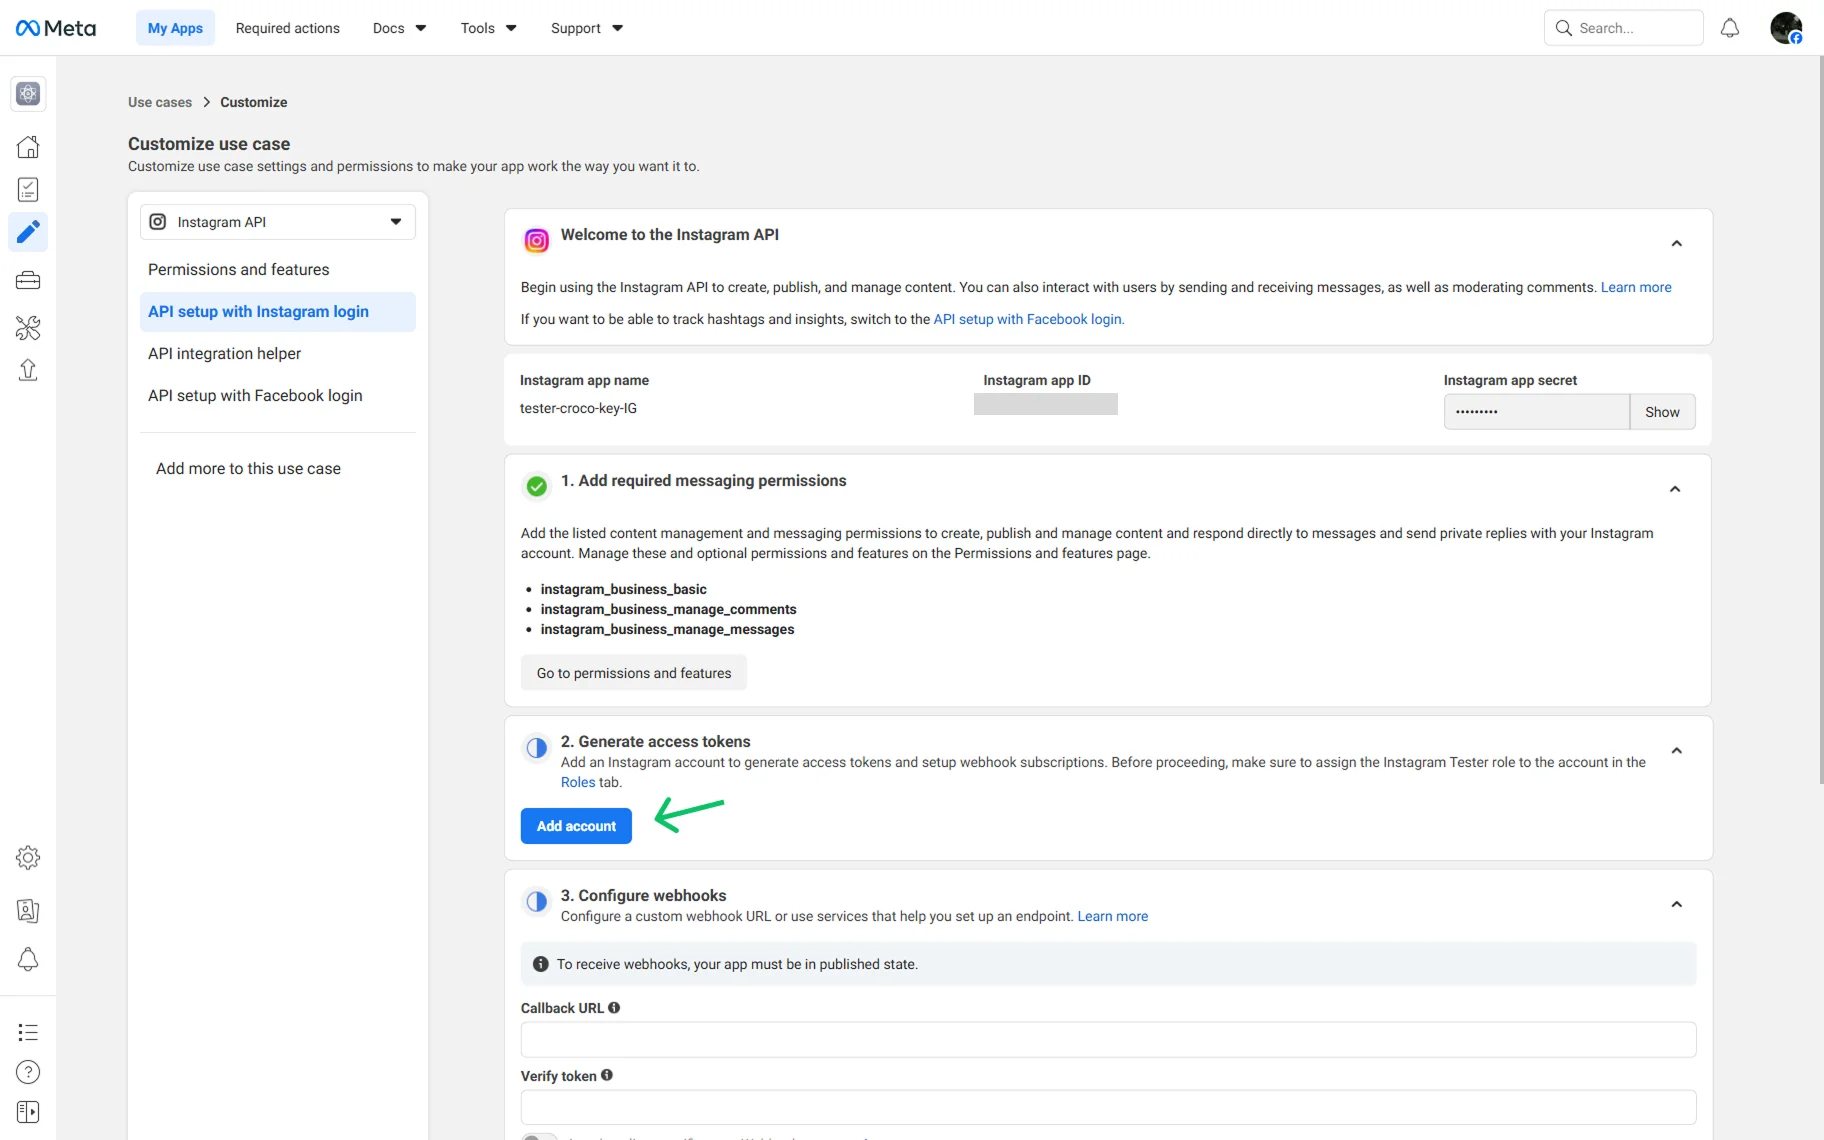
Once pressed, the API setup with Instagram business login page will open. Here, you can review the application details that Meta generated during the app creation process, including the app name, app ID, and app secret.
In the first step, click the “Add all required permissions” button. Meta automatically assigns all permissions required for this use case, so no manual permission configuration is required.
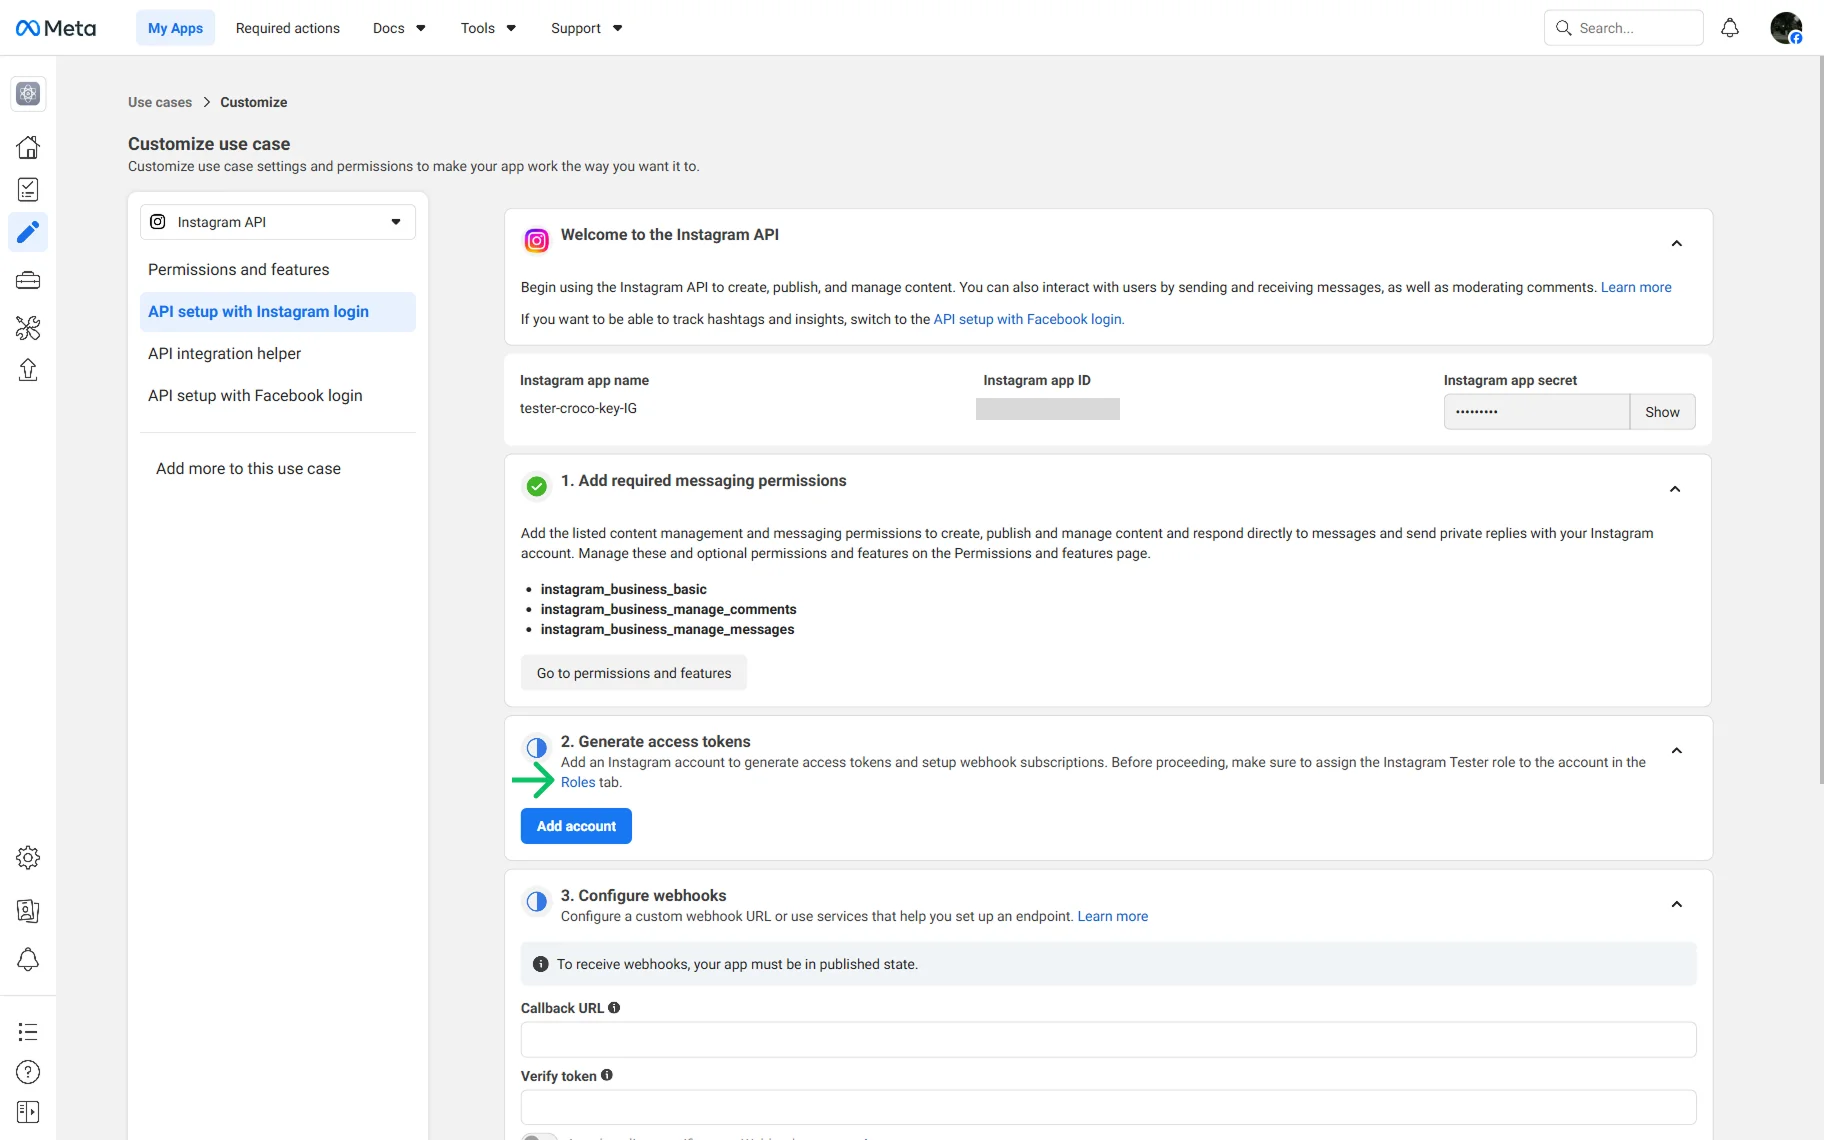
Move to the second step. First, you need to adjust the roles, so click the “Roles” link in the description.
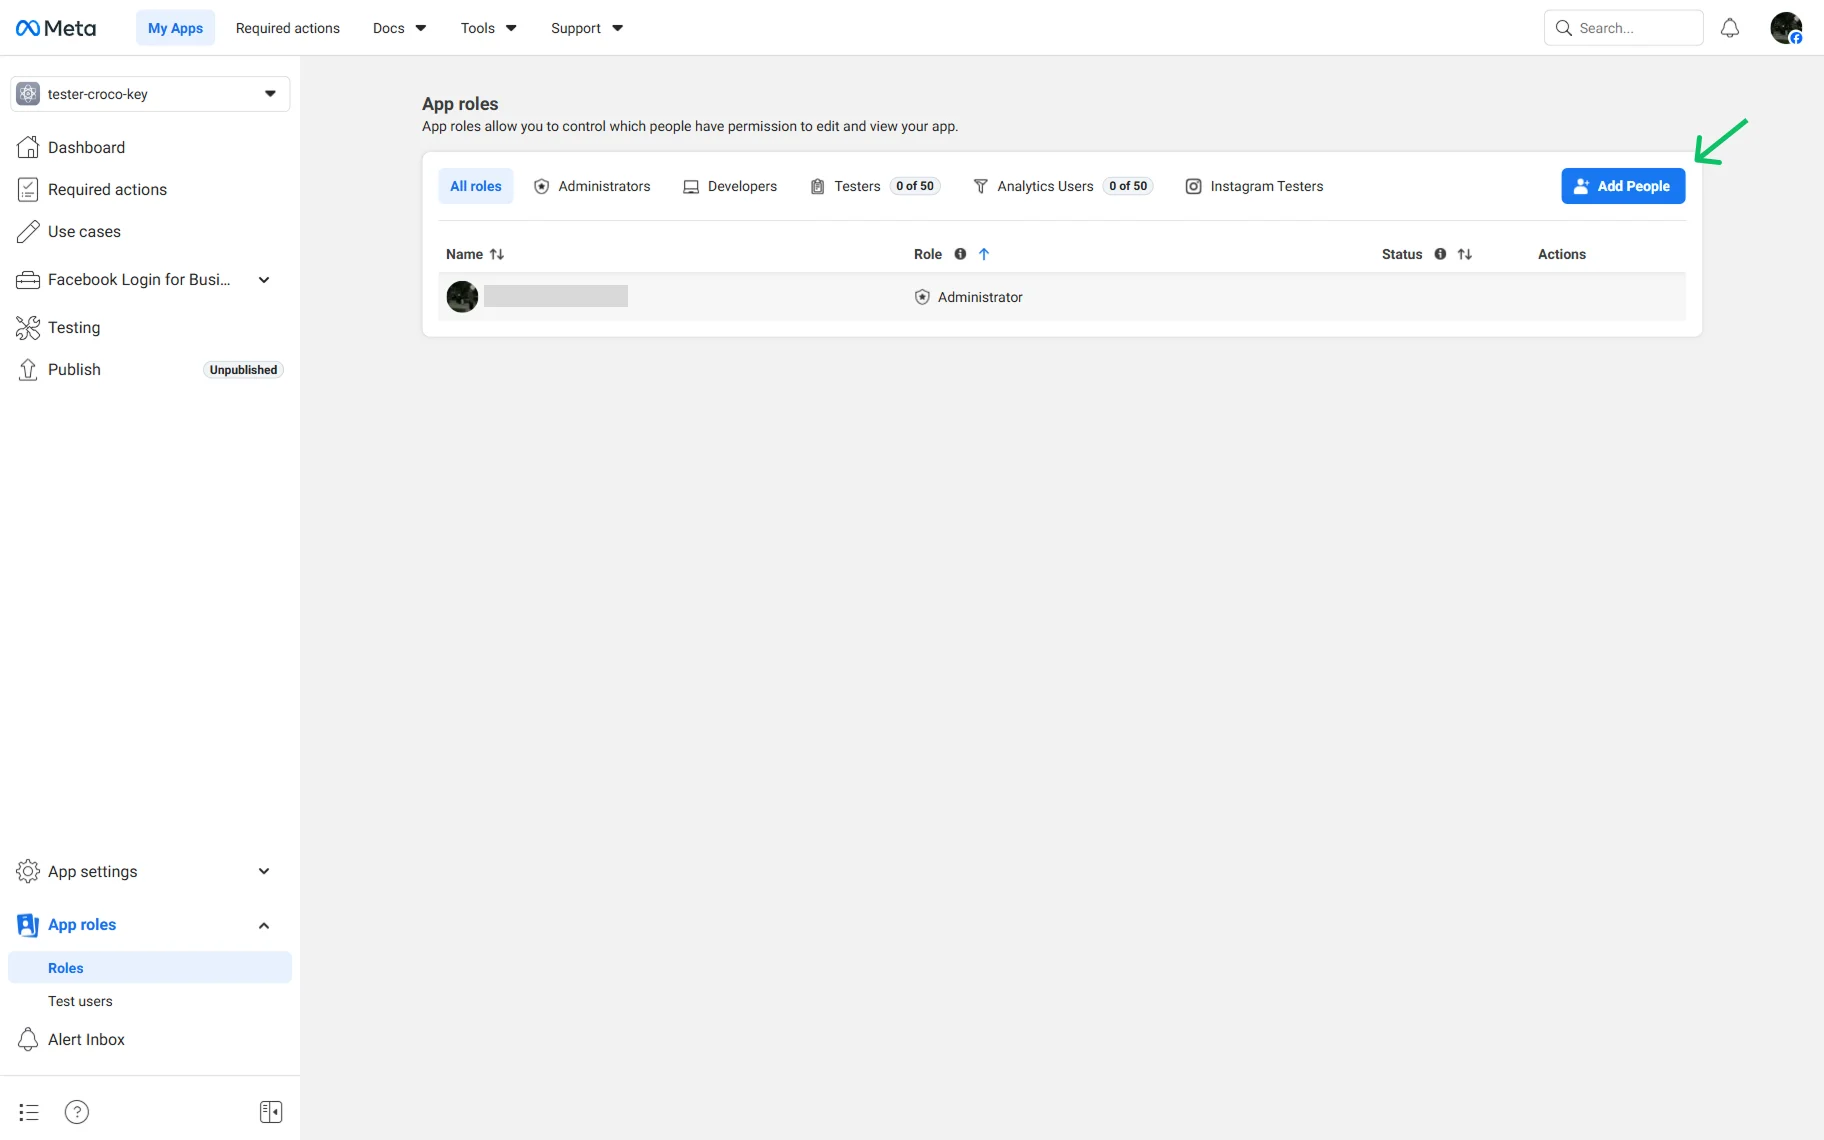
The new browser tab will open with the App roles page. Here, you will see all roles added.
Click the “Add People” button.
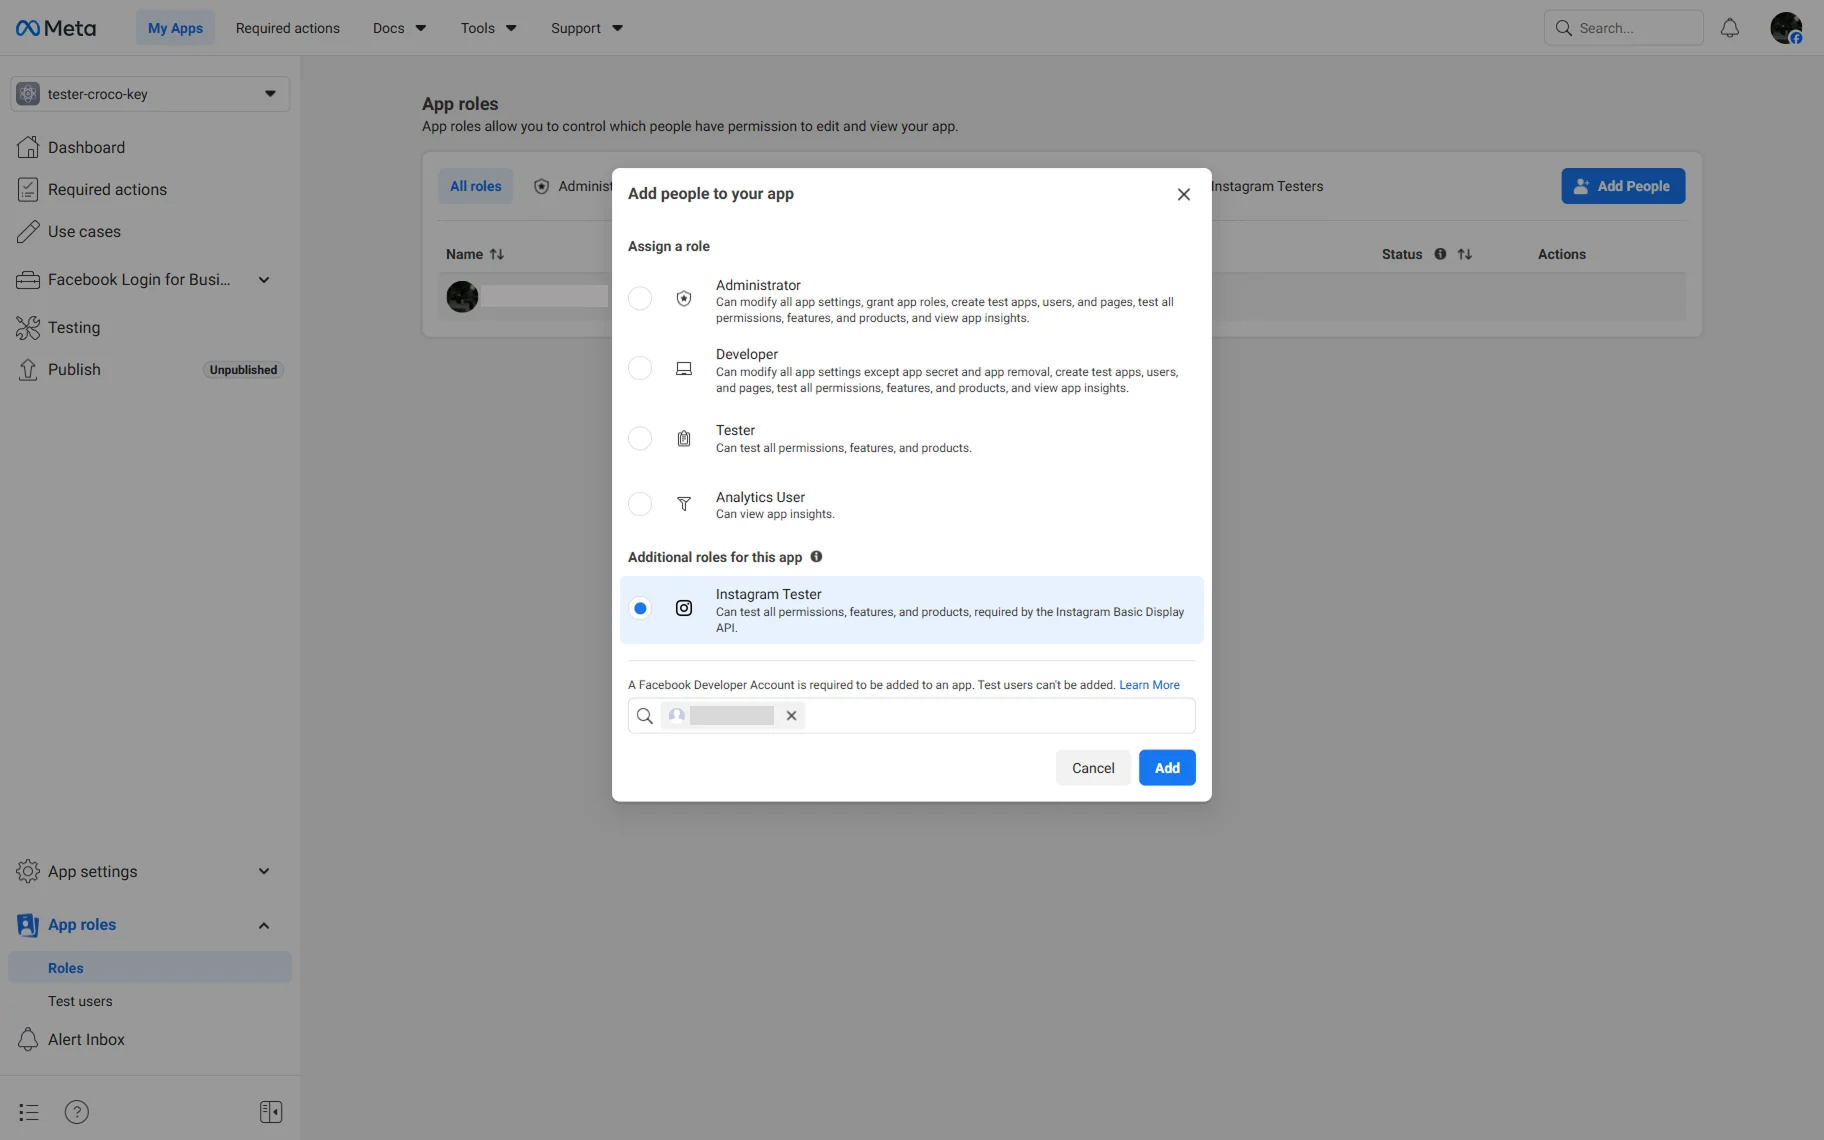
In the Add people to your app pop-up, select the “Instagram Tester” option located in the Additional roles for this app section.
When selected, you can enter the username of the needed profile in the special field.
Press the “Add” button to save the changes.
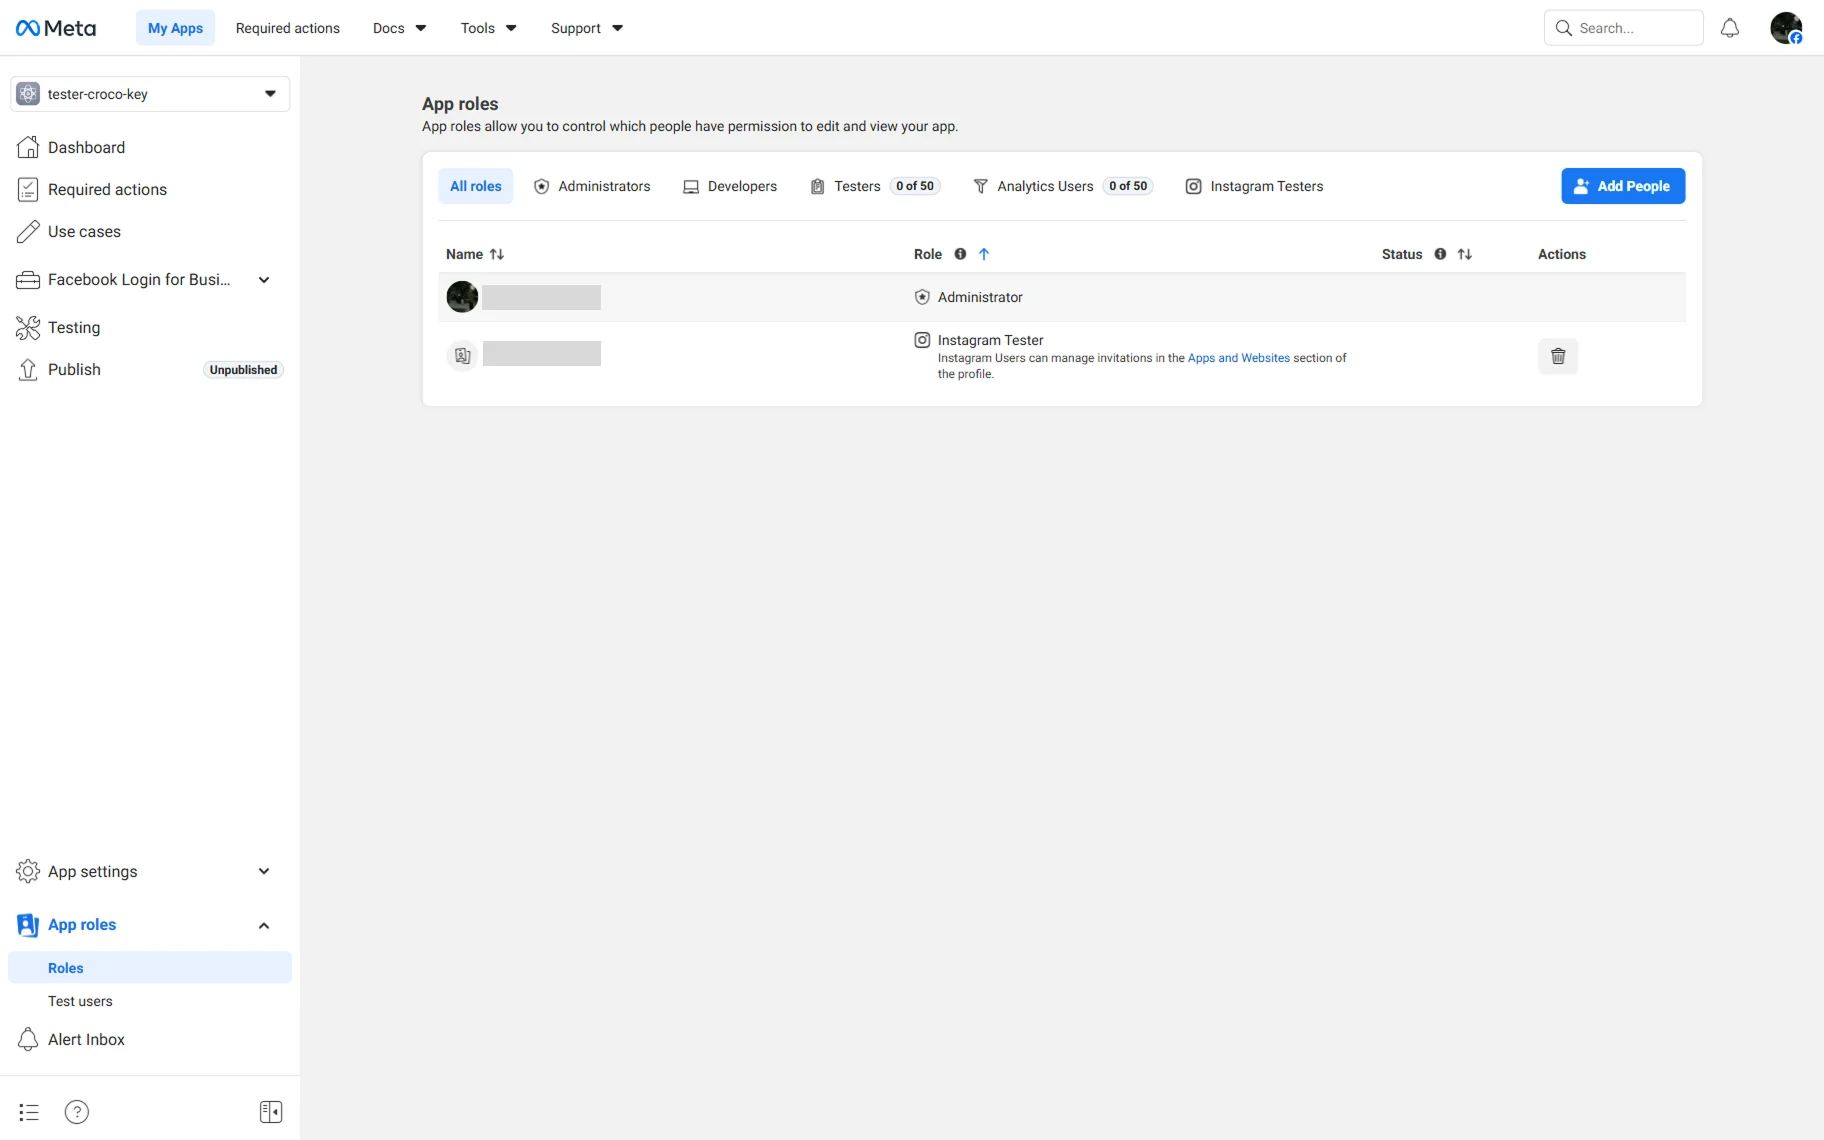
Now, the corresponding username will be added to the user roles list. It has the “Pending” status, which will become active after the invitation is accepted on Instagram.
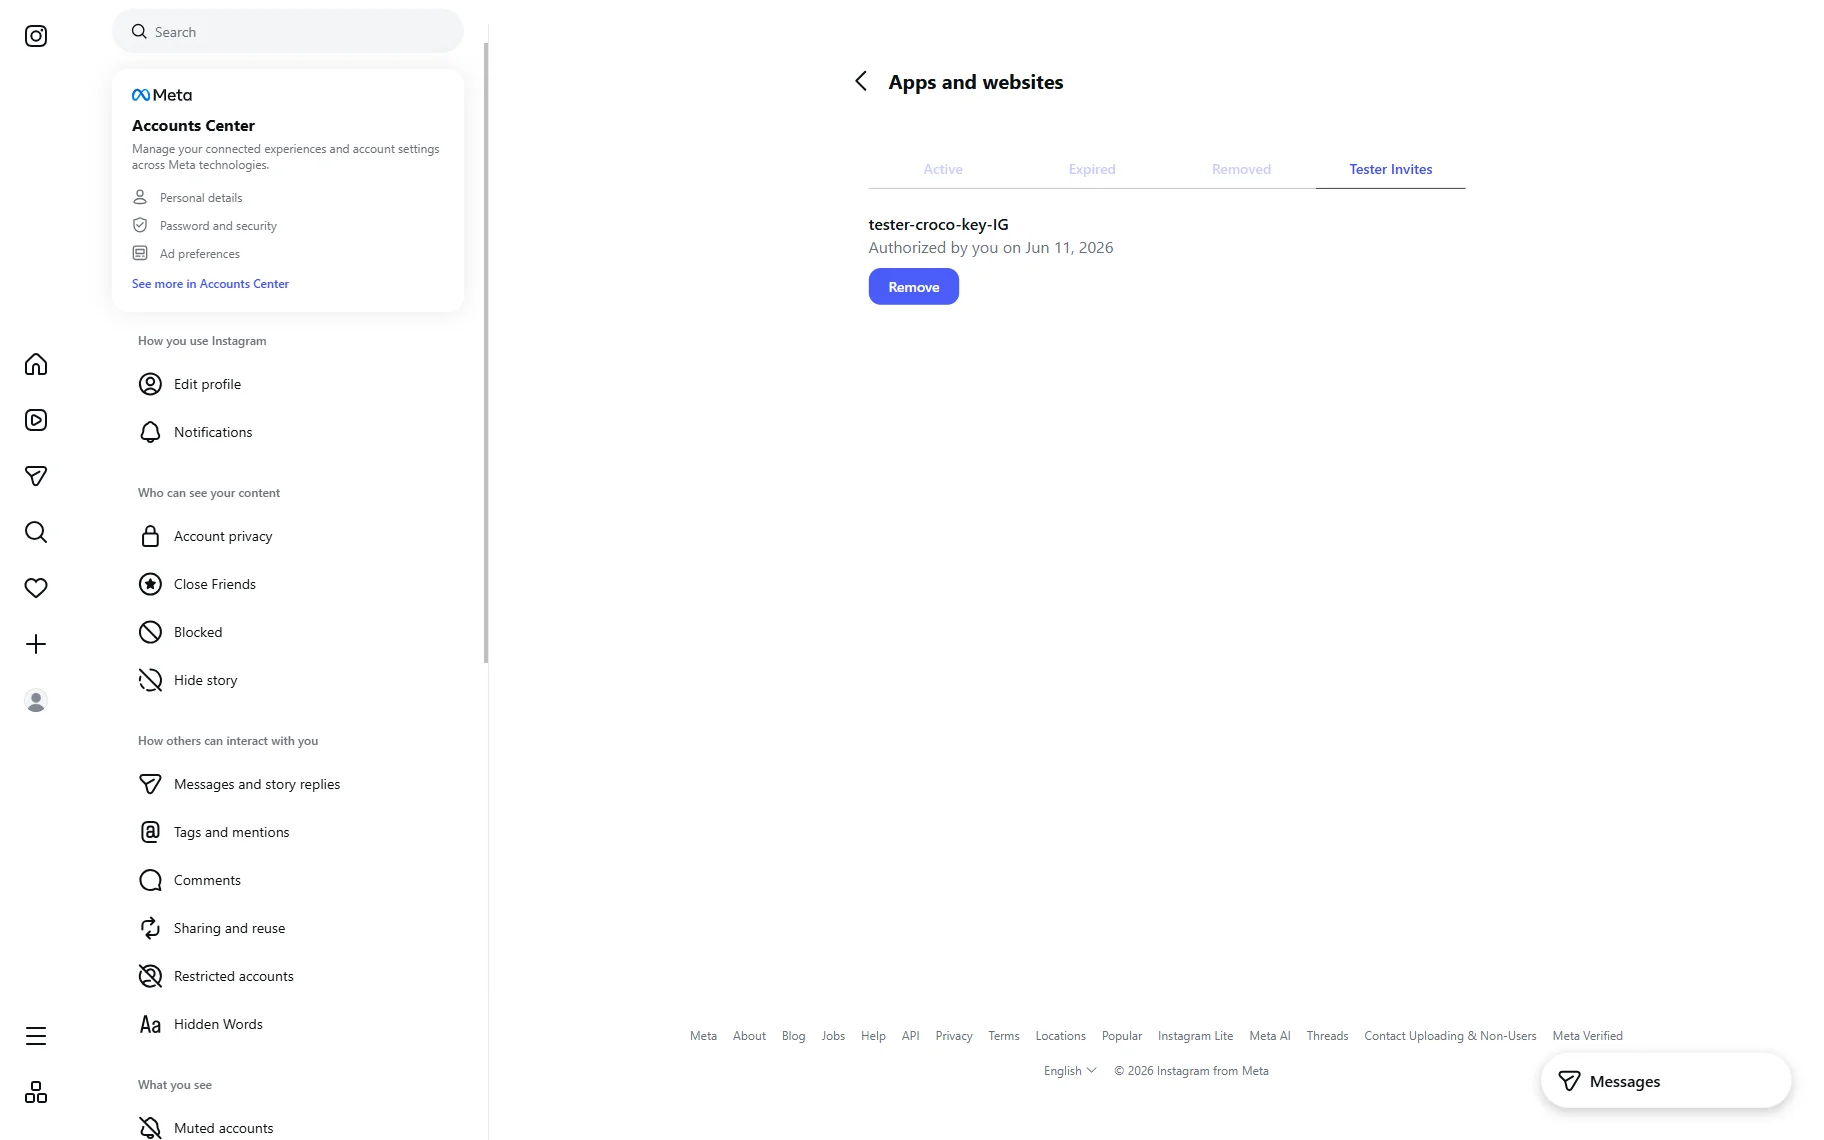
Open the Apps and websites page on your Instagram account and go to the Tester invites tab.
Here, you will see the needed invite. Click the “Accept” button.
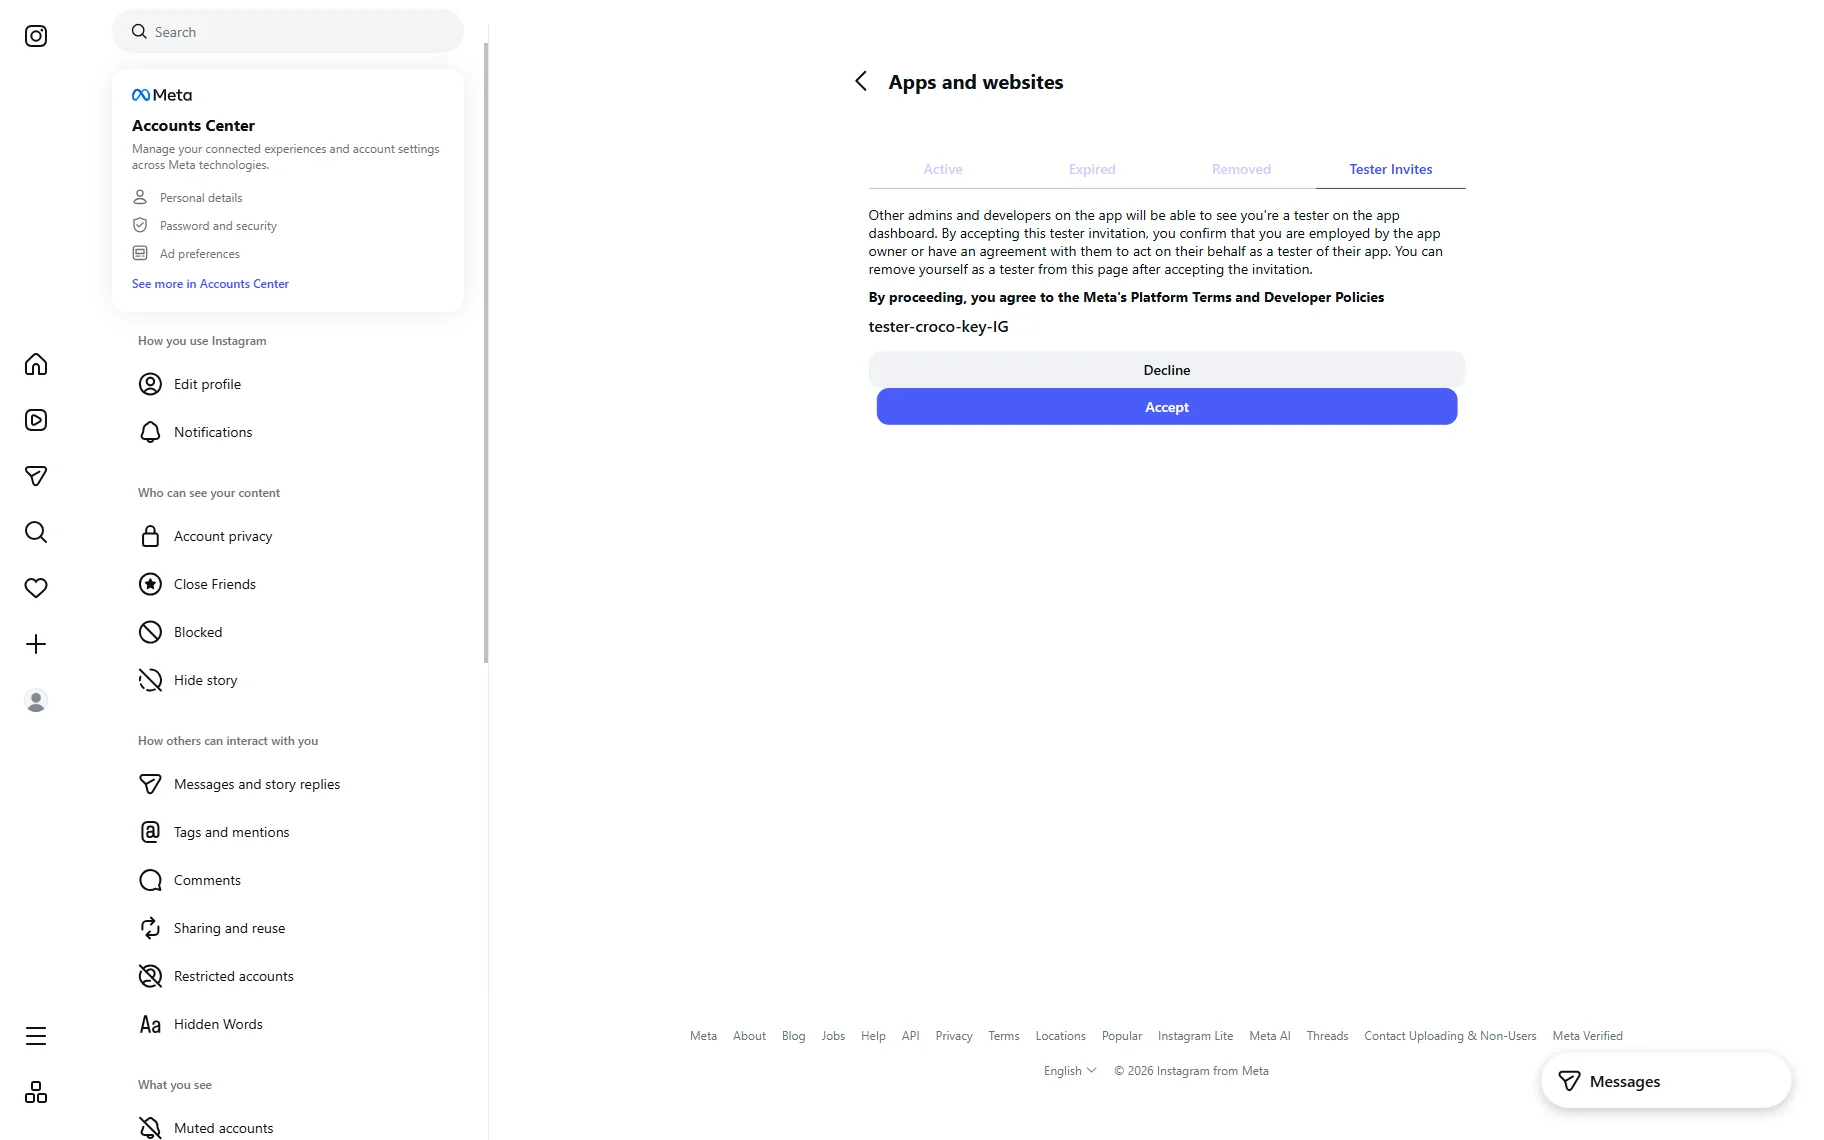
Once the invitation has been accepted, it will appear in this tab as an active tester access. You can remove the access from this section whenever needed.
If you return to the App roles page, you will notice that the “Pending” status is no longer displayed, indicating that the tester invitation has been accepted successfully.

Now, you can return to the API setup with Instagram login page and press the “Add account” button in the Generate access tokens section.
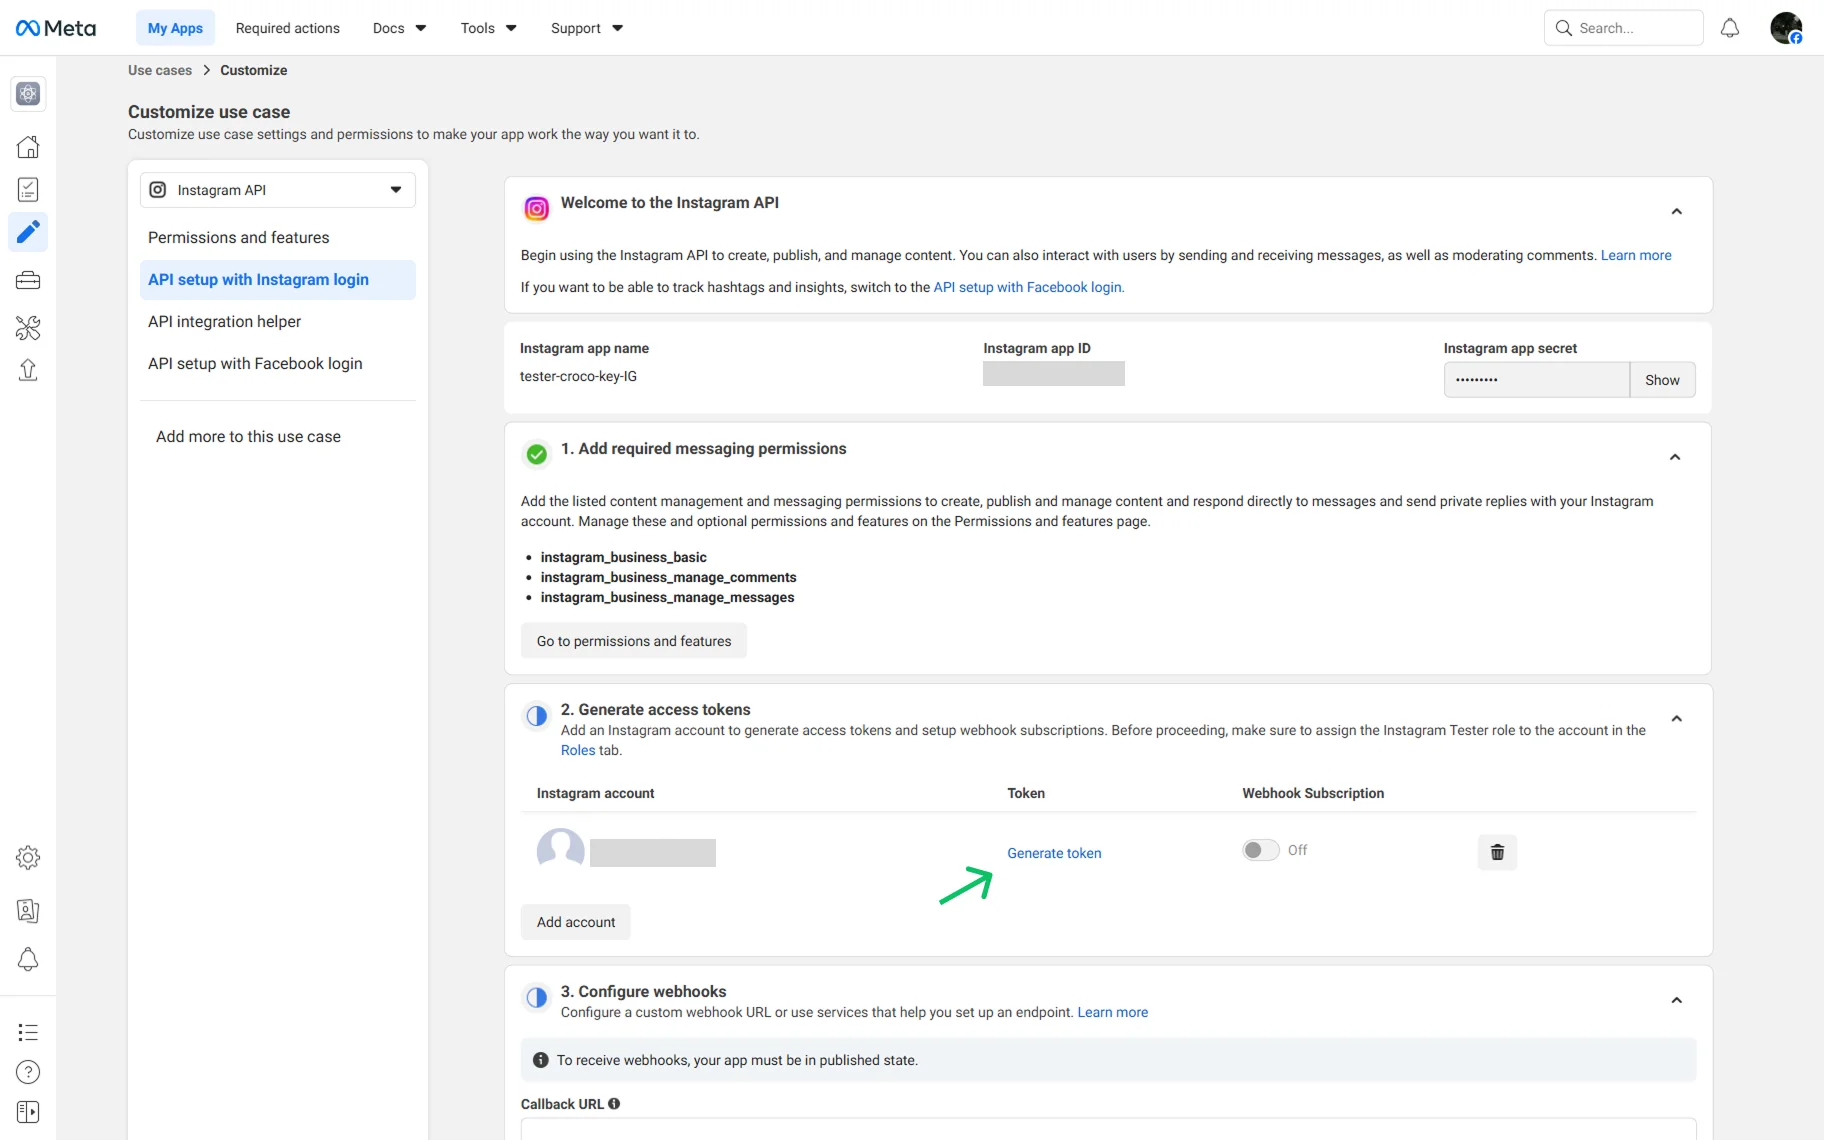
After adding the needed account, the block with the Instagram account will be unrolled.
There, press the “Generate token” link.
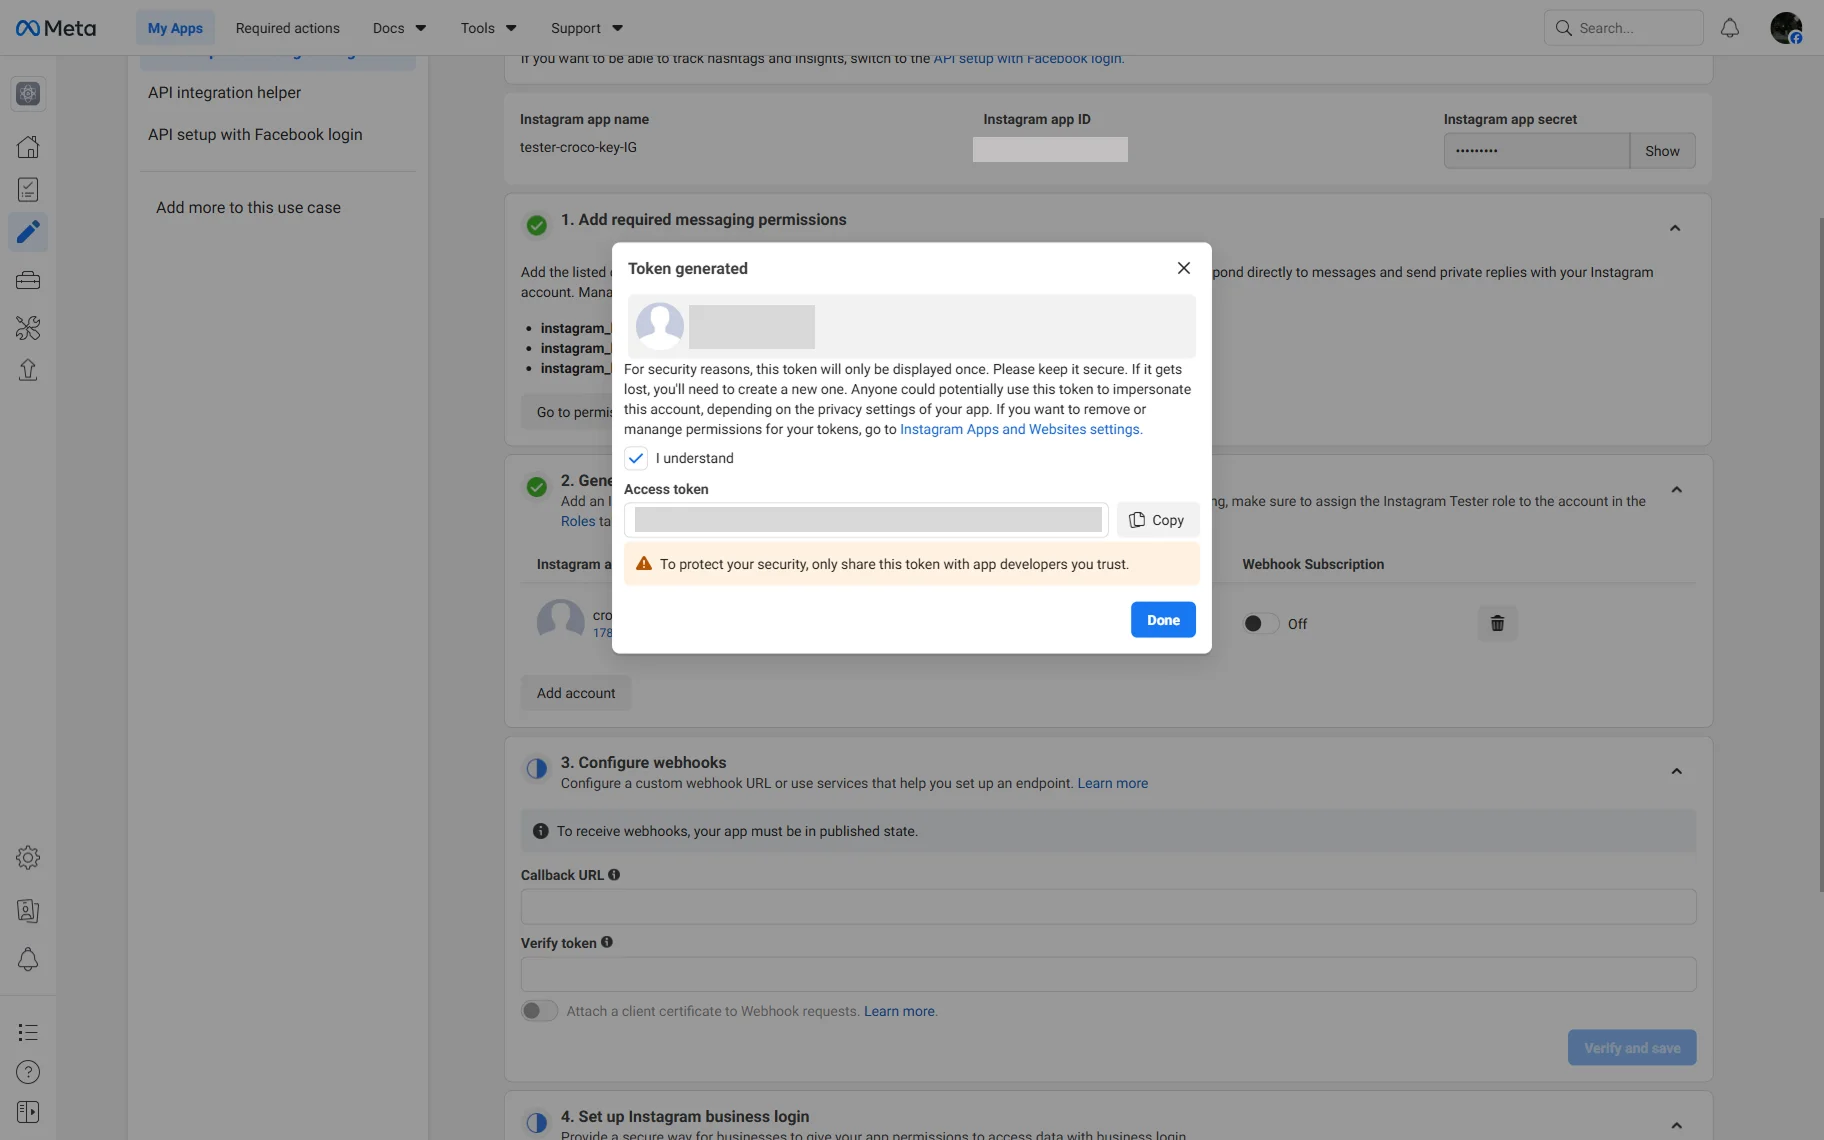
Finally, the generated token will be shown in the Access token field of the Token generated pop-up.
Tick the “I Understand” option and copy the token.

Enter the Access Token in the Plugin Settings
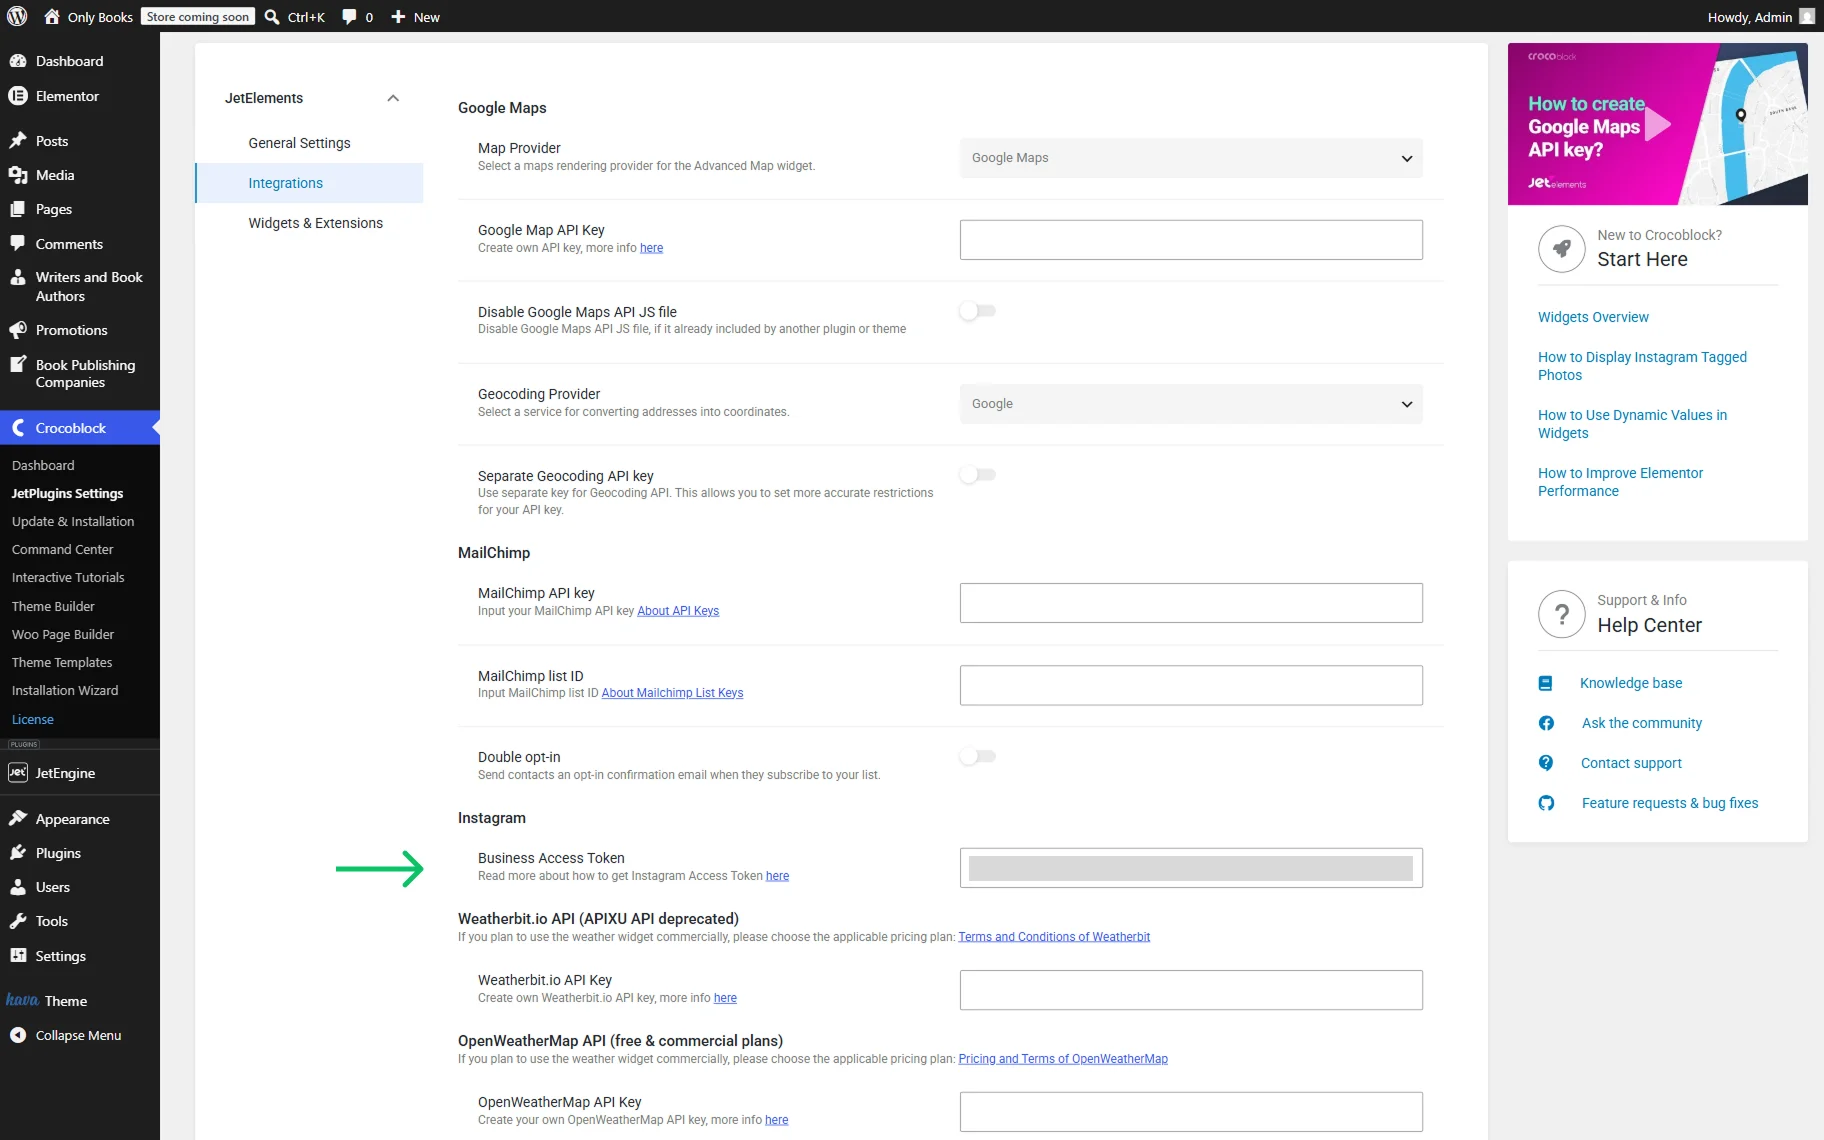
Navigate to WordPress Dashboard > Crocoblock > JetPlugins Settings. Unfold the JetElements tab and proceed to the Integrations tab.
Paste the copied Instagram token to the Business Access Token field.
The settings will be saved automatically.
Add the Instagram Photos to the Page
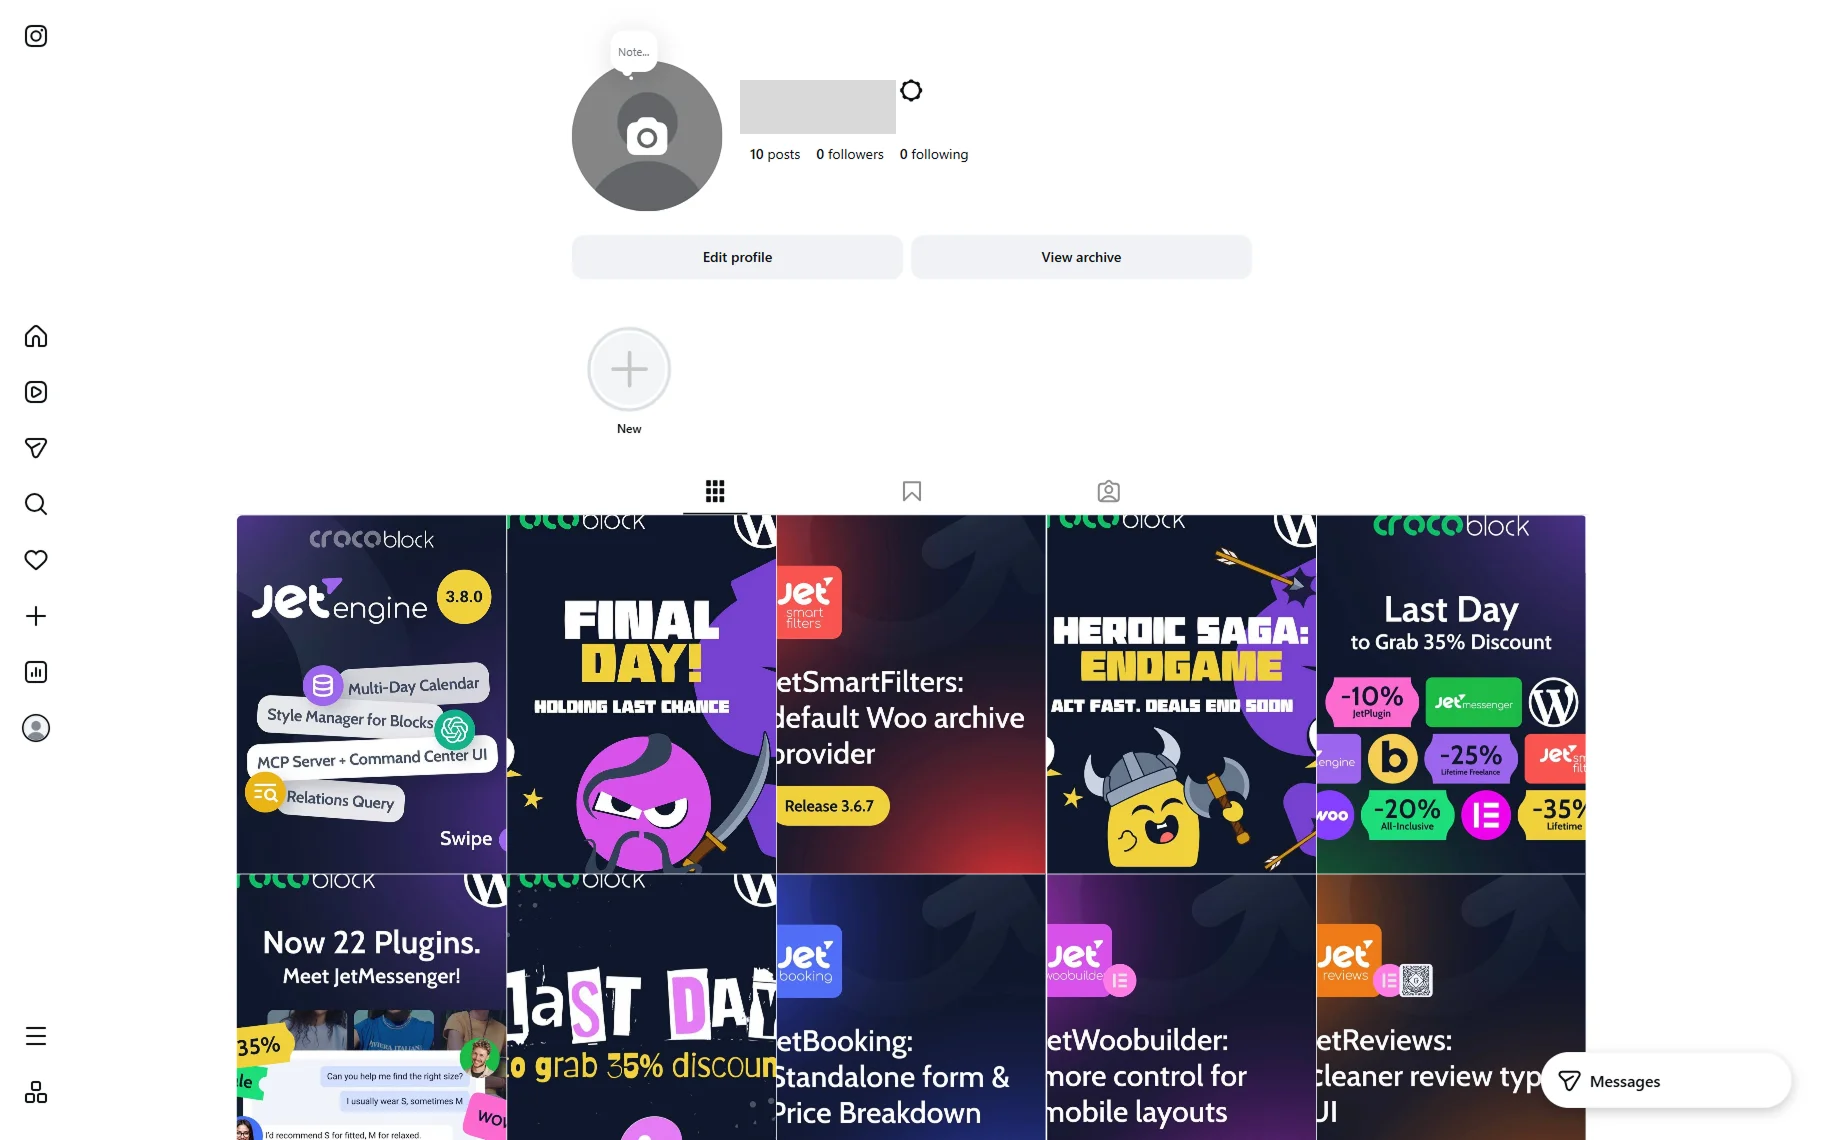
Open your Instagram account and create posts with photos, if you haven’t done so earlier.
Return to your site and create a page using the Elementor builder. Find the Instagram widget and drag and drop it to the page/post.
Unroll the Instagram Settings tab of the widget and select the “My Photos” option from the What to display dropdown menu.
You can work on other settings in the tab if needed.
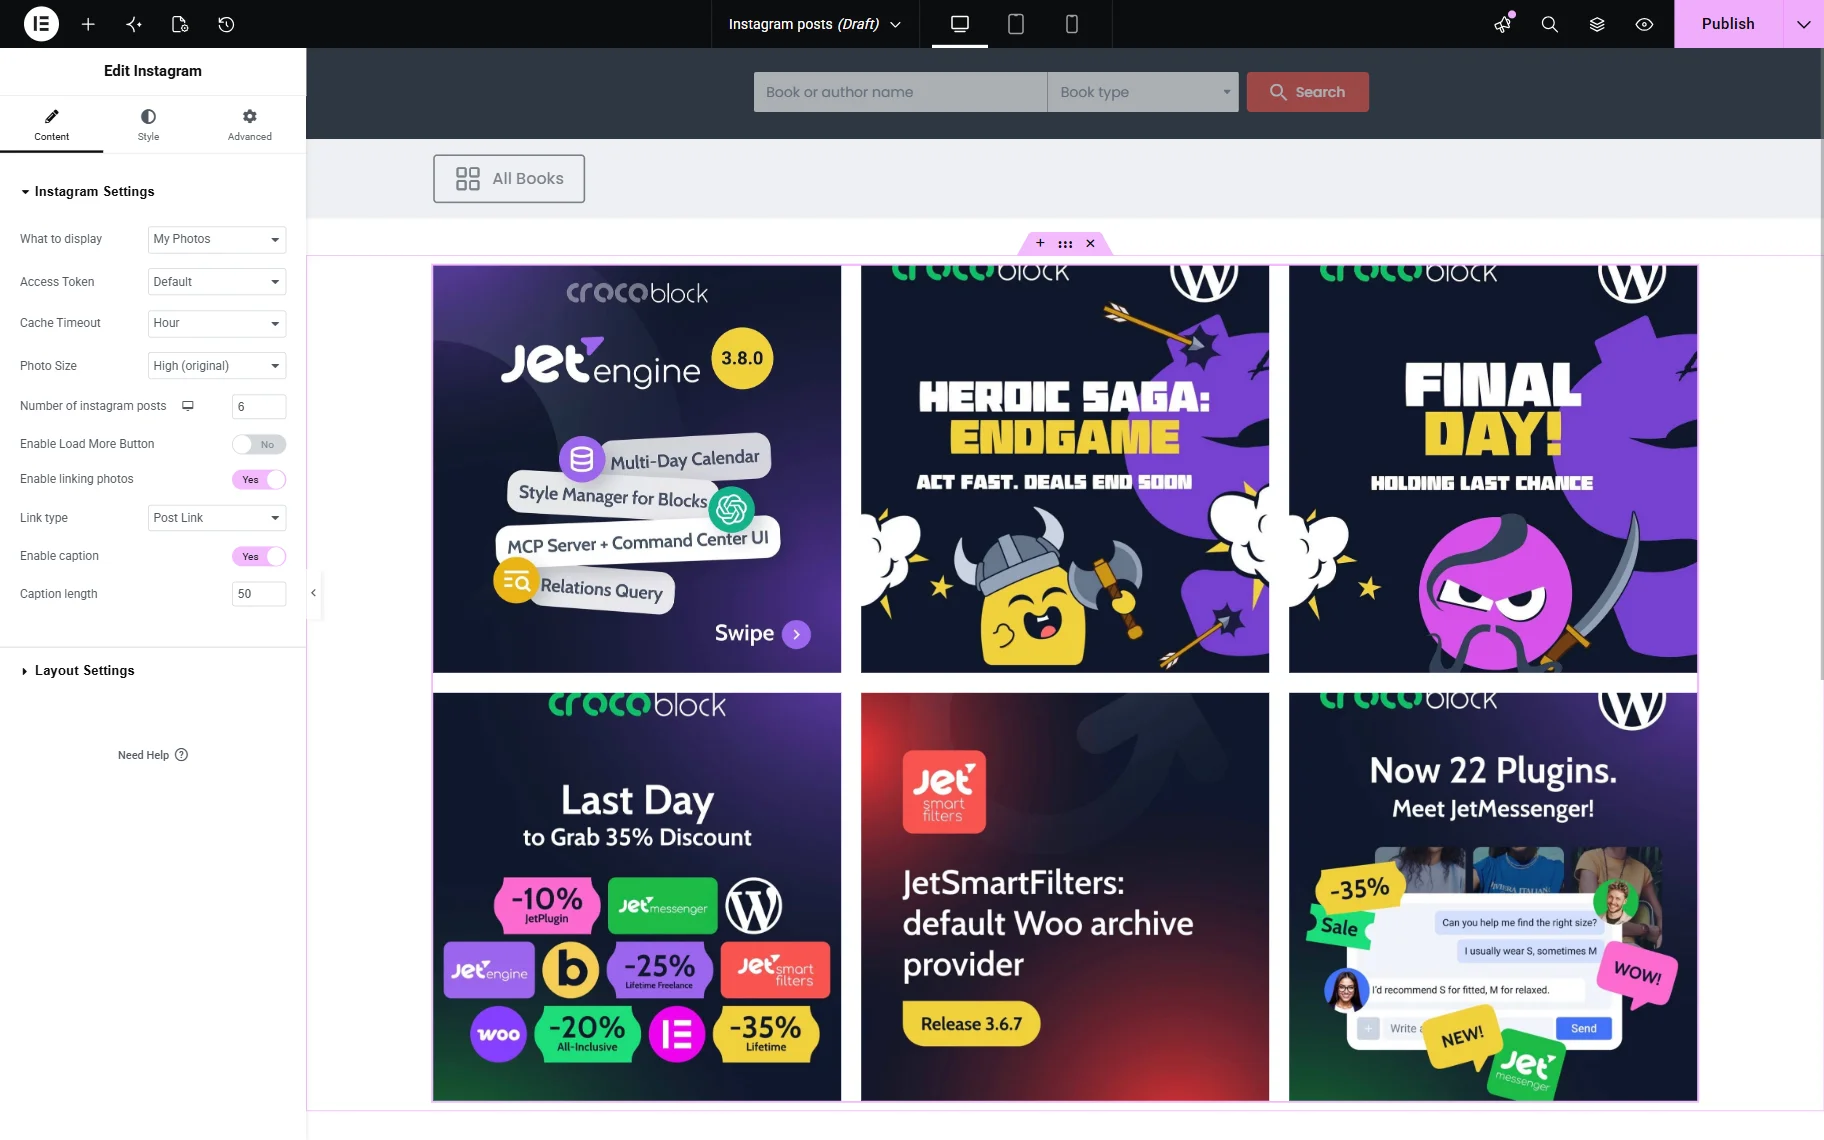
Also, the Instagram widget includes the Layout Settings tab. So, you can work on this tab as well.

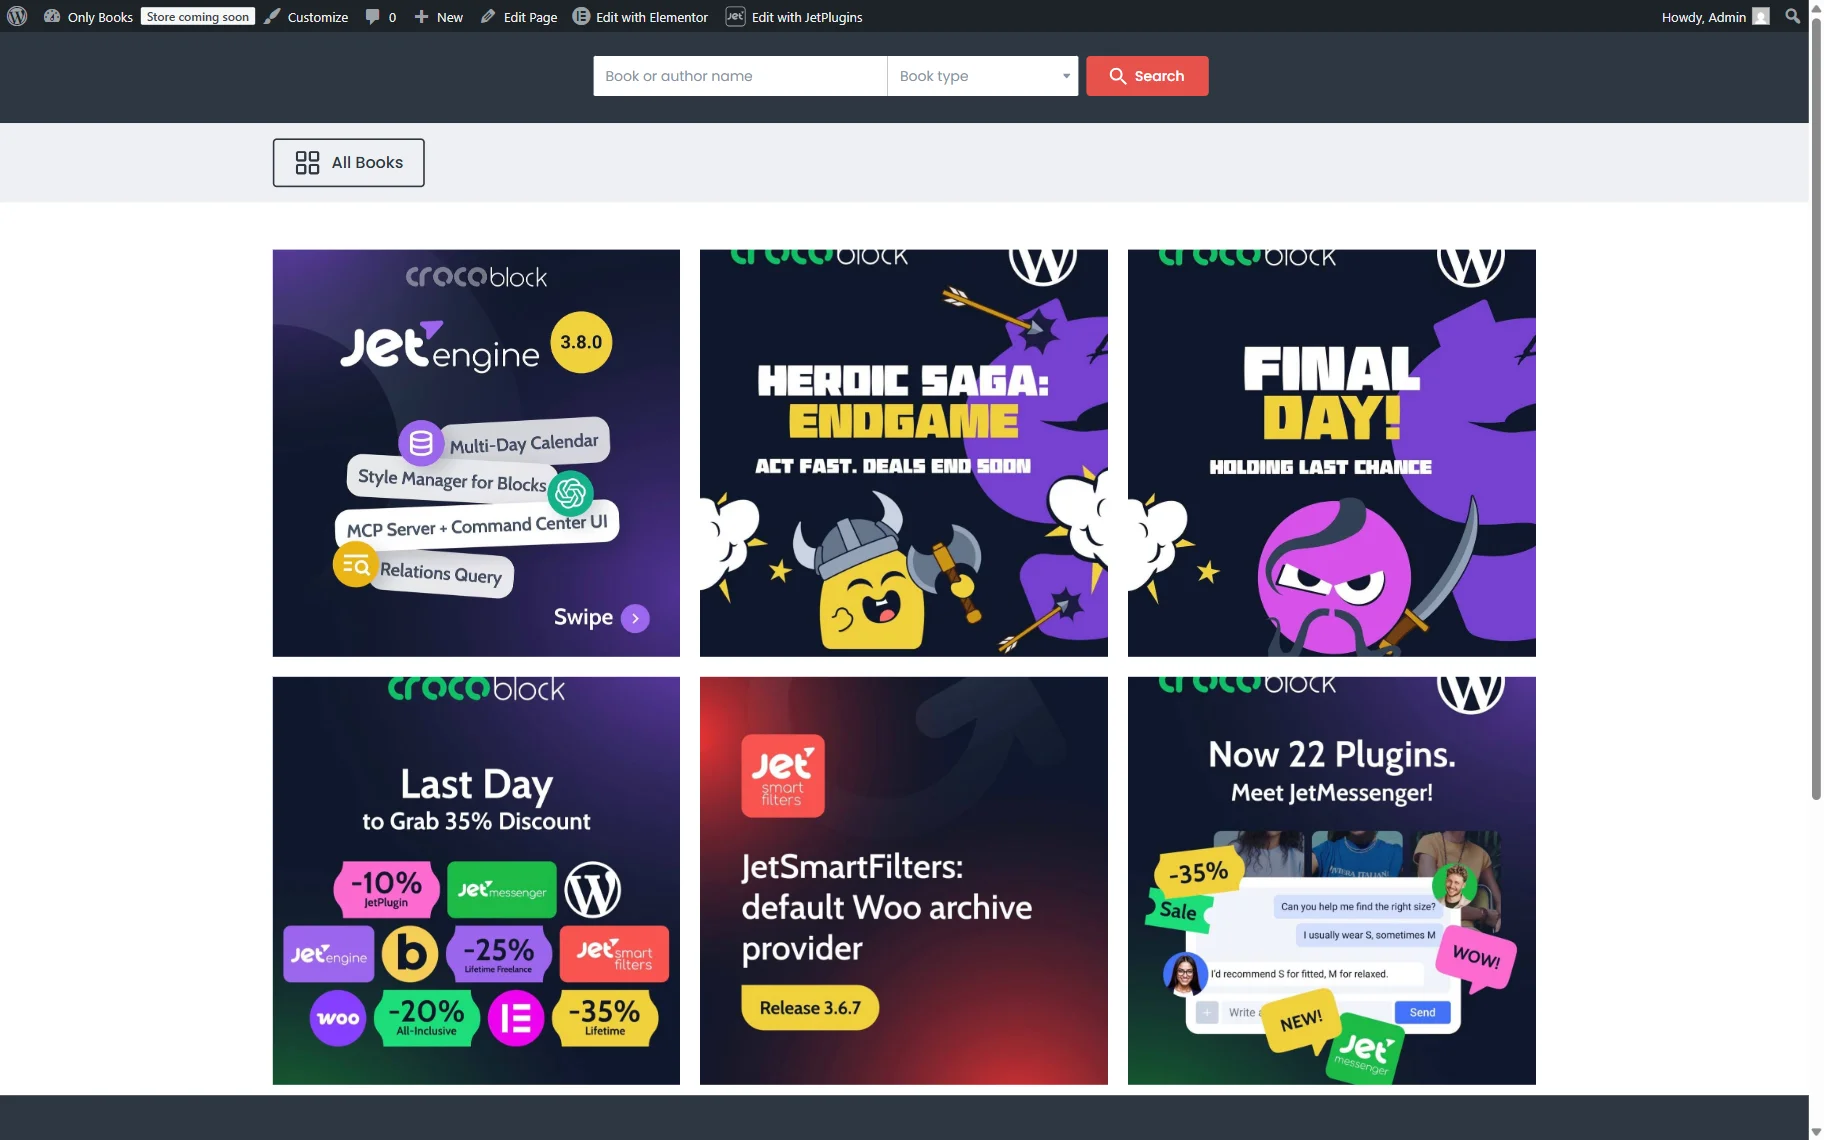
When you’re ready, publish the page so you can watch the photos on the front end.
FAQ
No. The Instagram APIs used in this tutorial require an Instagram Professional account (Business or Creator).
Yes, as long as the websites display content from the same Instagram account and the token remains valid, it can be used across multiple sites.
Meta displays the generated token only once. If you do not save it, you will need to generate a new token from the Meta Developers dashboard.
Make sure that the Instagram account is connected successfully, the generated token is added to JetElements settings, the account is an Instagram Professional account, and the Instagram widget is configured to display “My photos.”
That’s all about creating an Instagram access token to display Instagram photos dynamically on your WordPress site using the Instagram widget of the JetElements plugin for Elementor.