How to Add Audio to Your Website
This step-by-step guide shows how to add the Audio Player widget of JetElements to your WordPress website.
Before you start, check the tutorial requirements:
- Elementor (Free version)
- JetElements plugin installed and activated
The JetElements Audio Player widget lets you add and style audio content on your website. You can upload files, add titles, customize controls, and display playlists directly in Elementor.

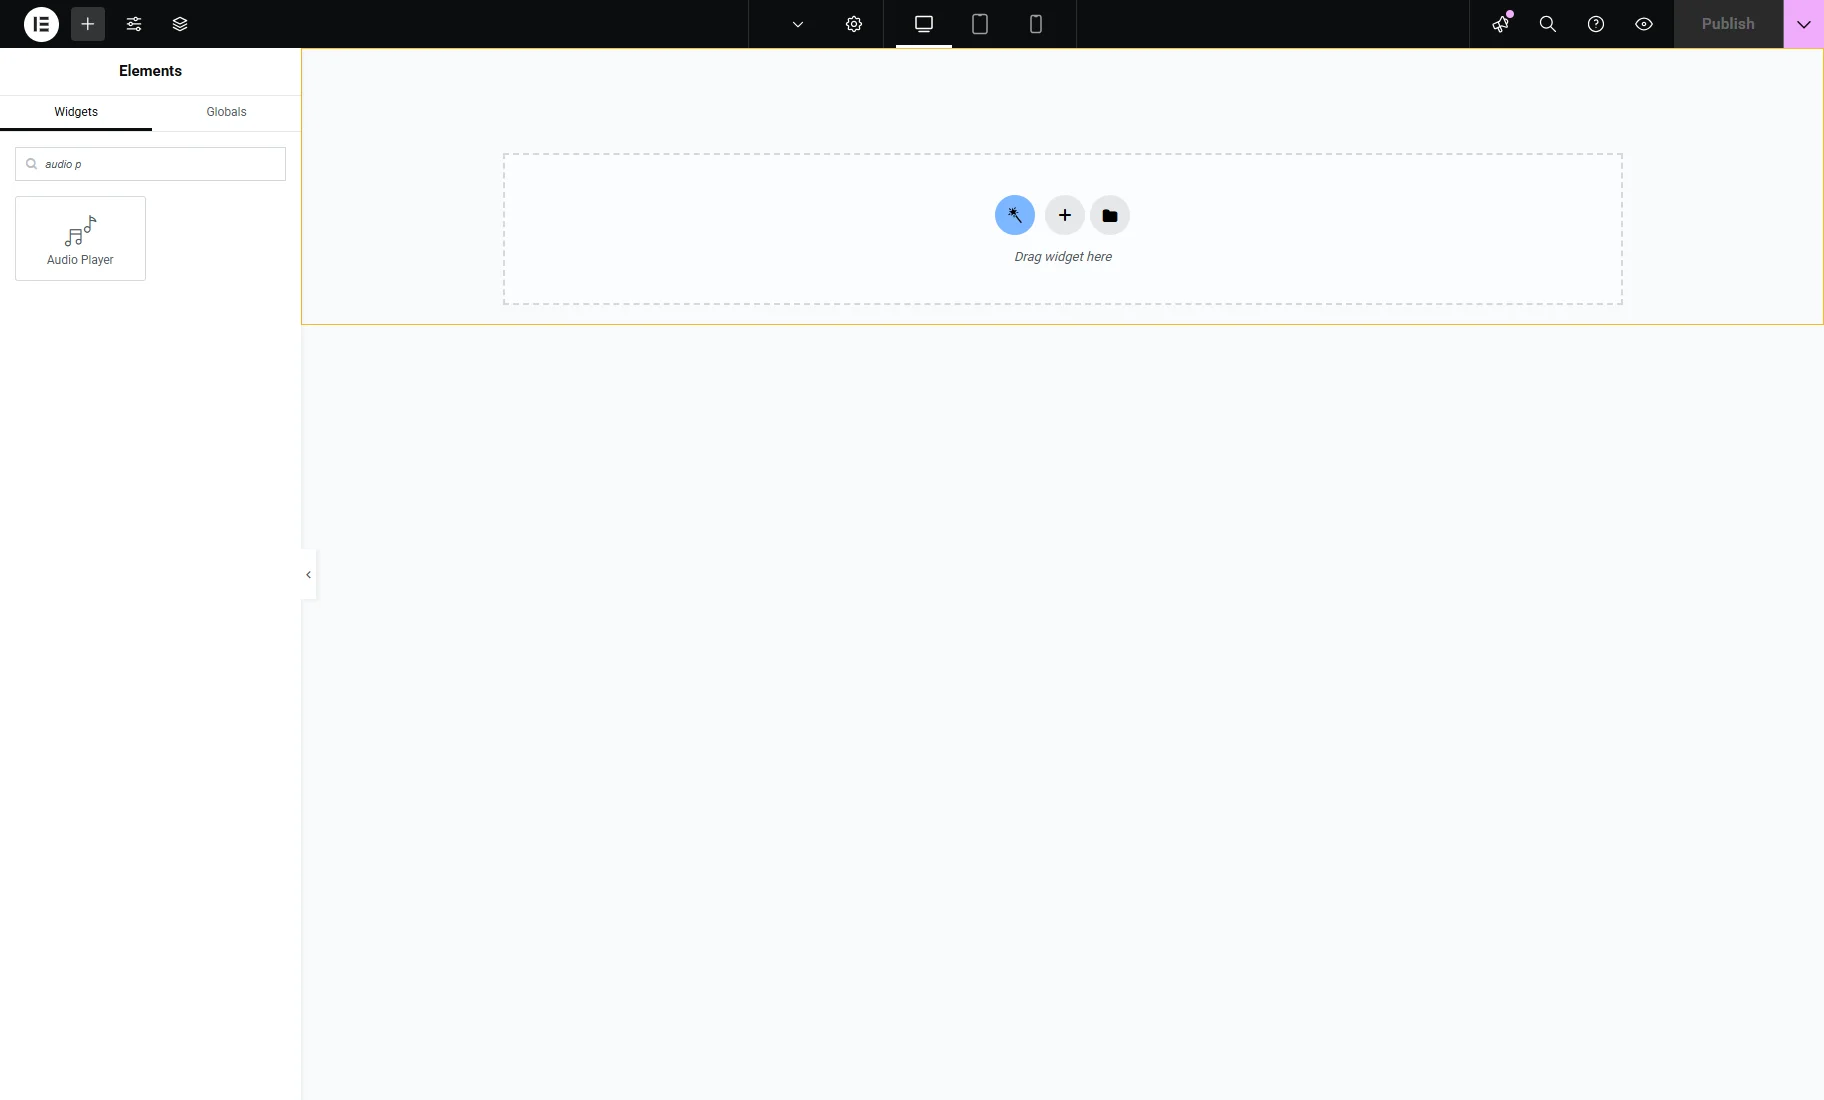
Open the page/template in Elementor where you want to add an audio player. Find the Audio Player widget and drag it into the working area.
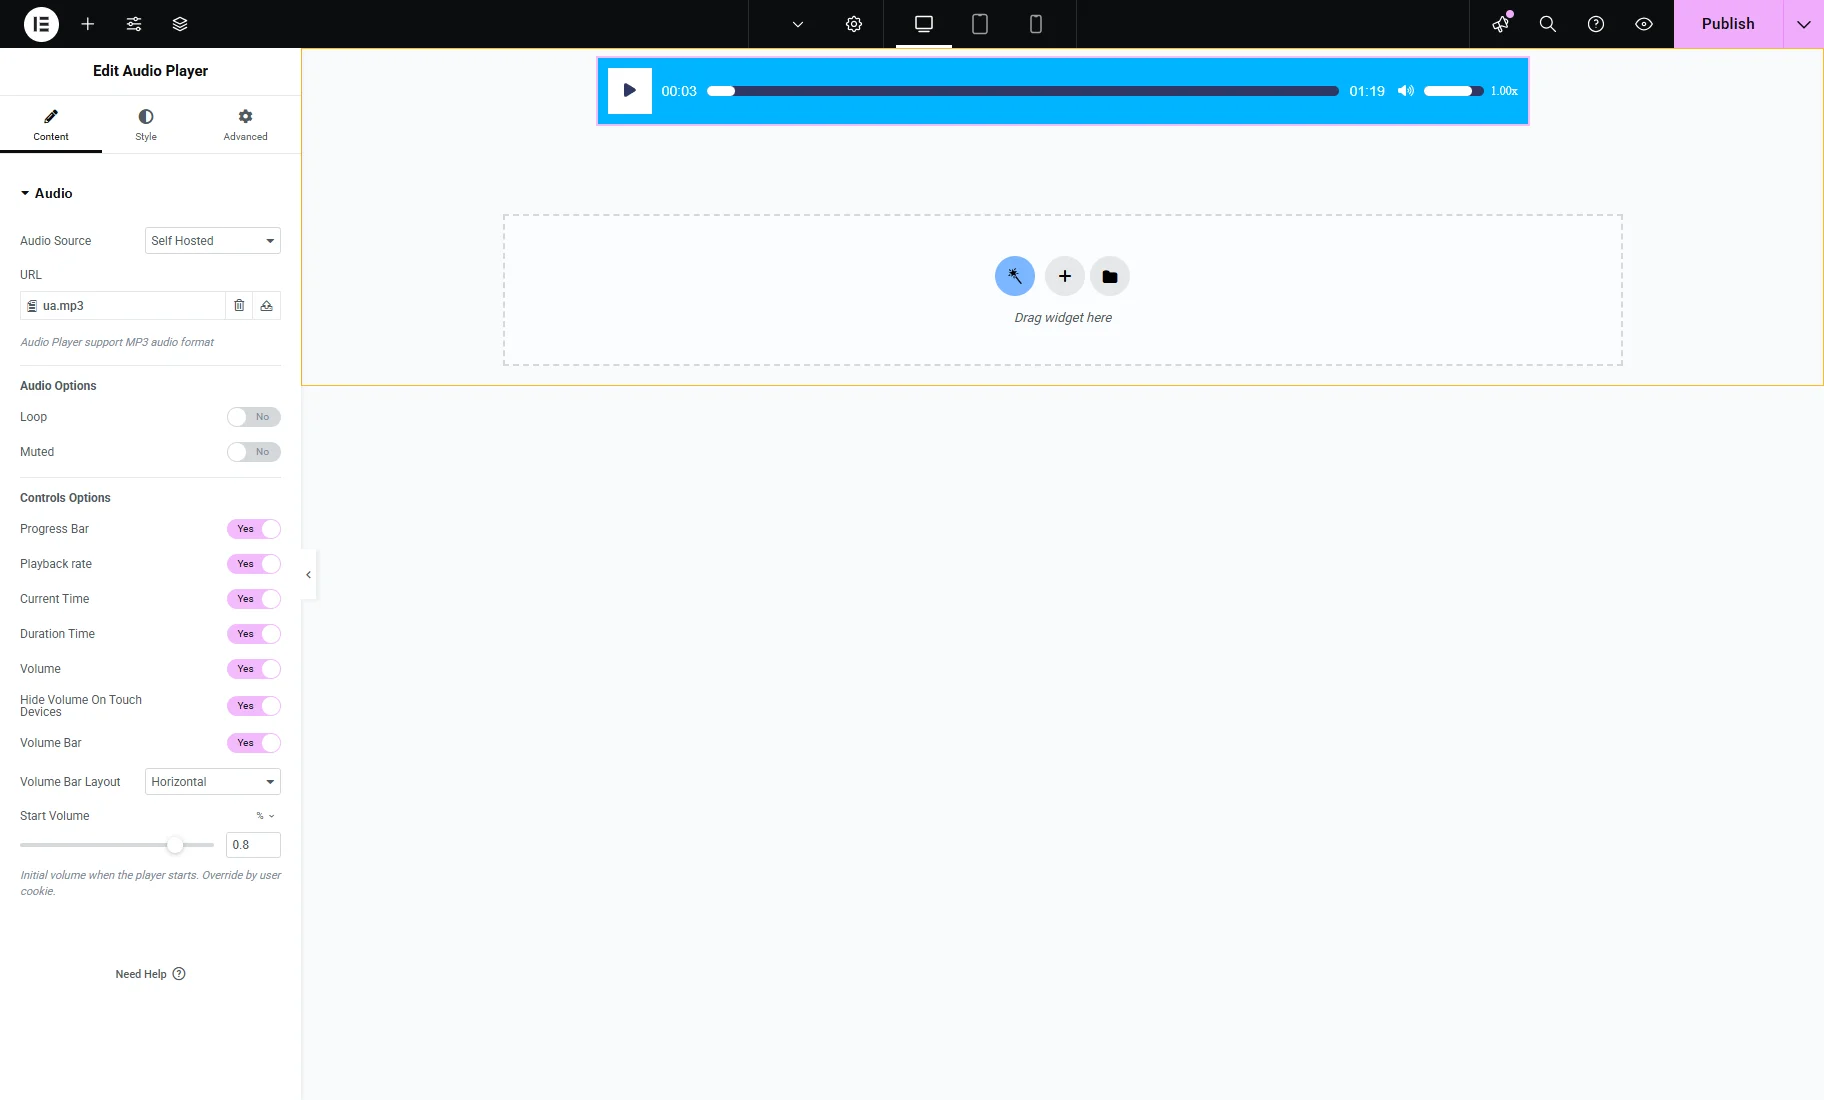
First, you need to specify the Audio Source of the file. There are such options as:
- Self Hosted — where you upload an audio file from your computer;
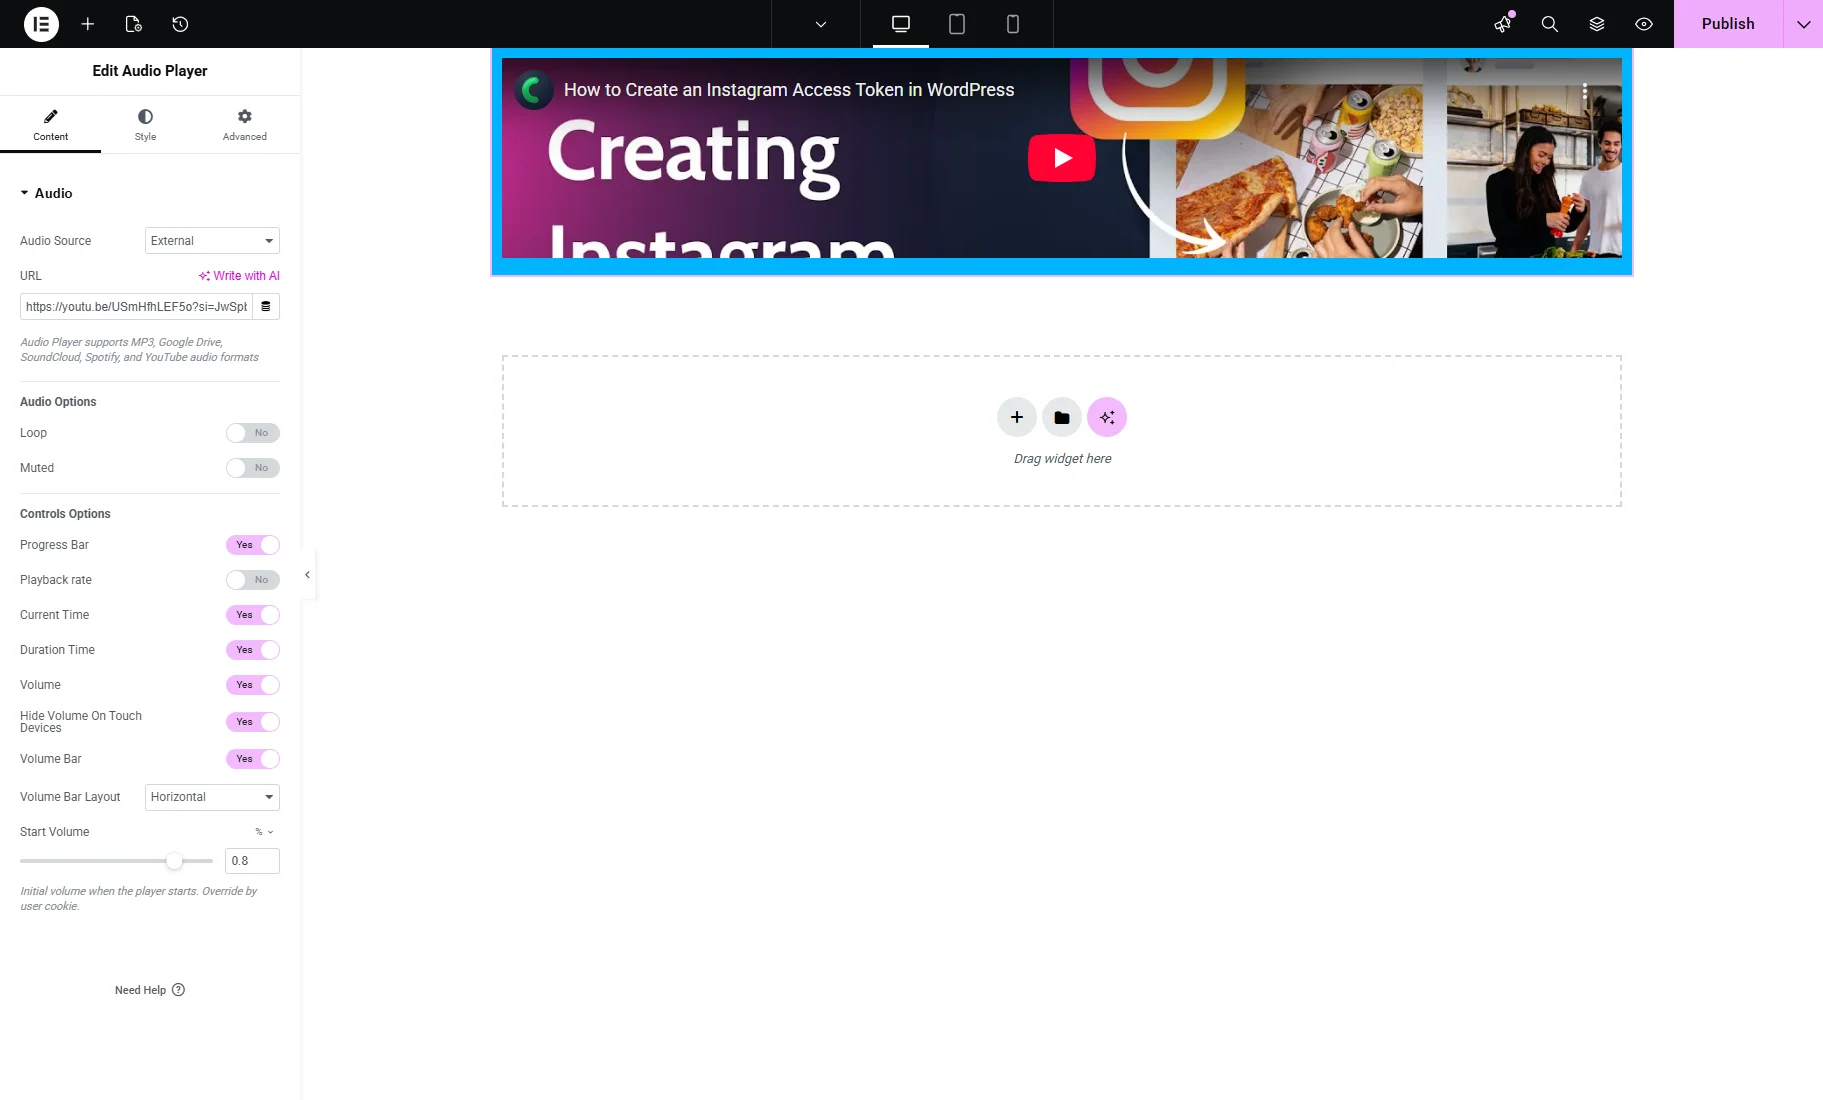
- External — where you add an external link. Audio Player supports MP3, Google Drive, SoundCloud, Spotify, and YouTube audio formats.
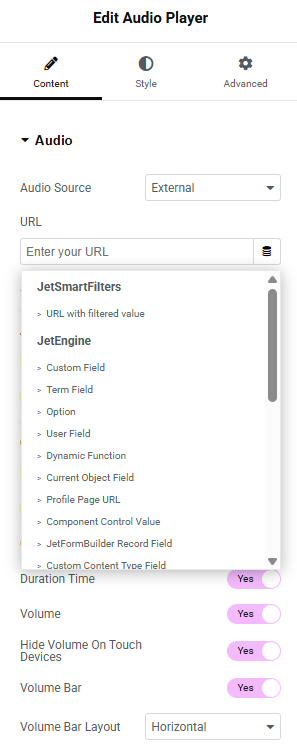
To use the JetEngine “Media” custom field as a source, select the “External” Audio Source in the Content settings tab. Near the URL bar, press the “Dynamic Tag” button and select the required option.
Toggle the Loop option on if you want the audio to play continuously. The Muted option allows you to silence the audio.
The Controls Options section lists such settings:
- Progress Bar — enables the visibility of the progress indicator;
- Playback rate — allows users to change the audio playback speed (e.g., 1x, 1.5x, 2x);
- Current Time — displays the current timestamp of the audio playback;
- Duration Time — shows the total duration of the audio file;
- Volume — enables the volume control;
- Hide Volume On Touch Devices — hides volume controls when the player is viewed on touch-enabled devices;
- Volume Bar — displays a visual volume adjustment bar;
- Volume Bar Layout — lets you choose the layout of the volume bar (“Horizontal” or “Vertical”);
- Start Volume — sets the default start volume as a percentage (e.g., 0.8 = 80%). Can be overridden by user cookie preferences.
The Style settings tab of the widget contains the General, Play-Pause Button and Time, Progress Bar, Volume, and Playback rate tabs.

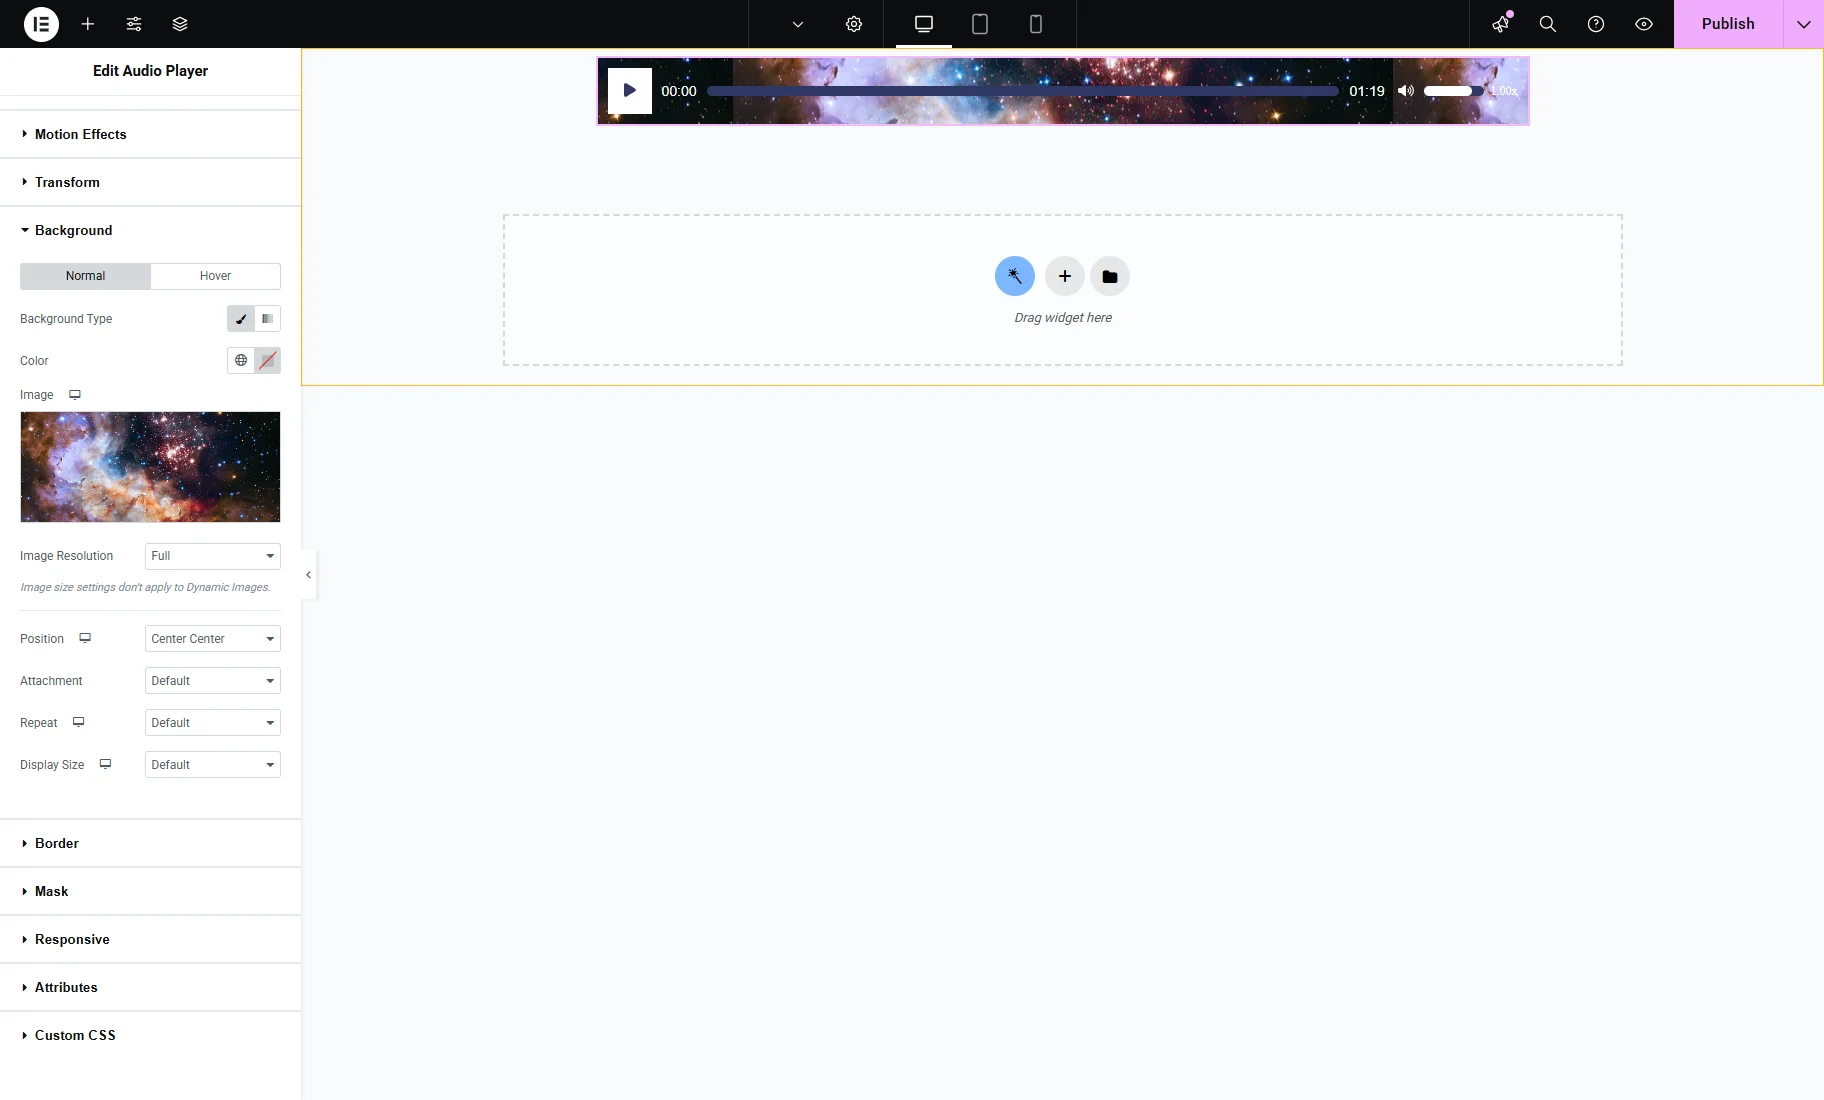
You can also customize the settings of the Advanced tab. For example, go to Advanced > Background and upload an image as a background.
After you finish, save the settings by clicking the “Publish” button.
That’s all. Now you know all about setting the Audio Player widget from JetElements on your WordPress website.