Banner Widget Overview
This step-by-step tutorial will take you through the process of adding animated banners to a page built with Elementor using the Banner widget from the JetElements plugin.
Each self-respected businessman has to have a bright and colorful banner on a website to attract more clients. With the Banner widget from the JetElements plugin, you will be able to display all the necessary information with an image background in a few clicks.
1 Step — Add the Banner widget ot the page
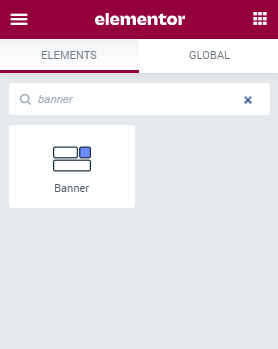
Open your website’s dashboard and find the page where you want to place a banner. Open it with the Elementor page builder and find the Banner widget using the search field at the top. Drag and drop it on the page, where you want it to be placed.

2 Step — Choose the content and define settings
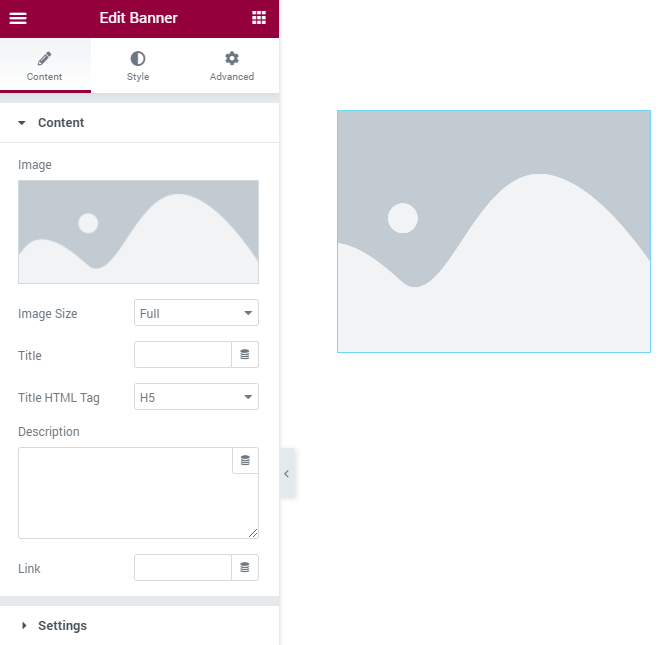
In the left-side menu open the Content menu tab and unfold the Content section.

Let’s go through the features that this section includes:
- Image. Here you can select the background image from your media library;
- Image Size. From this drop-down menu you can choose the size of the picture;
- Title. The text you will enter here will be displayed as a title over the image;
- Title HTML Tag. The HTML tag is an element that defines the title’s size and importance. The drop-down menu allows you to set a tag from H2 to H6;
- Description. If you need to add some explanation or notification to the banner – you can insert it here. This text will also be displayed over the image;
- Link. If your banner is supposed to lead the user to a certain page – insert the link to it here.
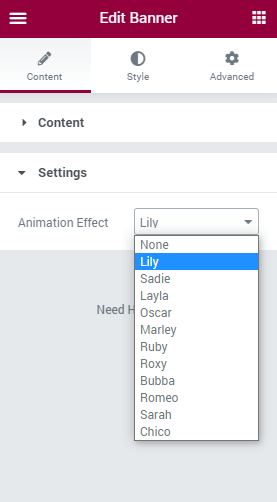
Then, Now, it is time to go to the Content > Settings block and select the Animation Effect. If you would like to see how every animation looks like – check out this examples page.

The last step is to style your banner up. Proceed to the Style tab and create your perfect banner design.
Now nothing is impossible for you. Enjoy!